

Posts & Pages Settings
Control how your blog posts, standalone pages, and category archives look on your Travel Monster site, from titles and images to sidebars and comments.
Overview
Travel Monster provides settings for each type of content on your site. These settings control how your blog posts and pages look to visitors.
- Blog Page: How your blog listing page looks. This is the page that shows your posts in a list. You can control the page title, how images appear, how much of each post is visible, and the sidebar layout.
- Page: How standalone pages look. These are pages like your About Us or Contact page. You can control the page title, sidebar, featured image, and comments.
- Single Post: How an individual blog post looks when someone clicks on one to read it. You can control the sidebar, image cropping, author info, tags, related posts, and comments.
- Archive: How category and tag listing pages look. These are pages that group posts by topic, like all posts tagged "Trekking Tips." You can control the page title, sidebar, and header background image.
All of these settings live in the WordPress Customizer. The Customizer is a live preview tool that lets you see changes on your site before you publish them.
You'll need the Travel Monster theme active on your WordPress site before these settings are available. If you haven't installed it yet, start with the Install Travel Monster Theme guide.
Getting to Posts & Pages Settings
These steps take you from your WordPress dashboard to the settings that control how your posts and pages appear.
Open your WordPress dashboard
Log in to your WordPress dashboard. This is the admin area of your site. You can usually reach it by adding /wp-admin to your website address.
Open the Customizer
On the left sidebar of your dashboard, click Appearance, then click Customize. This opens the Customizer screen with your site visible on the right and settings on the left.
Open Posts & Pages Settings
In the left panel, click Posts & Pages. You may need to scroll down to find it. This opens the settings panel where you can choose between Blog Page, Page, Single Post, and Archive.
Once you're in, you'll see four sections. Each one is described below. Work through them in any order you like. You can always come back and adjust things later.
Blog Page settings
Your blog page is where your posts show up in a list. If you write articles about travel tips, destination guides, or trip announcements, this is the page visitors see when they browse your blog.
You'll find these options under Posts & Pages > Blog Page.
Page title
The page title is the heading at the top of your blog page. Say your blog page is called "Travel Stories." The Show Title setting controls whether that name appears at the top of the page. The Page Description lets you add a short line of text under the title, like "Tips and tales from our guides."
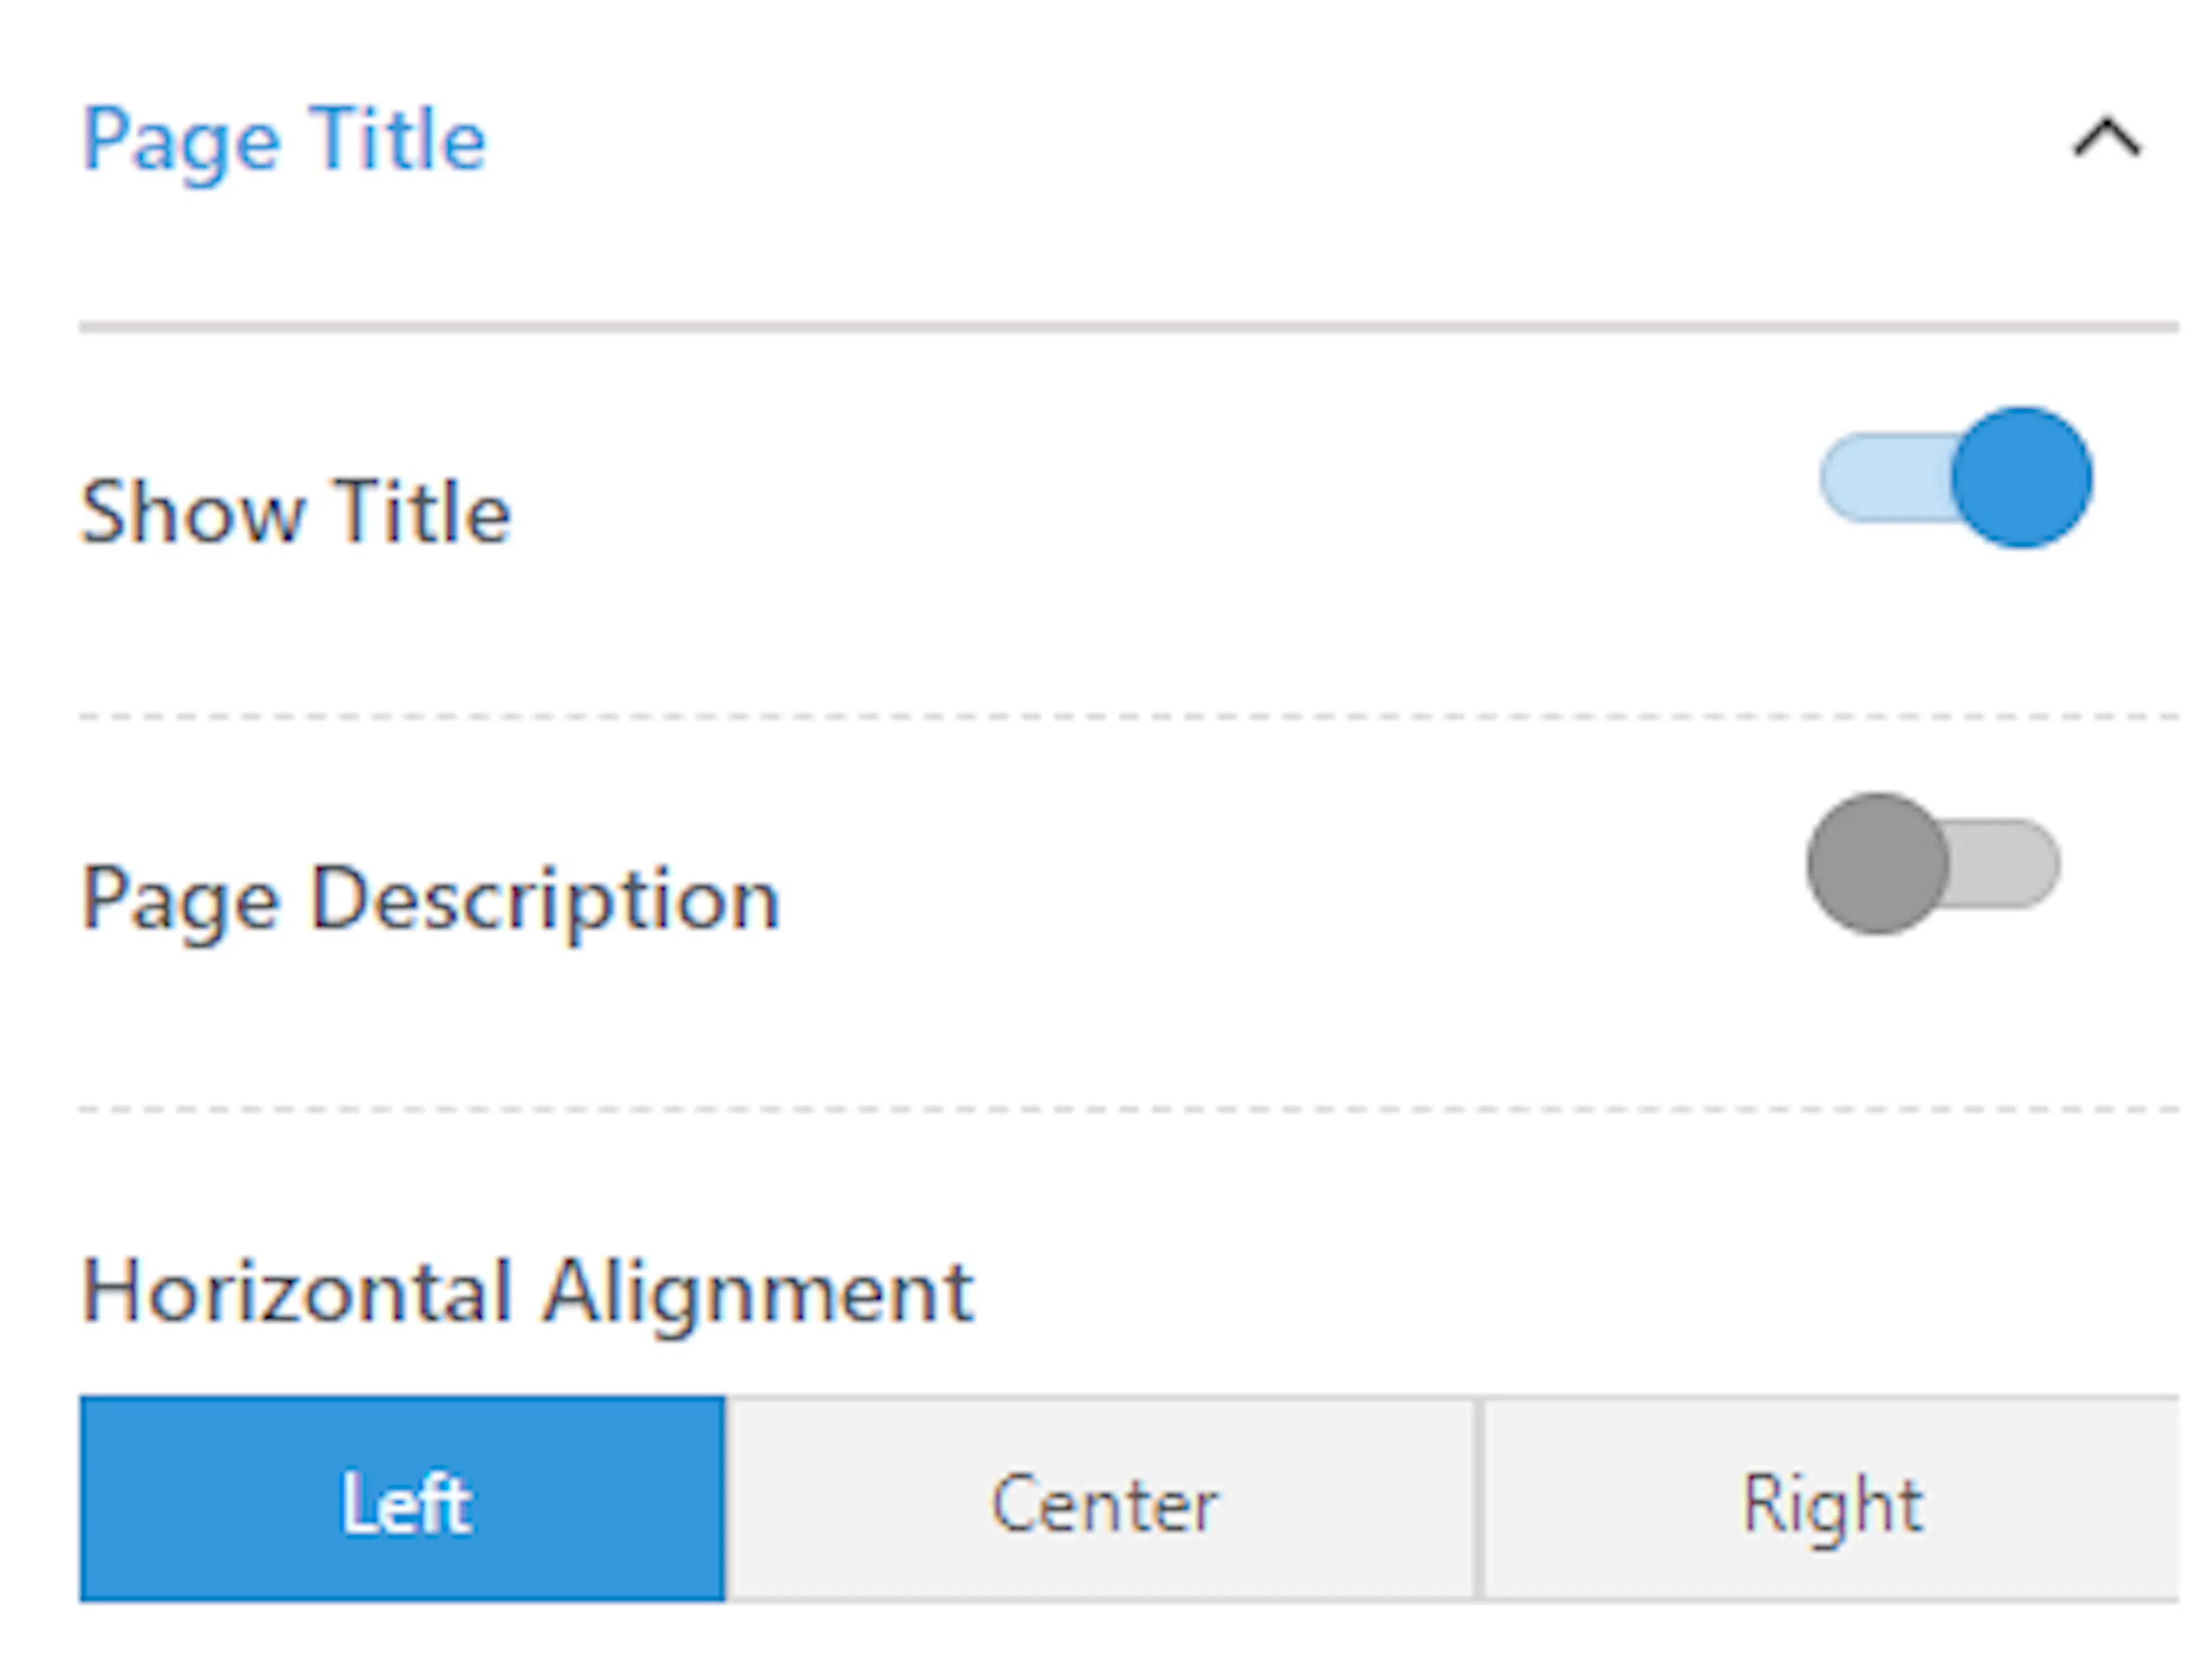
| Setting | What it does |
|---|---|
| Show Title | Displays the page title on the Blog page, when enabled. |
| Page Description | Displays the Blog page's description, when enabled. Add the description text itself in the page editor. |
| Horizontal Alignment | Sets the alignment for the page title content. |
Image setting
A featured image is the main image you set for a blog post. It's the picture people see before they click to read the full post. Cropping it to the recommended size keeps all your post images looking consistent in the list. If you'd rather show the full image as you uploaded it, leave this off.
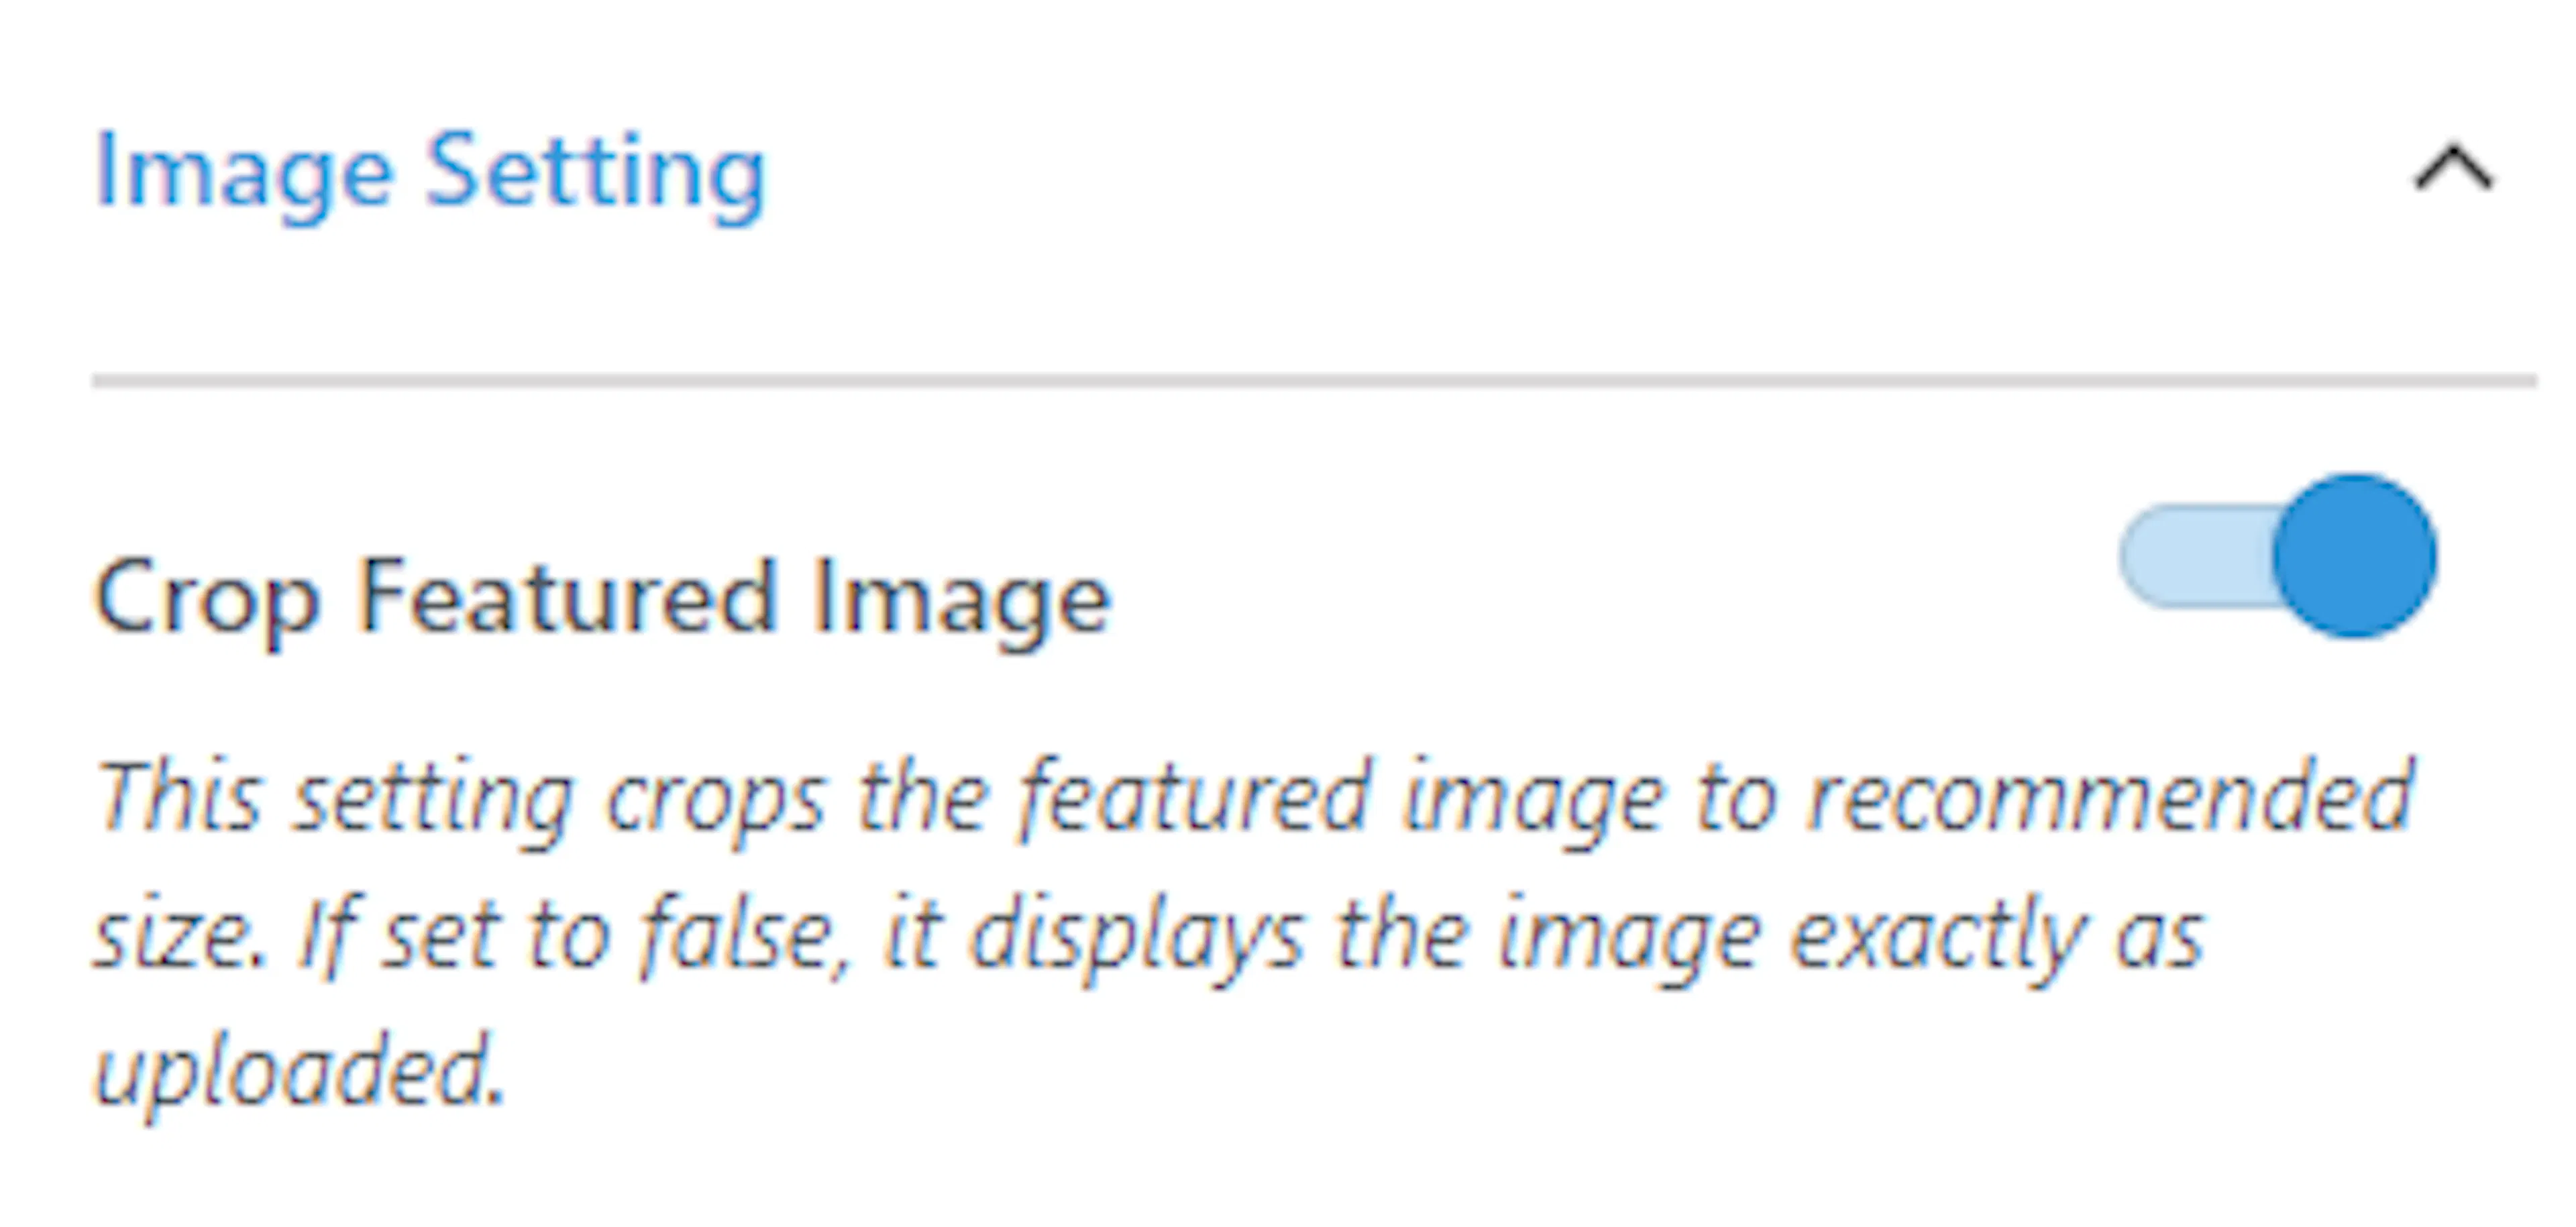
Crop Featured Image: Crops the featured image to fit the theme's recommended size, when enabled. When disabled, the image displays exactly as uploaded.
Post settings
An excerpt is a short preview of your post. Instead of showing the full article on the blog list, it shows the first few words with a "Read More" link. This keeps your blog page tidy and lets visitors scan through multiple posts quickly.
Post meta is the small information shown alongside each post, like who wrote it and when. You can drag these elements to reorder them or click the eye icon to hide ones you don't need. For example, if you're the only writer, you might hide the author name to keep things clean.
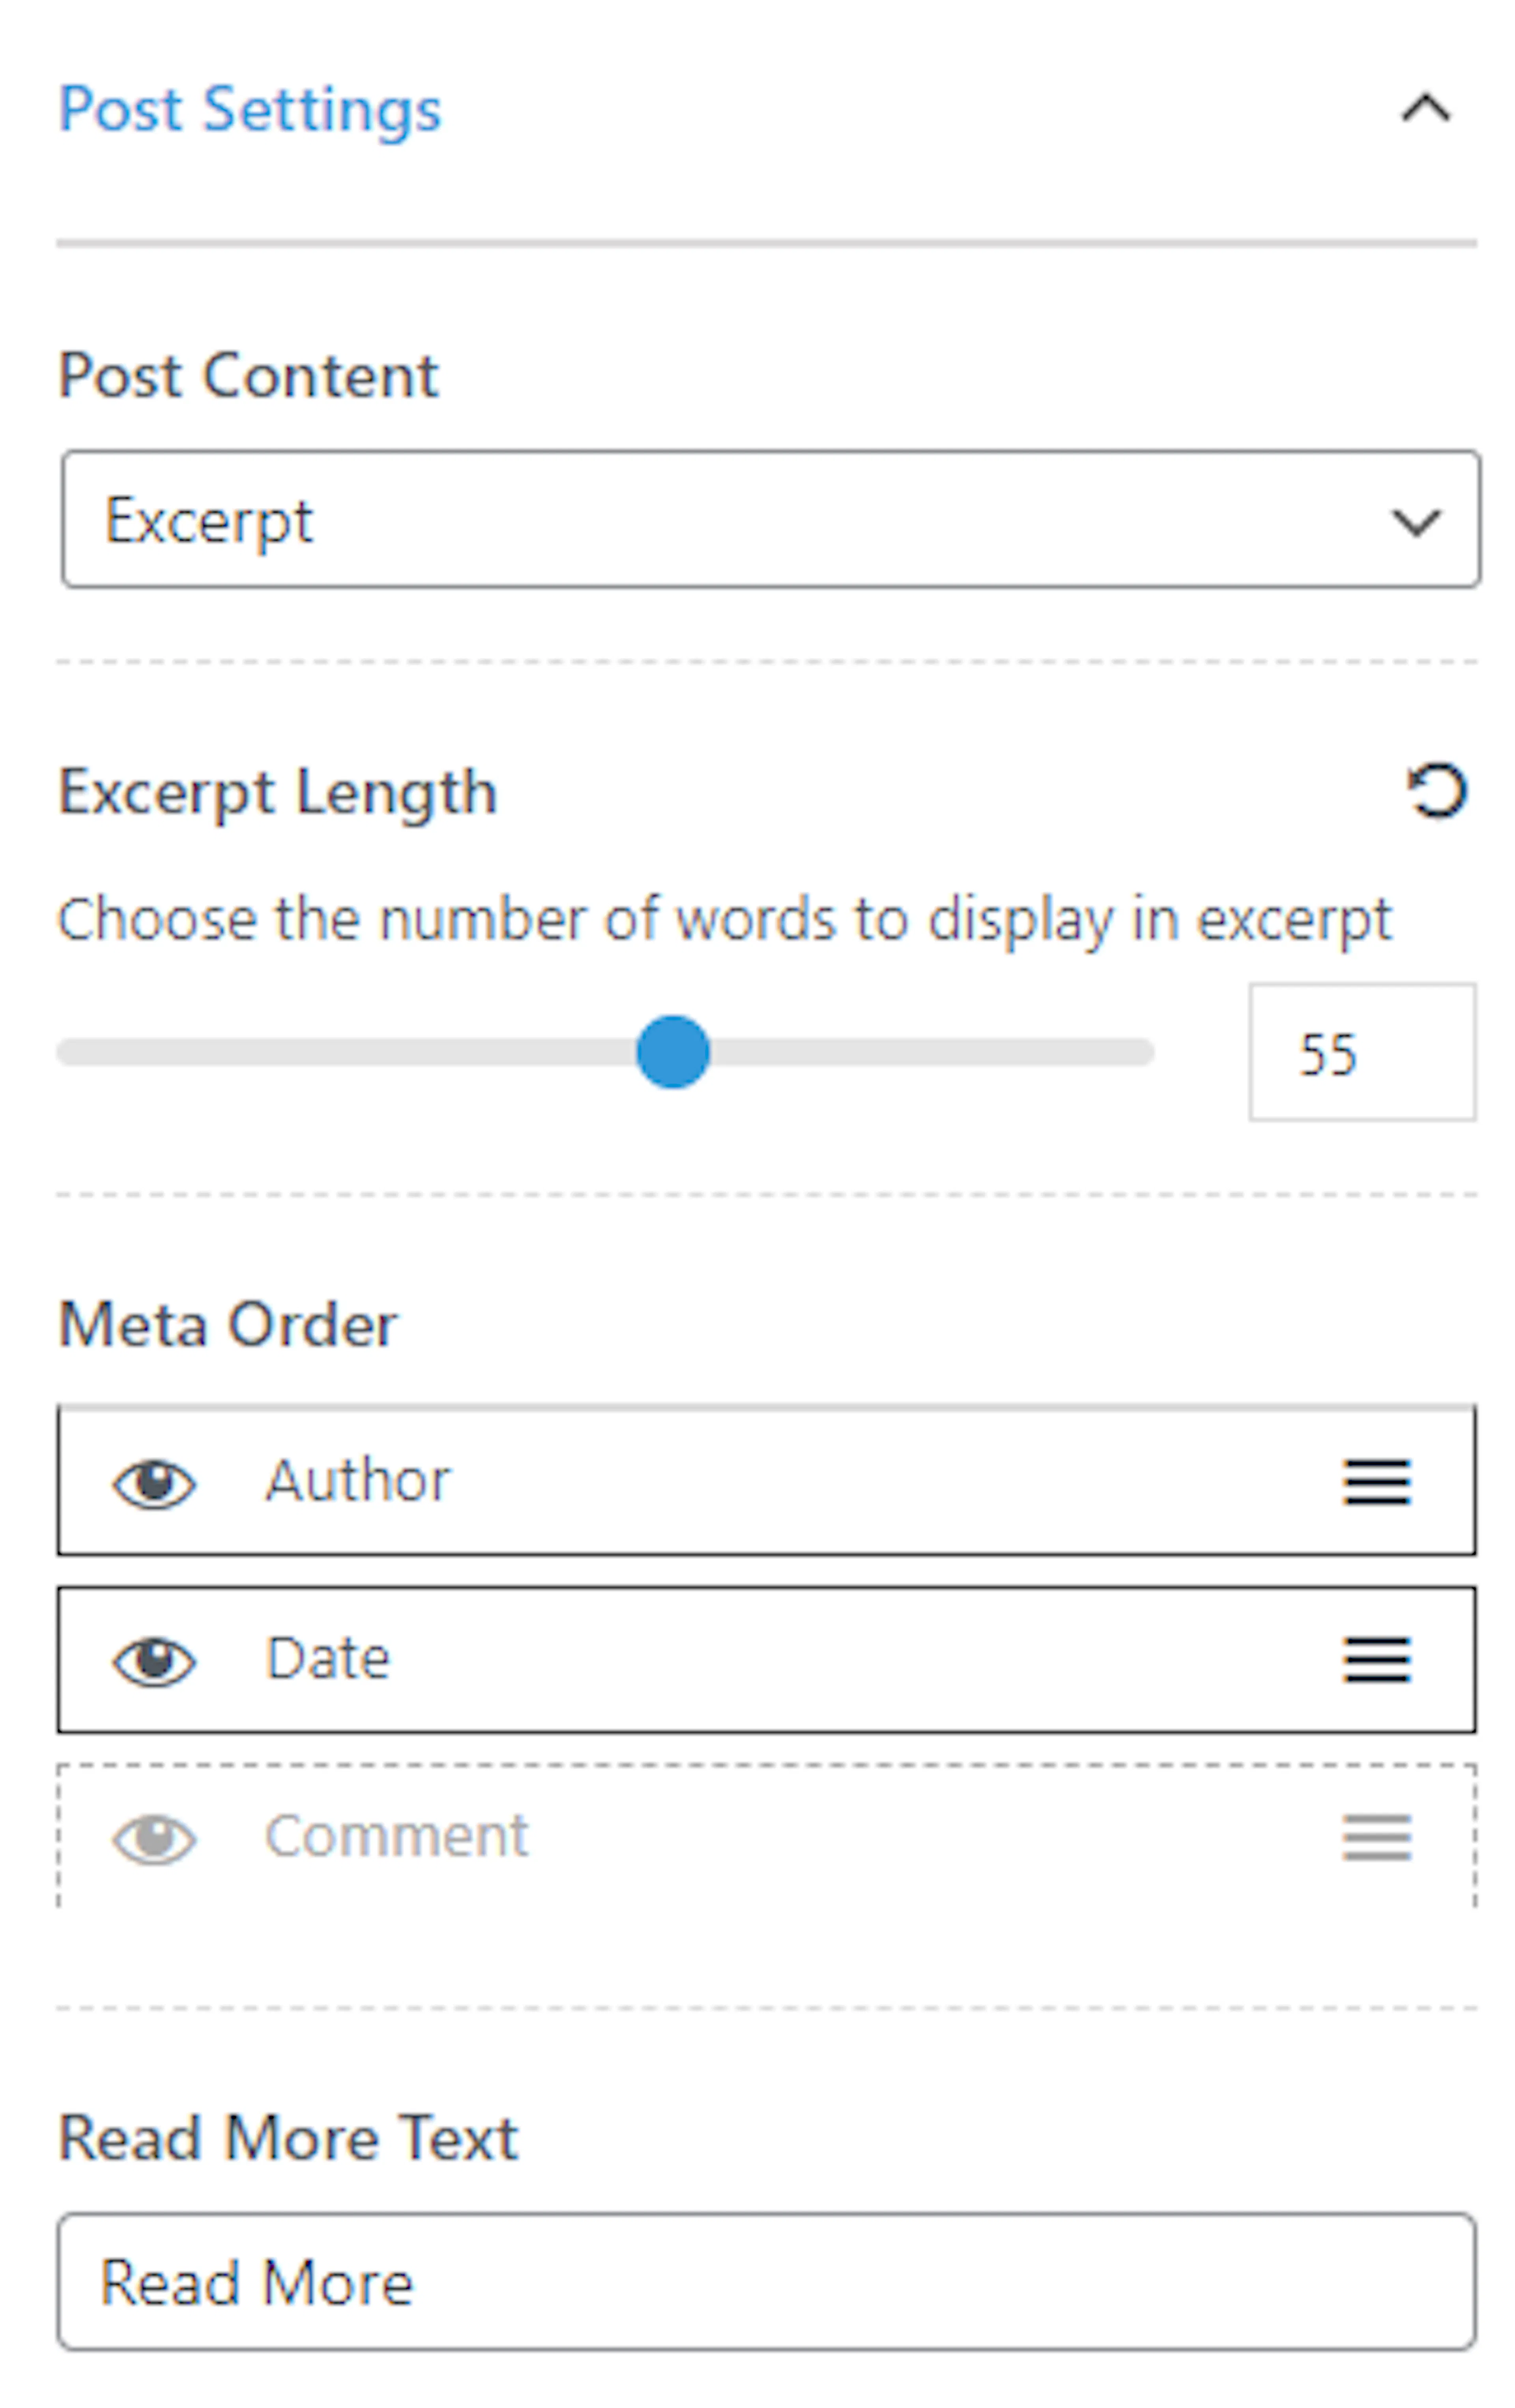
| Setting | What it does |
|---|---|
| Post Content | Displays either the full post content or just an excerpt for posts listed on the Blog page. |
| Excerpt Length | Sets how many words appear in the excerpt. Only visible when Post Content is set to Excerpt. |
| Meta Order | Sets the order of post meta elements (author name, published date, comment count, and so on) by dragging them, and shows or hides each one by clicking its eye icon. |
| Read More Text | Sets the label text for the Read More link on the blog list. |
Sidebar layout
A sidebar is a narrow column that sits alongside your main content. It's a place where you can add things like a search box, a list of popular trips, or contact details. These small pieces of content are called widgets. Widgets are blocks you can add to your sidebar to show different information.
You can choose whether the sidebar appears on the left, the right, or not at all on your blog page.
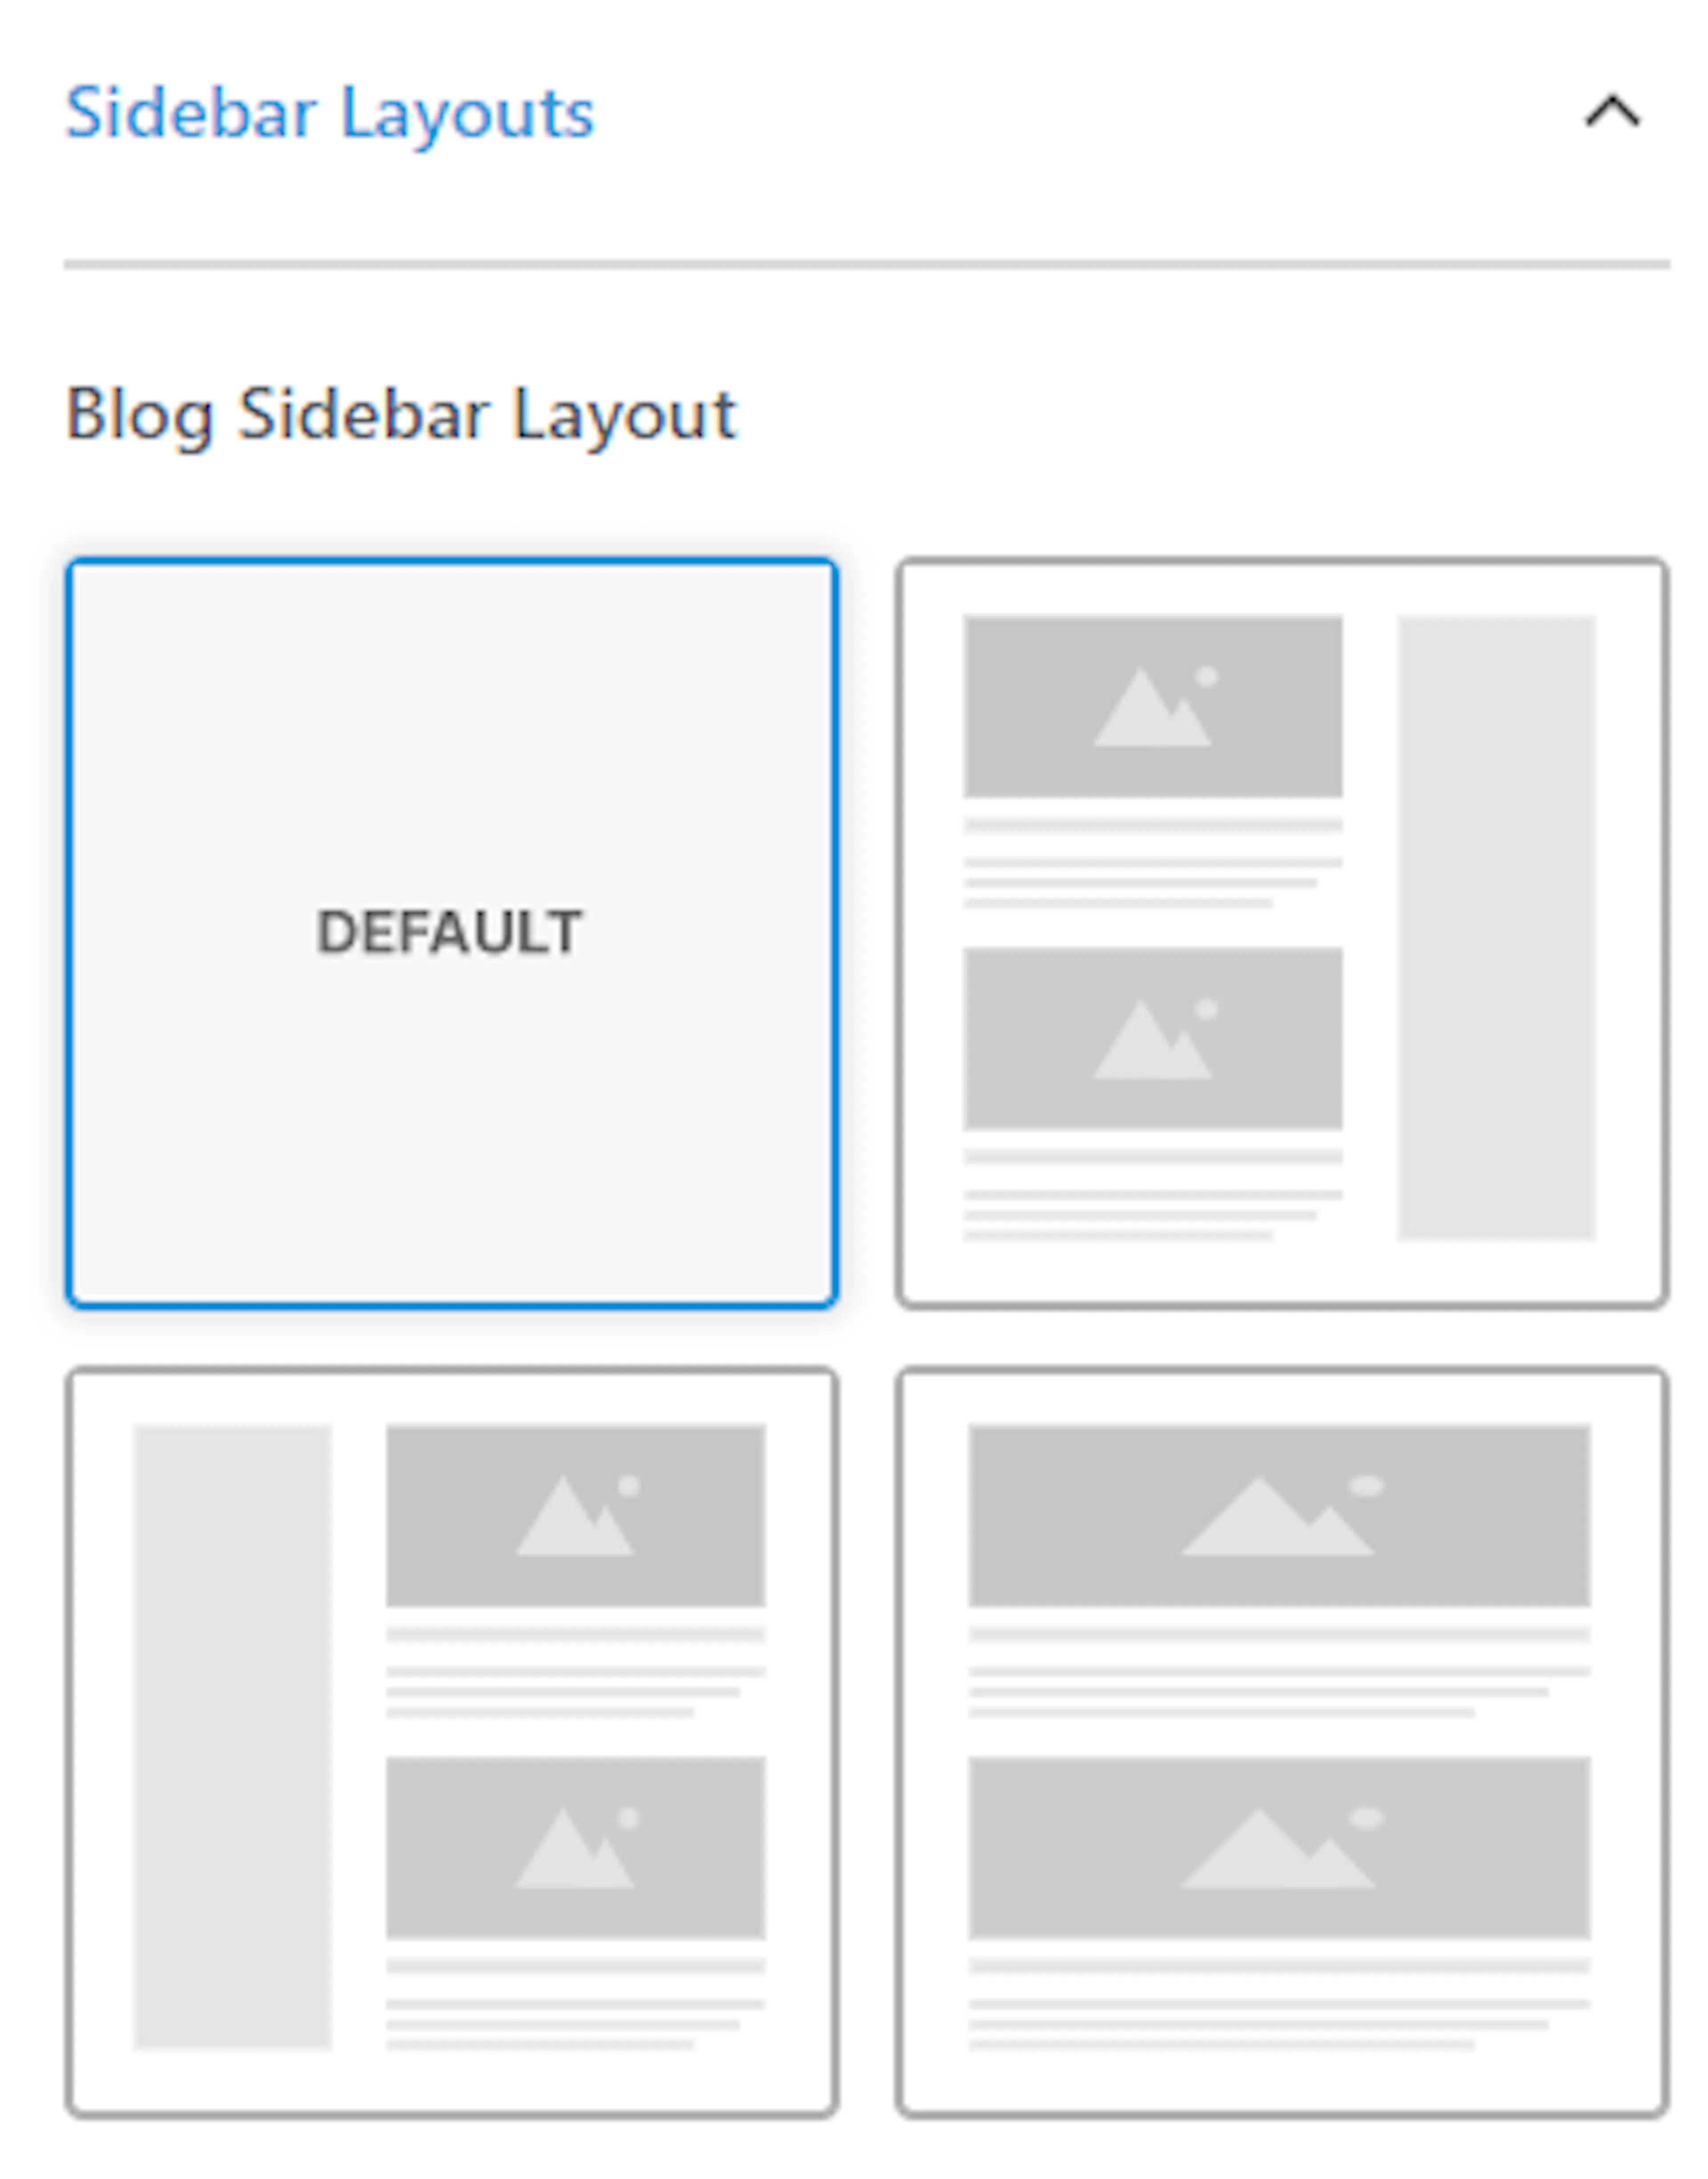
Blog Sidebar Layout: Sets the sidebar layout used on the Blog page.
Header background image
This is the banner area at the top of your blog page. A nice photo of a scenic trail or a group of travelers works well here.
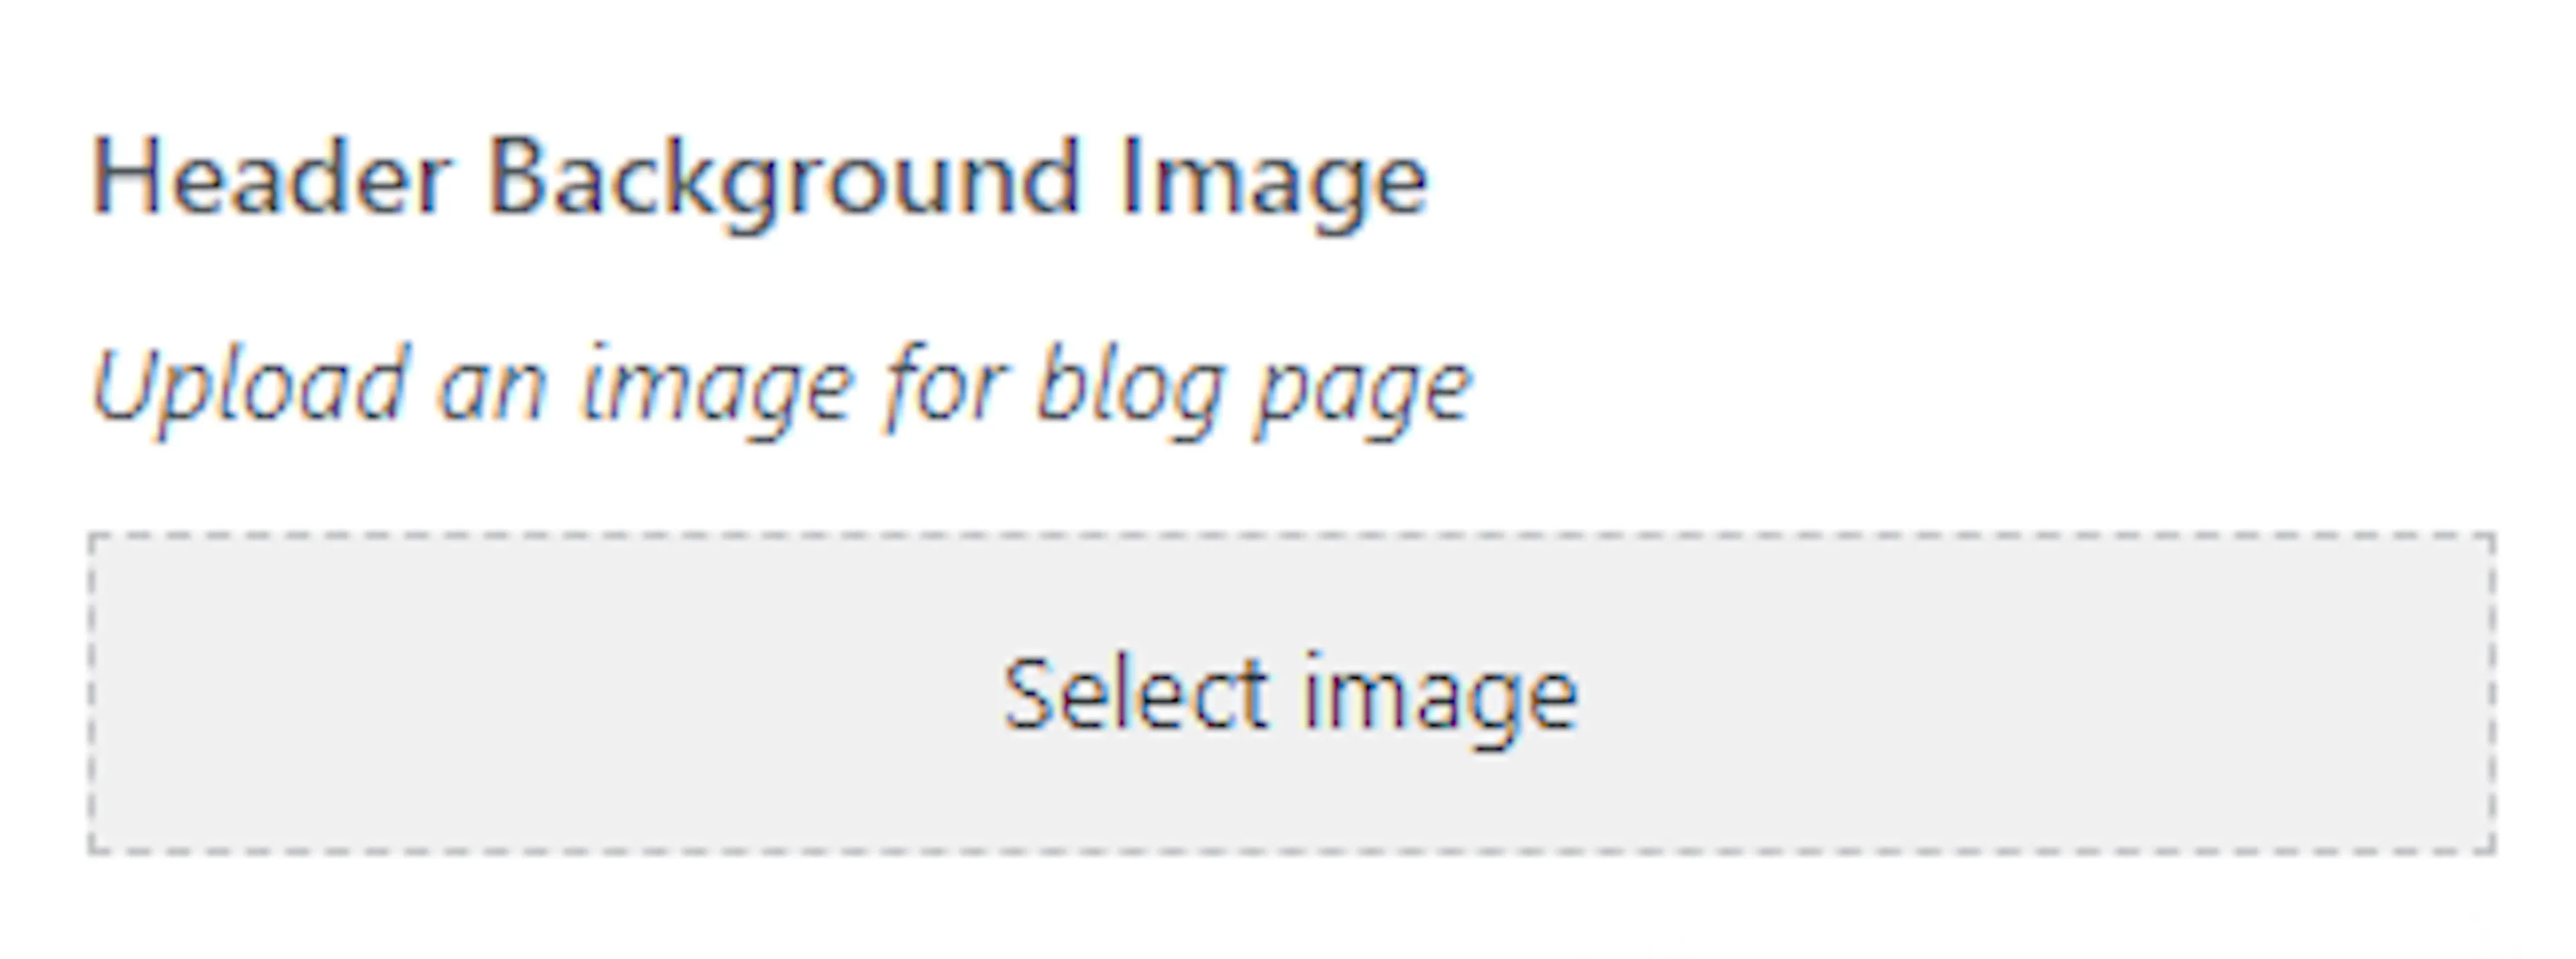
Upload a background image for the Blog page header.
That covers everything for the blog page. Next up are the settings for standalone pages.
Page settings
These settings control how standalone pages look on your site. Standalone pages are pages like your About Us, Contact, or Terms and Conditions page. They're not part of your blog. They're regular pages with content.
You'll find these options under Posts & Pages > Page.
Page title
Same idea as the blog page title. If your About page is called "About Us," this controls whether that title shows up at the top of the page and where it sits, such as left, center, or right.
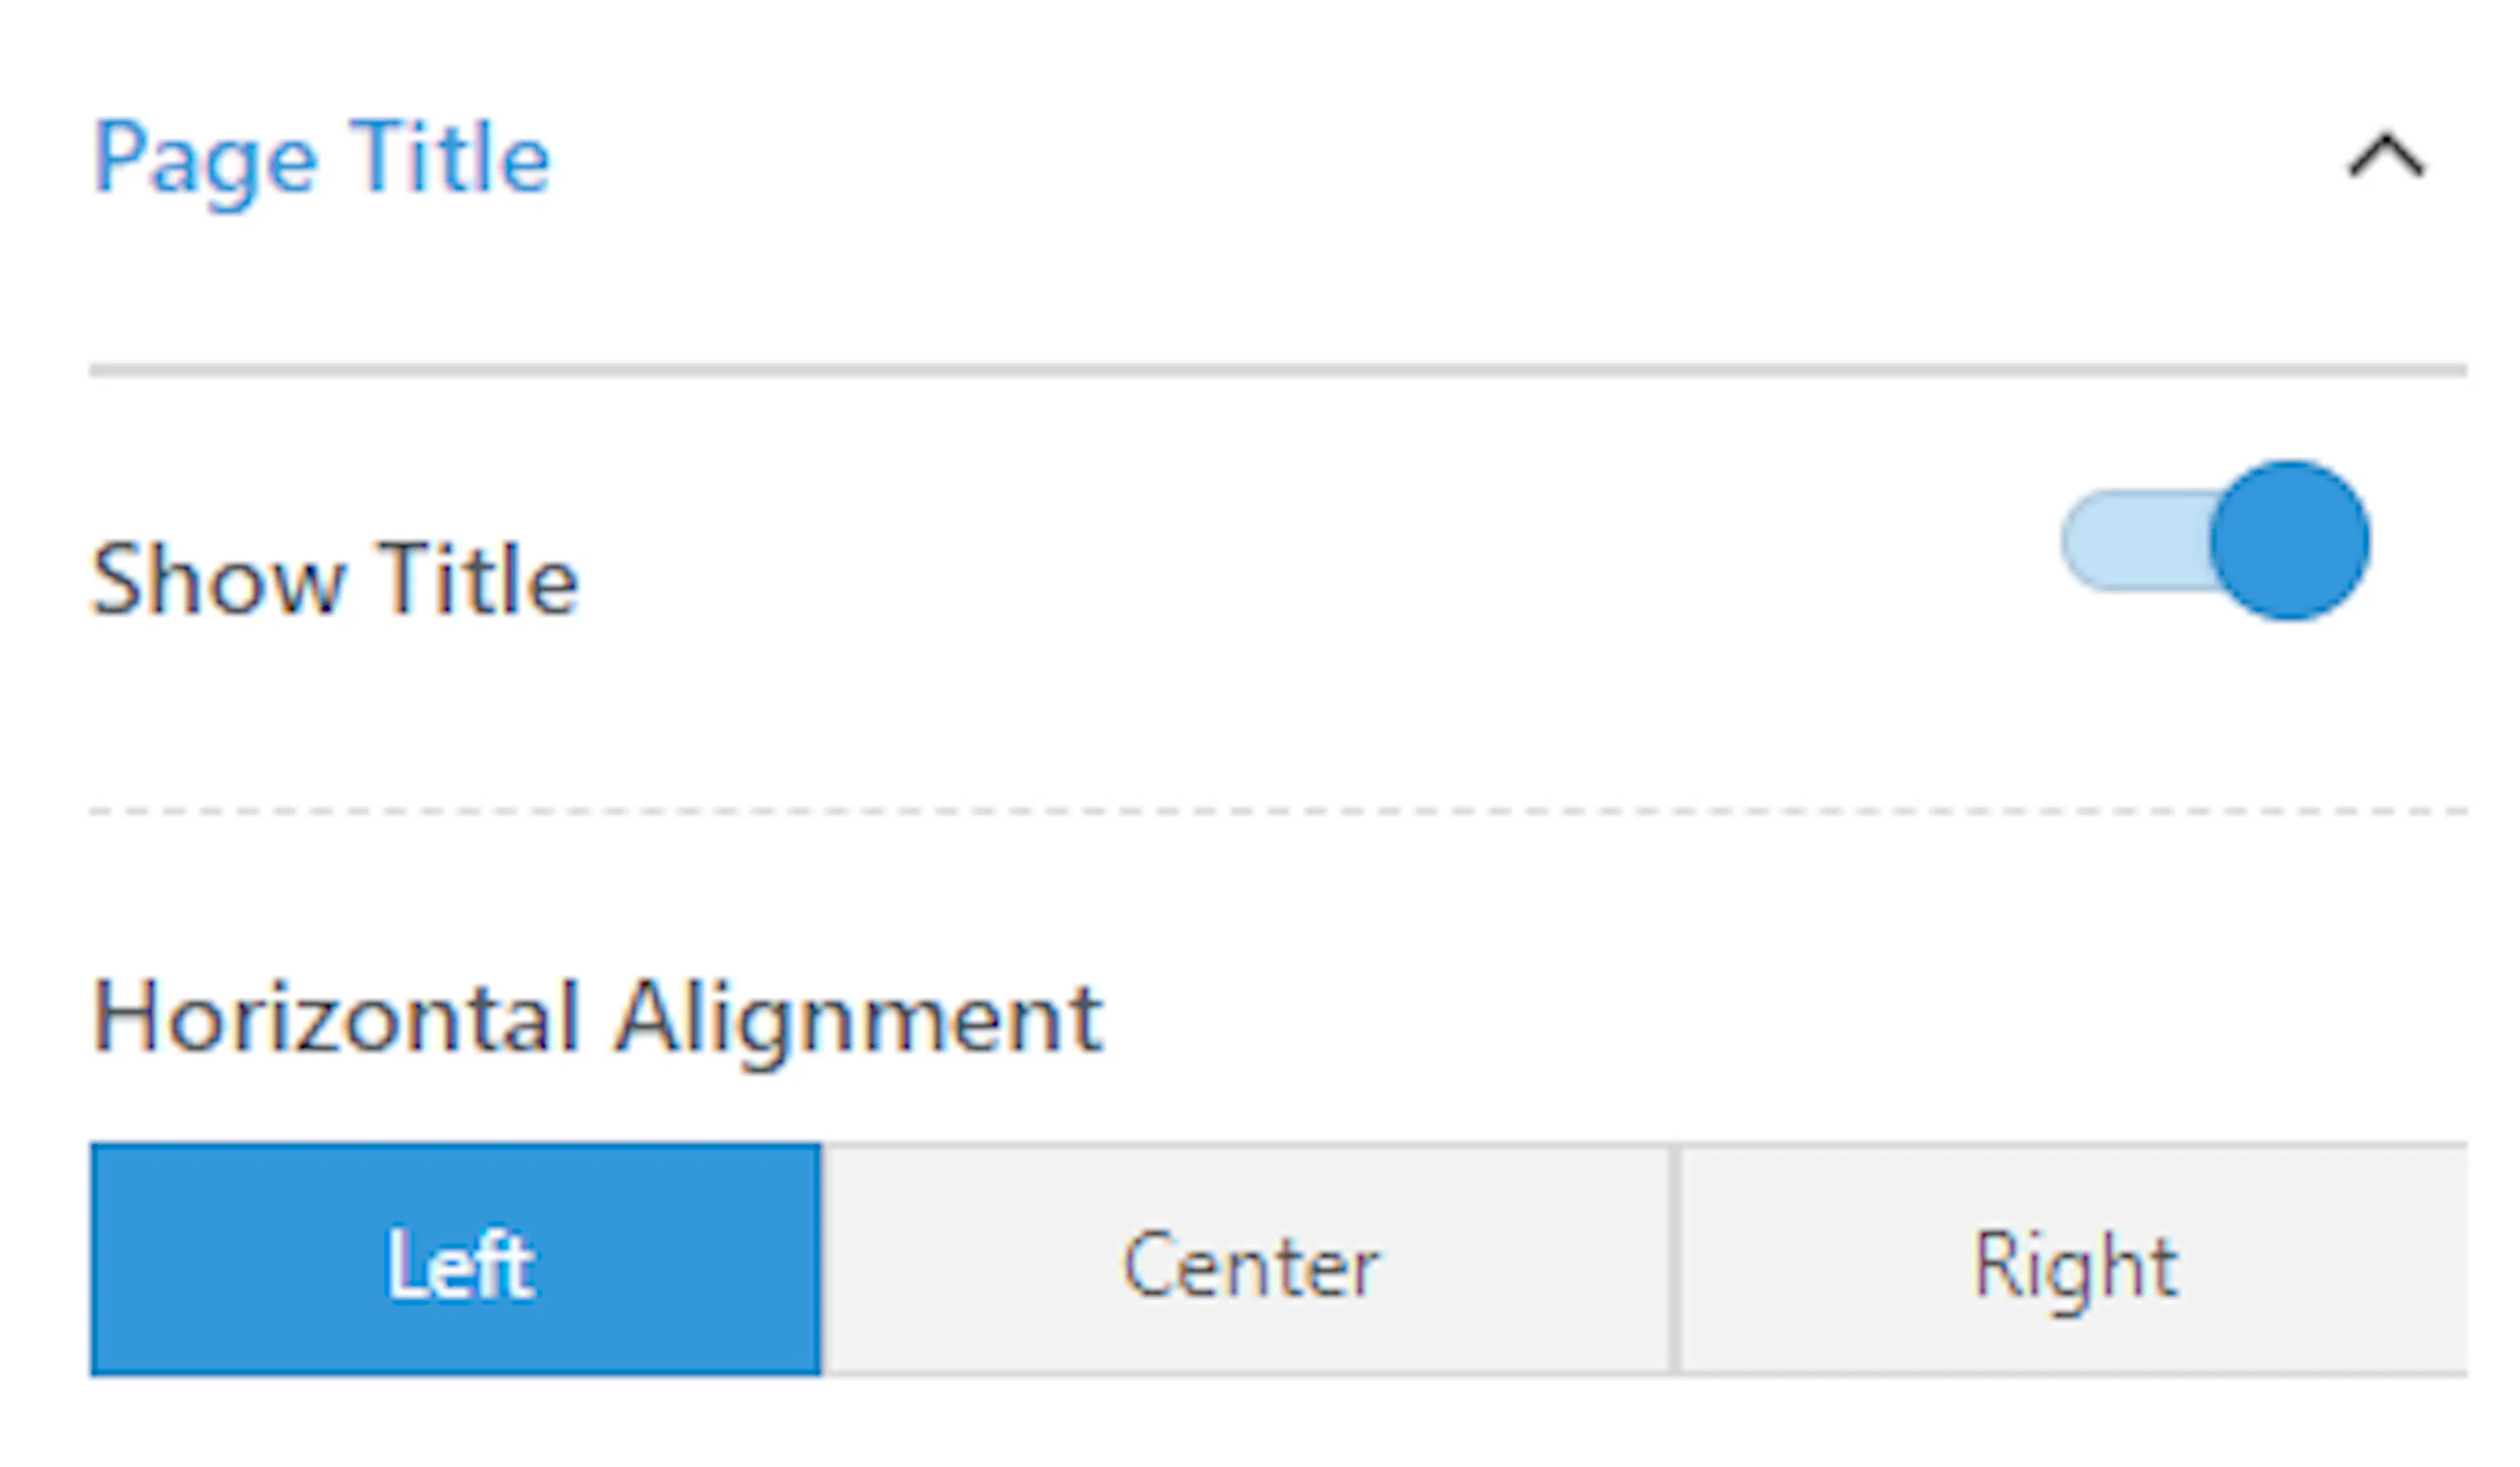
| Setting | What it does |
|---|---|
| Show Title | Displays the page title in the page header, when enabled. |
| Horizontal Alignment | Sets the alignment for the page title. |
Sidebar layout
You can choose whether the sidebar appears on the left, the right, or not at all on your standalone pages. Many tour operators prefer no sidebar on pages like About Us, so the content has the full width of the page.
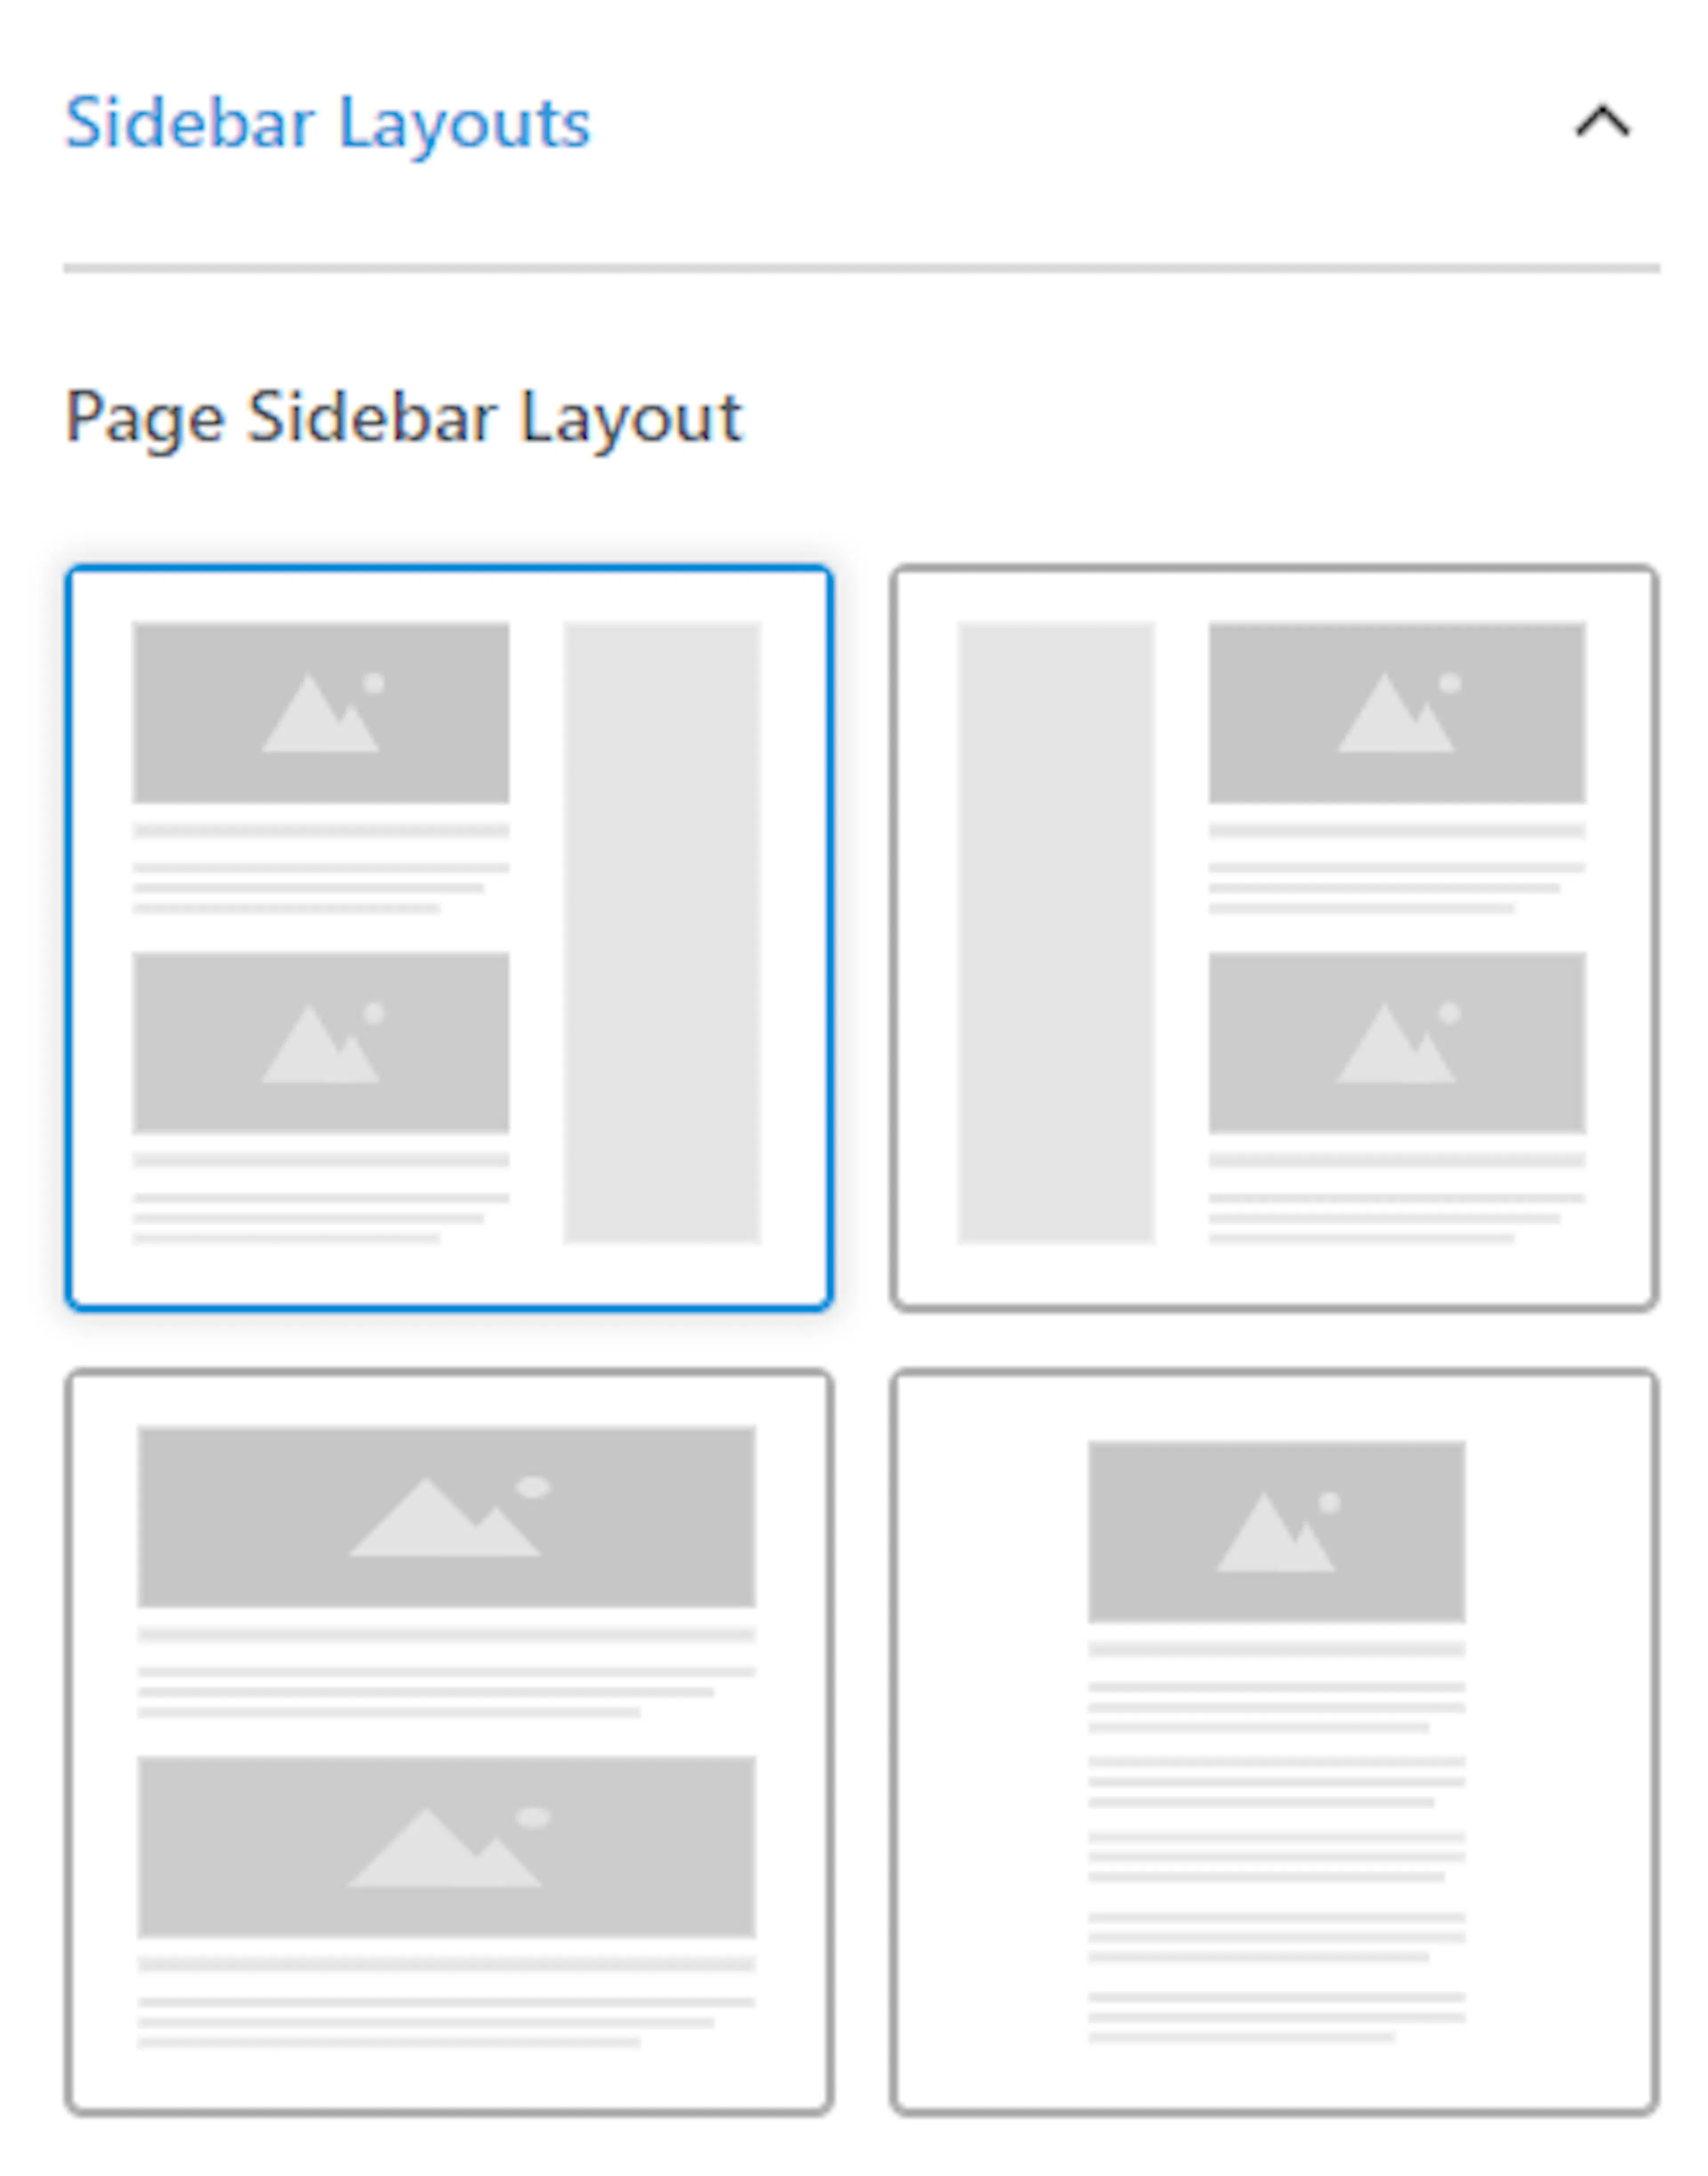
Page Sidebar Layout: Sets the sidebar layout used on website pages.
Show featured image
Displays the featured image as page content, when enabled.
This controls whether the featured image, the main image you set for a page, shows up on the page itself. For example, if you've set a team photo as the featured image on your About page, this setting decides whether visitors see it.
Show comments
Displays comments and the comment form on site pages, when enabled.
Comments let visitors leave feedback or questions on a page. Most tour operators keep comments off on standalone pages like About Us or Contact. But if you have a page where you want travelers to share thoughts, you can turn this on.
Now let's look at how individual blog posts appear.
Single Post settings
These settings control how an individual blog post looks when someone clicks on one to read it. This is the full view of a single article, not the blog listing.
You'll find these options under Posts & Pages > Single Post.
Sidebar layout
You can choose whether the sidebar appears on the left, the right, or not at all. A sidebar on a blog post could hold a search box, popular posts, or a "Book Now" button so travelers can book a trip while reading your articles.
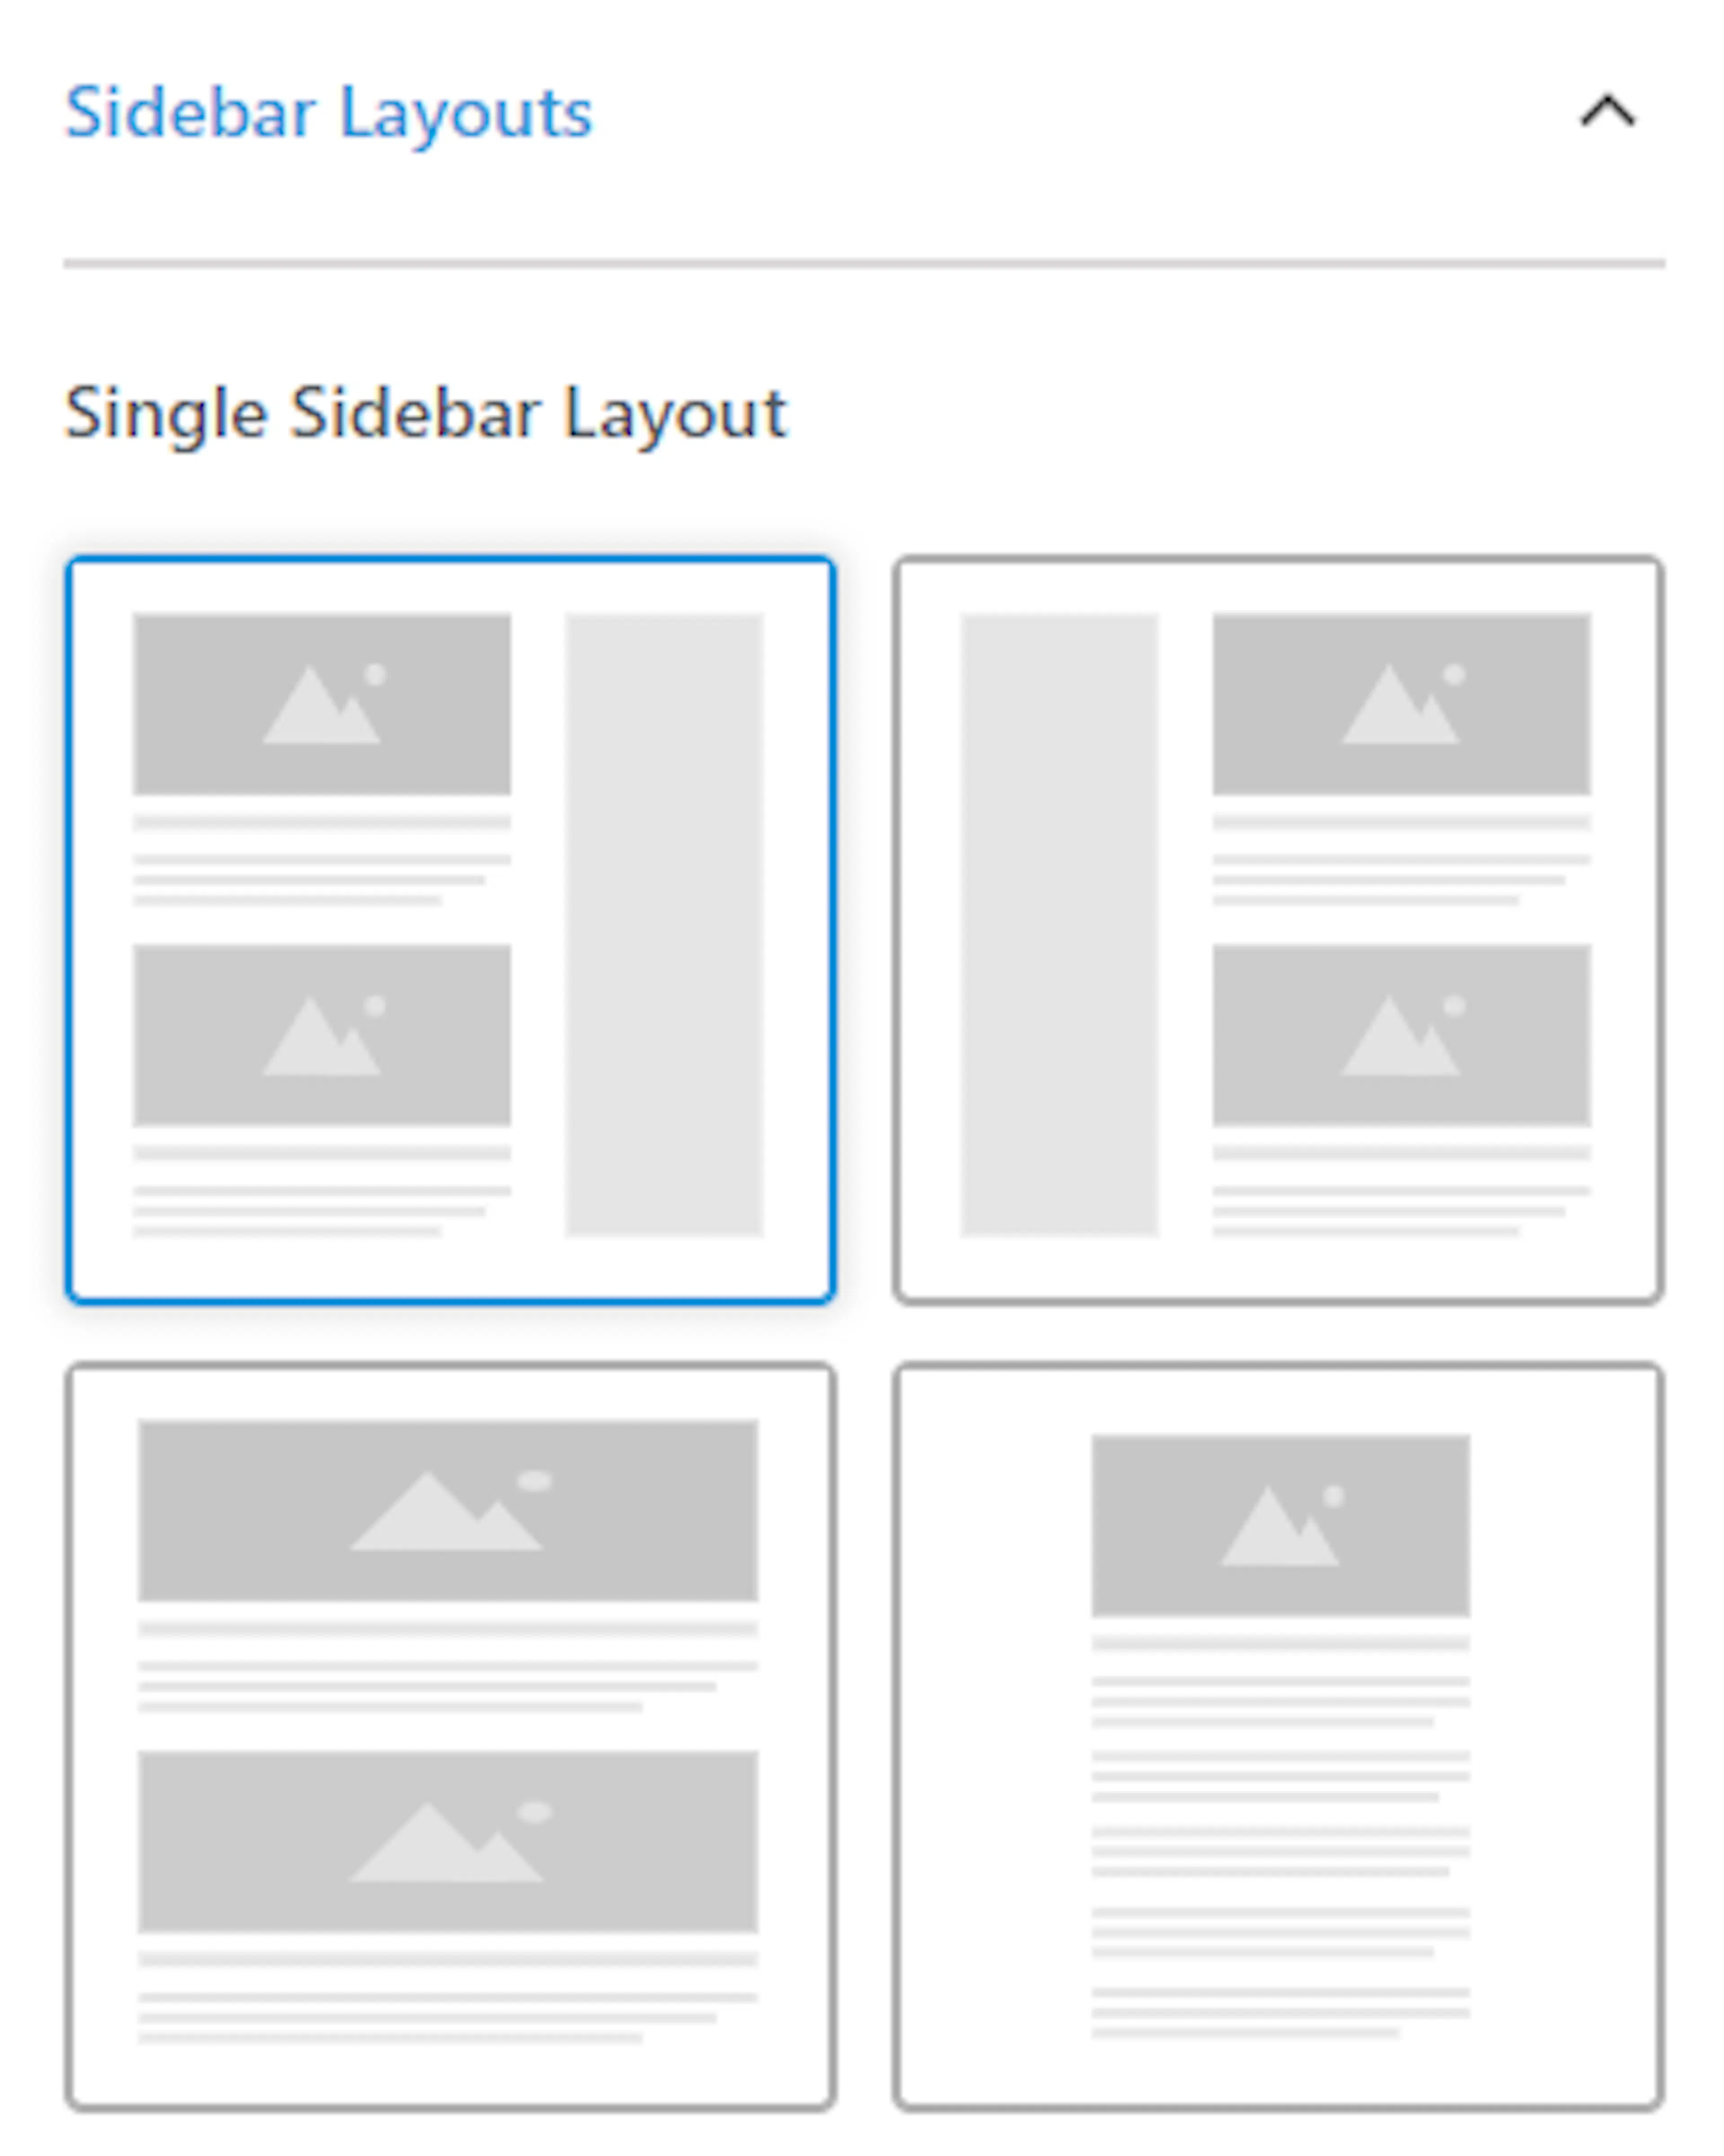
Sets the preferred sidebar layout for the single post page.
Crop featured image
Crops the featured image to fit the theme's recommended size, when enabled. When disabled, the image displays exactly as uploaded.
Same as the blog page setting. Cropping keeps your post images looking consistent. If you upload a wide panorama photo and don't crop it, it will show in its original shape.
Post meta settings
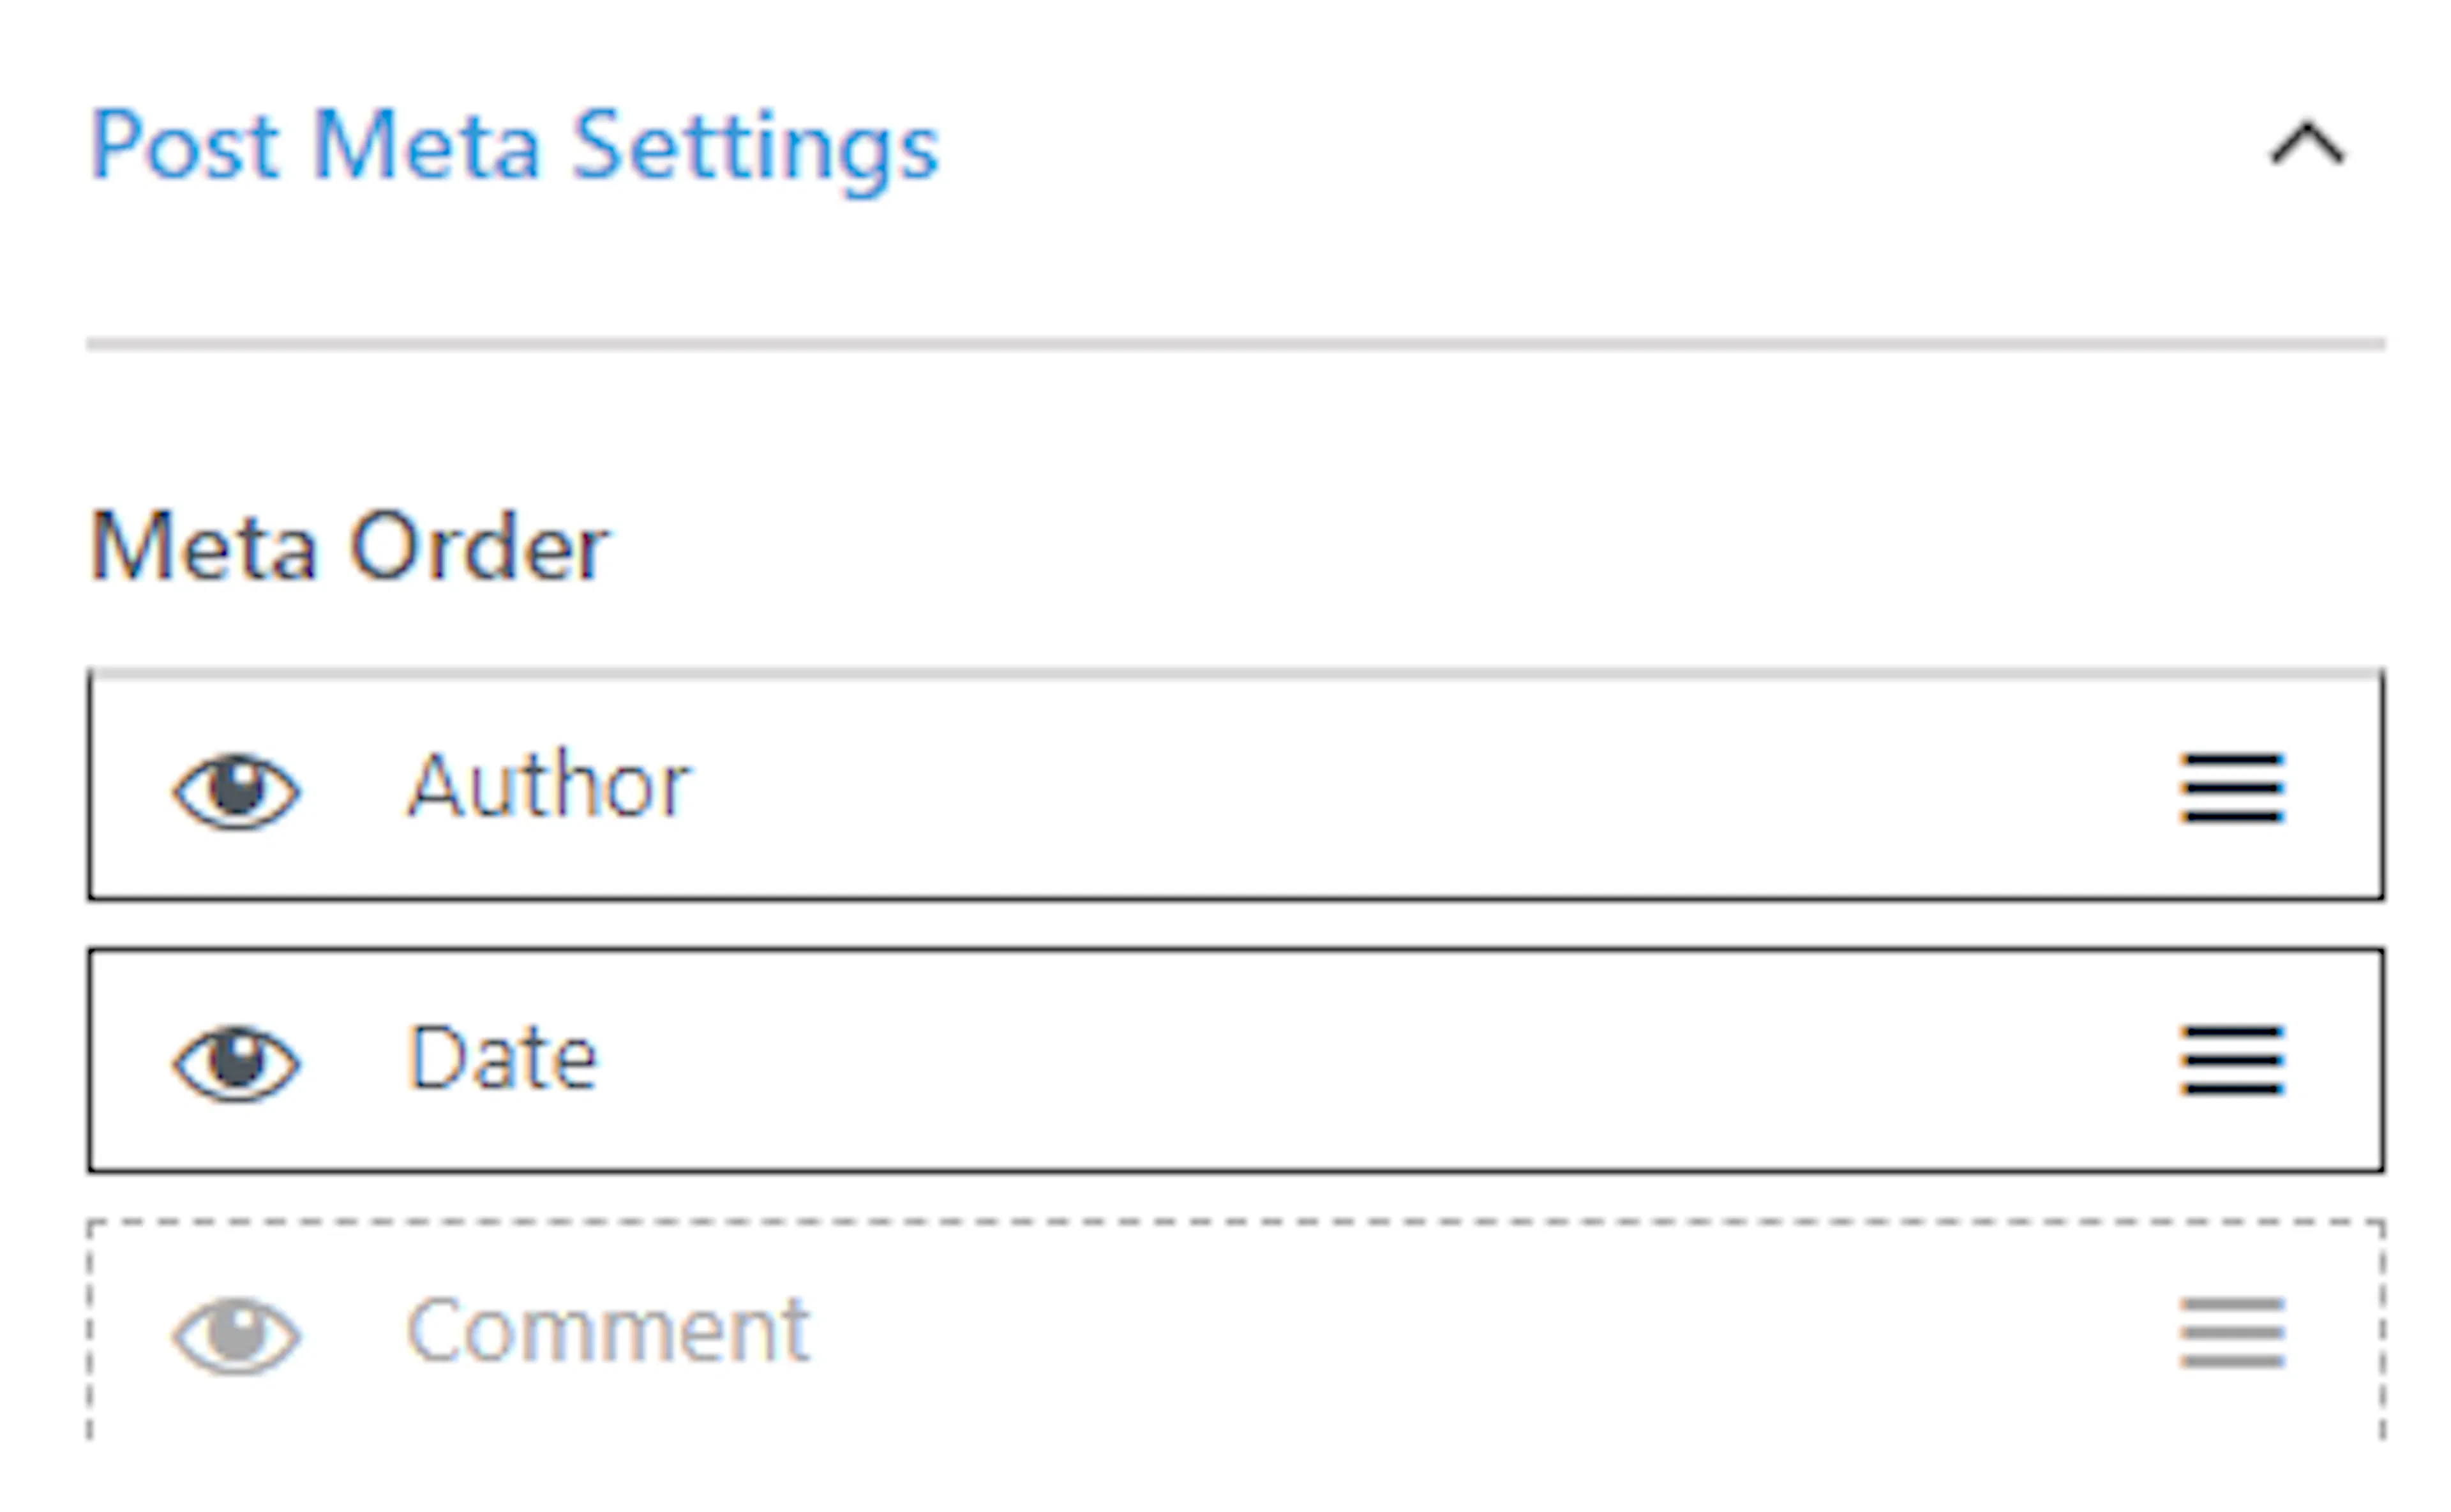
Meta Order: Sets the order of post meta elements, such as the author name, published date, and comment count, by dragging them. You can also click the eye icon to hide elements you don't need.
This works the same way as the post meta setting on the blog page. You can drag elements to reorder them or click the eye icon to hide ones you don't need.
Show author box
Displays an author box with the author's bio on the single post page, when enabled.
An author box is a small section at the bottom of a post that shows the writer's name, photo, and a short bio. If you have multiple guides writing blog posts, this is a nice way to introduce each one to your readers.
Display post tags
Displays the post's tags, if any, when enabled.
Tags are labels you can add to a post to describe what it's about, like "packing tips" or "monsoon trekking." Showing them lets visitors click a tag to find more posts on the same topic.
Show pagination
Displays navigation links to the previous and next post, when enabled.
These are links at the bottom of a post that take the reader to the previous or next article. It's a way to keep visitors browsing your blog instead of leaving after one post.
Related posts
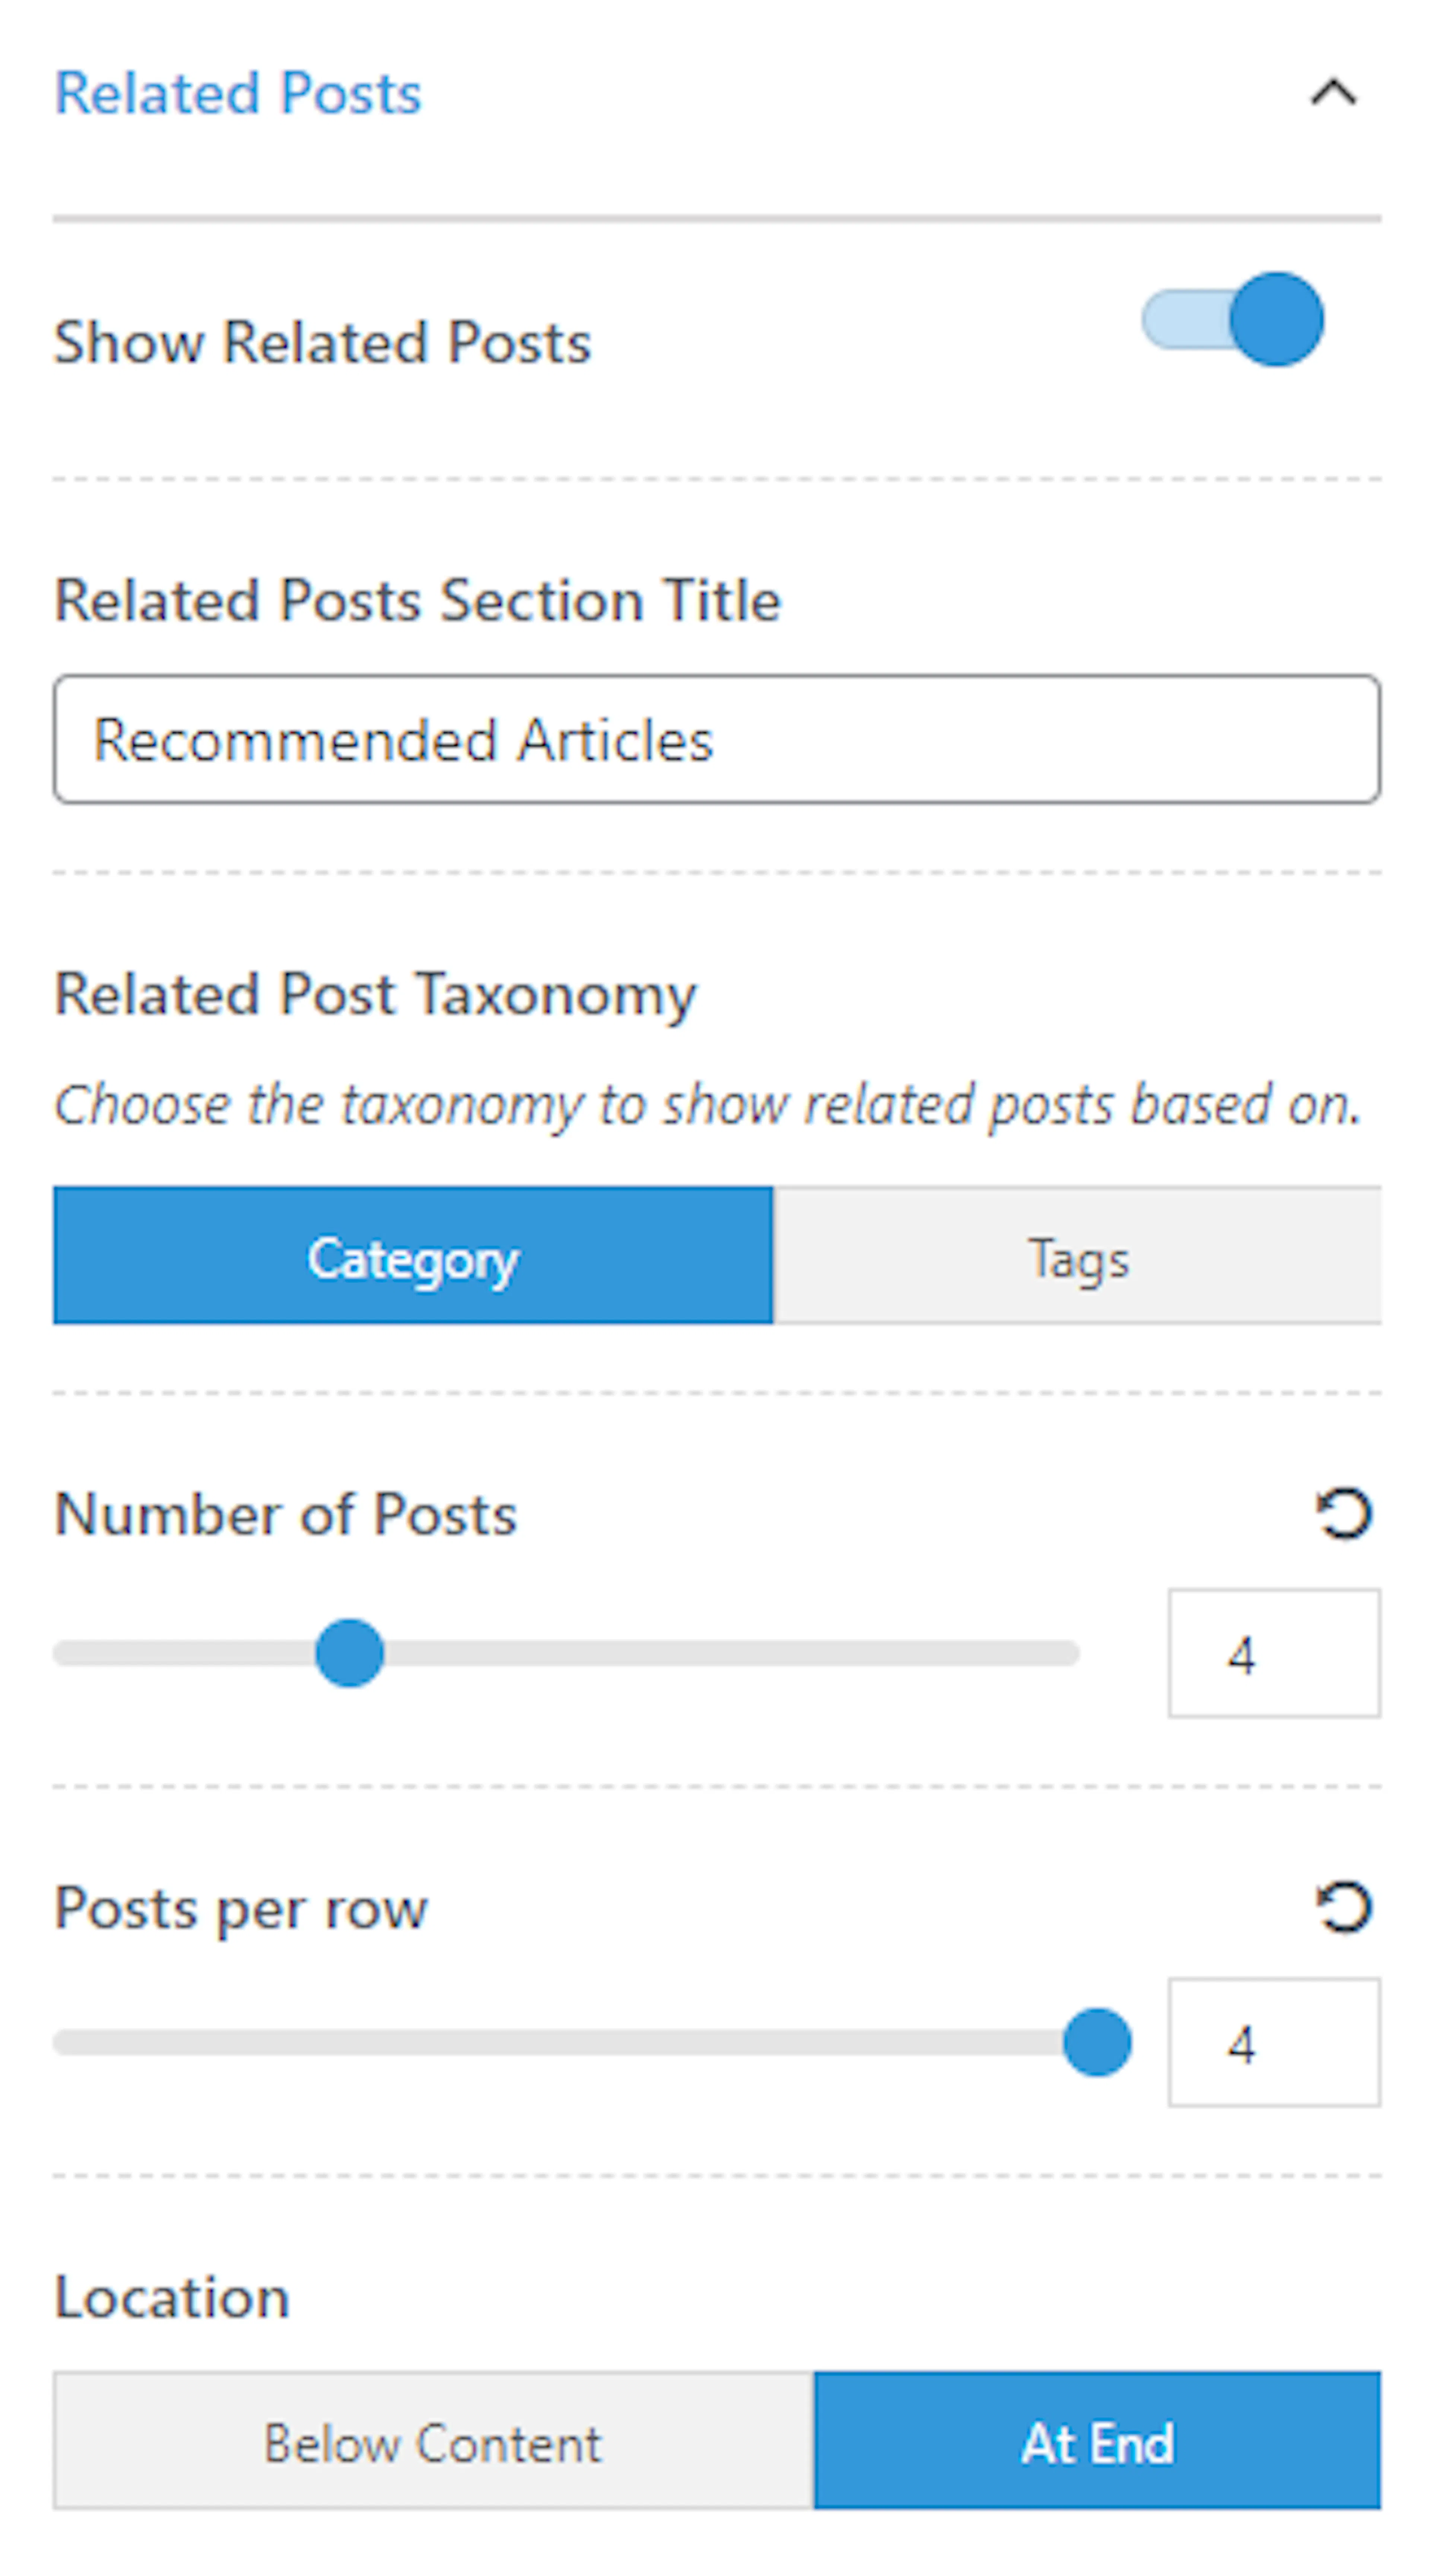
A taxonomy is a way of grouping content in WordPress. Categories and tags are both types of taxonomies. The Related Post Taxonomy setting lets you choose how posts are grouped together. For example, if you choose "Category," posts in the same category as the one being read will show up as related.
Say you write a post about packing for a Himalayan trek. If related posts are enabled and set to the same category, visitors might also see your posts about "Best Trekking Boots" or "Altitude Sickness Tips" at the bottom of the page.
| Setting | What it does |
|---|---|
| Show Related Posts | Displays a Related Posts section on the single post page, when enabled. |
| Related Posts Section Title | Sets the title for the Related Posts section. |
| Related Post Taxonomy | Sets the taxonomy used to determine which posts are related. |
| Number of Posts | Sets how many posts appear in the Related Posts section. |
| Posts per row | Sets how many posts display per row in the Related Posts section. |
| Location | Sets where the Related Posts section appears on the page. |
Comment settings
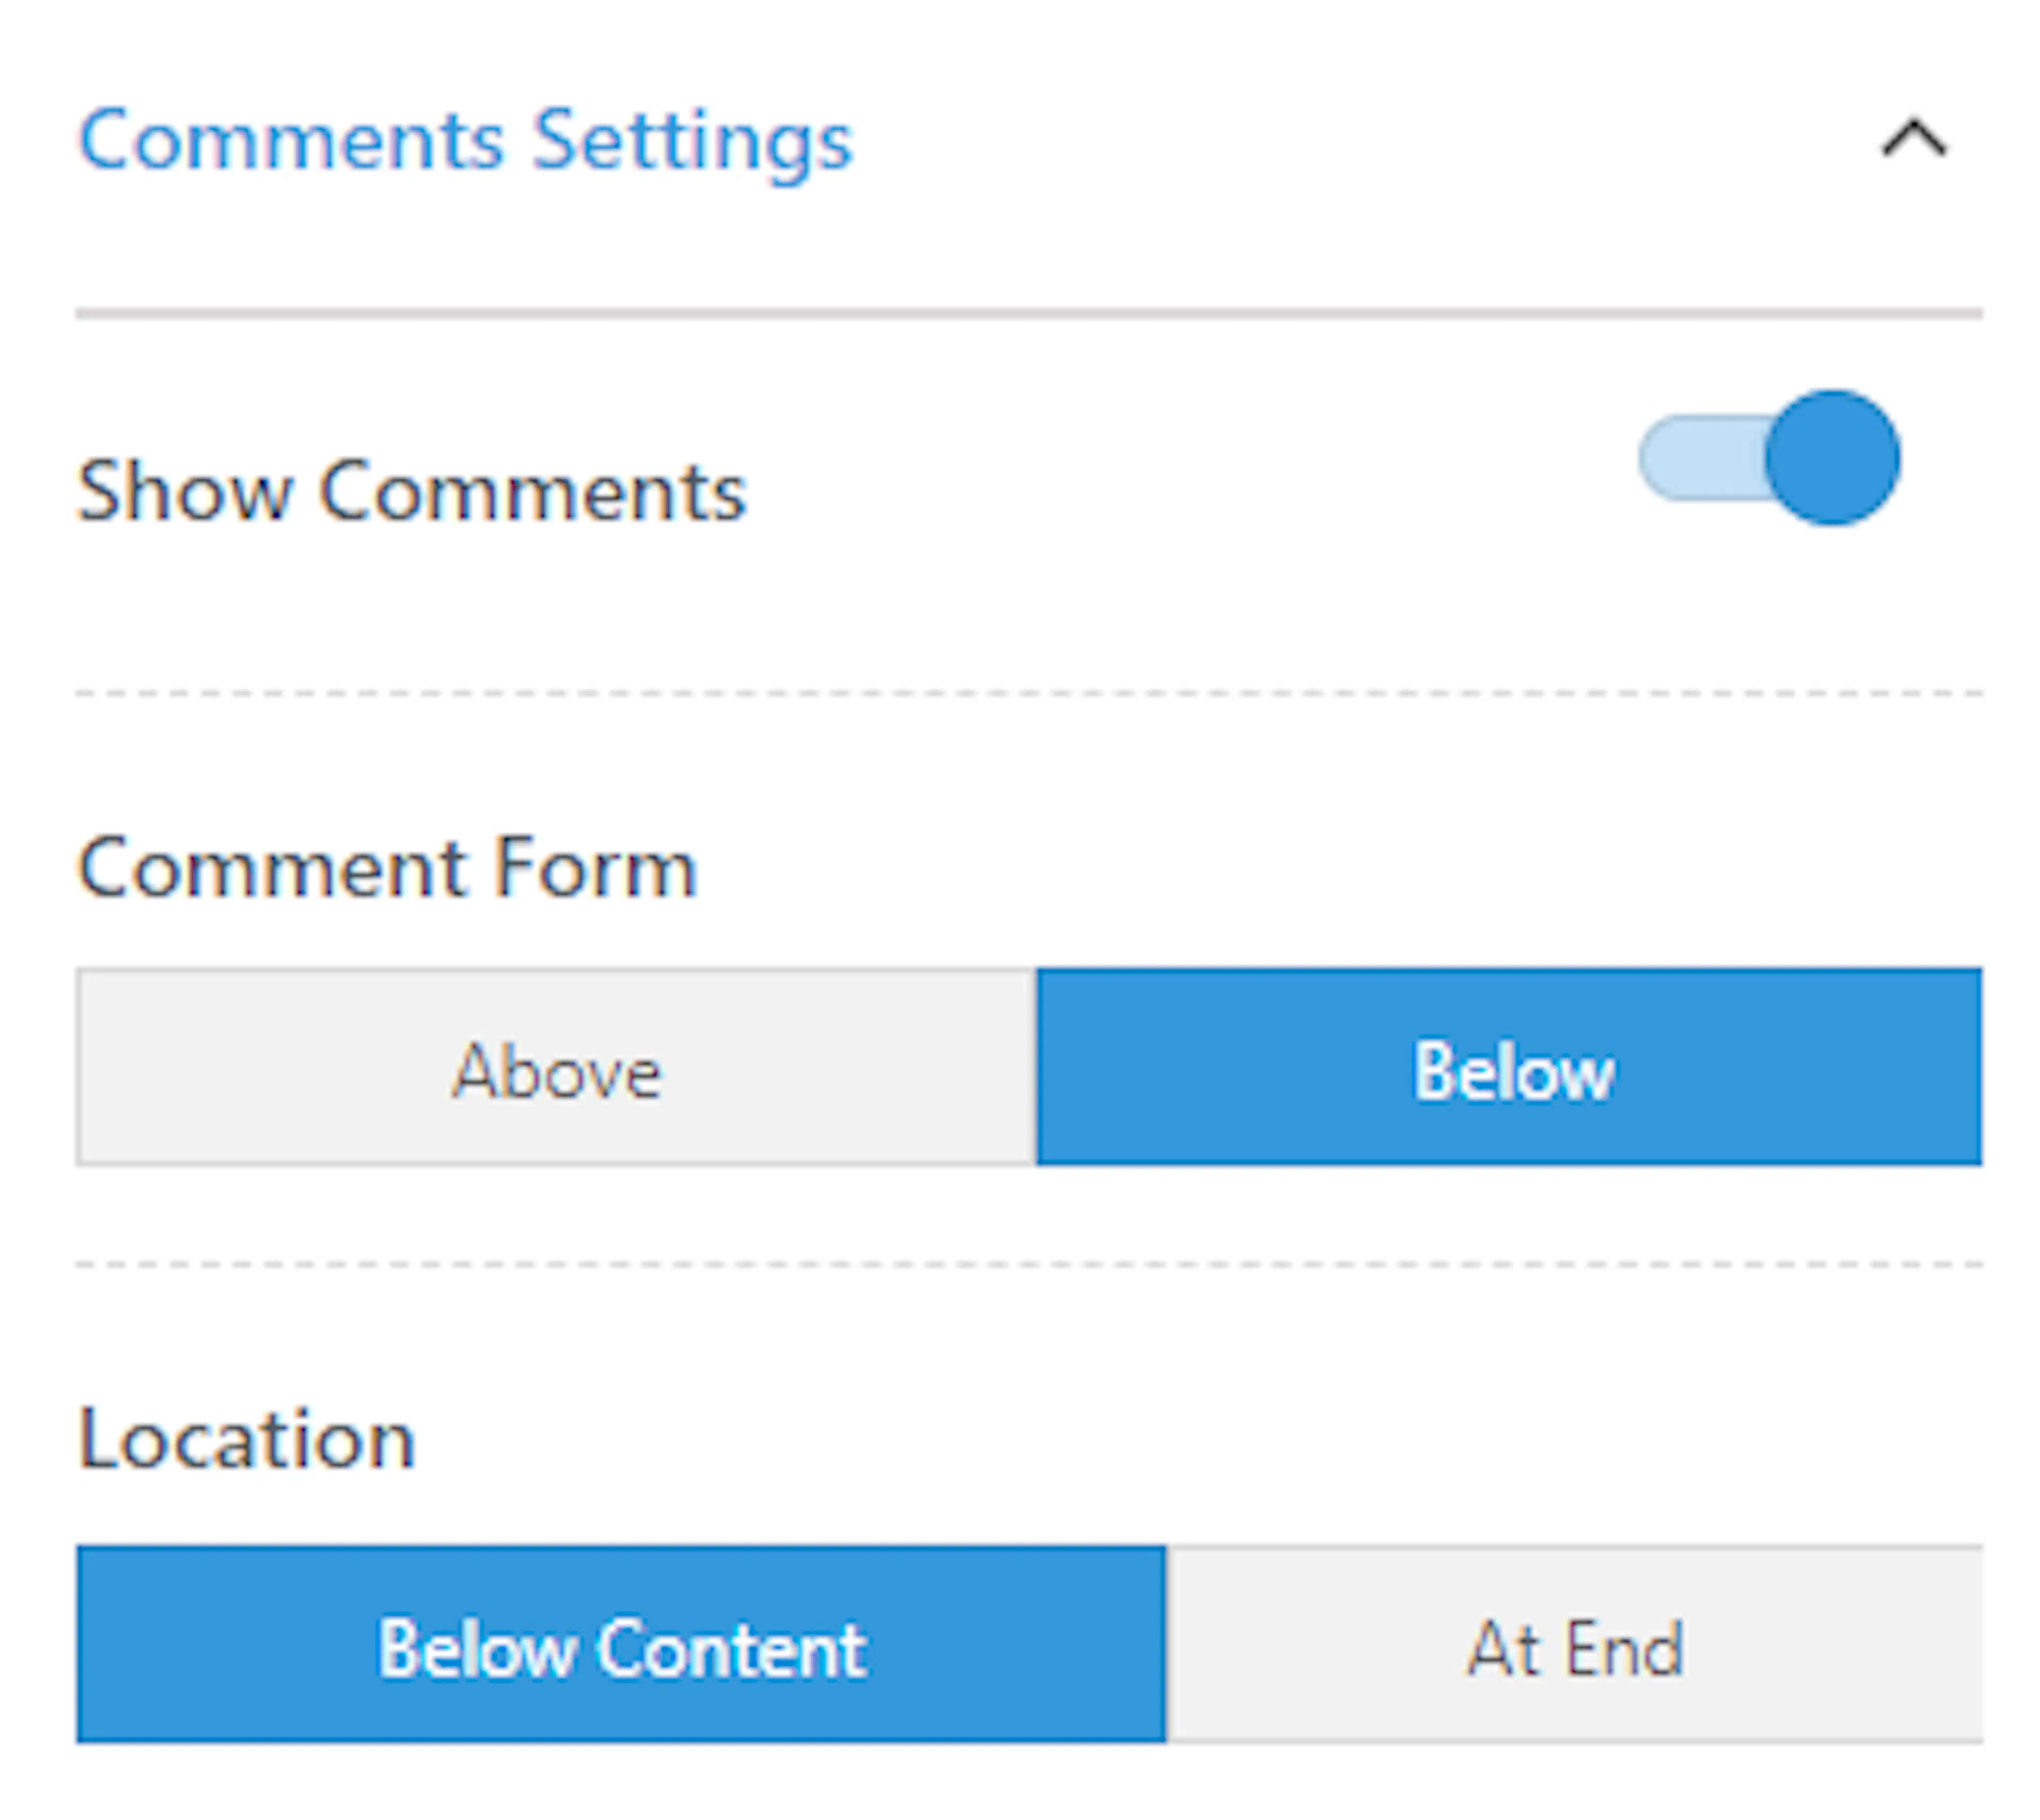
Comments on blog posts can be a good thing. Travelers might share their own experiences or ask questions about a destination you wrote about. If you want to encourage that, keep comments enabled. If you'd rather not manage them, you can turn them off.
| Setting | What it does |
|---|---|
| Show Comments | Displays comments and the comment form on the single post page, when enabled. |
| Comment Form | Displays the comment form above or below the listed comments. |
| Location | Sets where the comment section appears on the page. |
That's everything for single posts. The last section covers archive pages.
Archive settings
An archive page is a page that groups your posts by category or tag. For example, if a visitor clicks on the "Trekking Tips" category, they'll see an archive page listing all posts in that category.
You'll find these options under Posts & Pages > Archive.
Page title
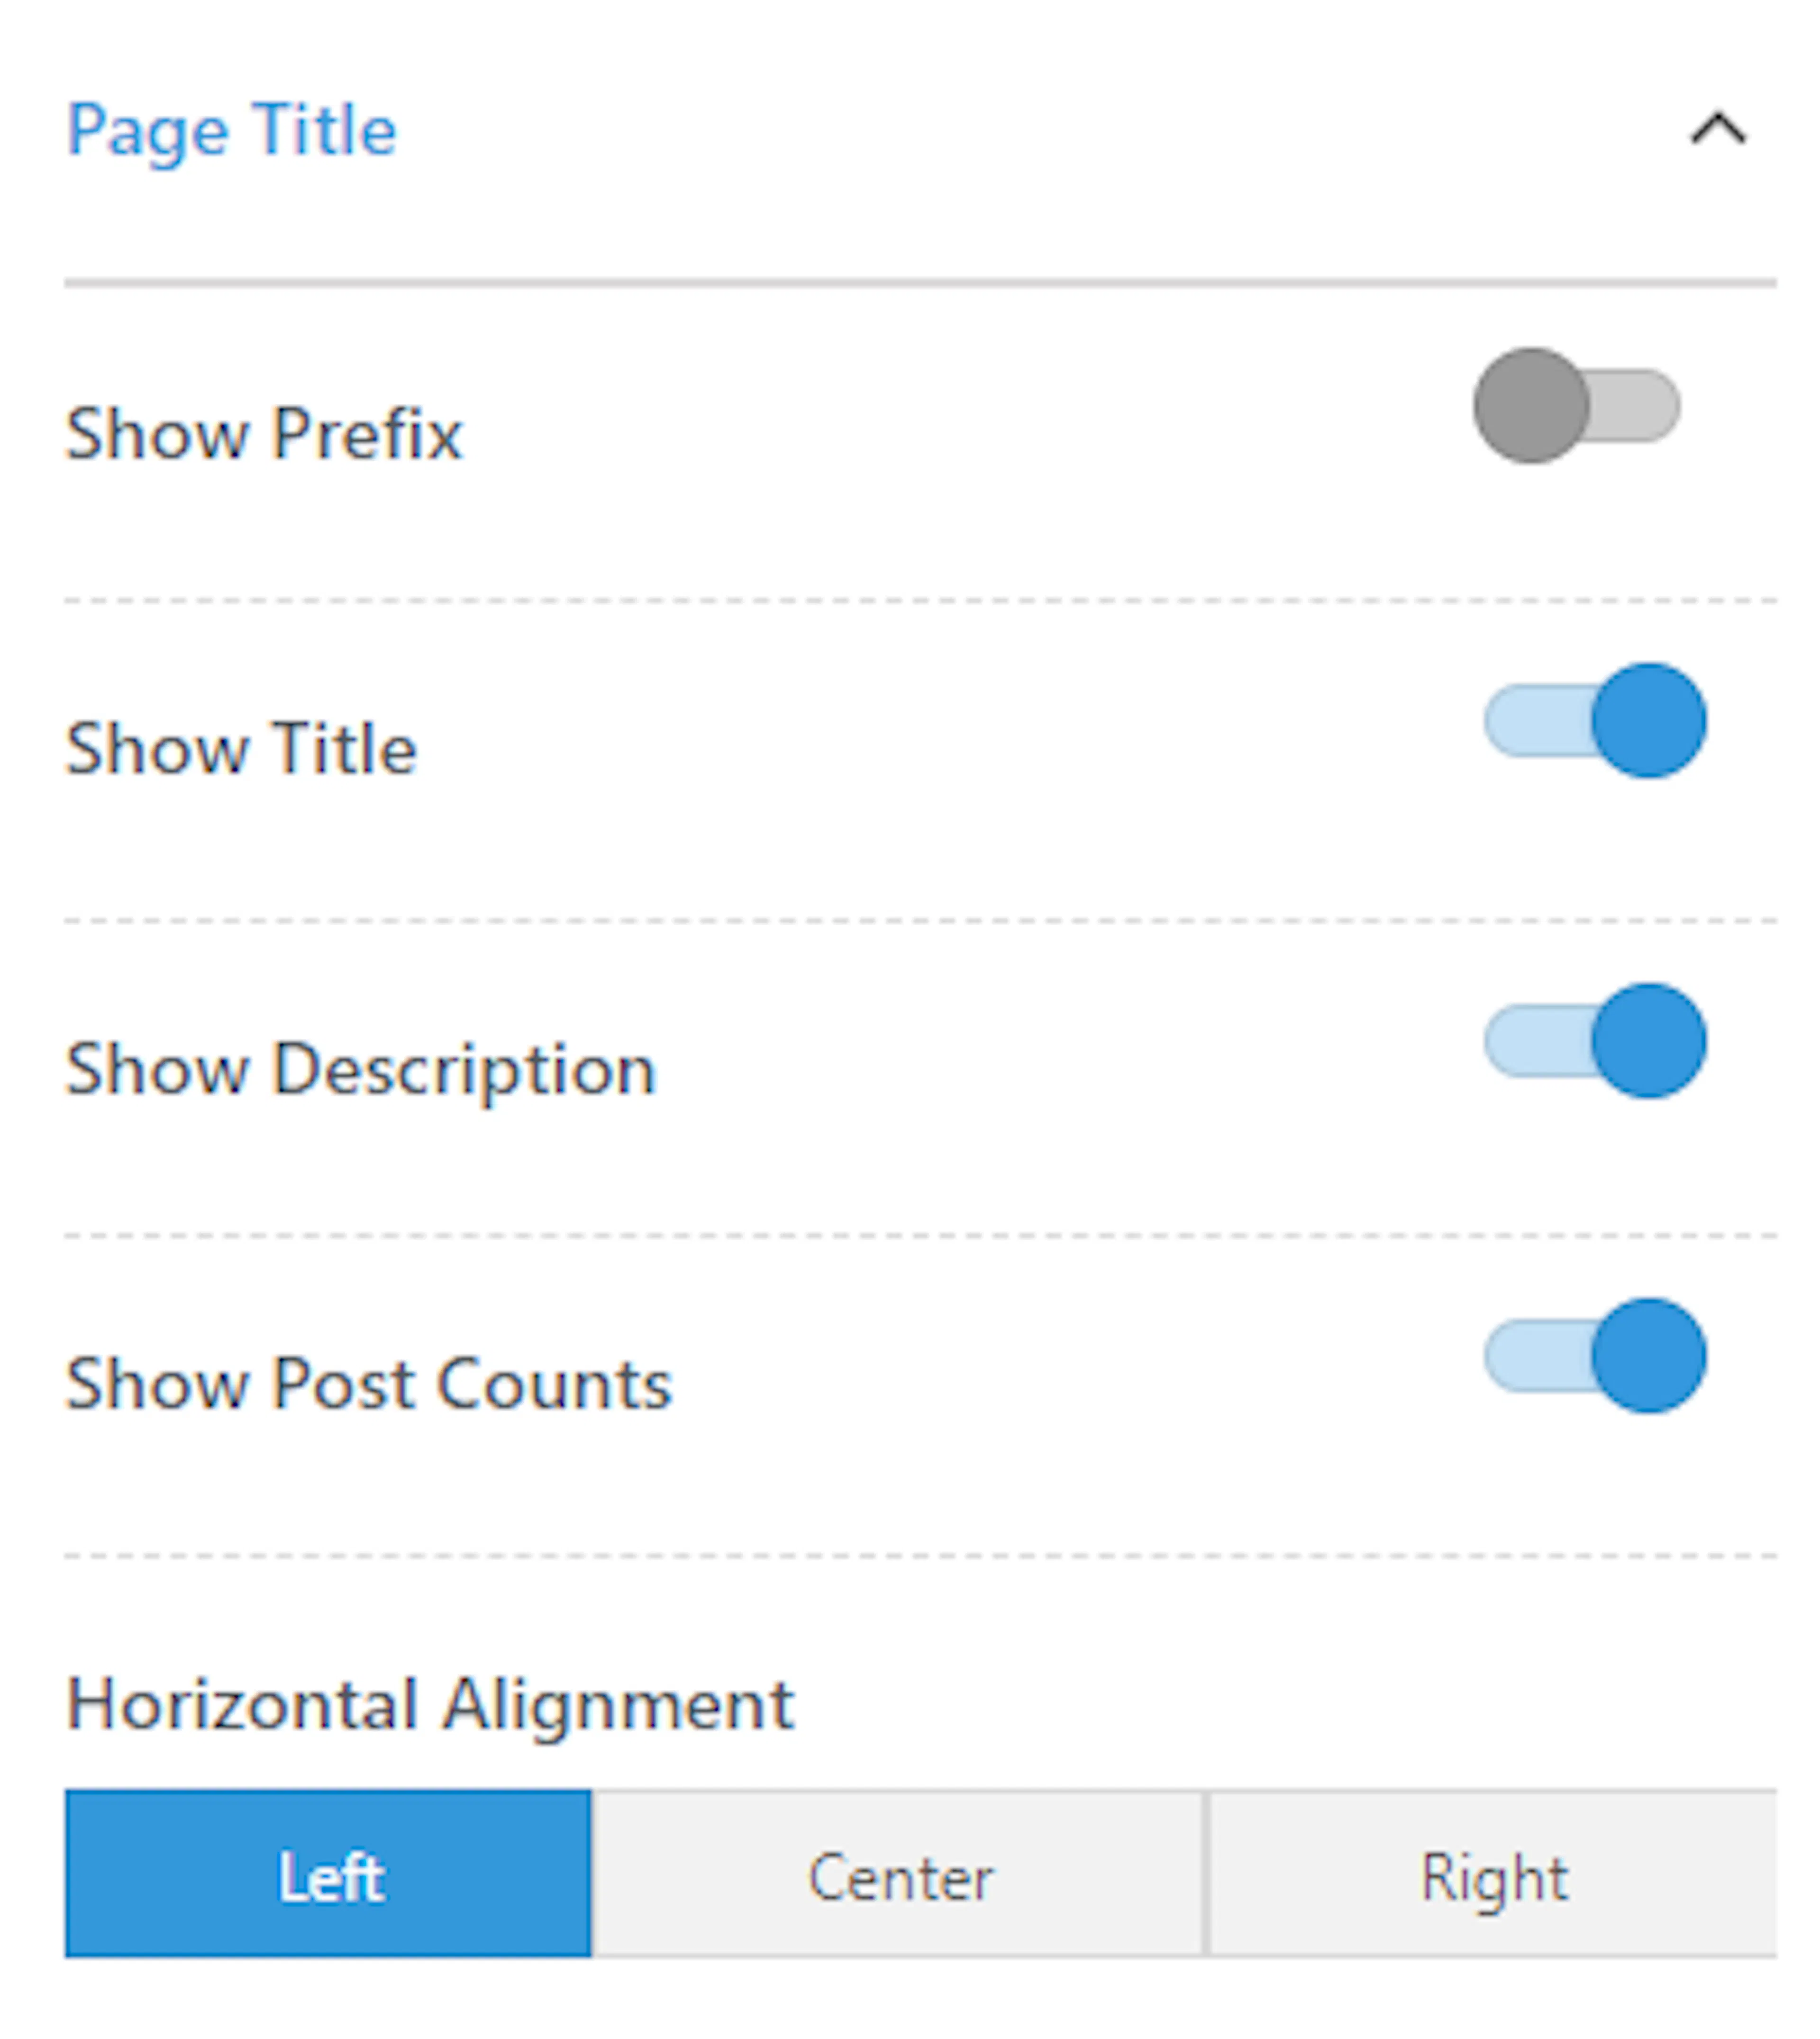
The prefix is the word that appears before the category name. For example, on a category archive page you might see "Category: Trekking Tips." The prefix here is "Category:" and the title is "Trekking Tips." You can choose whether to show the prefix, the title, or both.
Show Post Counts displays how many posts are in that archive. For example, "Trekking Tips (12 posts)." This gives visitors a sense of how much content is in that category.
| Setting | What it does |
|---|---|
| Show Prefix | Displays the category prefix in the archive page header, when enabled. |
| Show Title | Displays the archive title in the archive page header, when enabled. |
| Show Description | Displays the archive's description text, when enabled. |
| Show Post Counts | Displays the number of posts inside an archive, when enabled. |
| Horizontal Alignment | Sets the alignment for the archive page header content. |
Sidebar layout
You can choose whether the sidebar appears on the left, the right, or not at all on your archive pages.
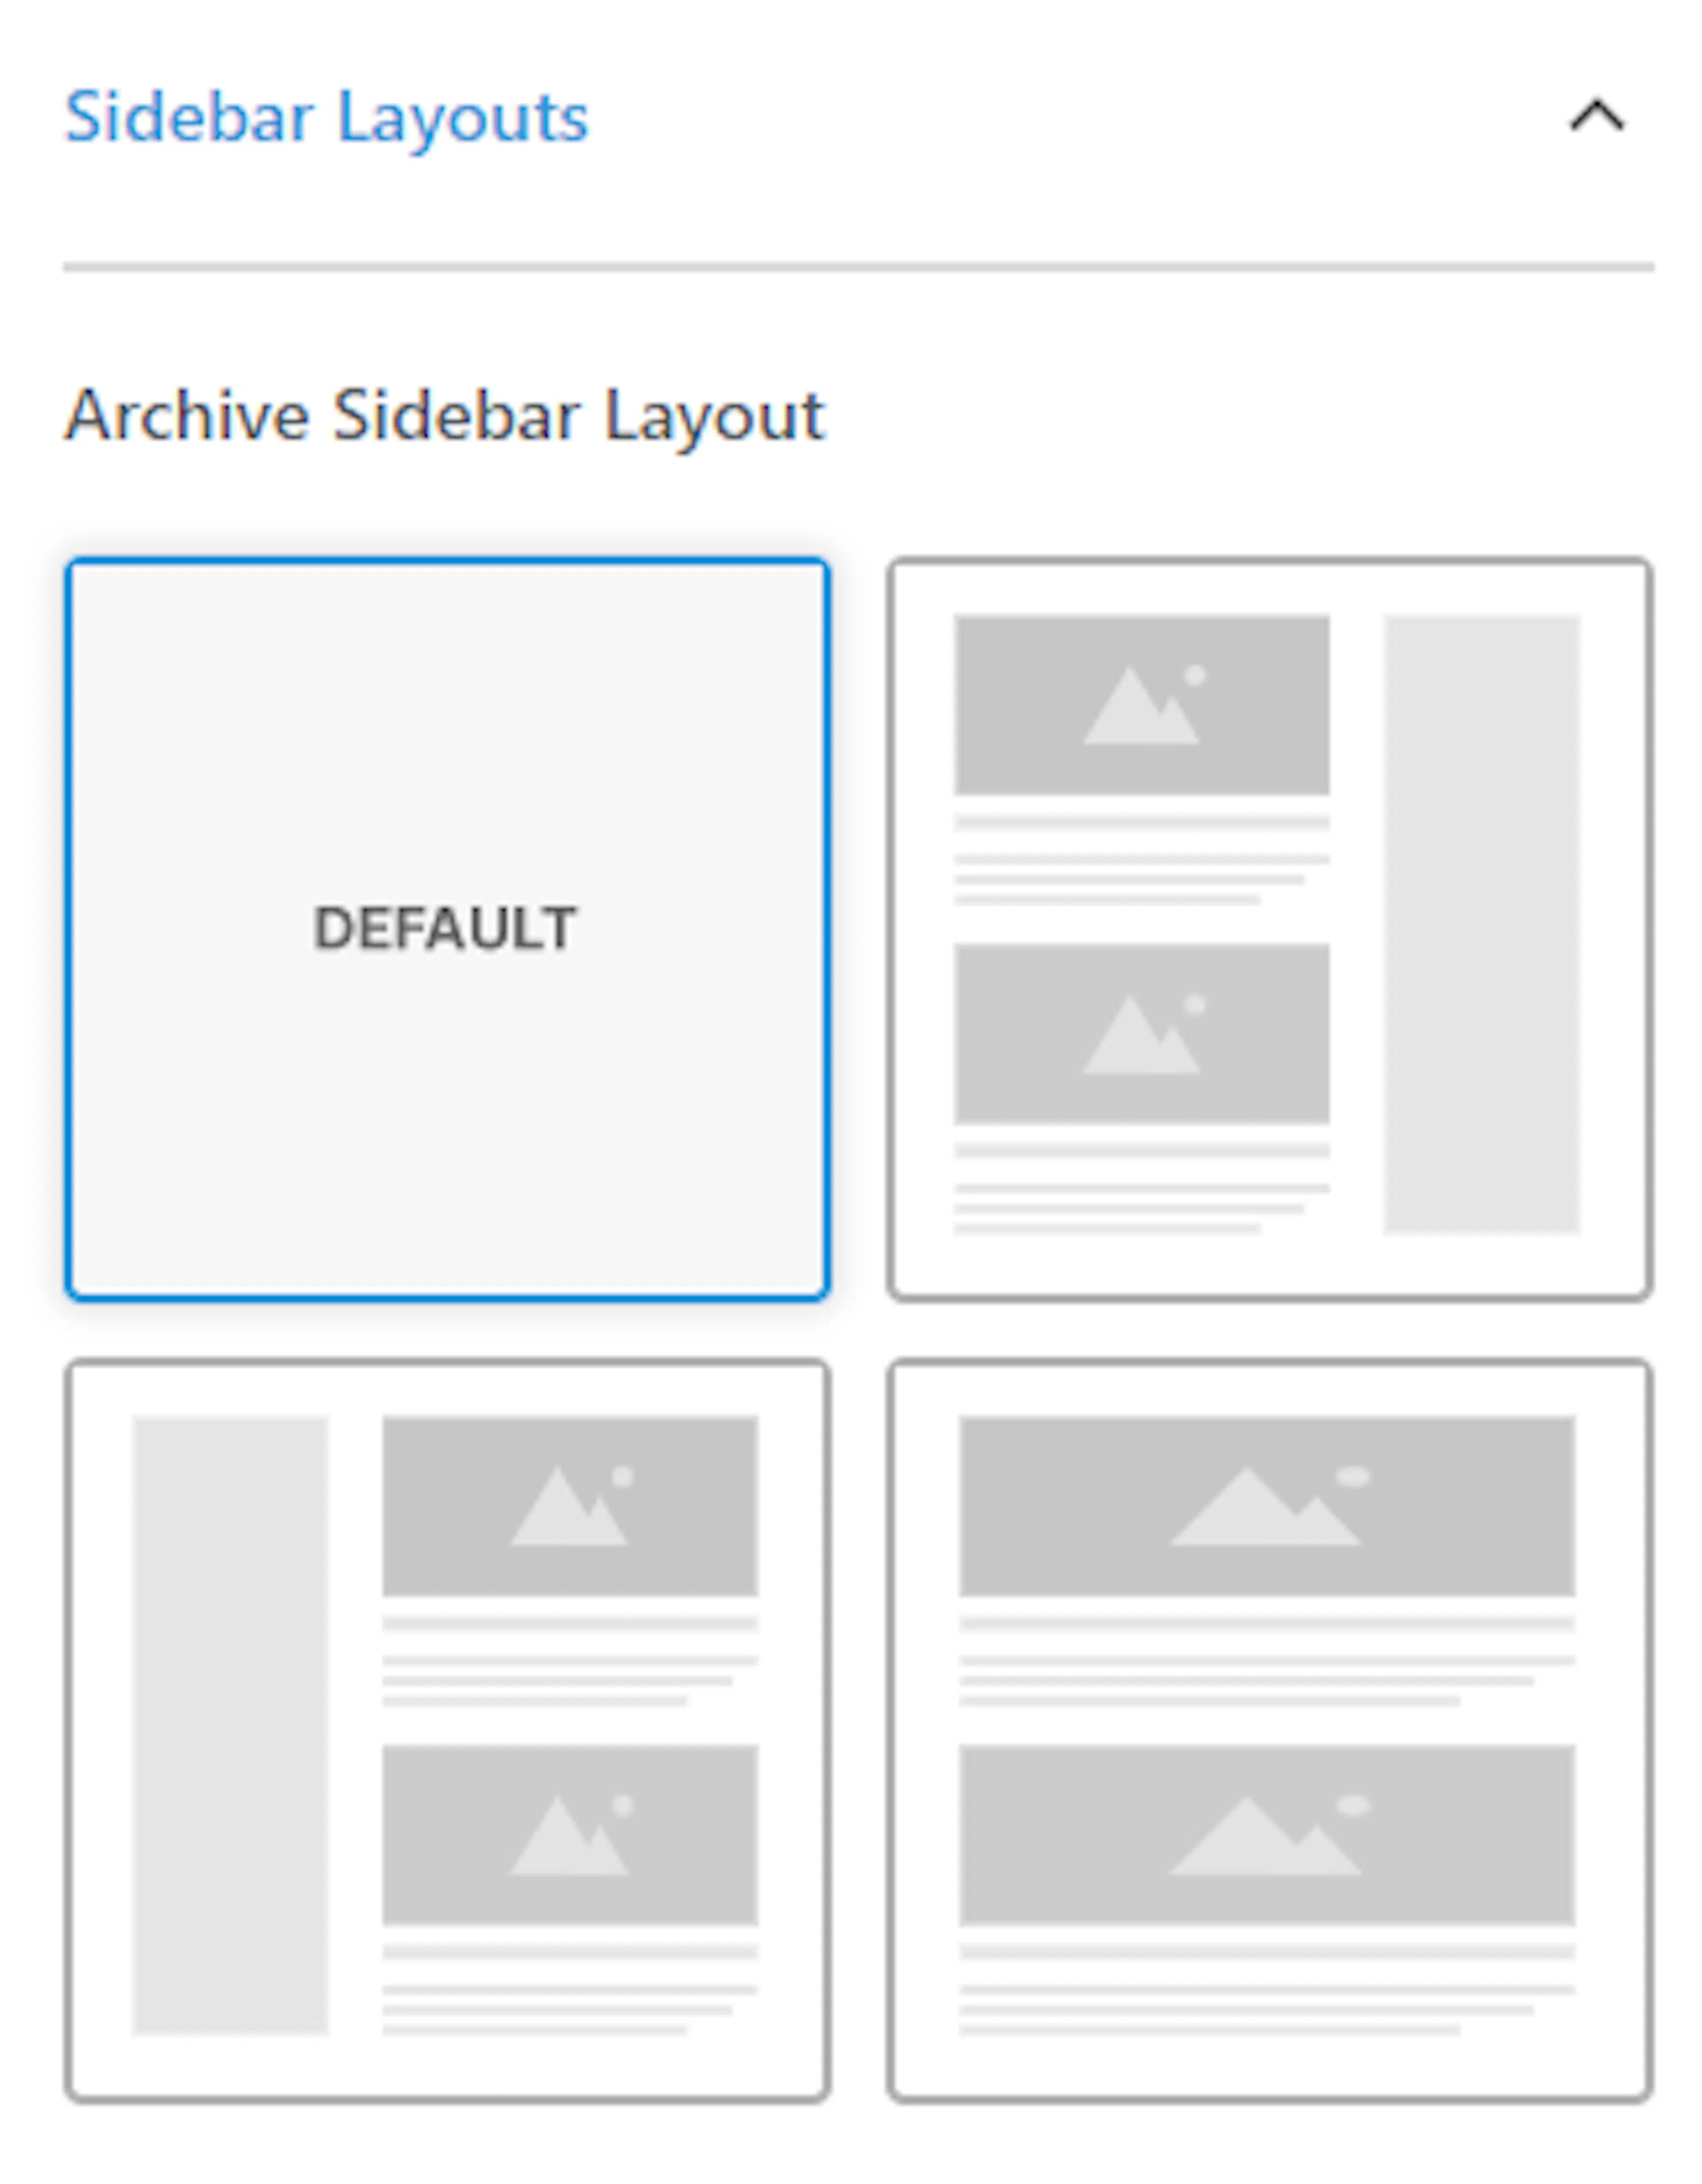
Archive Sidebar Layout: Sets the sidebar layout used for archive pages on your website.
Header background image
This is the banner area at the top of your archive pages. Since archives cover multiple categories, a general travel photo works well here.
Upload a general background image for the archive page header.
Wrapping up
When you're happy with your changes, click Publish at the top of the Customizer to make them live. Until you do, everything stays as a preview.
Don't worry about getting everything perfect on the first pass. You can come back to these settings anytime and adjust them as your business grows.
If you're still stuck or have a question we didn't cover, our support team is happy to help. Reach out at our support page and we'll get you sorted.
Next step
Configure Menus
Set up your site's navigation menus after configuring how content displays.