

Booking Fee
Add a small percentage-based fee to every booking at checkout, so you can cover processing costs or service charges without doing the math yourself.
Add a fee to each booking automatically
Add a small percentage-based fee to each booking at checkout. The fee calculates itself from the booking total, so you do not need to change your prices by hand or ask for extra payment later.
Say you take credit card payments and the processing fees cut into what you earn. Or you want to add a small service charge to cover the time you spend coordinating each booking.
This gives you a clear way to recover part of those costs without changing the listed price of every trek, day tour, or multi-day package. Before you turn it on, it helps to know what the add-on can do.
Key features
- Percentage-based fee: Set one percentage that works across all trips on your site, whether you sell day tours, treks, or longer packages.
- Custom label: Call the fee whatever makes sense for your business, like Service Fee or Booking Charge.
- Helpful description: Add a short explanation that appears when customers hover over the fee name, so they understand what they are paying for.
- Automatic calculation: You never need to recalculate the fee by hand. You set the percentage once and the add-on does the math for every booking from then on.
- One-time charge: The fee is only added to the first payment. If a customer pays in installments, they will not see the fee again on later payments.
- Visible at checkout: Customers see the fee listed clearly before they pay, so there are no surprises.
That gives you a steady way to cover extra costs while keeping your prices clear. Next, make sure the basic pieces are in place.
What you'll need before you start
You need a few things in place before the booking fee can work.
- WP Travel Engine installed and activated. A plugin is a small tool you add to WordPress to give your website more features. WP Travel Engine is the plugin that runs your trip booking system.
- The Booking Fee add-on installed and activated with a valid license key. An add-on is an extra tool that connects to WP Travel Engine to add one specific feature.
- At least one trip set up in WP Travel Engine so you can test the fee on a real booking flow.
- At least one payment method configured, like PayPal or Stripe, so customers can complete checkout.
Once these are ready, you can move on with confidence.
Installing the Booking Fee add-on
You need the add-on installed and active before its settings will appear in WordPress.
See how to activate a Pro add-on license key for the full installation and activation walkthrough.
Once the add-on is active, you are ready to turn the fee on.
Turning on the booking fee
What you'll need before you start: Log in to your WordPress dashboard and make sure the Booking Fee add-on is already installed and activated.
Open WP Travel Engine
This takes you to the area where your trip and booking settings live.
On the left side of your WordPress dashboard, click WP Travel Engine. The WordPress dashboard is the main admin area you see after you log in.
Go to the Payments settings
This is where you control how customers pay and where the booking fee setting is stored.
Click Settings, then click Payments.
Open the Booking Fee section
This brings you to the place where you can switch the fee on and decide how it appears to customers.
Click Booking Fee to open the settings for this add-on.
You are now in the right place. The next step is to choose how the fee will look and work.
Setting up your booking fee
These settings control whether the fee is active, what customers see, and how much is added at checkout. Take them one at a time, and you will be done quickly.
Booking Fee toggle
Turn this on to activate the booking fee. Until this is switched on, the other settings will not do anything. Think of it as the main on and off switch.
Once this is on, you can move to the details customers will see.
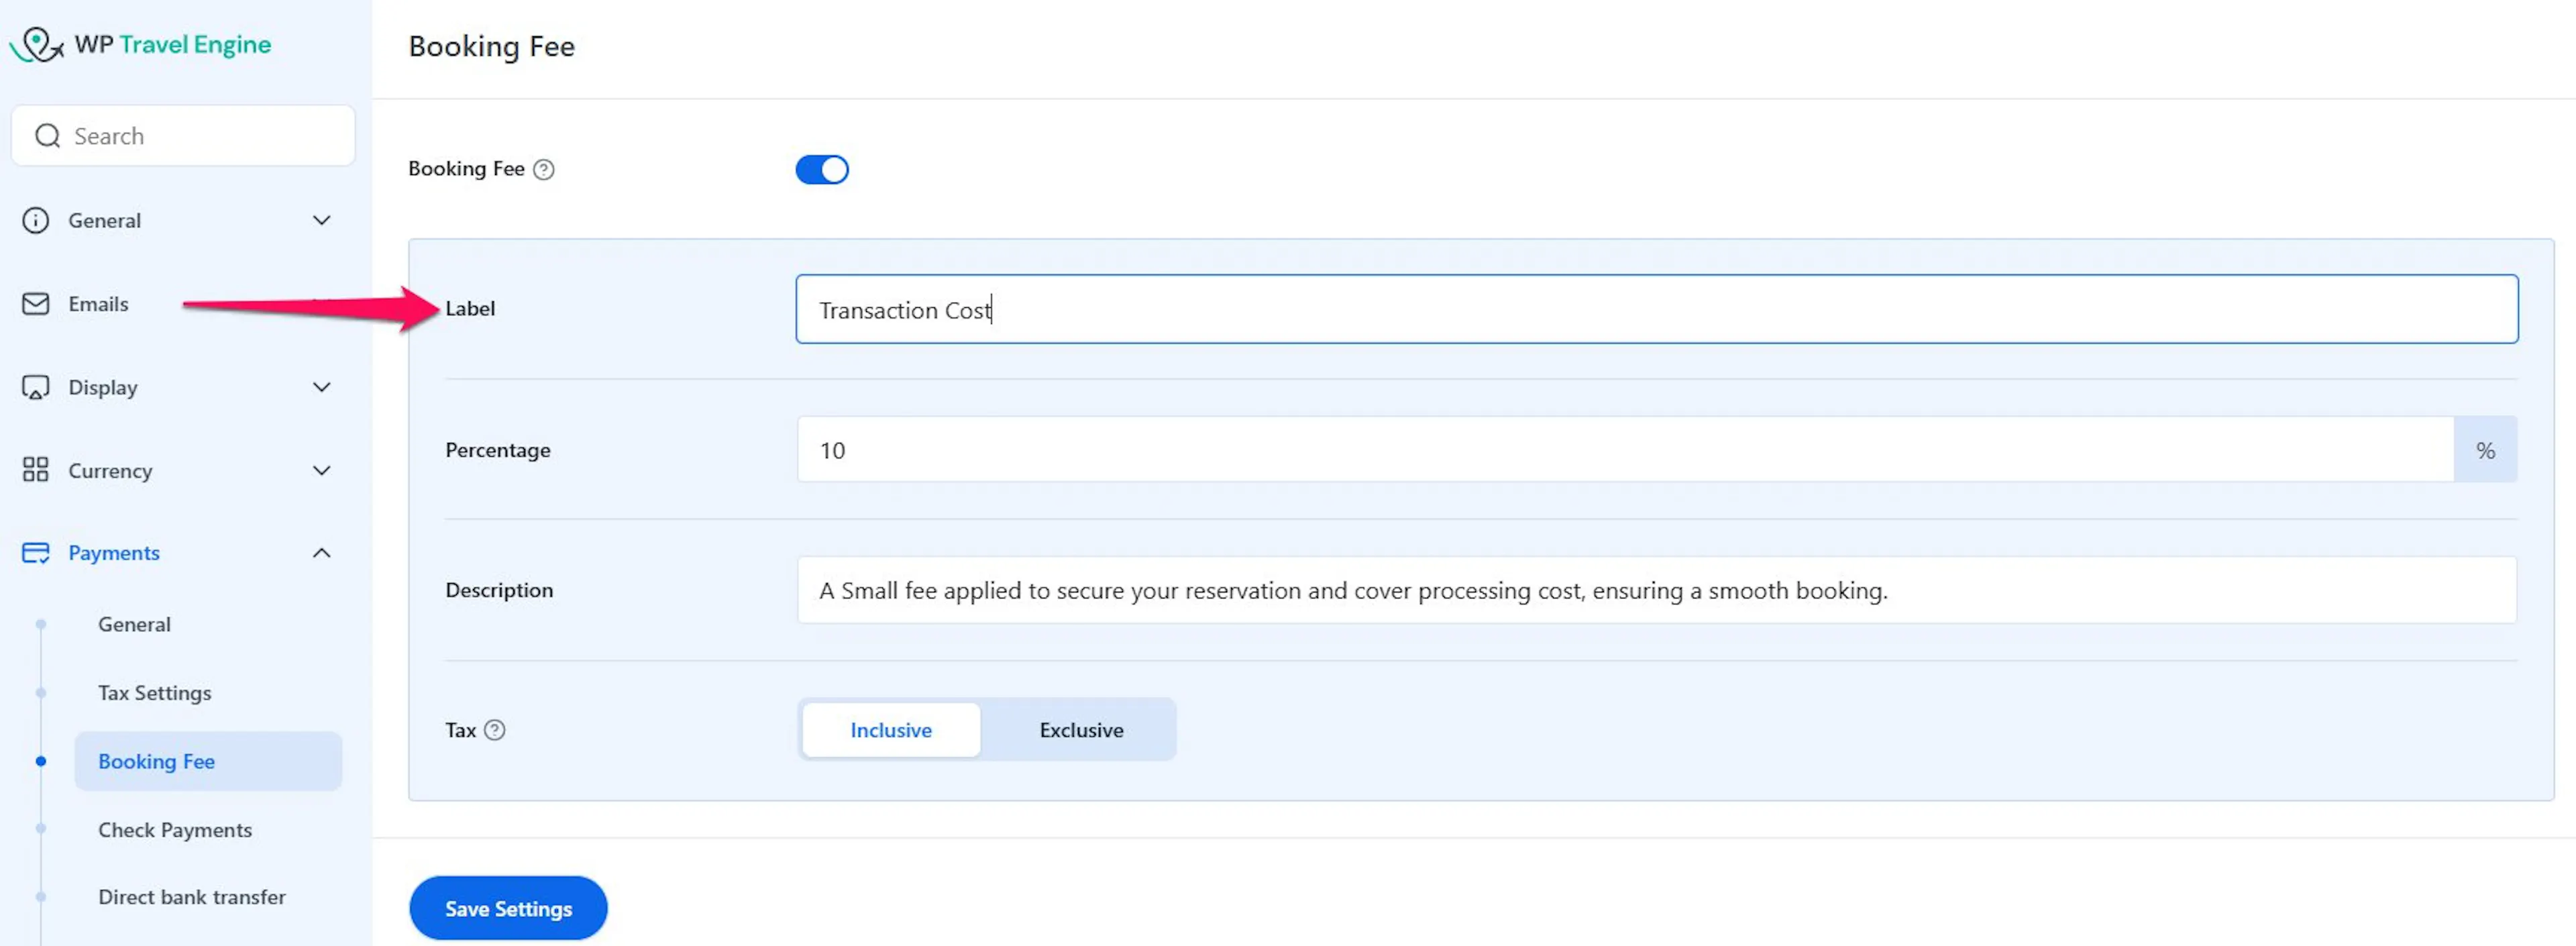
Booking Fee Label
This is the name customers see on the checkout page. Use a name that feels clear and familiar, like Service Fee or Booking Fee.
A clear label helps customers understand the charge at a glance. Next, set the amount.
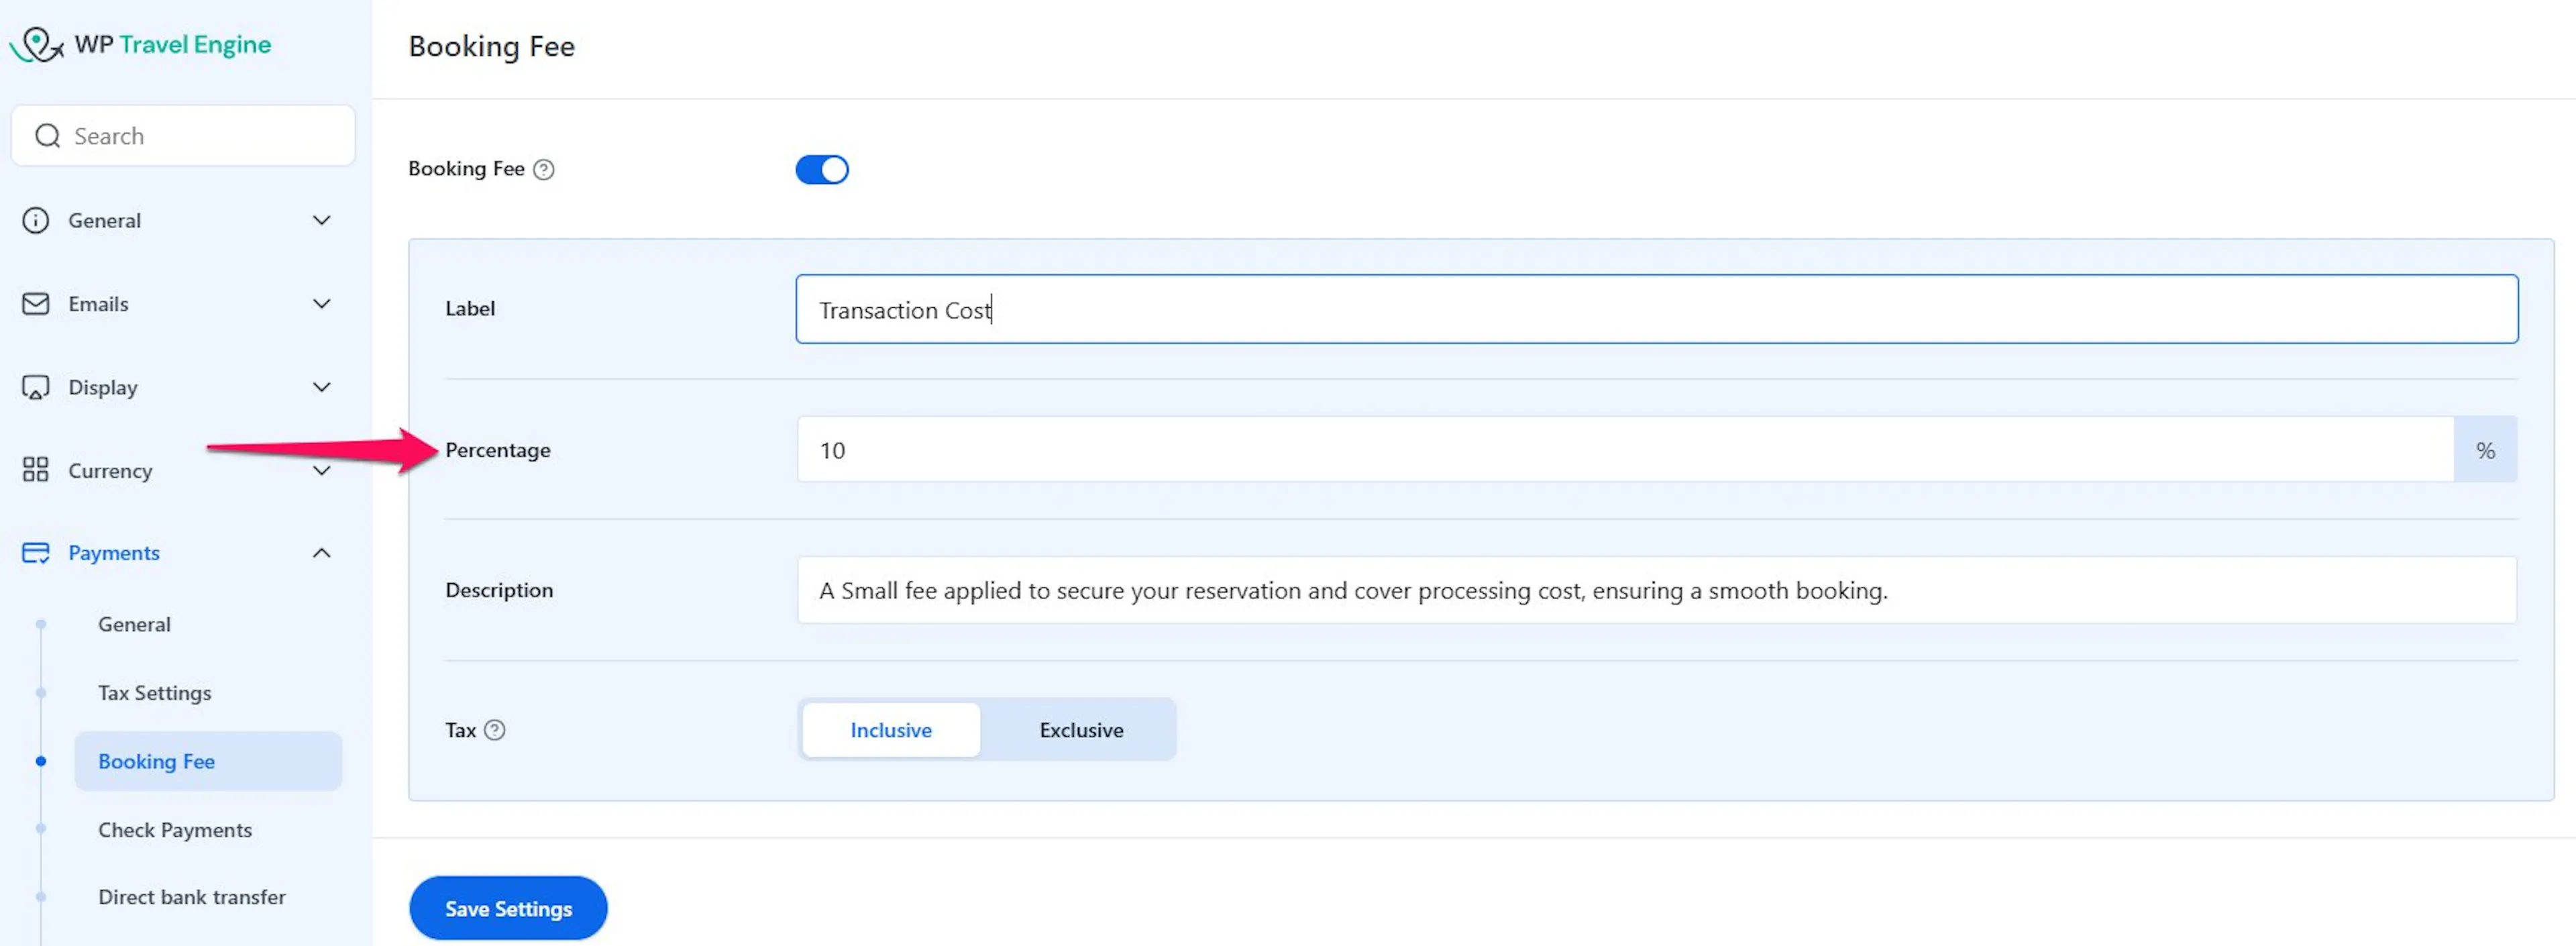
Booking Fee Percentage
This is where you choose how much to charge. Type a number like 5 for a 5% fee.
Say your trek costs $1,000 and you set the fee to 3. Your customer sees an extra $30 at checkout. The math happens on its own every time.
This works well when you want the fee to stay in proportion to the booking value. After that, you can add a short explanation for customers.
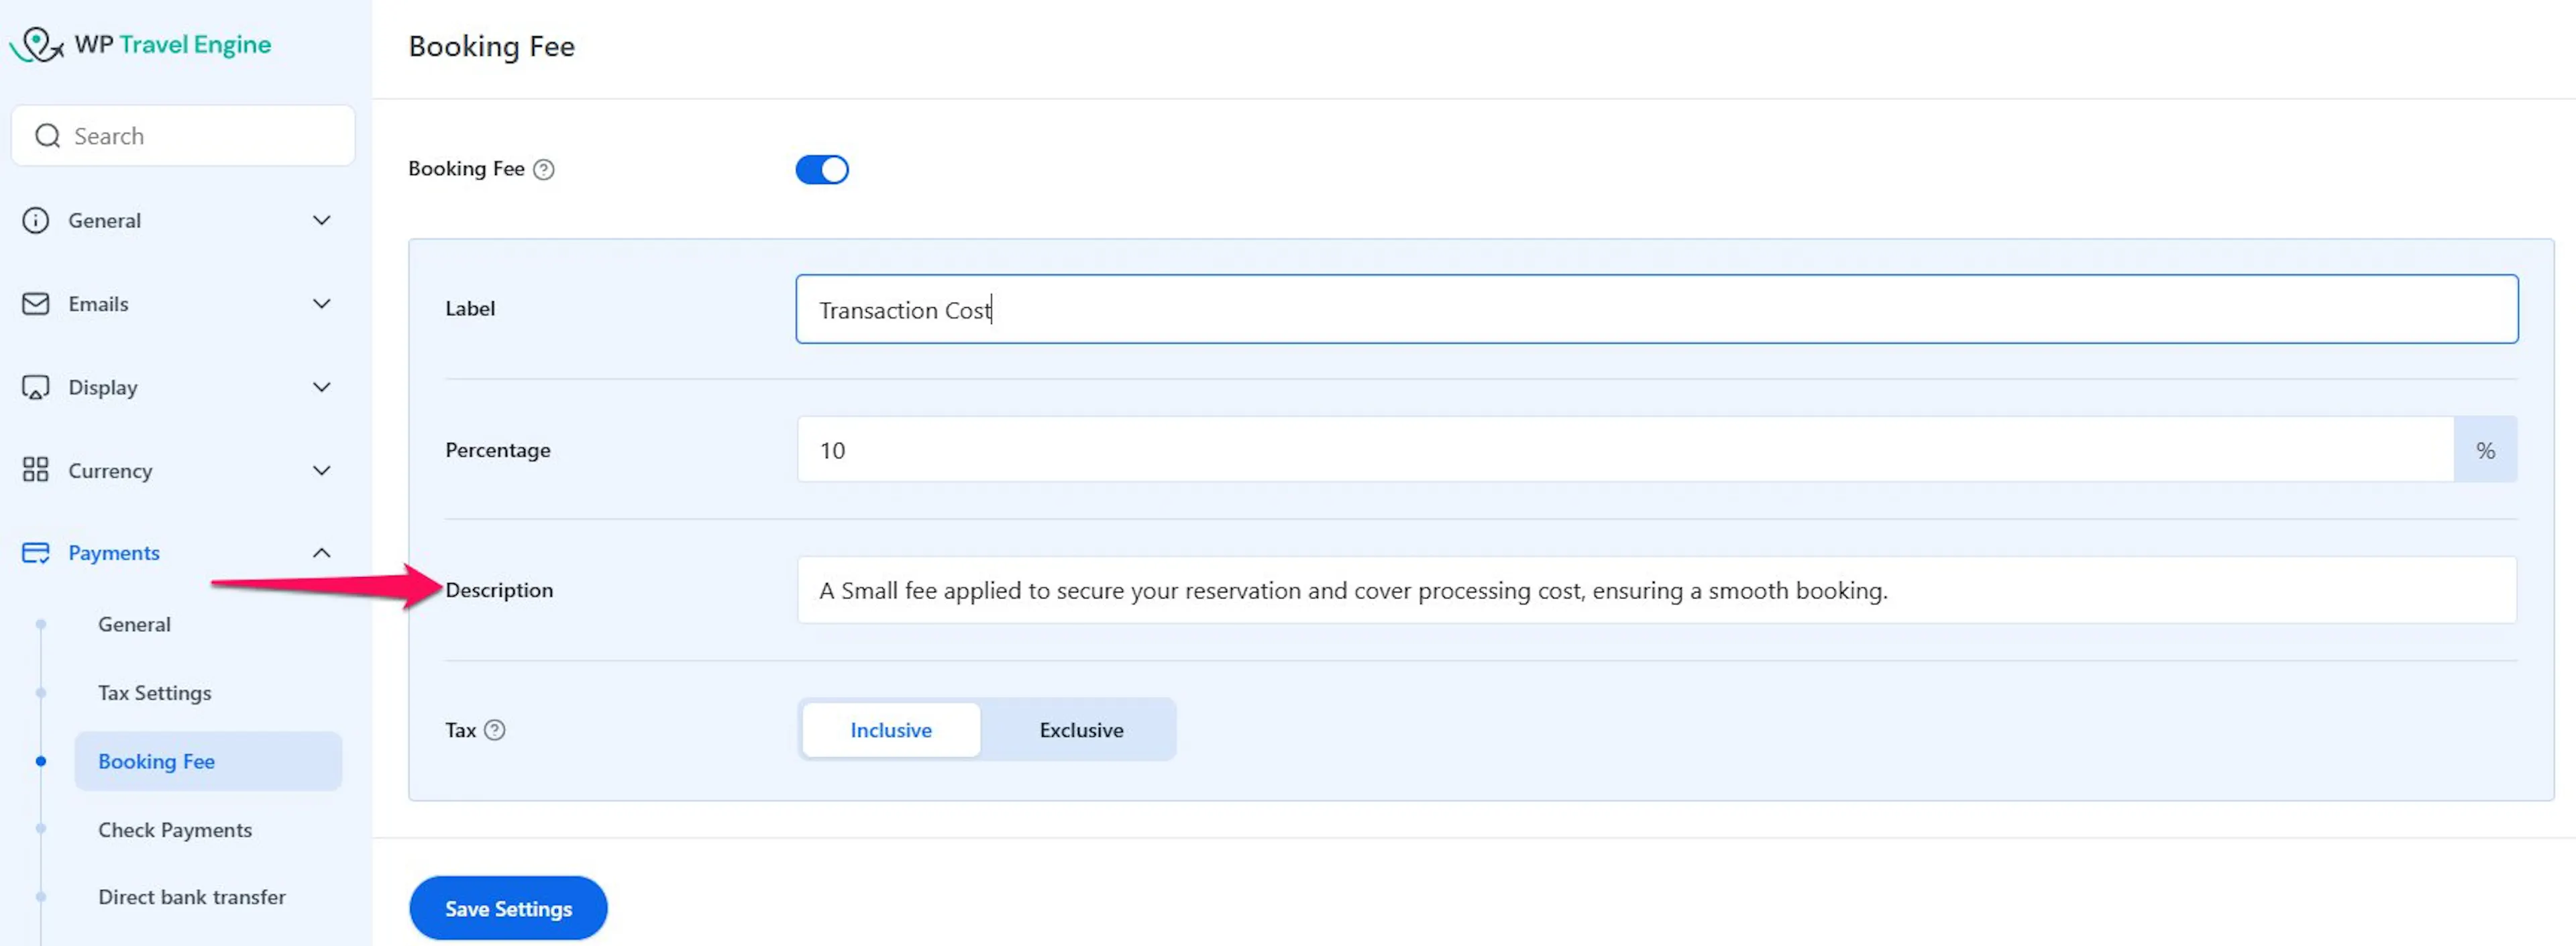
Booking Fee Description
Type a short explanation of the fee. This appears as a small tooltip. A tooltip is a small message that appears when a customer hovers over the fee name at checkout.
This is a good place to explain what the fee covers, such as booking handling or payment processing. Once these fields are filled in, you are ready to save.
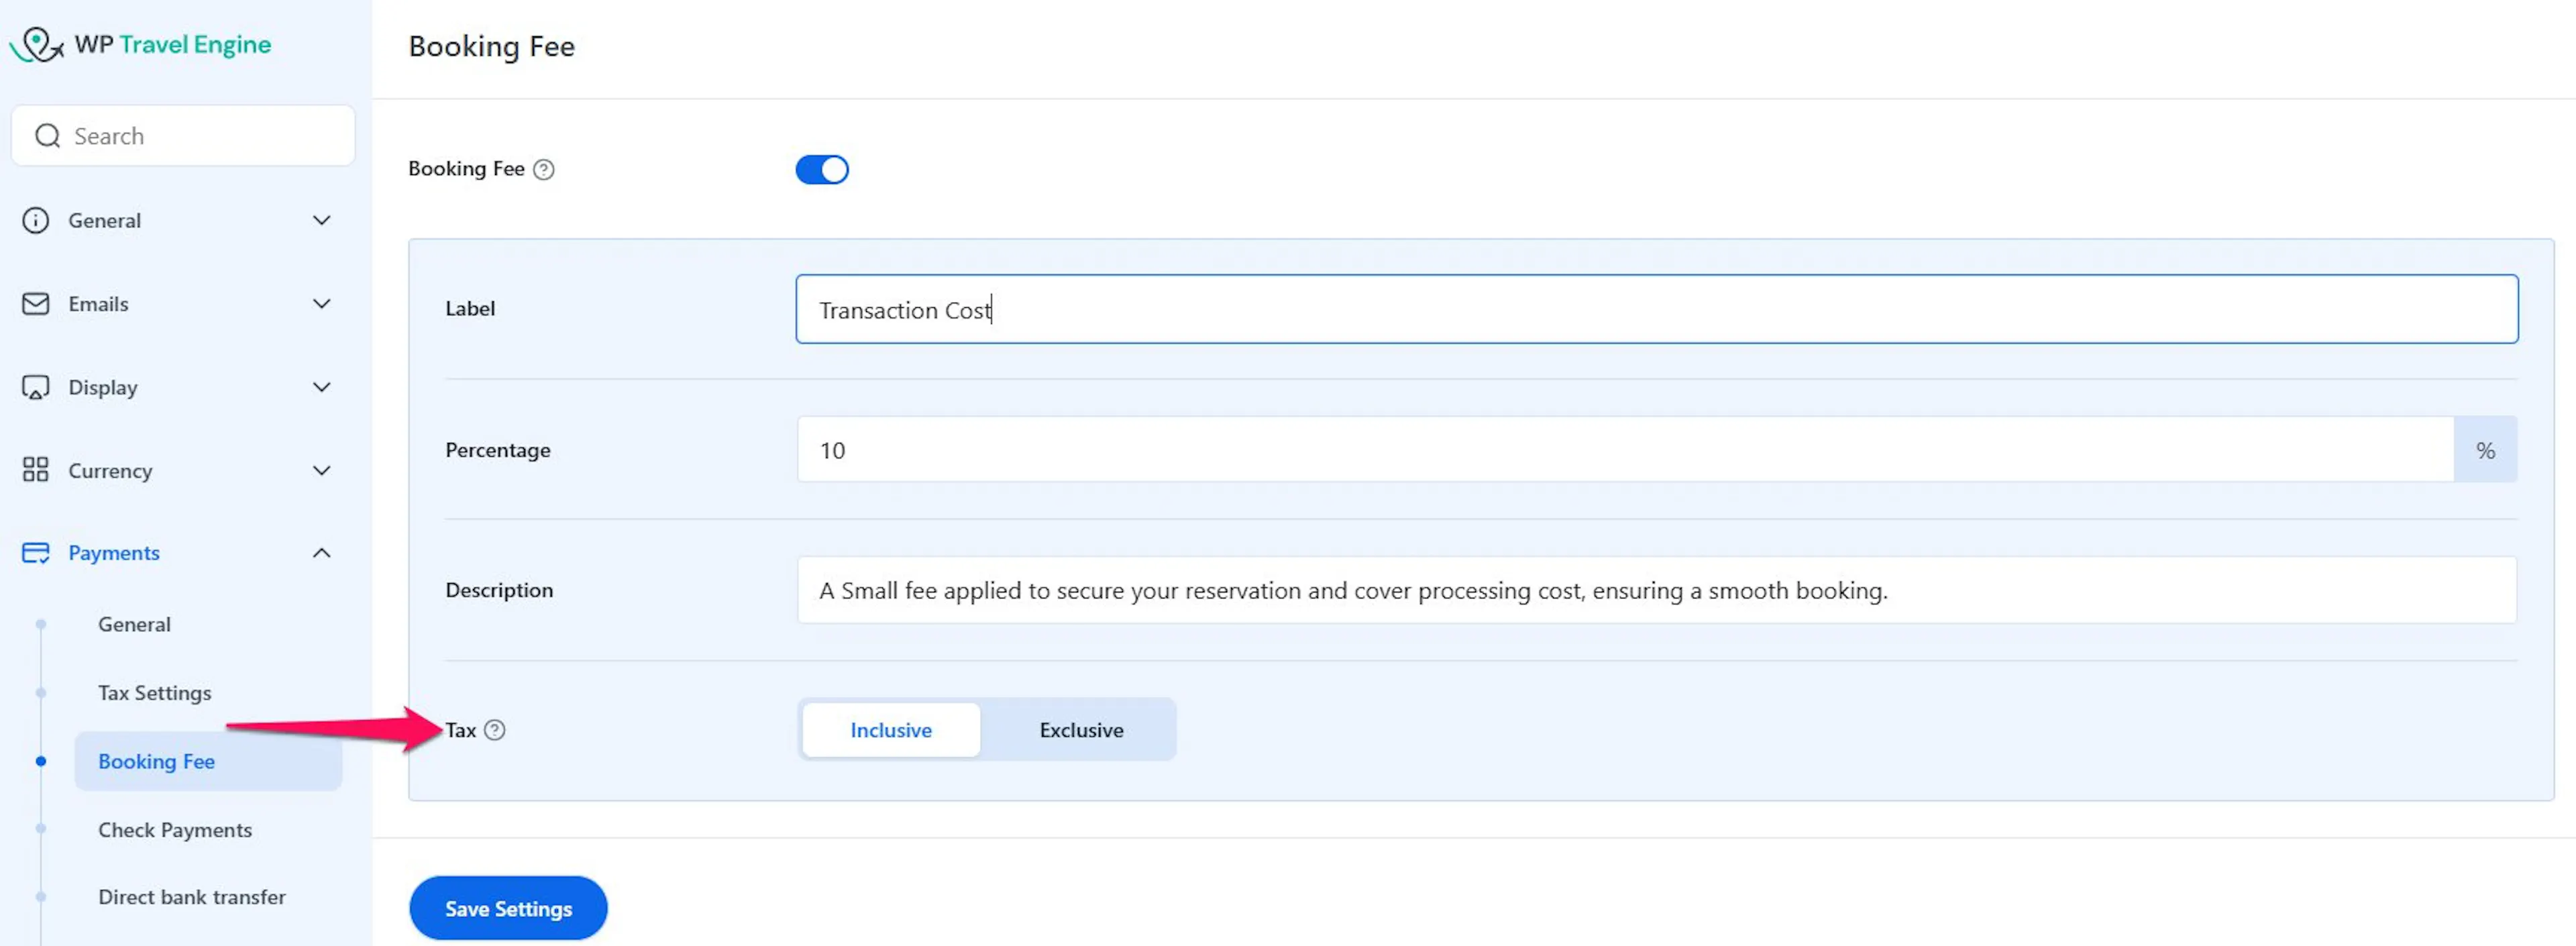
Tax
Choose how tax should be applied to the booking fee. Select Inclusive to include the applicable tax within the booking fee amount, or choose Exclusive to calculate and add the tax separately to the booking fee.
Saving your changes
What you'll need before you start: Fill in the booking fee fields first, then stay on the same settings page so you can save everything together.
Save your settings
This makes your changes live on your site.
After filling in the fields, click Save. You will usually find this button at the bottom of the settings page.
You're all set
This is the point where the setup starts working for new bookings.
The booking fee is now active. The next time a customer books a trip, they will see the fee listed at checkout.
That is the full setup done. It also helps to know what happens if you take partial payments.
How the fee works with partial payments
This matters if you let customers pay a deposit first and the rest later.
The booking fee is calculated on the full booking subtotal before any taxes are added. If a customer chooses to pay a partial amount, like a 20% deposit, the booking fee is still calculated on the full subtotal. The deposit amount is then worked out after the fee is added. The fee is only charged once, on the first payment. When the customer pays the remaining balance later, no additional booking fee is added.
Say a customer books a $1,000 trek and you have set a 3 booking fee. The fee is $30, calculated on the full $1,000. If the customer pays a 20 deposit, that deposit is applied after the fee is added. They pay the $30 fee as part of their first payment. When they pay the rest later, no fee is charged again.
It is a good idea to mention the fee in your booking summary or tooltip, so customers know about it before checkout. A short explanation helps people feel comfortable with the charge. If anything does not look right, check the troubleshooting tips below.
Troubleshooting
I turned on the booking fee, but it's not showing at checkout
Make sure you clicked Save after enabling the fee. Also check that the toggle at the top of the Booking Fee settings is switched on.
If both are in place, test another booking and see if the fee appears.
The fee amount looks higher than I expected
The percentage is calculated on the booking subtotal, which is the trip price before taxes. If your trip price already includes taxes, the fee might come out higher than you planned. Try lowering the percentage to match what you want to charge.
A small change in the percentage can make a big difference, so test it once after you update it.
Customers paying in installments are seeing the fee twice
That should not happen. The booking fee is only added to the first payment, not later ones. Try saving your settings again. If it keeps happening, reach out to our support team and we will look into it.
You are not expected to troubleshoot that alone.
I changed the percentage but the old amount is still showing
Your website might be showing a cached version of the page. A cache is a saved copy of a page that helps it load faster. Wait a few minutes and check again. If it still does not update, ask your hosting provider about clearing the cache.
Once the cache refreshes, the new amount should appear.
The fee label or description isn't appearing at checkout
Make sure you typed something in the Booking Fee Label field. If the description is not showing, confirm you entered text in the Booking Fee Description field and clicked Save.
If the fee still does not behave the way you expect, the questions below may help.
Frequently asked questions
If you're still stuck or have a question we didn't cover, our support team is happy to help. Reach out at our support page and we'll get you sorted.