

How to Configure Trip Archive Settings in WP Travel Engine
Control how your trips appear on your archive page, from sort order and layout to featured trips, filters, and trip card details.
Configure how your trip archive looks
Use these settings to control how your trips appear when visitors browse them together. The archive page is the page that lists all your trips in one place.
Accessing Trip Archive settings
You only need to find this area once. After that, you can come back anytime and adjust how your trip listing pages look.
You need the WP Travel Engine plugin installed and activated before you start.
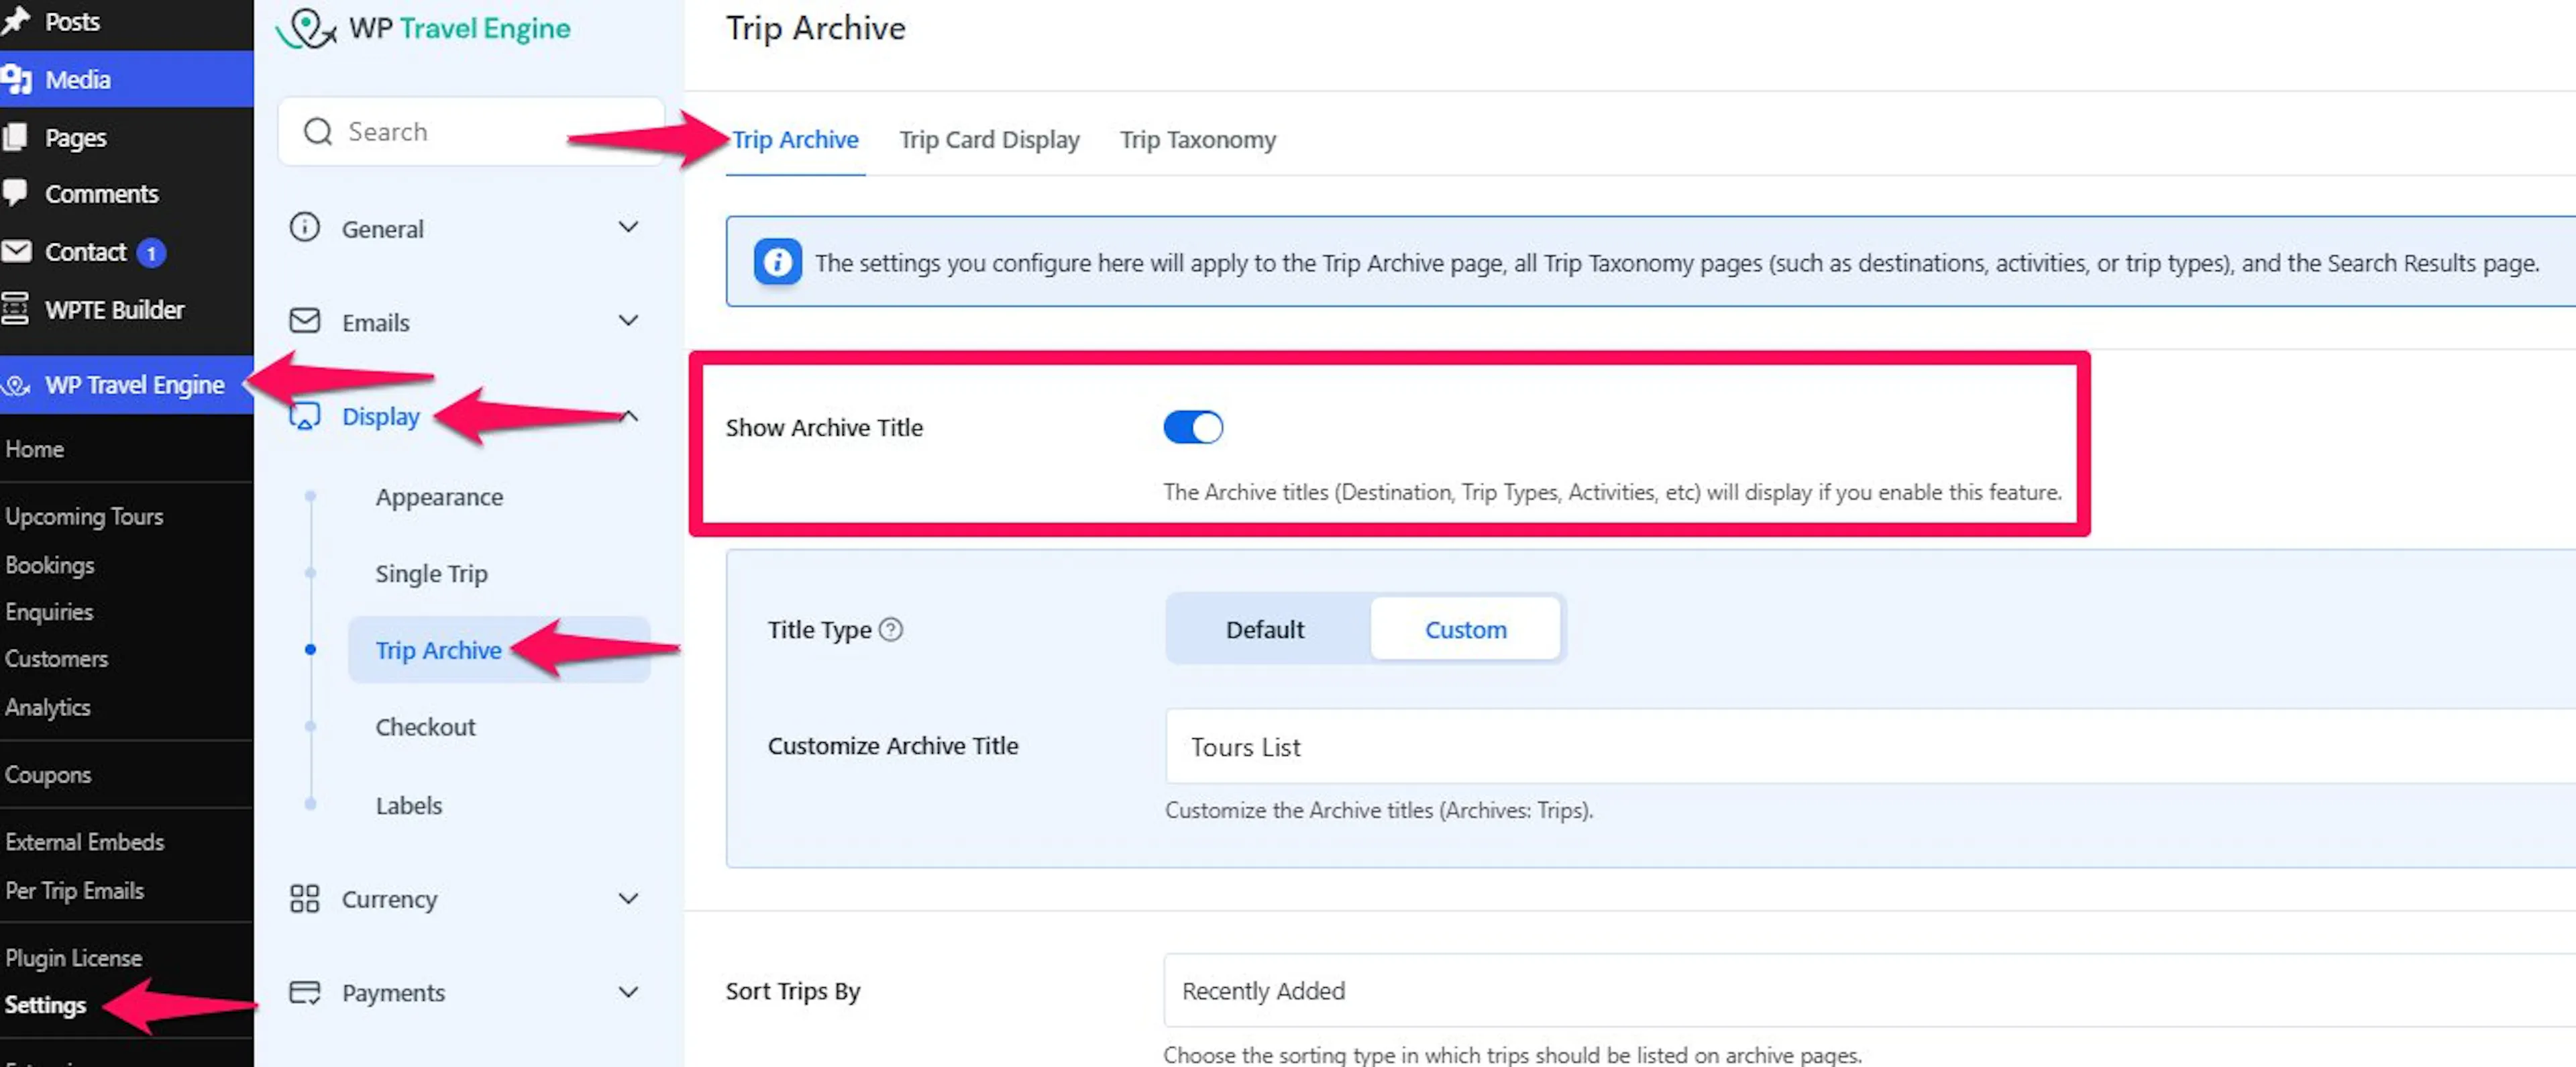
Open your WordPress dashboard
This is the admin area you log into to manage your site.
Log in to your WordPress dashboard.
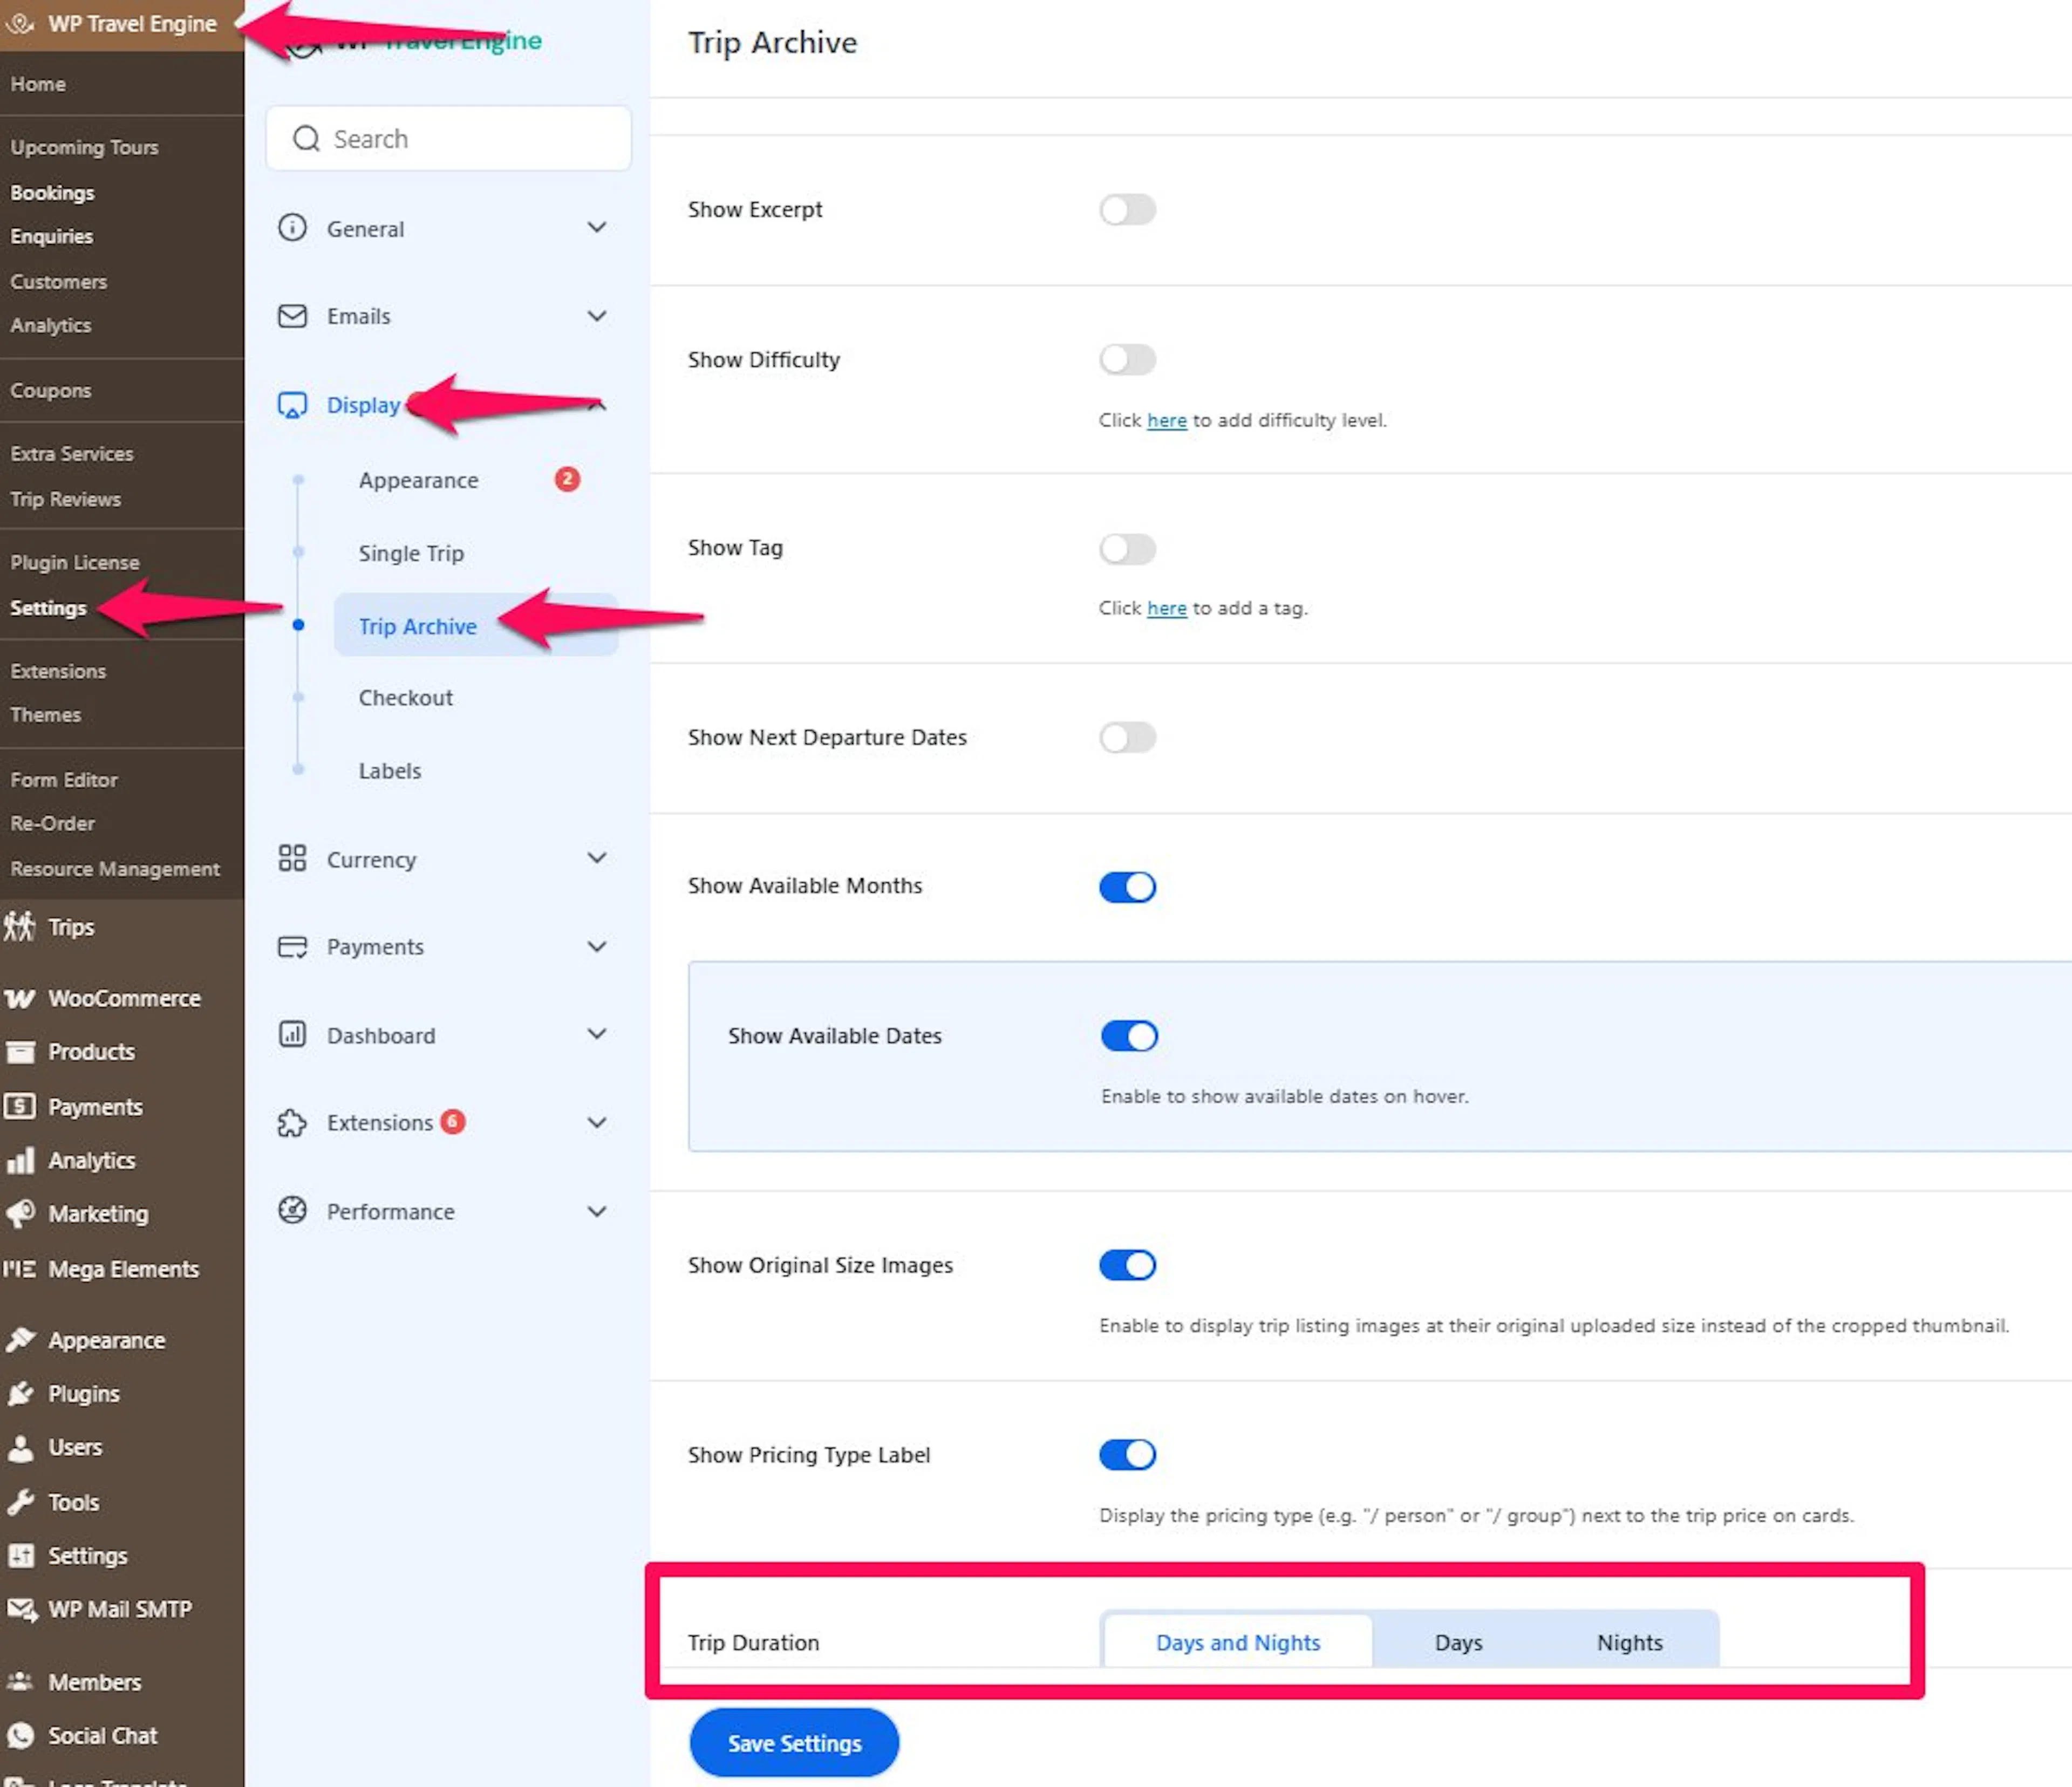
Open WP Travel Engine settings
Look to the left sidebar of your WordPress dashboard.
Click WP Travel Engine. Then click Settings.
Go to the Trip Archive section
These are the display settings for your trip listing pages.
Click the Display tab. Then find Trip Archive.
After you change any setting, click Save to keep your changes.
Now you are in the right place. The sections below explain what each setting does, so you can choose what fits your business.
Show Archive Title
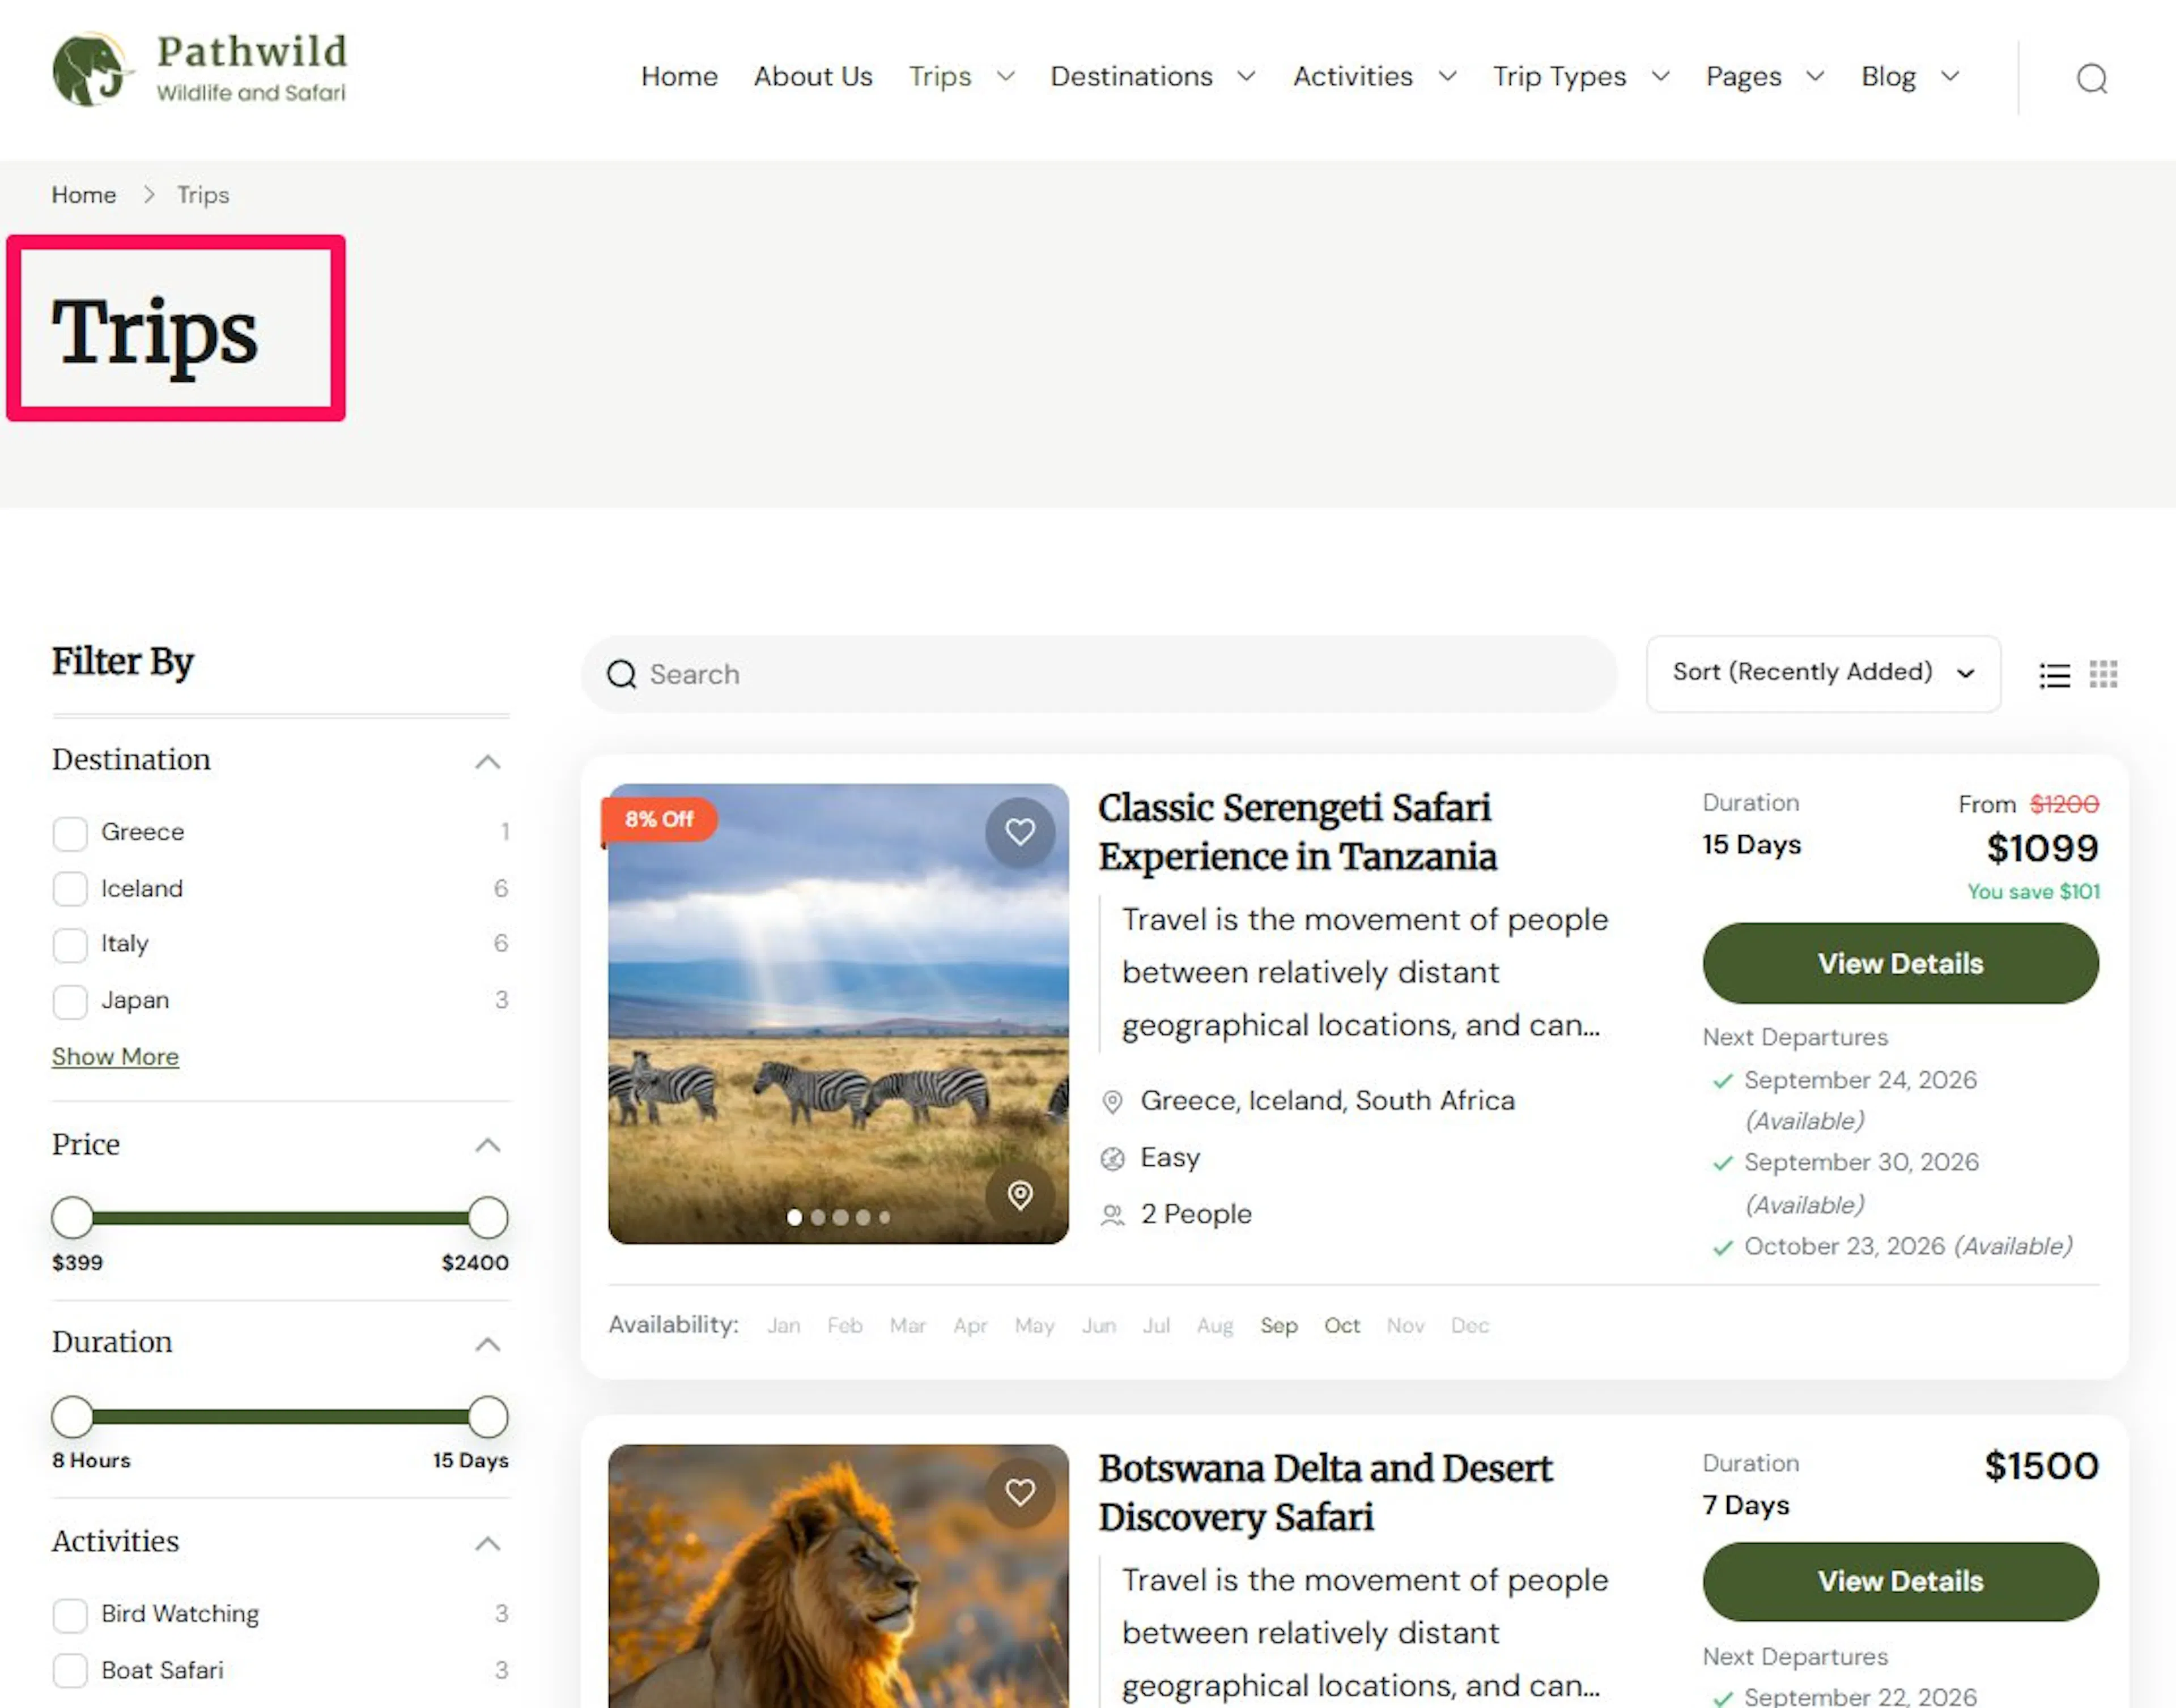
This setting controls whether the page heading appears at the top of your archive pages. An archive title is the heading visitors see at the top of a category page.
For example, if you have a page listing all your Nepal trekking trips, the archive title tells visitors what they are looking at. It can say something like Destination: Nepal or Trip Type: Trekking.
- Enabled - The archive title shows at the top of the page.
- Disabled - The archive title stays hidden.
If you want visitors to know right away what group of trips they are viewing, keep this on. If your page design already makes that clear, you can turn it off and keep the top of the page cleaner.
Title Type
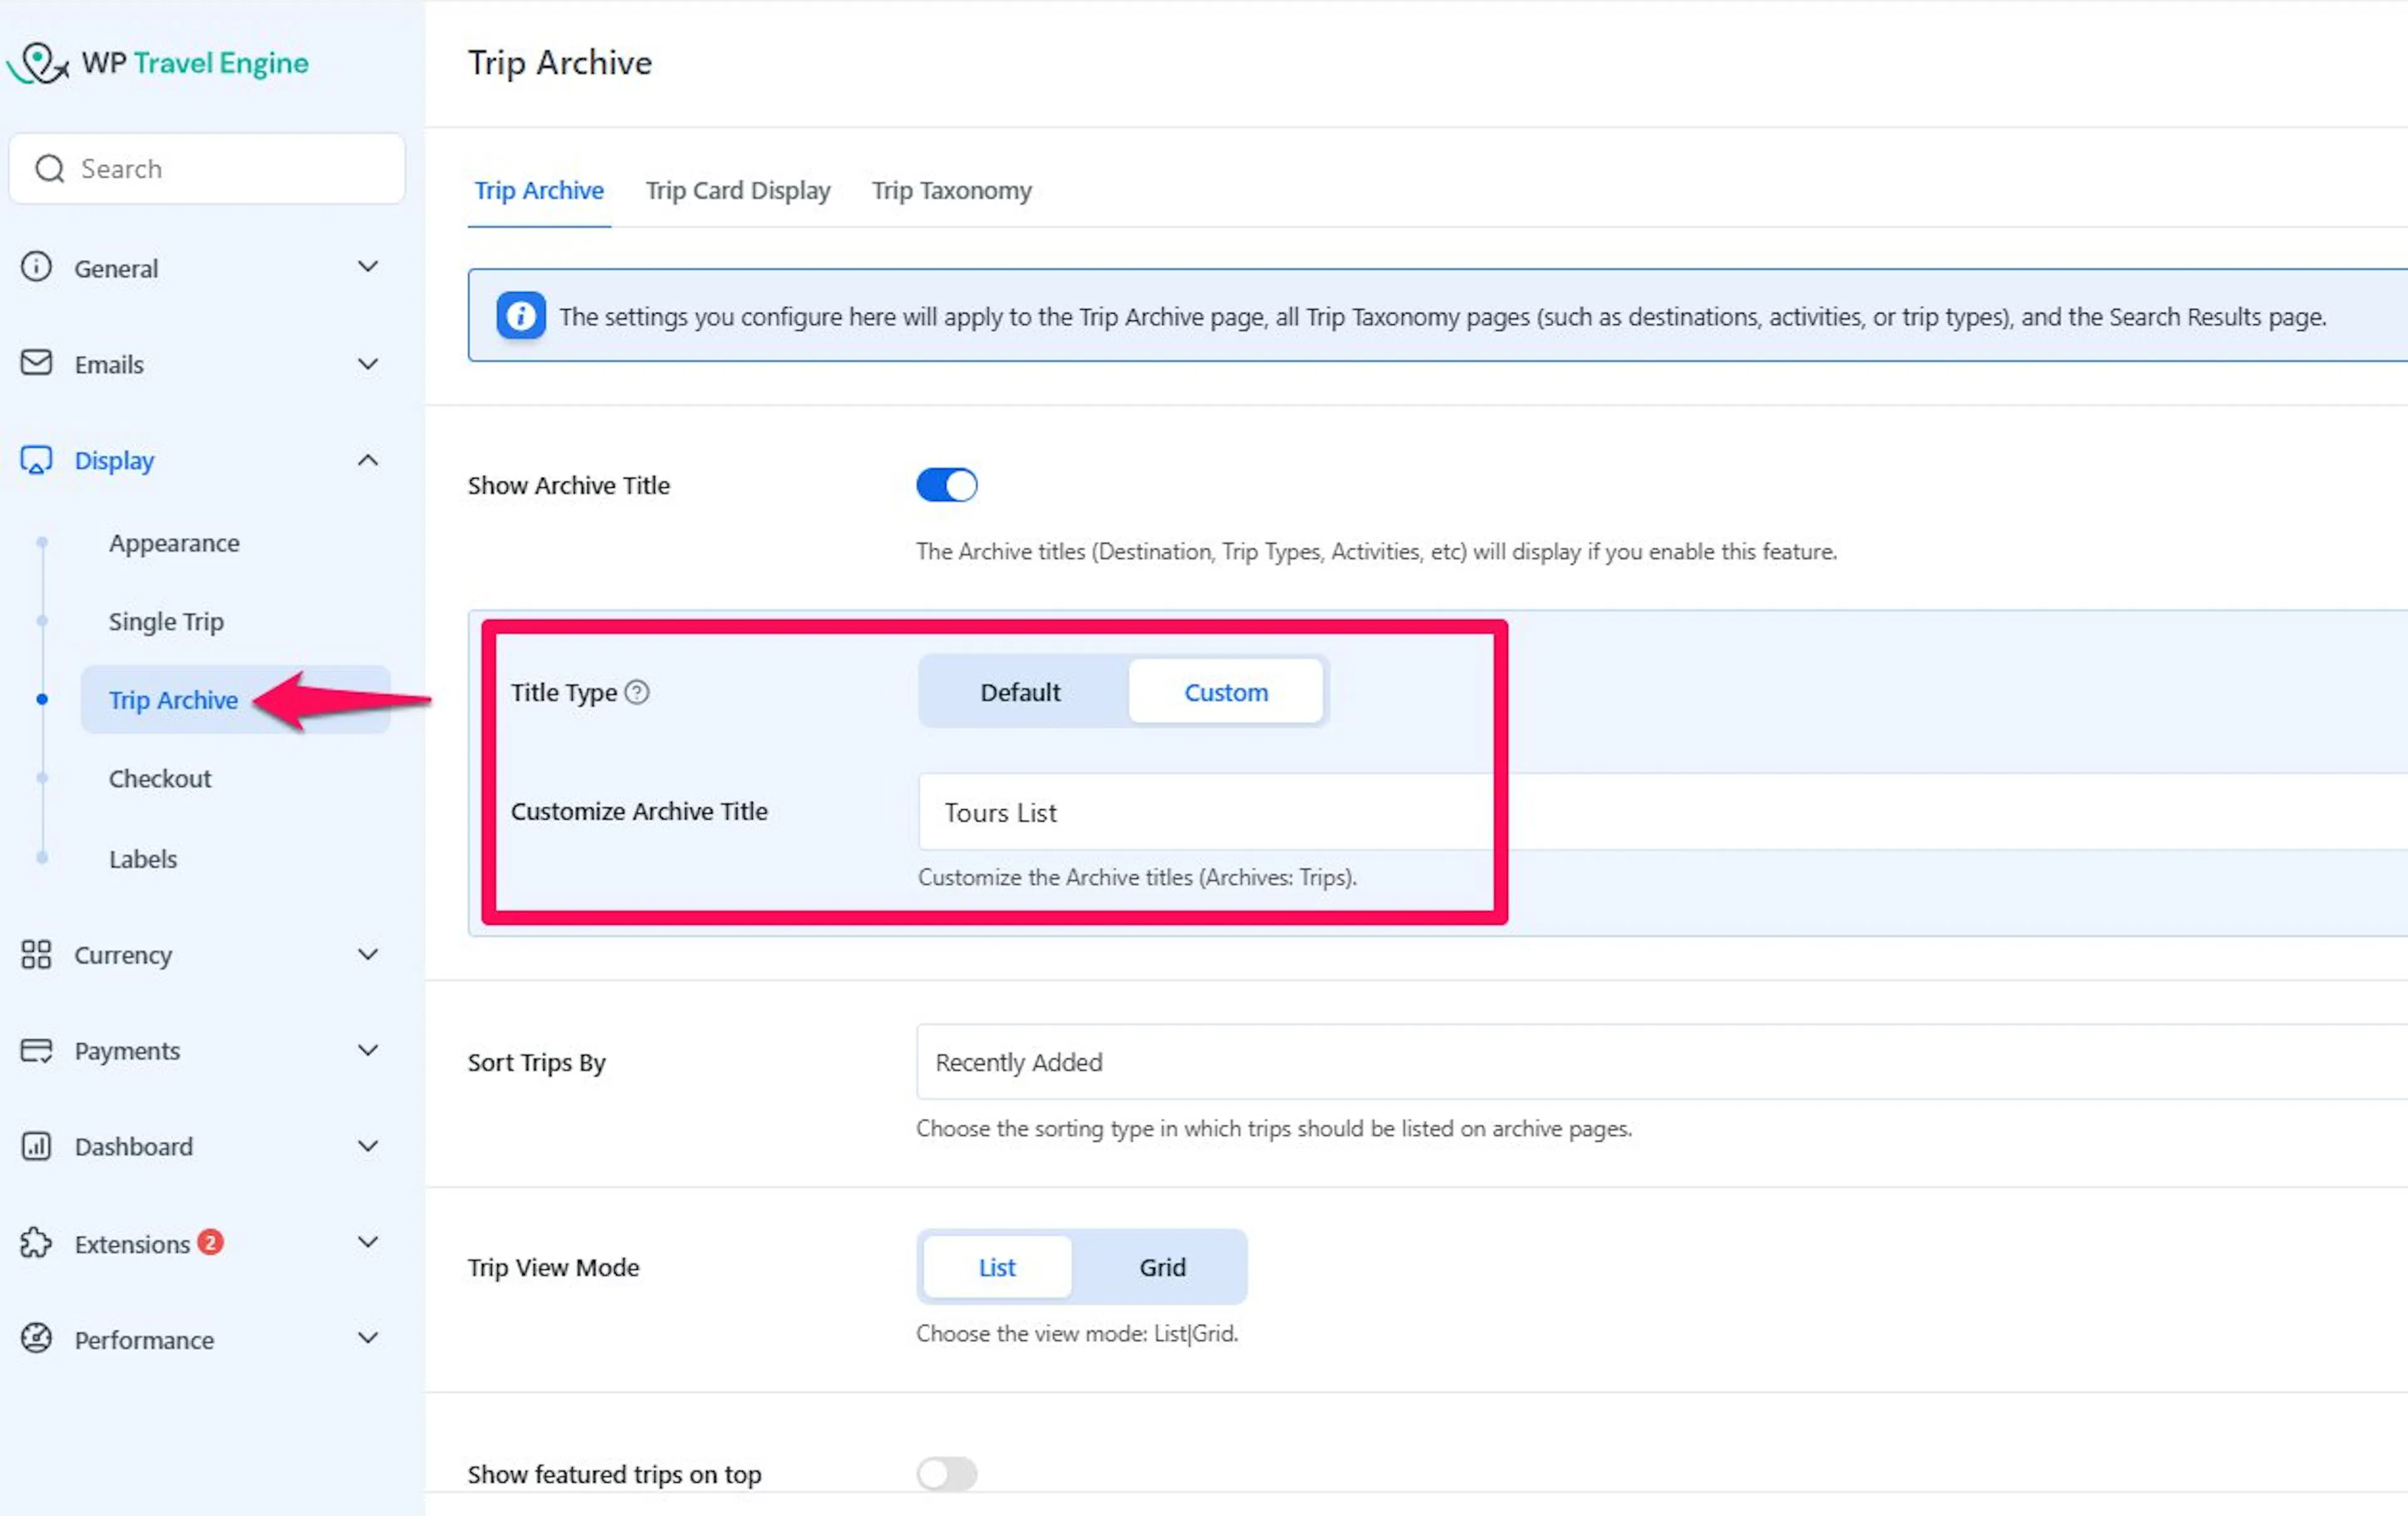
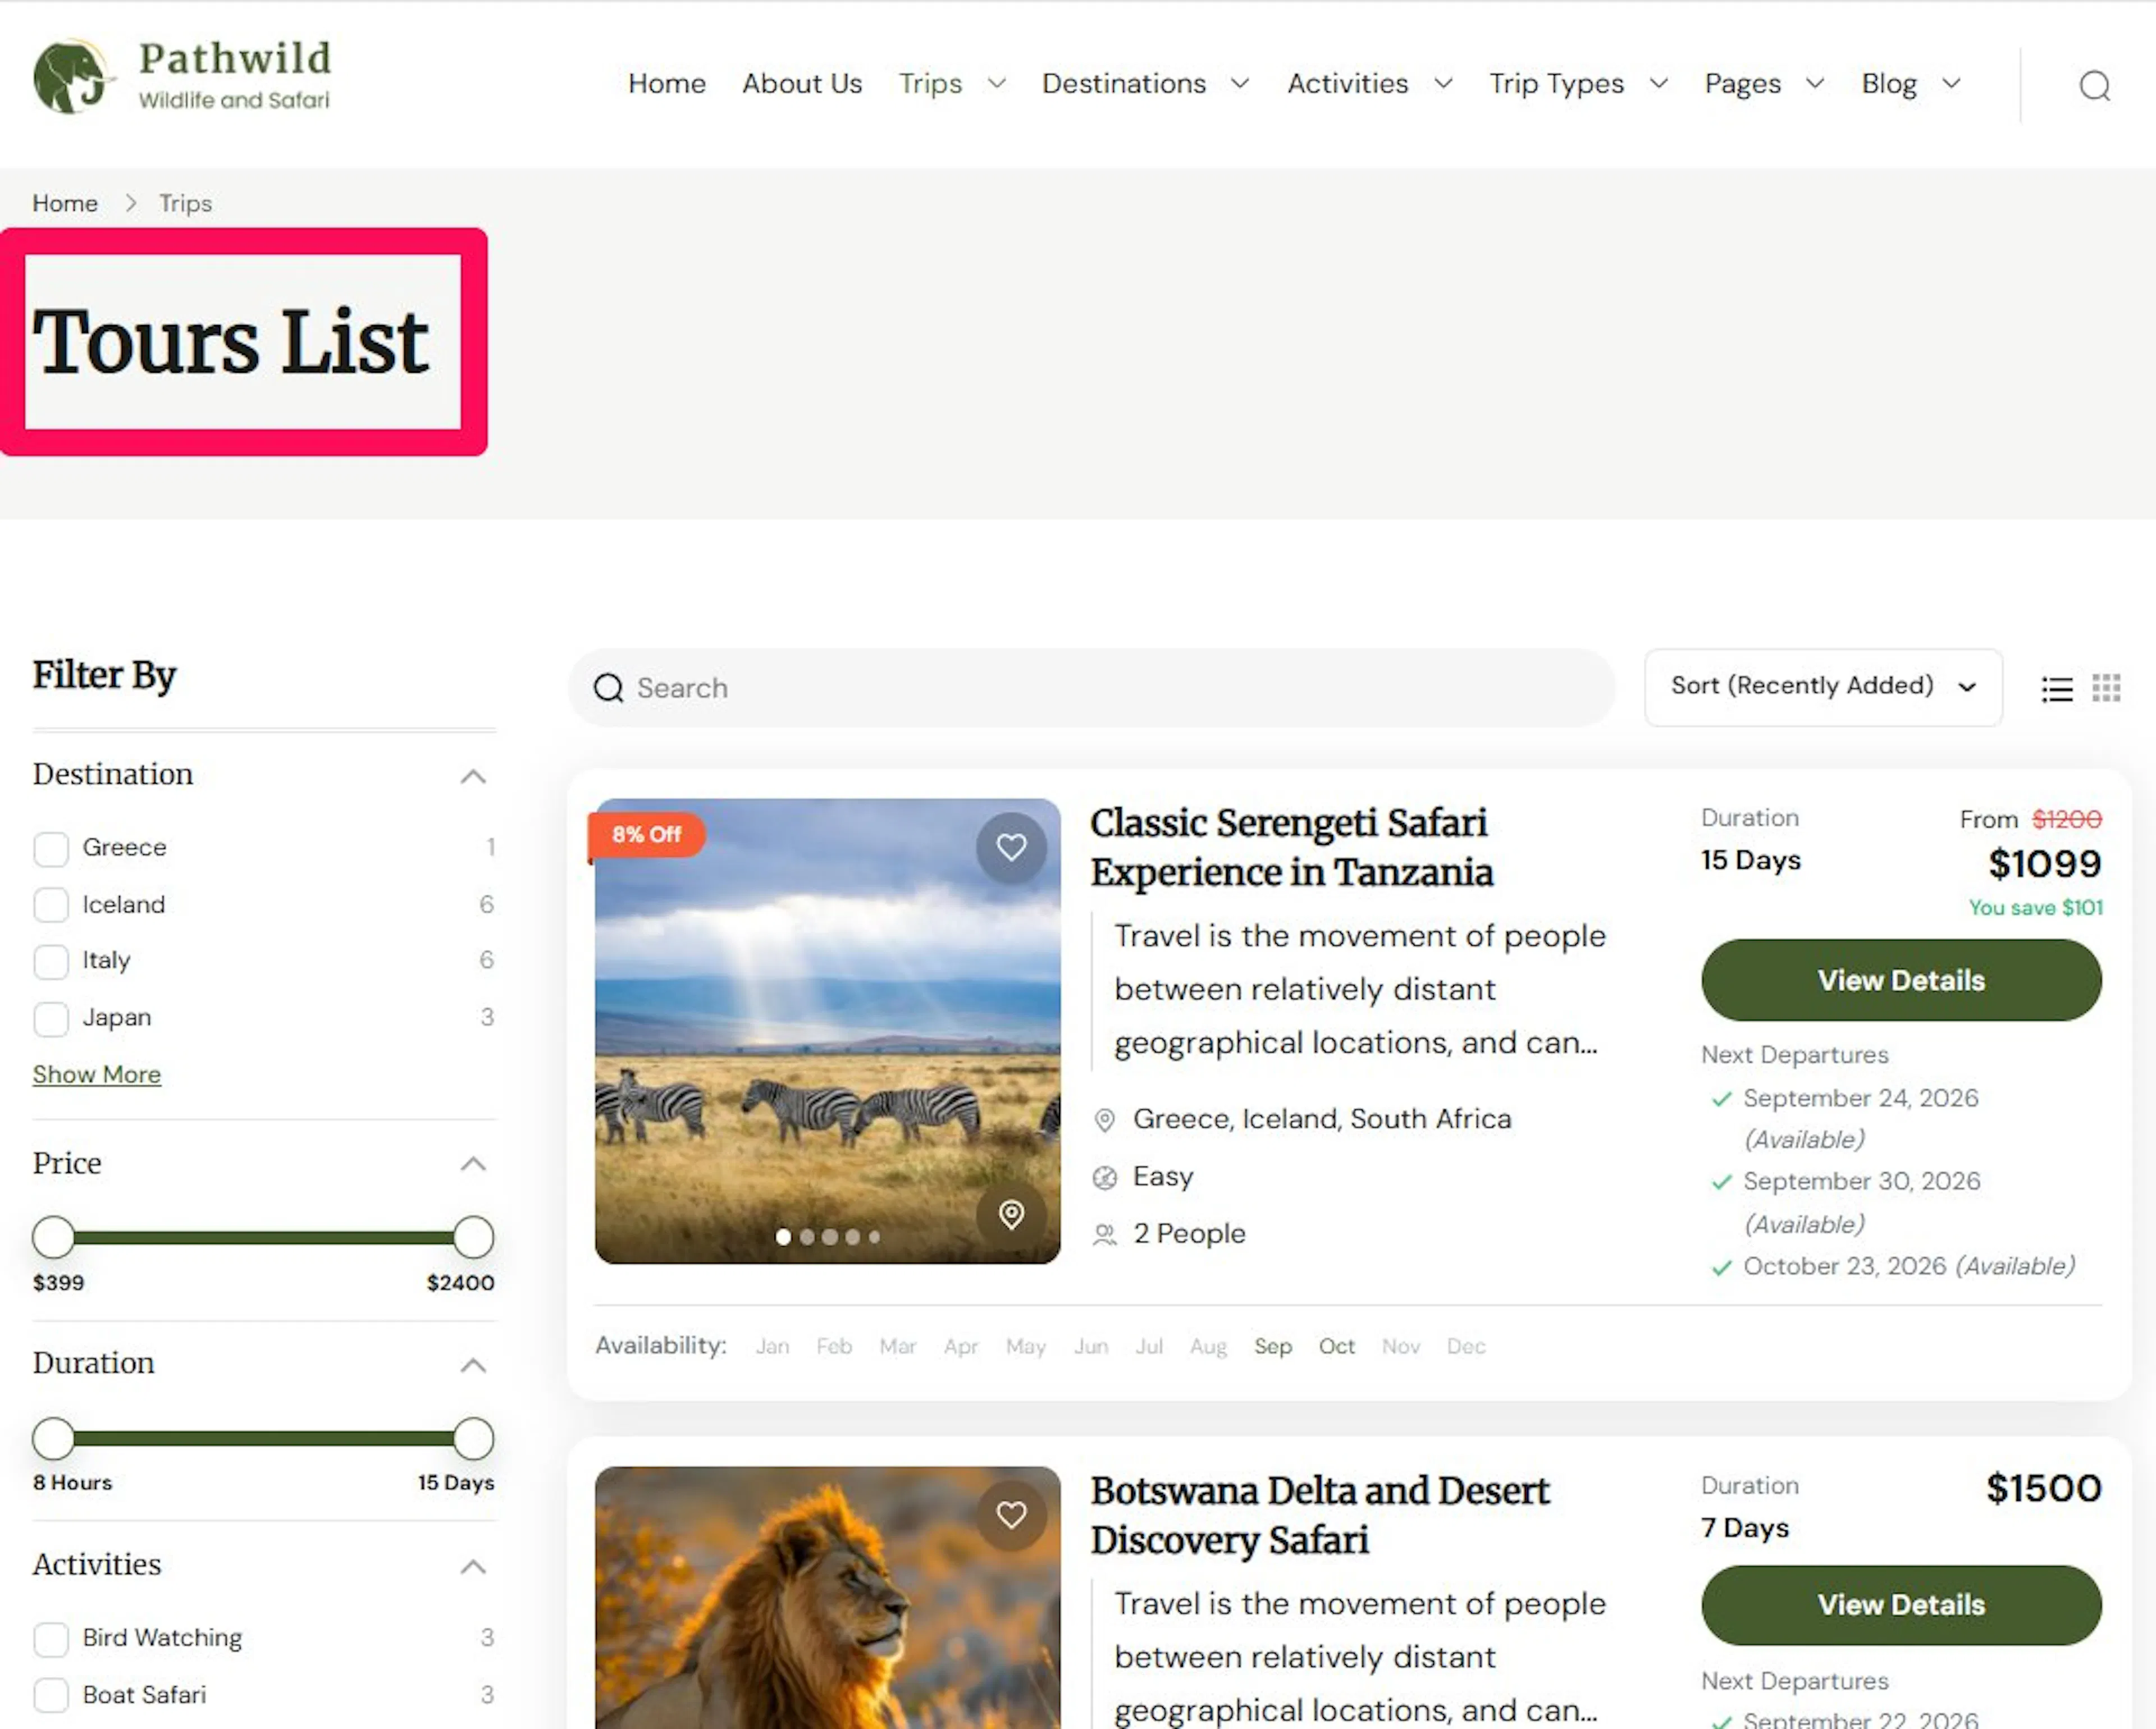
The Title Type setting controls how the archive title is displayed on your archive pages. You can choose between Default and Custom to decide whether WP Travel Engine uses the standard archive title or a title you define yourself.
- Default: The archive title is displayed using the default title provided by WP Travel Engine based on the archive being viewed.
- Custom: The archive title uses the custom text you enter in the Customize Archive Title field.
Use Default if you want WP Travel Engine to automatically generate the archive title based on the archive type and name.
Use Custom if you want to display your own wording for the archive title.
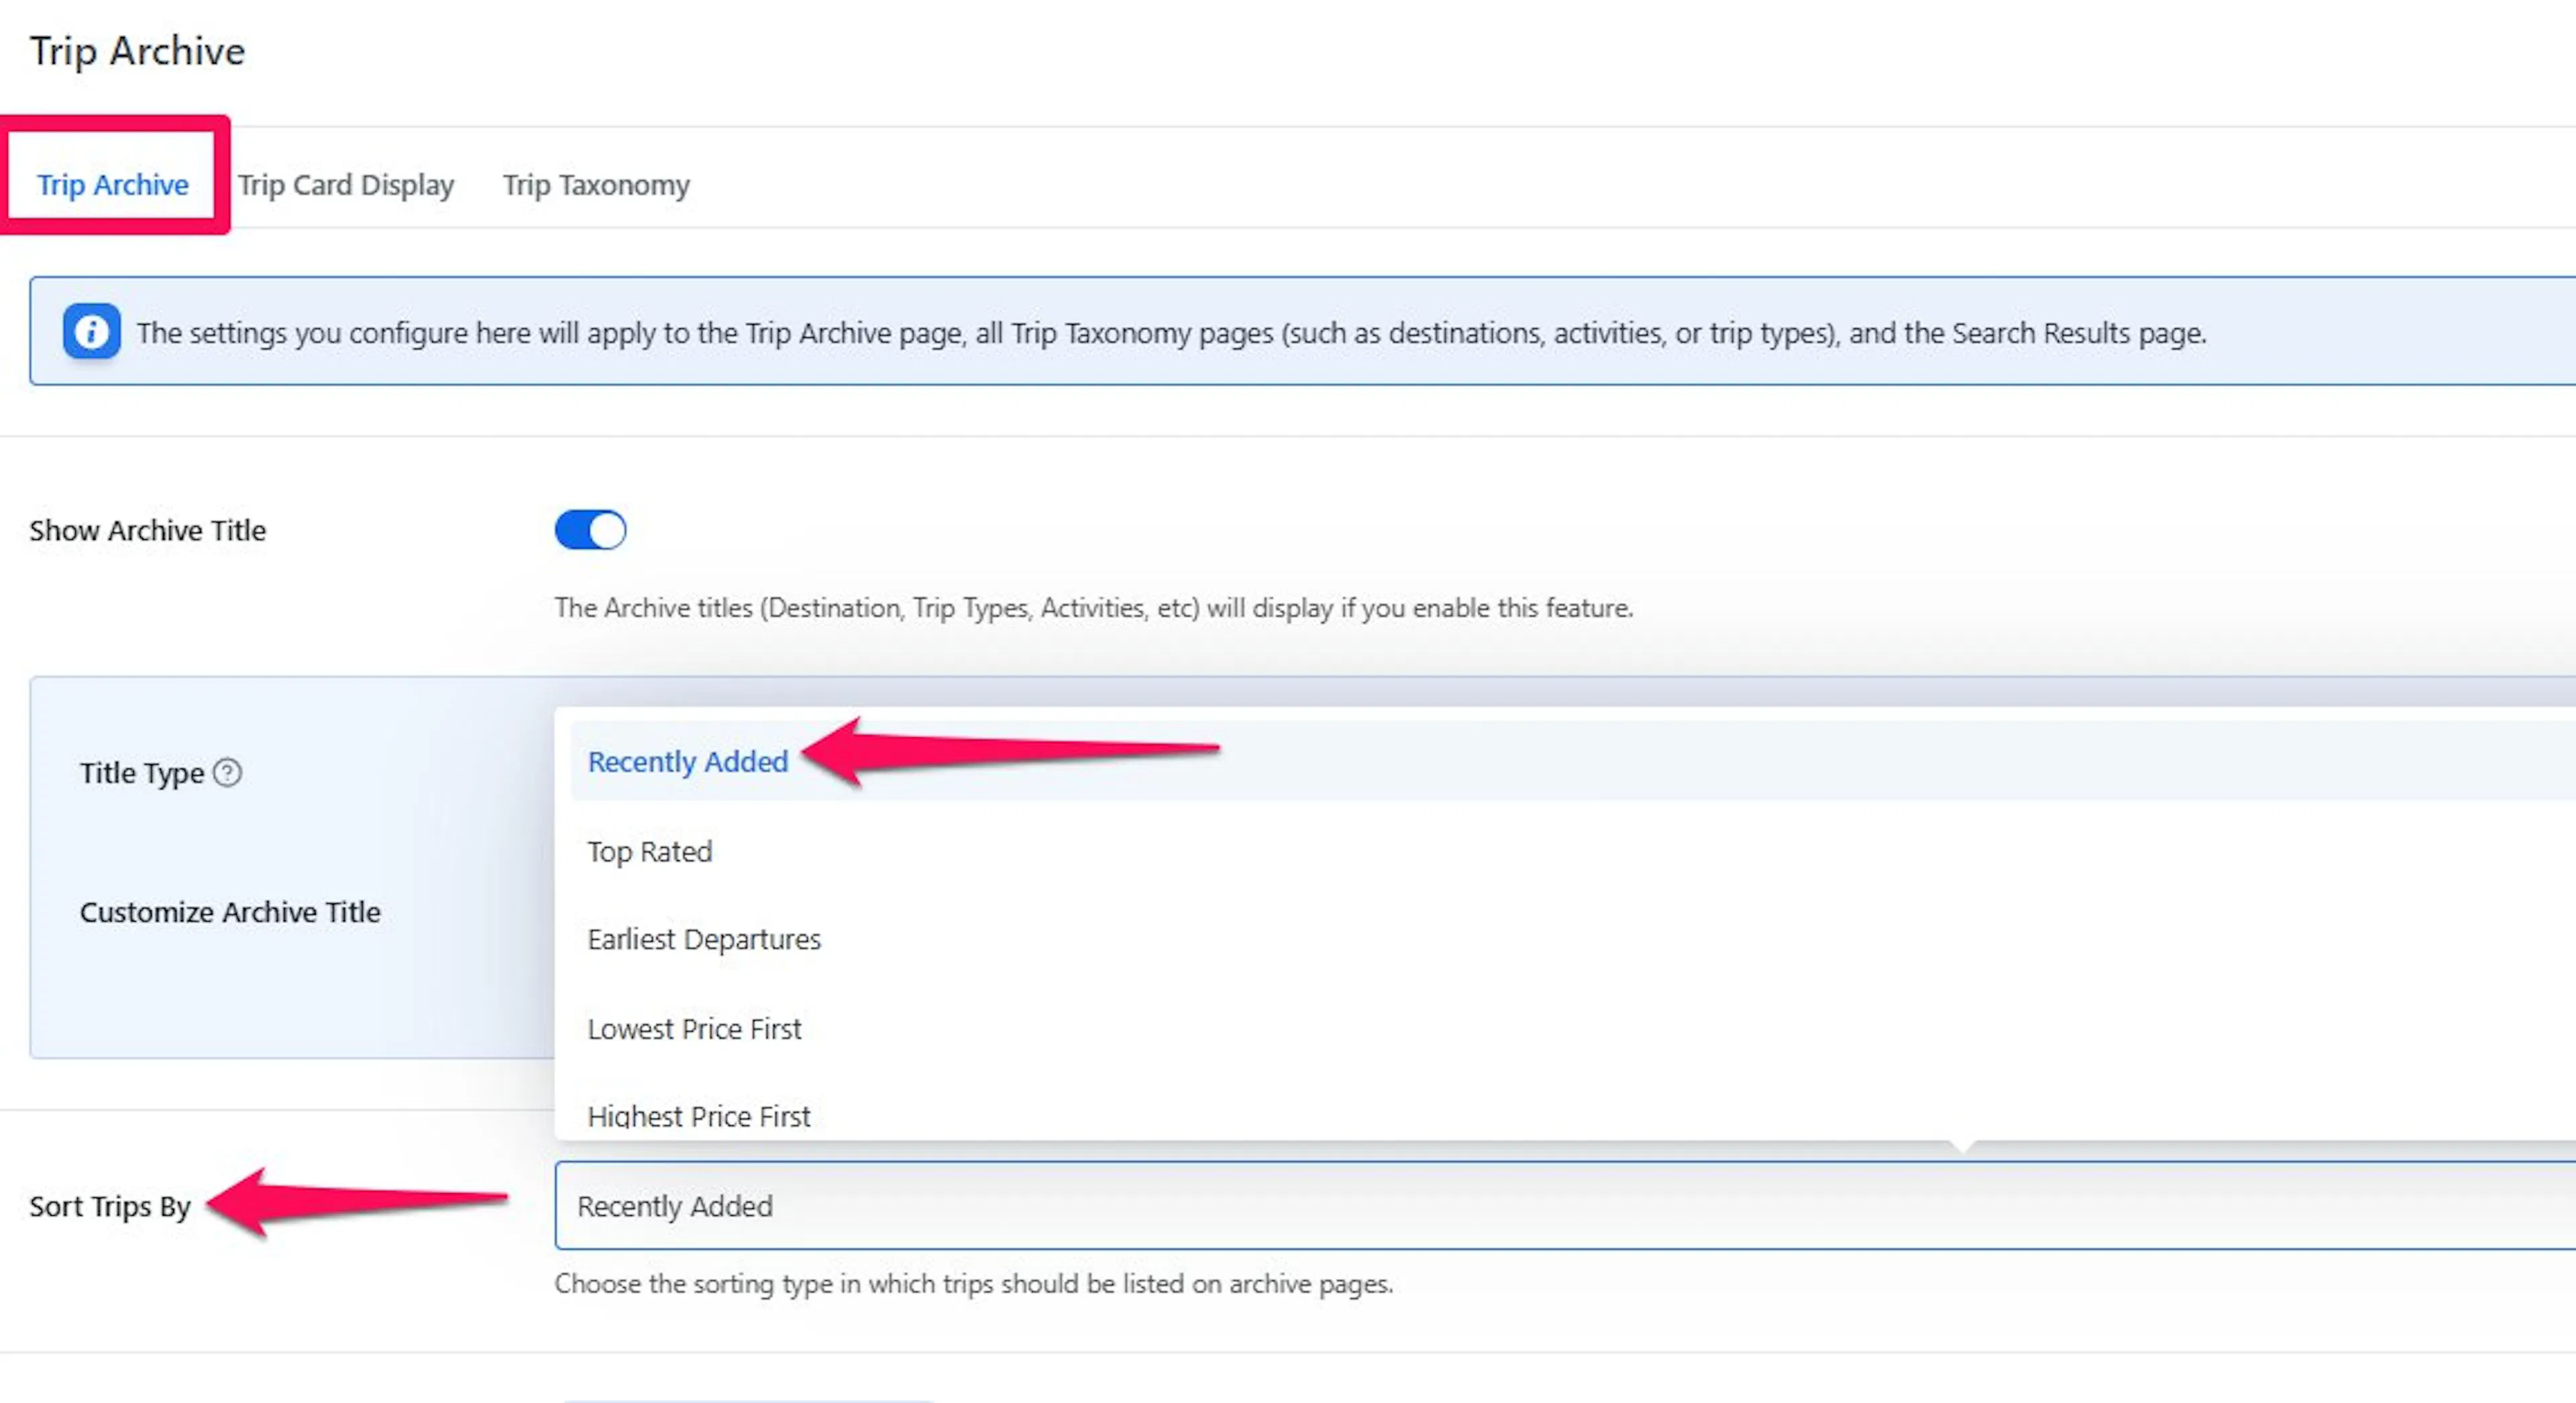
Sort Trips By
Sorting changes the order your trips appear in. This matters because it helps visitors find the right trip faster.
If you want to push your newest trips first, use Recently Added. If your lower-priced day tours sell well when people compare prices, Lowest Price First can be a better fit.
| Option | Effect |
|---|---|
| Recently Added | Displays trips starting from the newest |
| Top Rated | Shows trips with the highest ratings first |
| Lowest Price First | Sorts trips from lowest to highest price |
| Highest Price First | Sorts trips from highest to lowest price |
| Shortest Duration First | Sorts trips by duration, shortest to longest |
| Longest Duration First | Sorts trips by duration, longest to shortest |
| Alphabetical – A to Z | Sorts trips alphabetically, A to Z |
| Alphabetical – Z to A | Sorts trips alphabetically, Z to A |
| Earliest Departures | Sorts trips by departure date - requires the Trip Fixed Starting Dates extension |
Pick the order that matches how you want people to shop. Once that is set, you can move on to how those trips look on the page.
Trip View Mode
This setting controls the default layout of your trip archive page. It changes how the list of trips is arranged when someone first lands on the page.
- List View - Trips stack one above the other.
- Grid View - Trips sit side by side in columns.
List View works well when you want each trip to have more room for details. Grid View works well when you want people to scan many trips quickly.
This option sets the default view. Visitors can still switch view modes on the frontend.
So this setting gives you the starting layout. Your visitors still keep some control, which is often helpful.
Show Featured Trips Always on Top
Featured means trips you have marked as special or important in your trip settings. This option keeps those trips at the top of the archive page.
For example, you may have an Everest Base Camp trek that fills up fast every season. If you mark it as featured and turn this setting on, that trip stays near the top where more visitors will see it.
- Enabled - Featured trips stay at the top of the archive page.
- Disabled - Featured trips follow the normal sorting order.
When you enable this setting, you will also see Number of Featured Trips. Use that setting to choose how many featured trips should stay at the top.
This is useful when you want to promote a few key trips without changing the rest of your archive layout. After that, you can decide whether visitors should filter what they see.
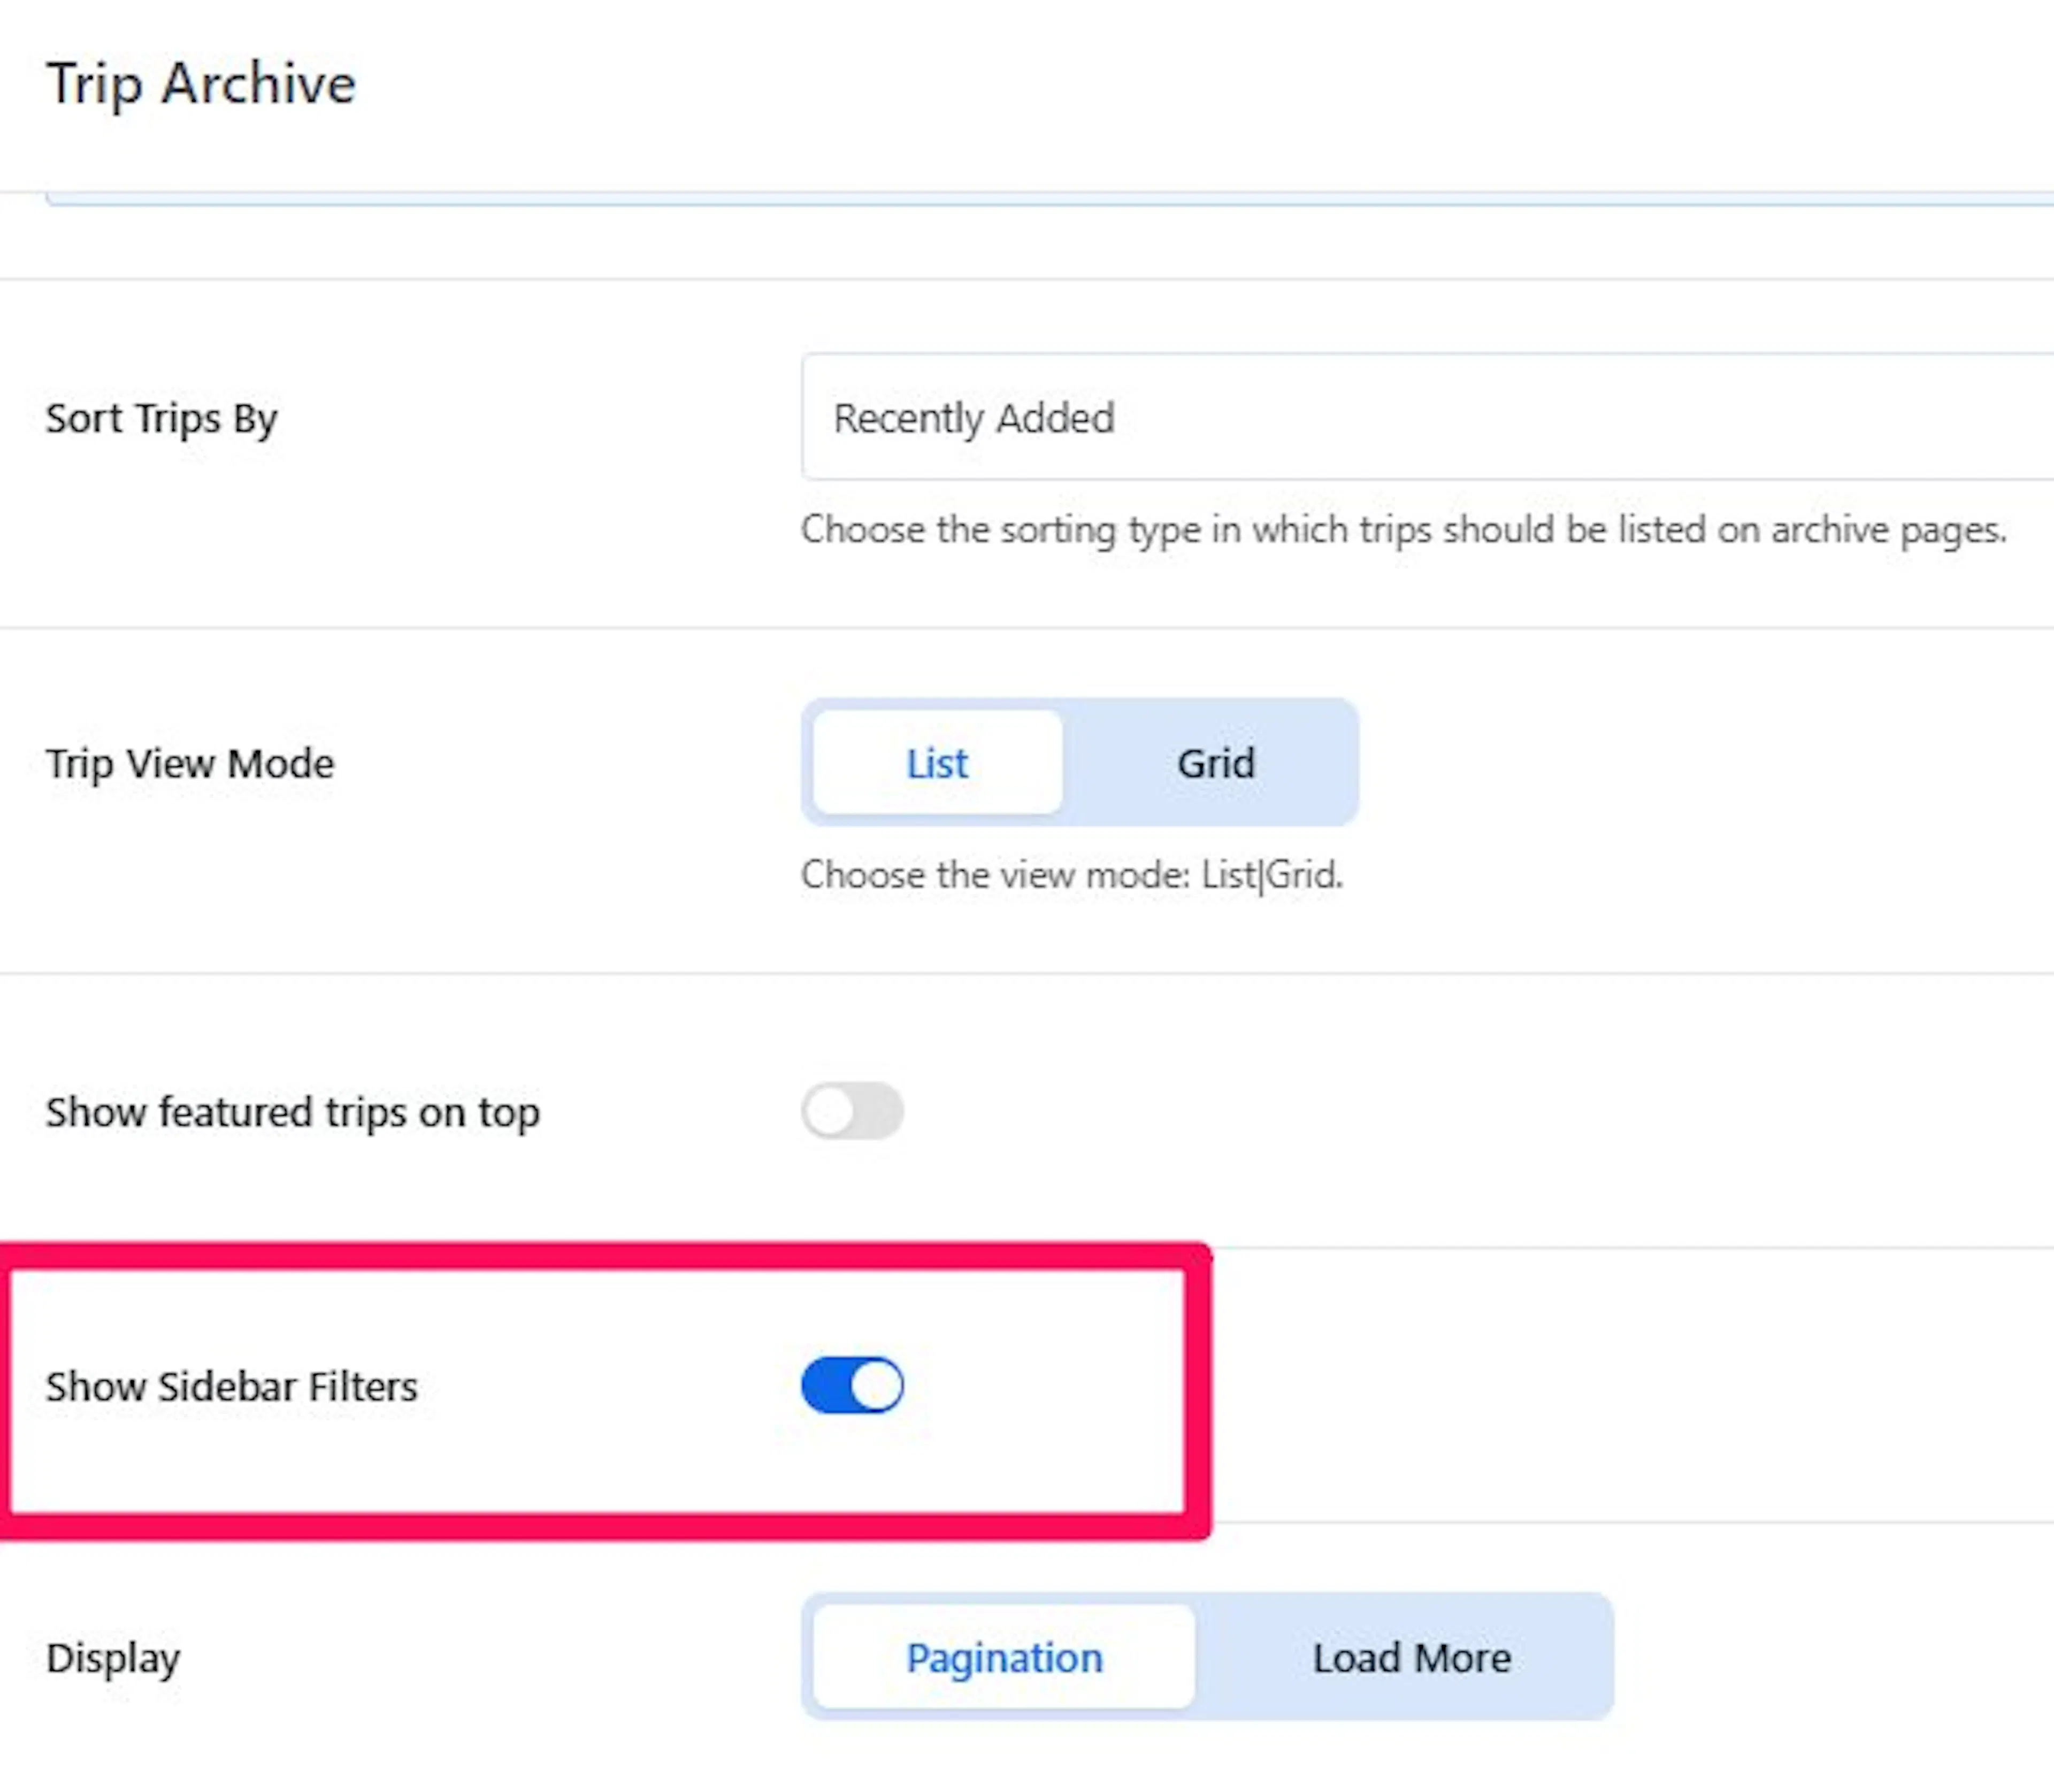
Side Filter
The sidebar filter is the panel on the side of the archive page that helps visitors narrow down trips. They can use it to filter by things like destination, price, and trip type.
For example, if you run trips in Nepal, Bhutan, and India, the filter helps a visitor choose only Nepal instead of scrolling through everything. That saves time and helps them get to the right trip faster.
Turn Show Sidebar Filters on or off, then click Save.
If your site has many trips, filters usually help. If you only have a small number of trips, you may prefer a simpler page.
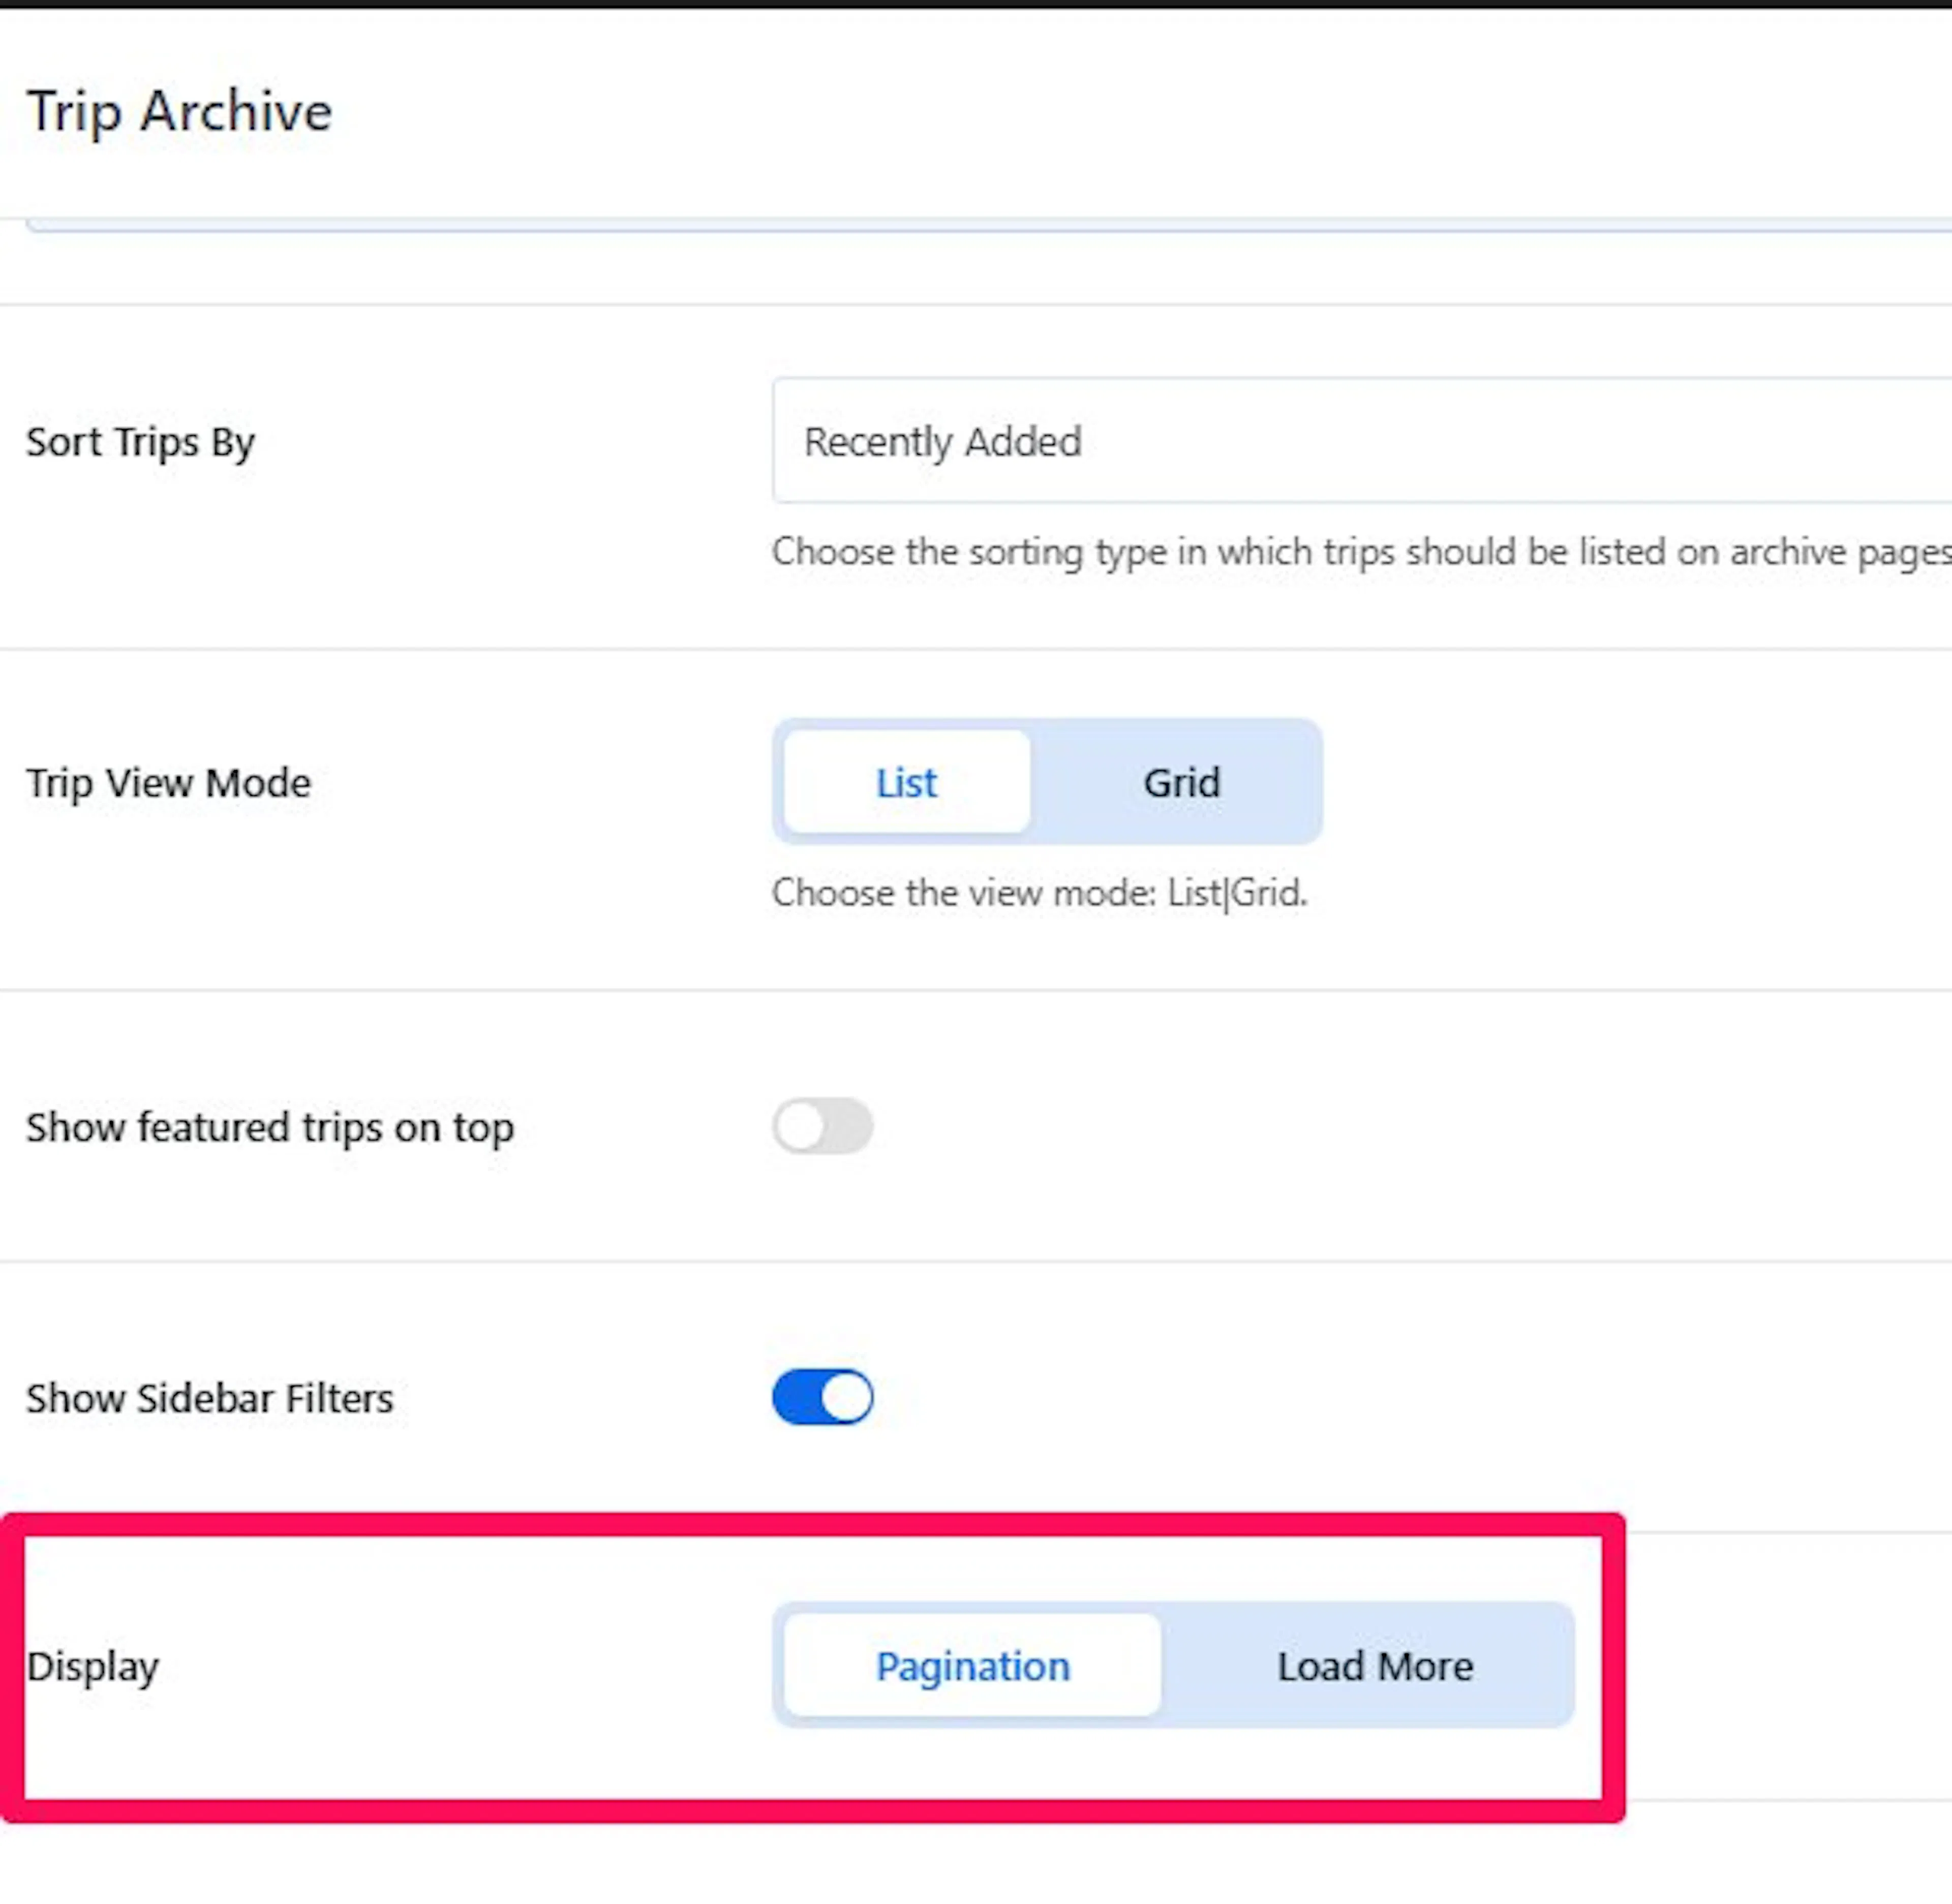
Display (pagination)
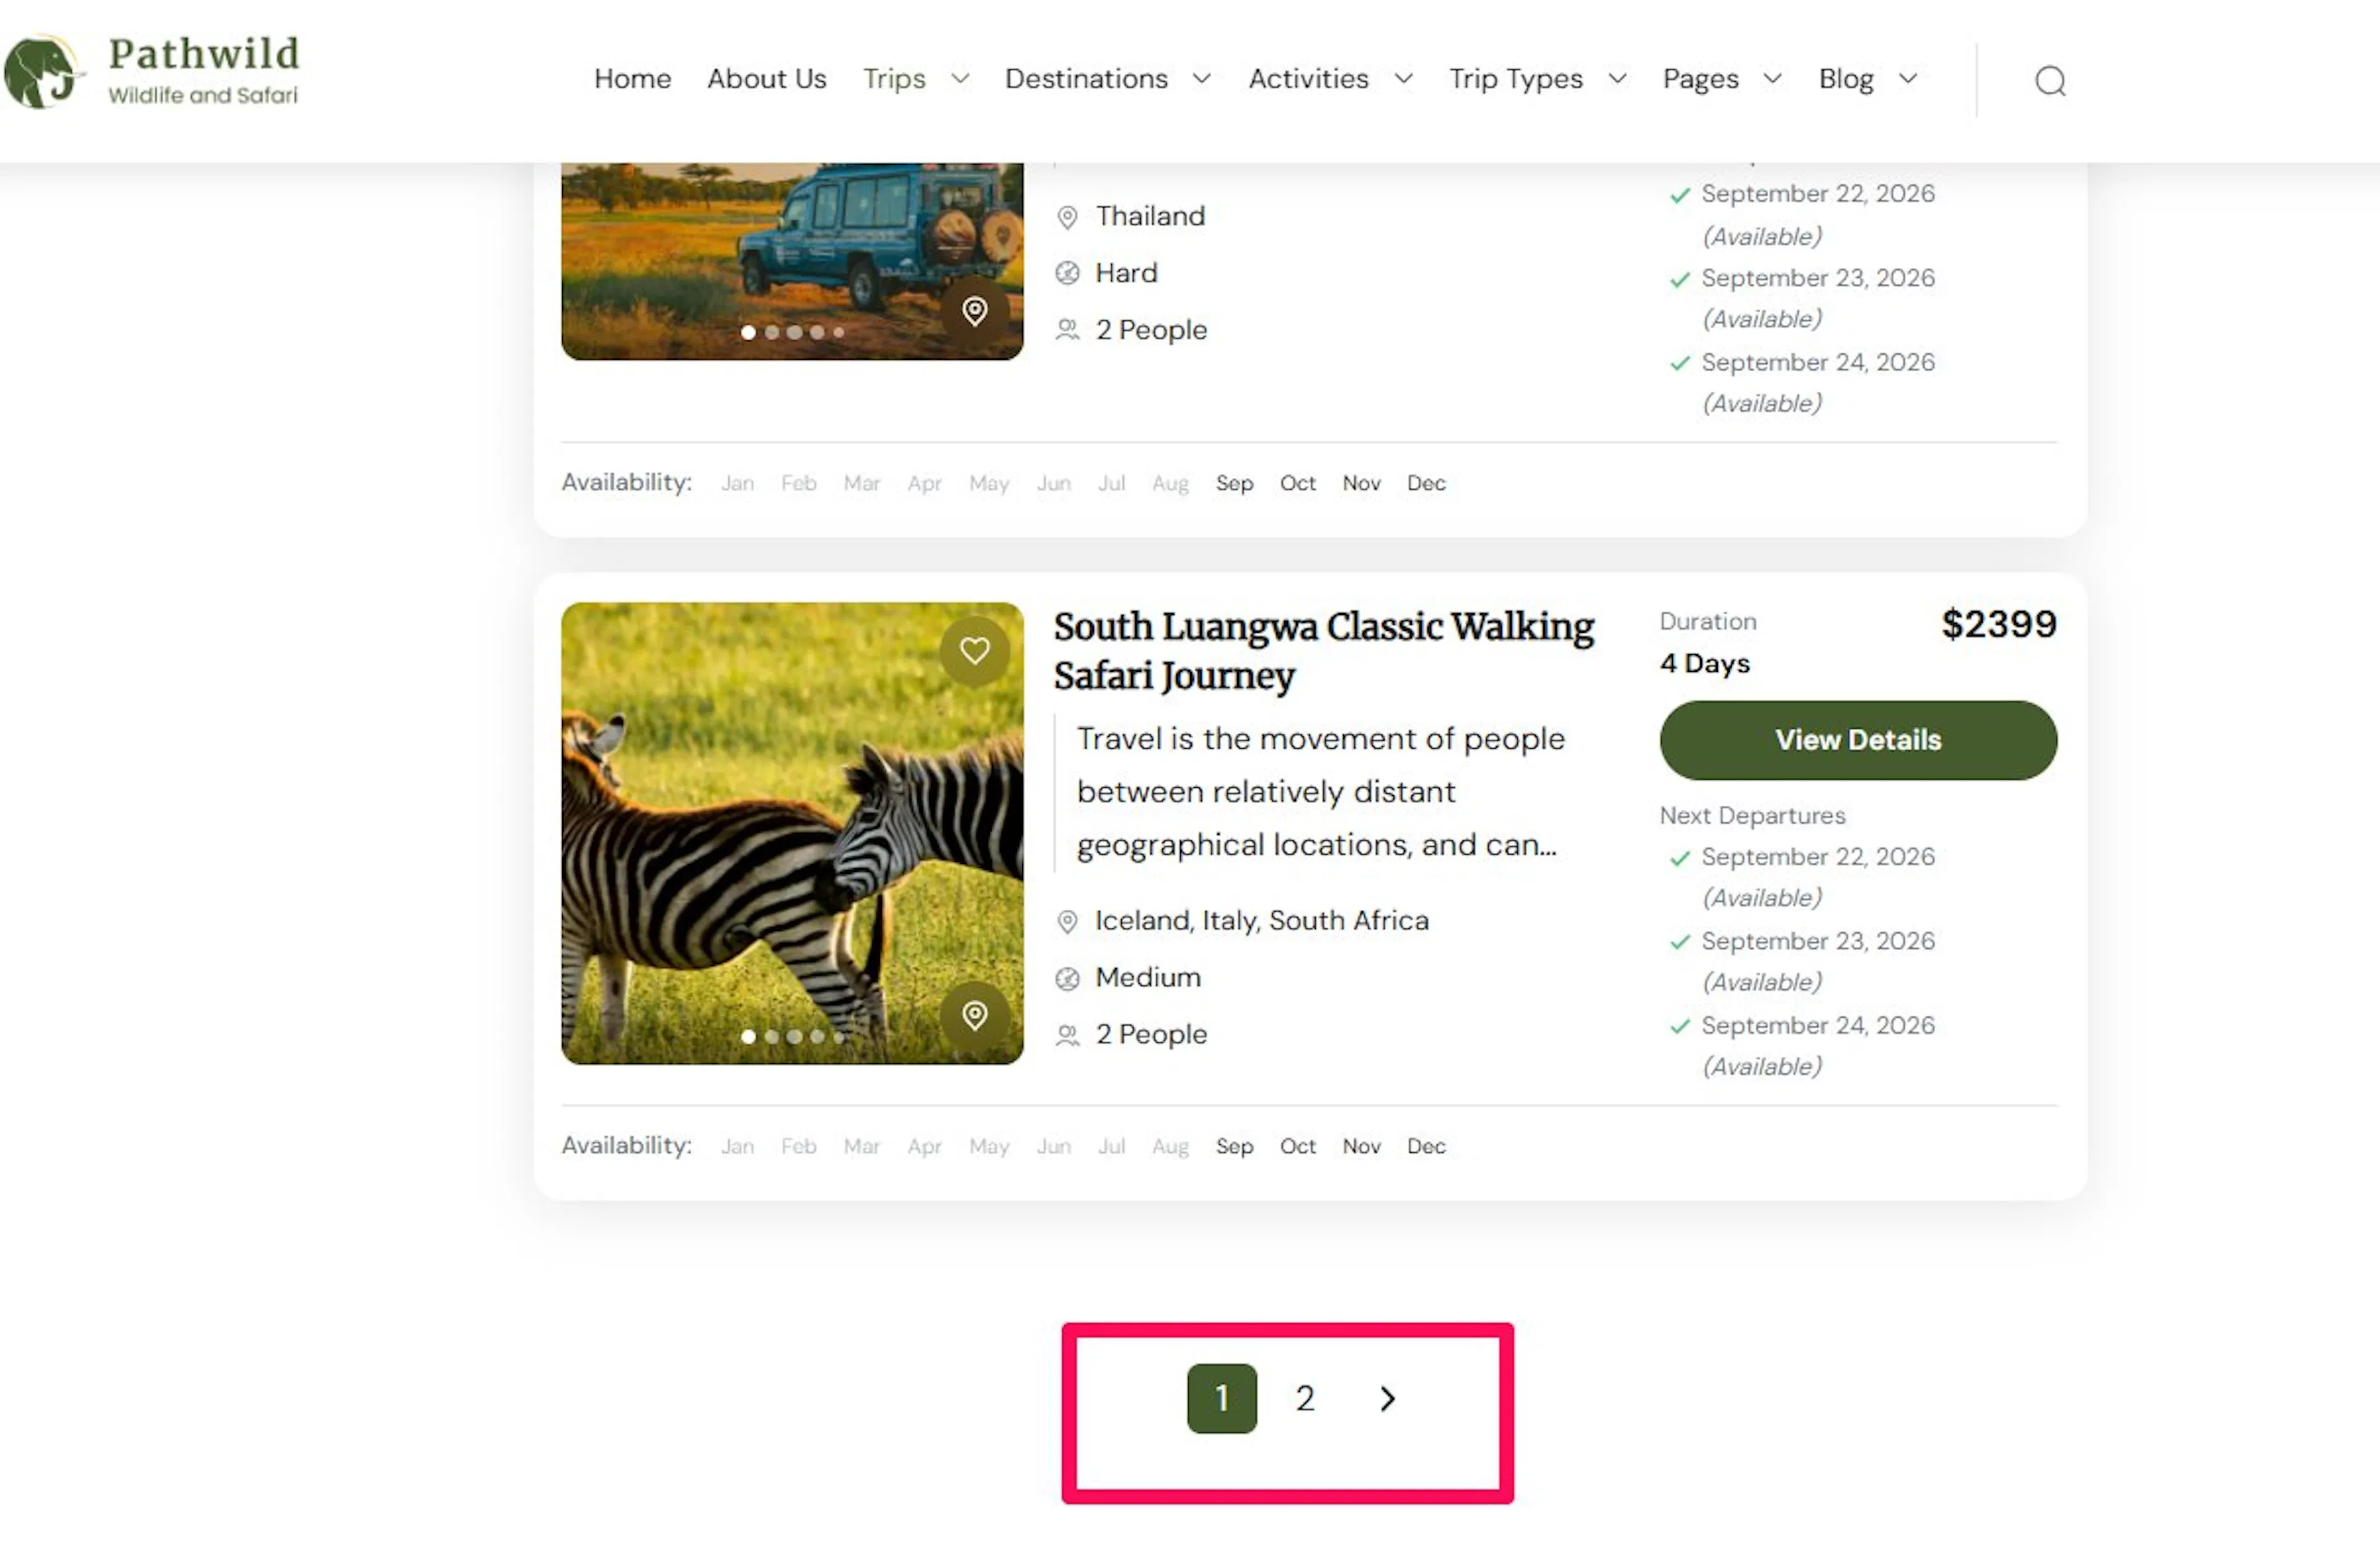
This setting controls how more trips appear after the first set of results. Pagination means your trips are split across numbered pages.
If you have 30 trips and your archive shows 9 at a time, pagination will split them across about 4 numbered pages. Load More keeps visitors on the same page and adds a button to reveal the next set of trips.
- Pagination - Splits trips across numbered pages.
- Load More - Adds a button that loads more trips on the same page.
Pagination can feel more organized when you have a lot of trips. Load More can feel smoother for browsing. Once you choose that, the next section helps you control what shows on each trip itself.
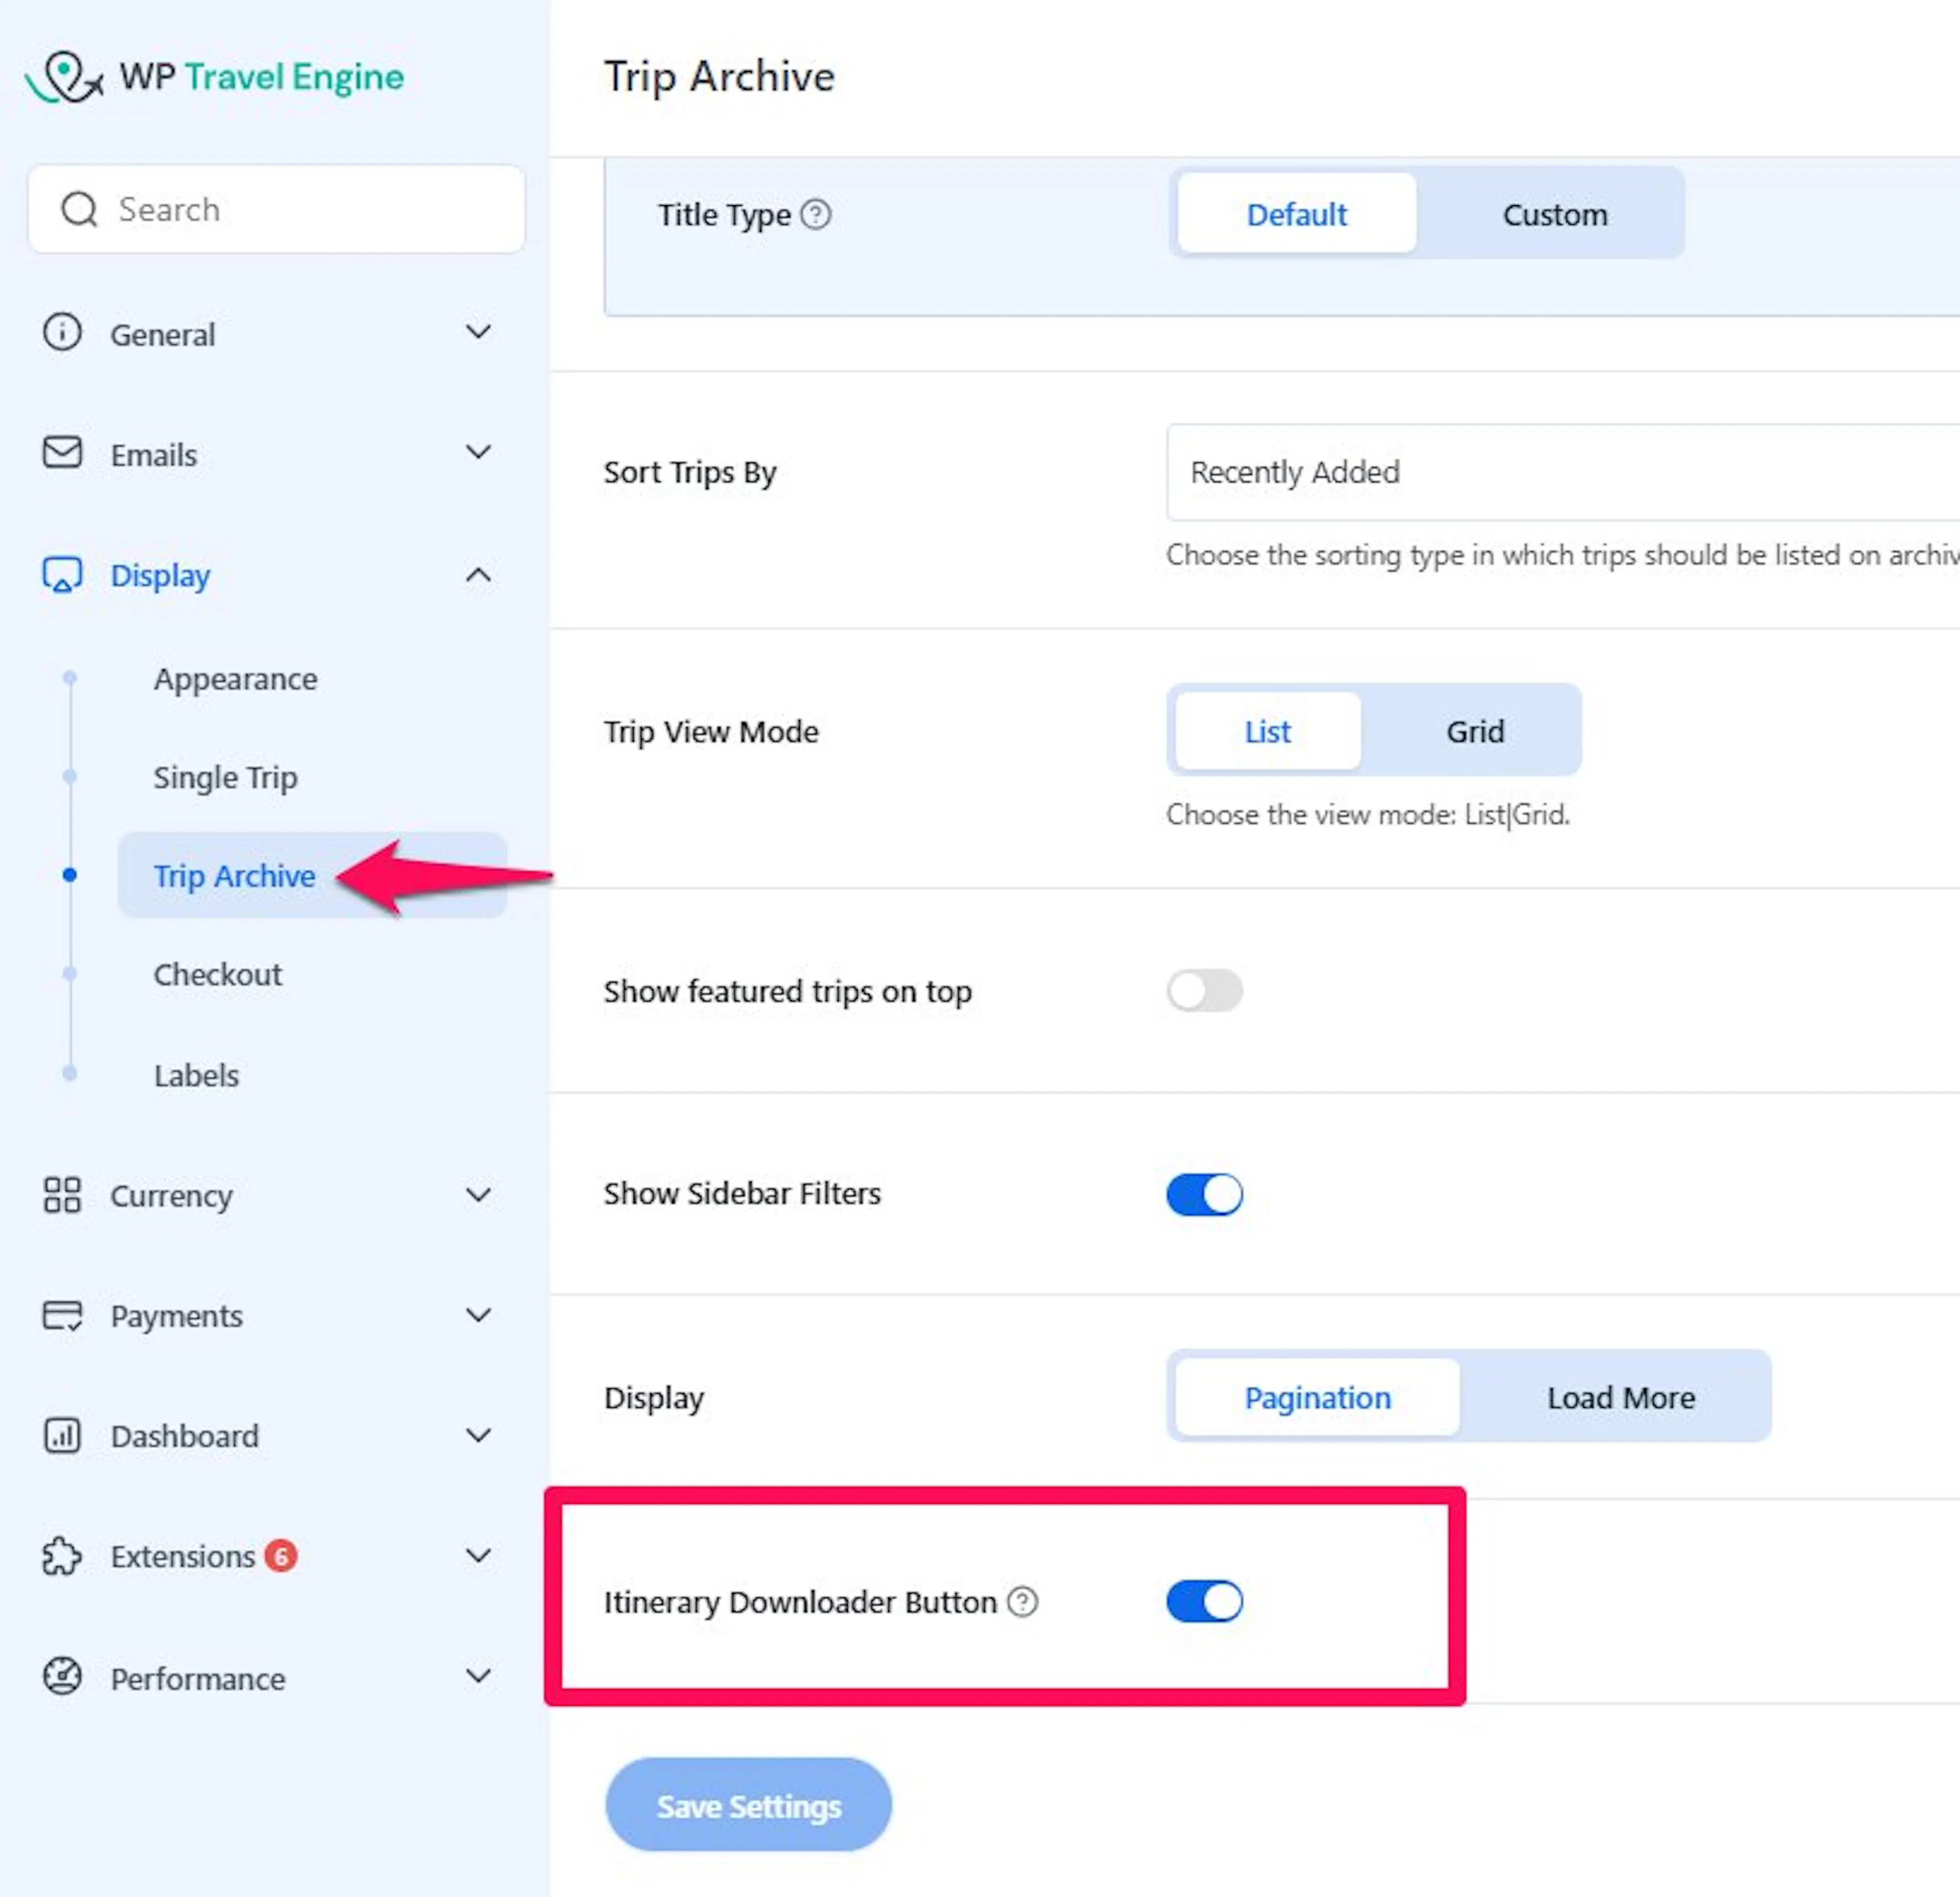
Itinerary Downloader Button
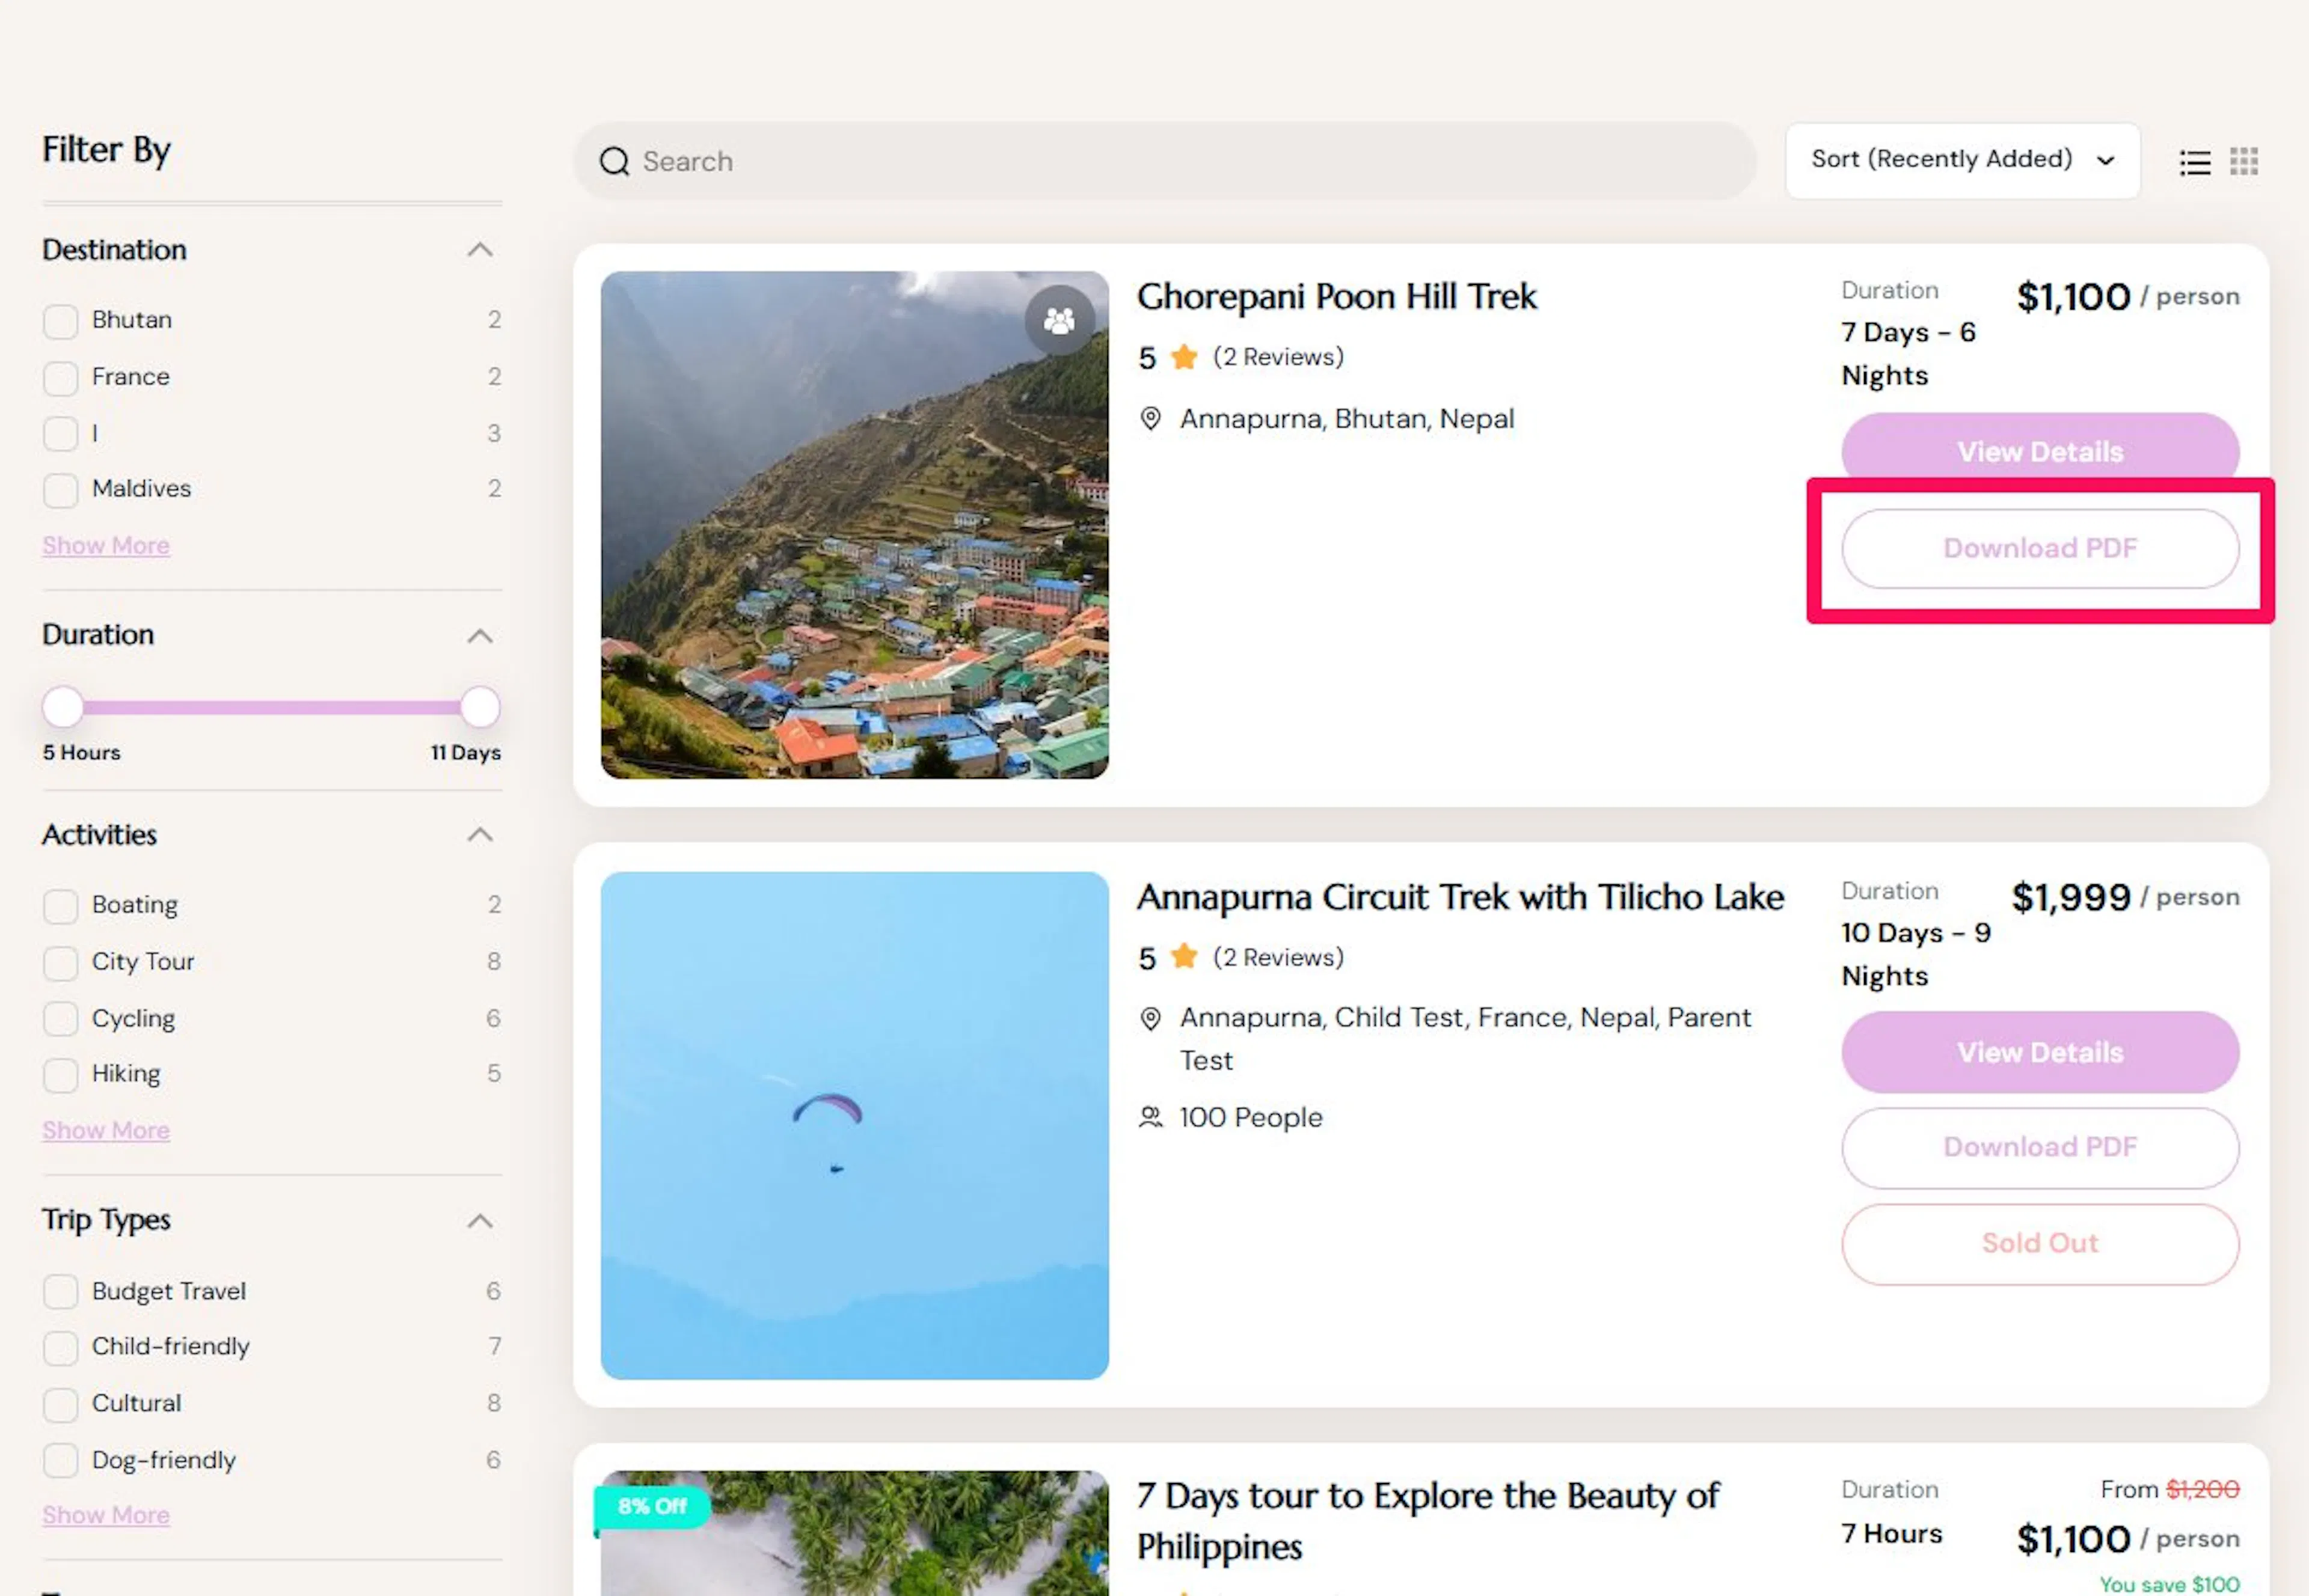
This setting controls whether visitors can download the itinerary directly from each trip card on the Trip Archive page.
The option appears only when the Itinerary Downloader add-on is enabled from WP Dashboard > Settings > Extensions > Itinerary Downloader > Enable.
Itinerary Downloader Button - Adds a button to each trip card that lets visitors download the trip itinerary.
Once enabled, visitors can download the itinerary directly from the Trip Archive page without opening the individual trip.
Trip Card Display
A trip card is the box that shows each individual trip on the archive page. It usually includes the trip photo, title, price, and other quick details.
These settings control what appears on those cards. You will find them under the Trip Card Display tab.
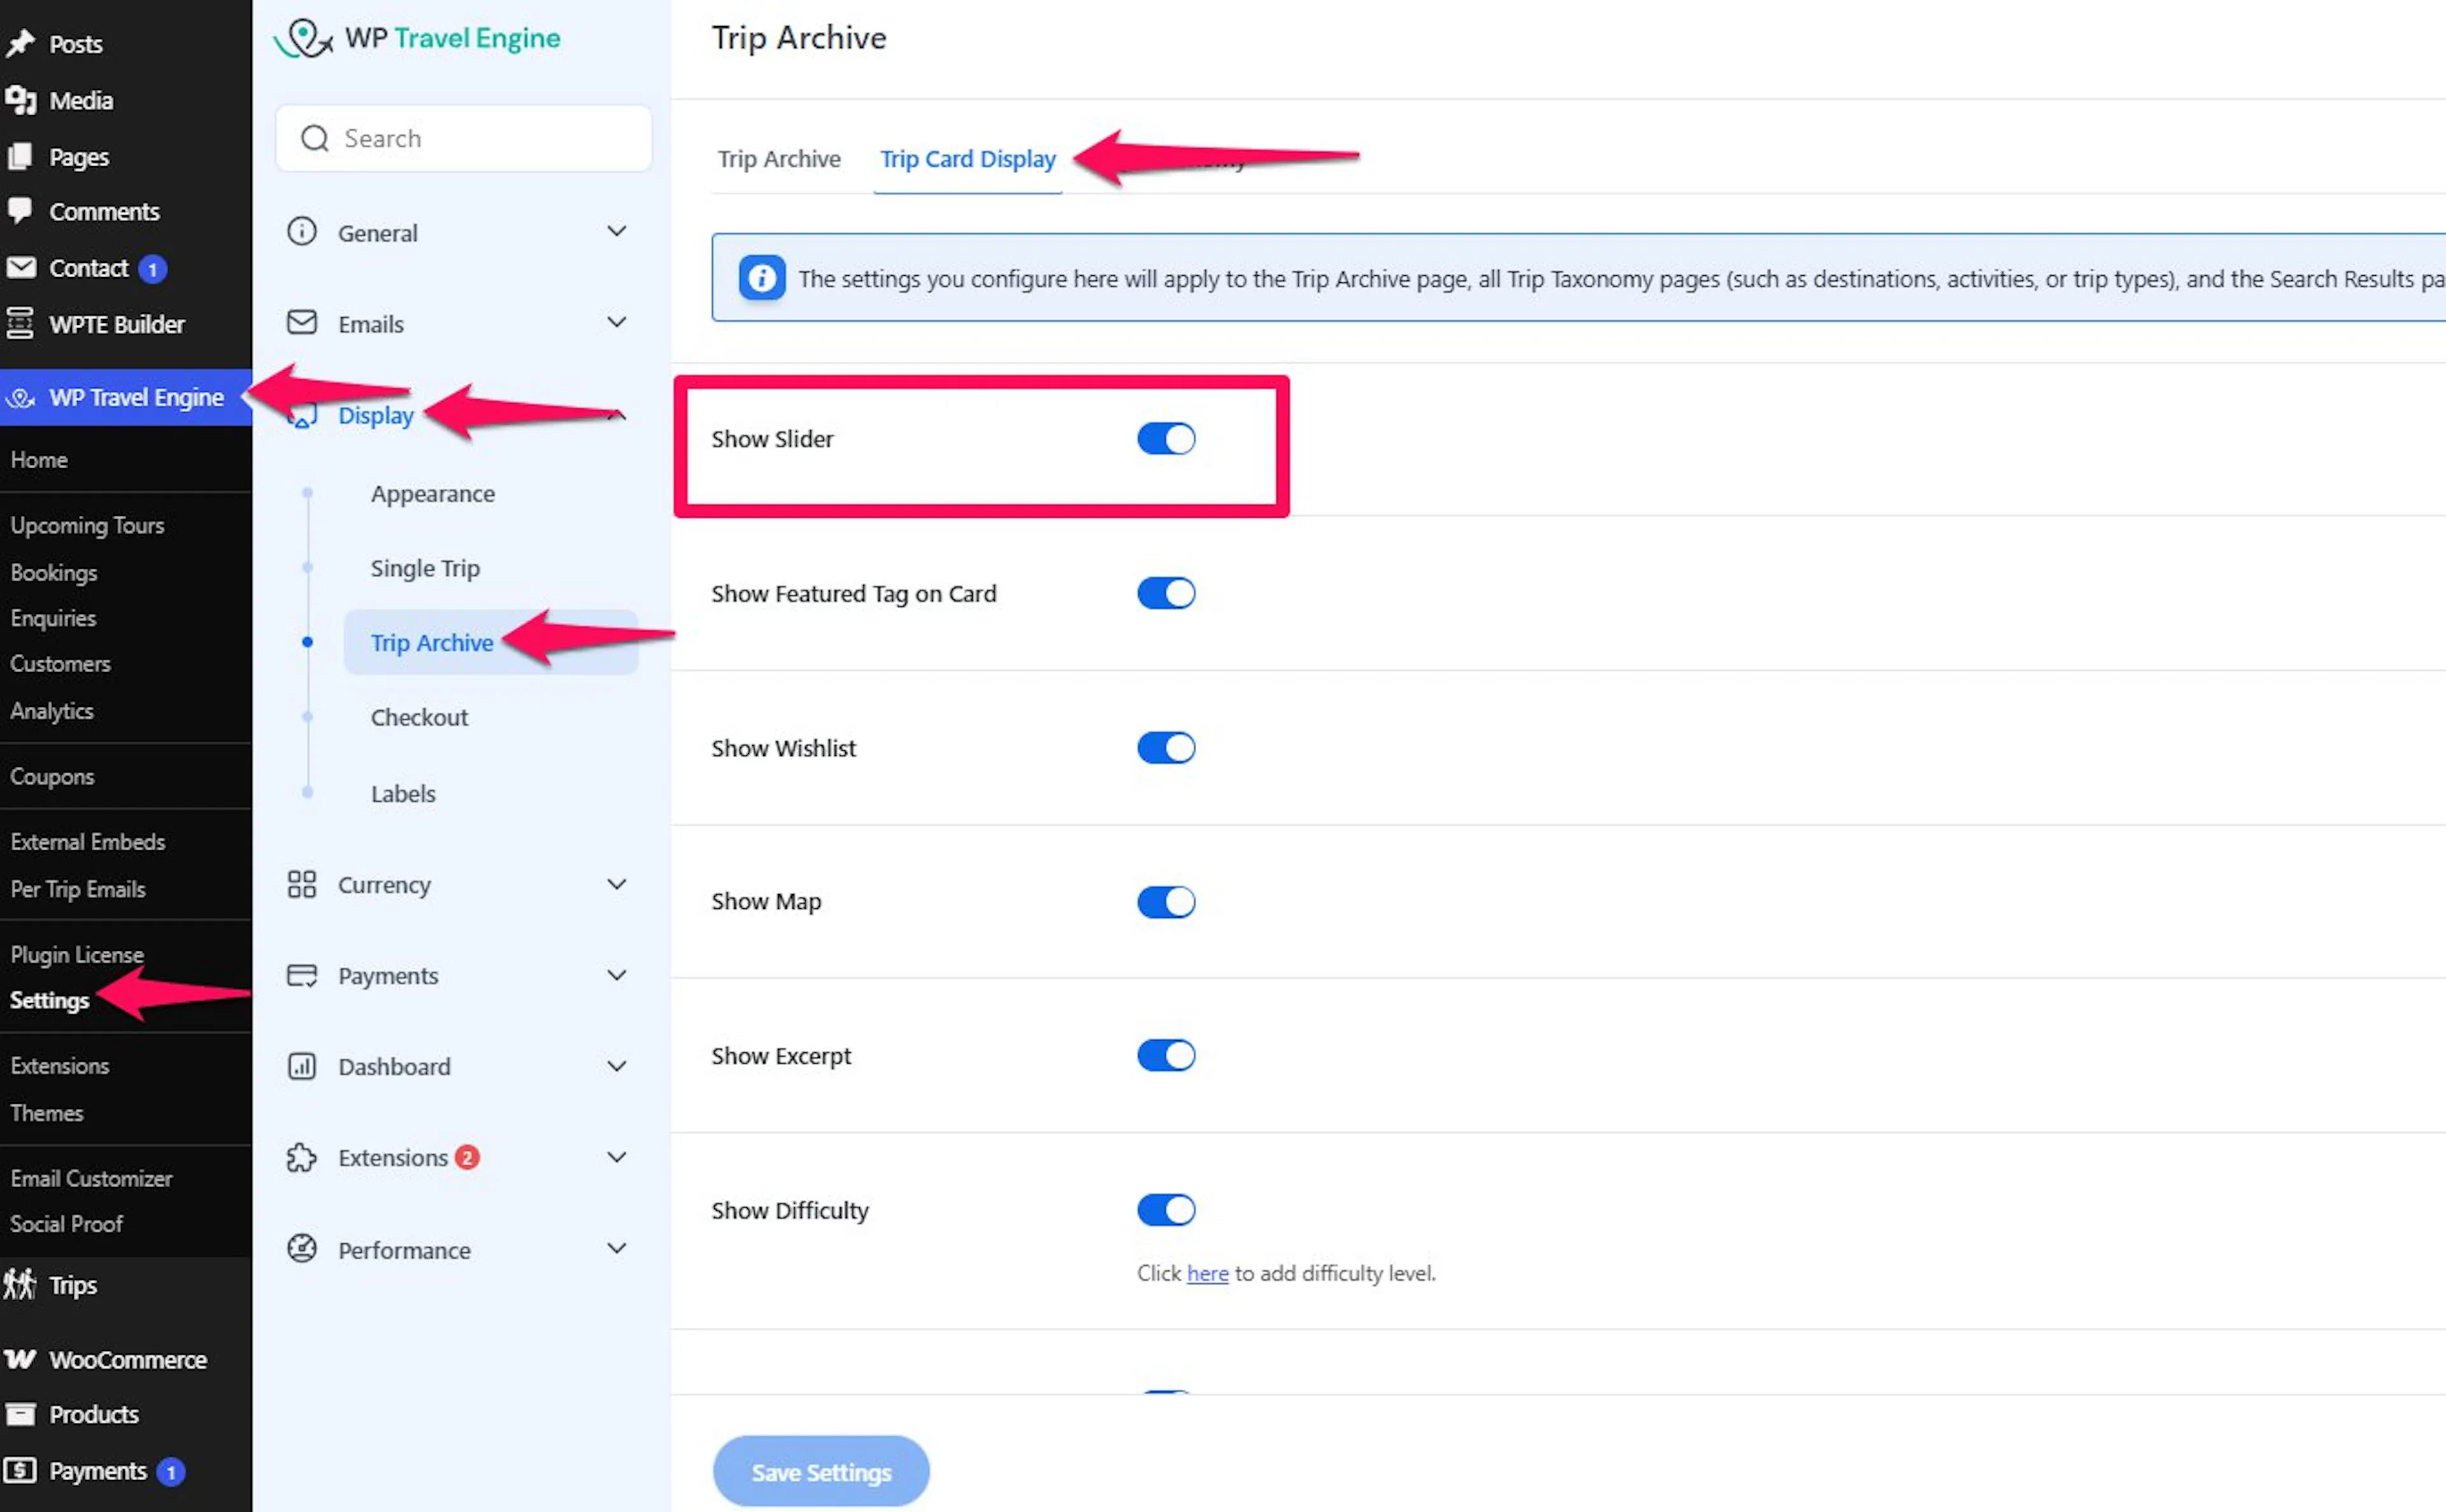
Show Slider
A slider is a scrolling row of trip cards that moves sideways across the page.
- Enabled - Trips appear in a scrolling slider.
- Disabled - Trips use the normal layout.
A slider can save space. It also means visitors have to wait for cards to scroll by or move through them manually.
Show Featured Tag on Card
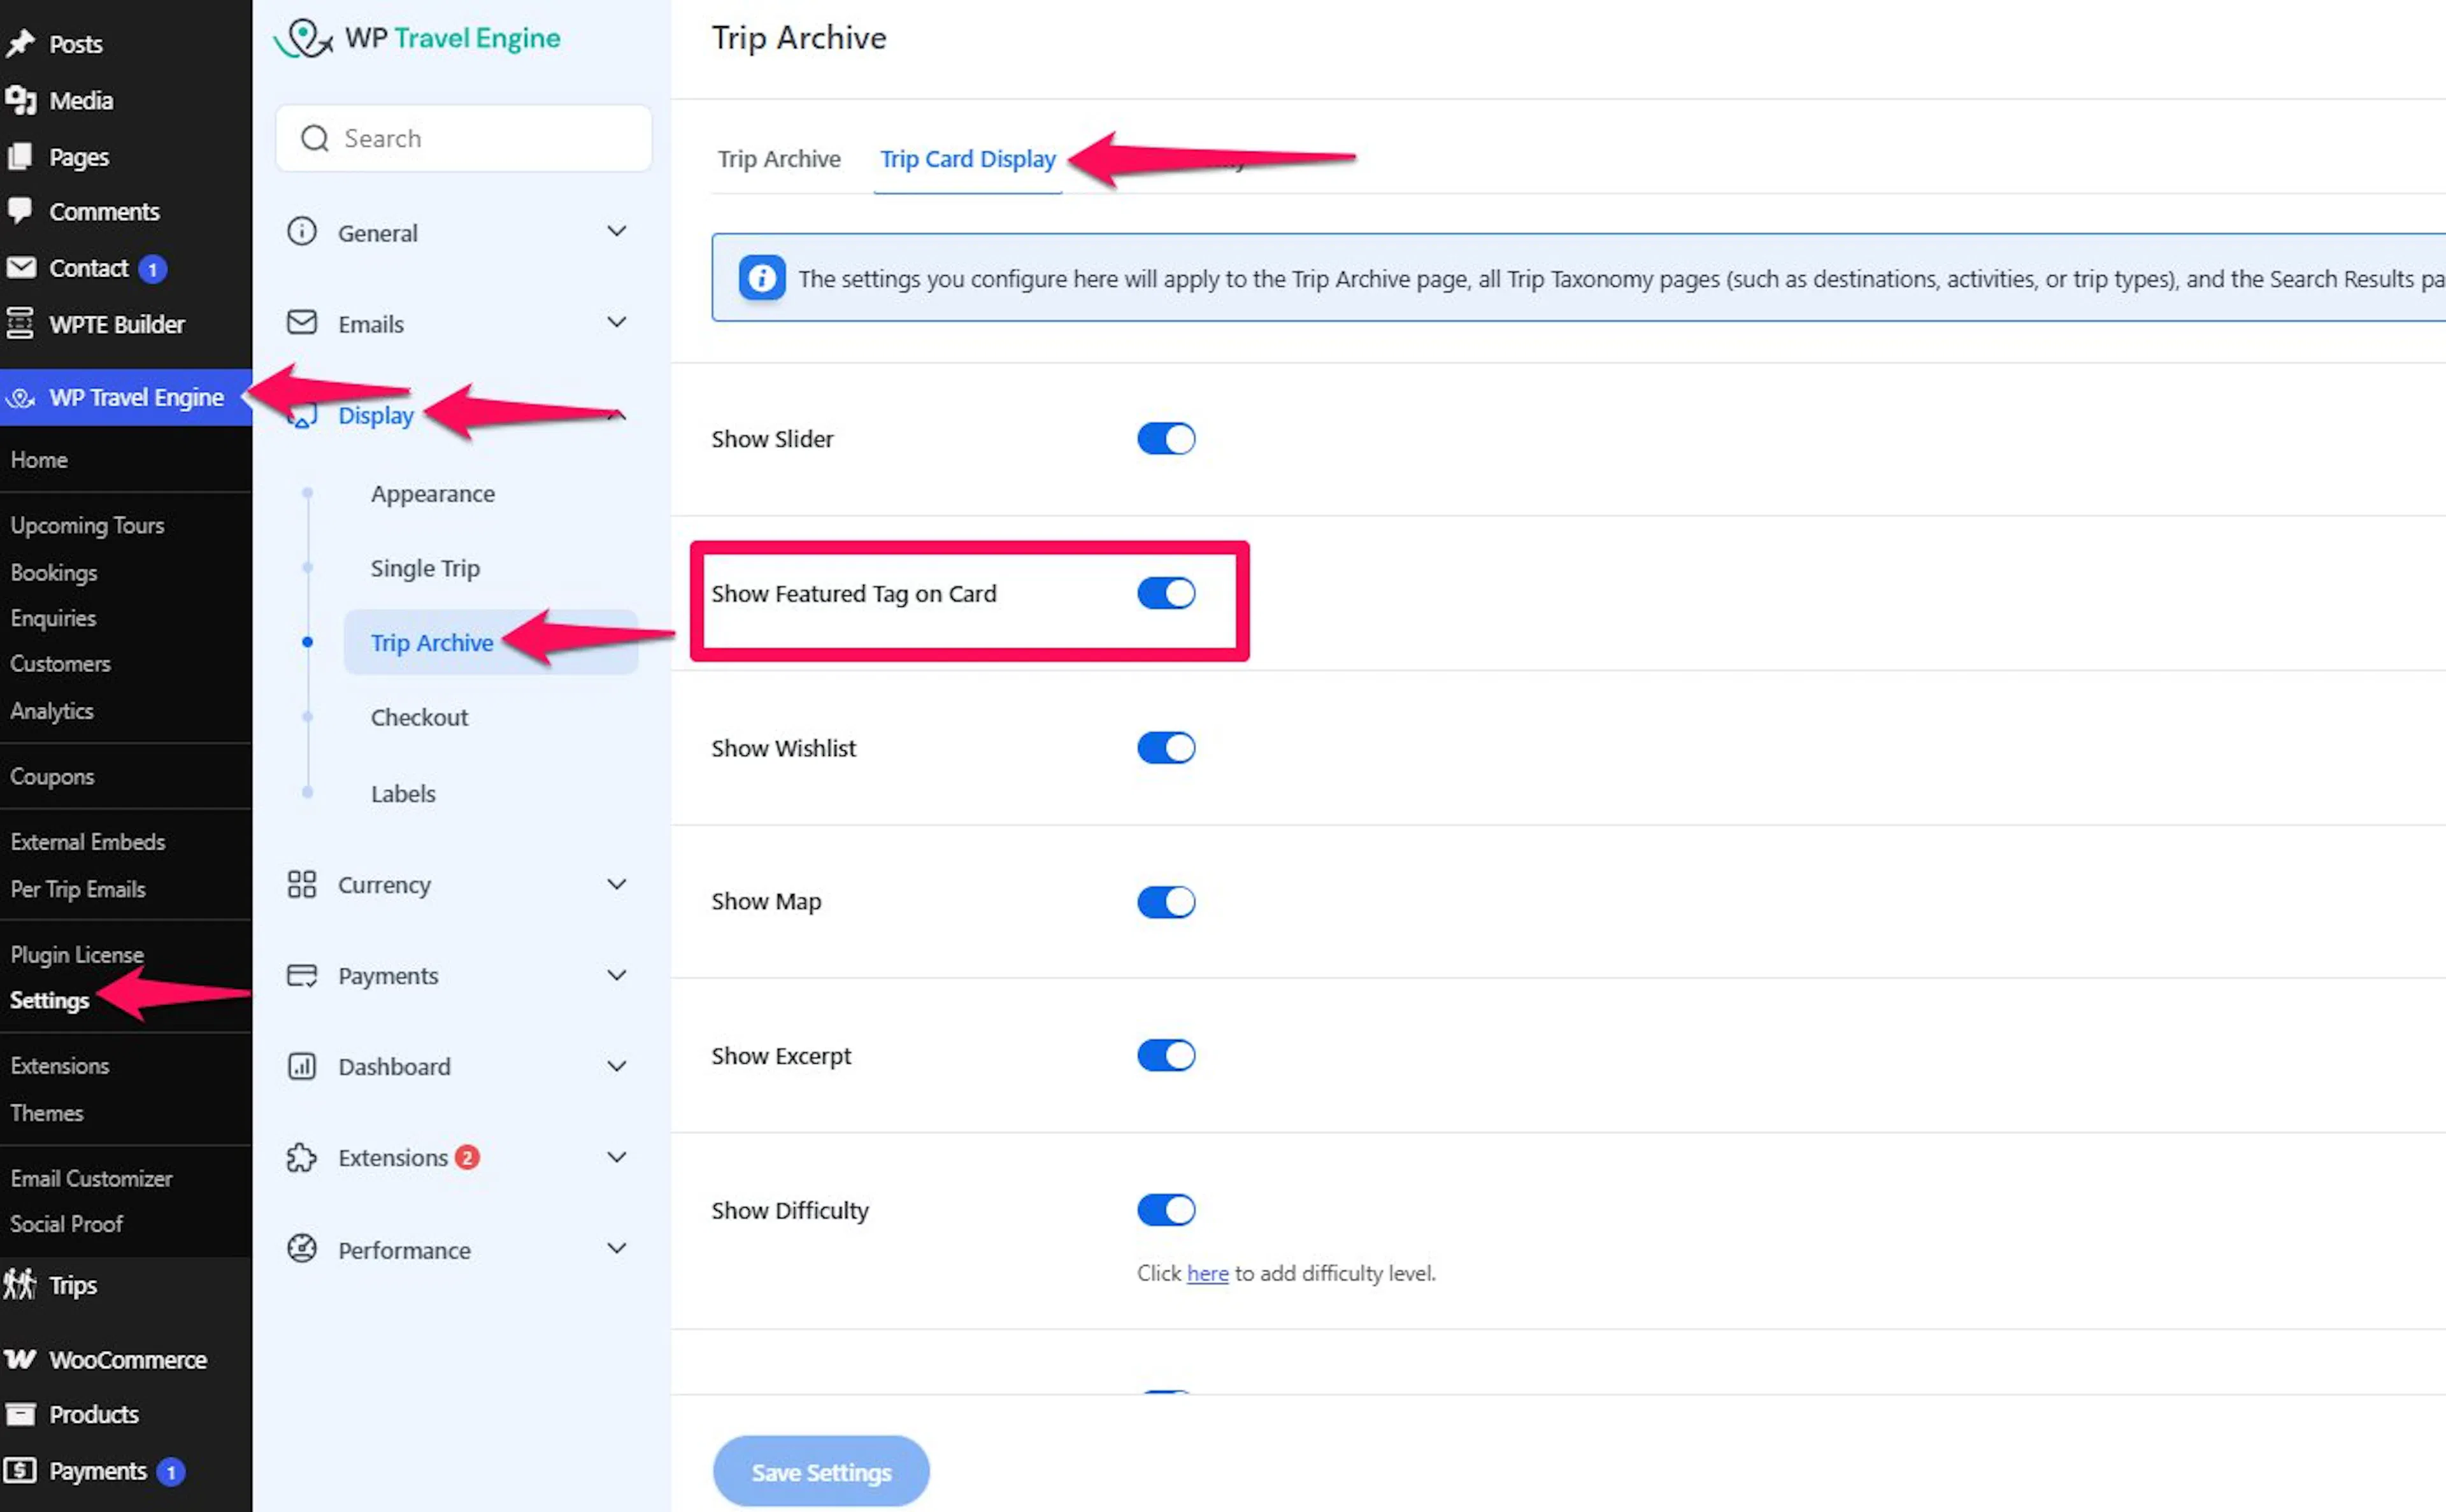
This setting adds a small label or badge to trips you have marked as featured.
That makes it easier for visitors to spot the trips you want to highlight most.
You can enable or disable the feature tag on the Trip Search / Archive Page. Enabled: trips show the feature tag. Disabled: trips do not show the feature tag.
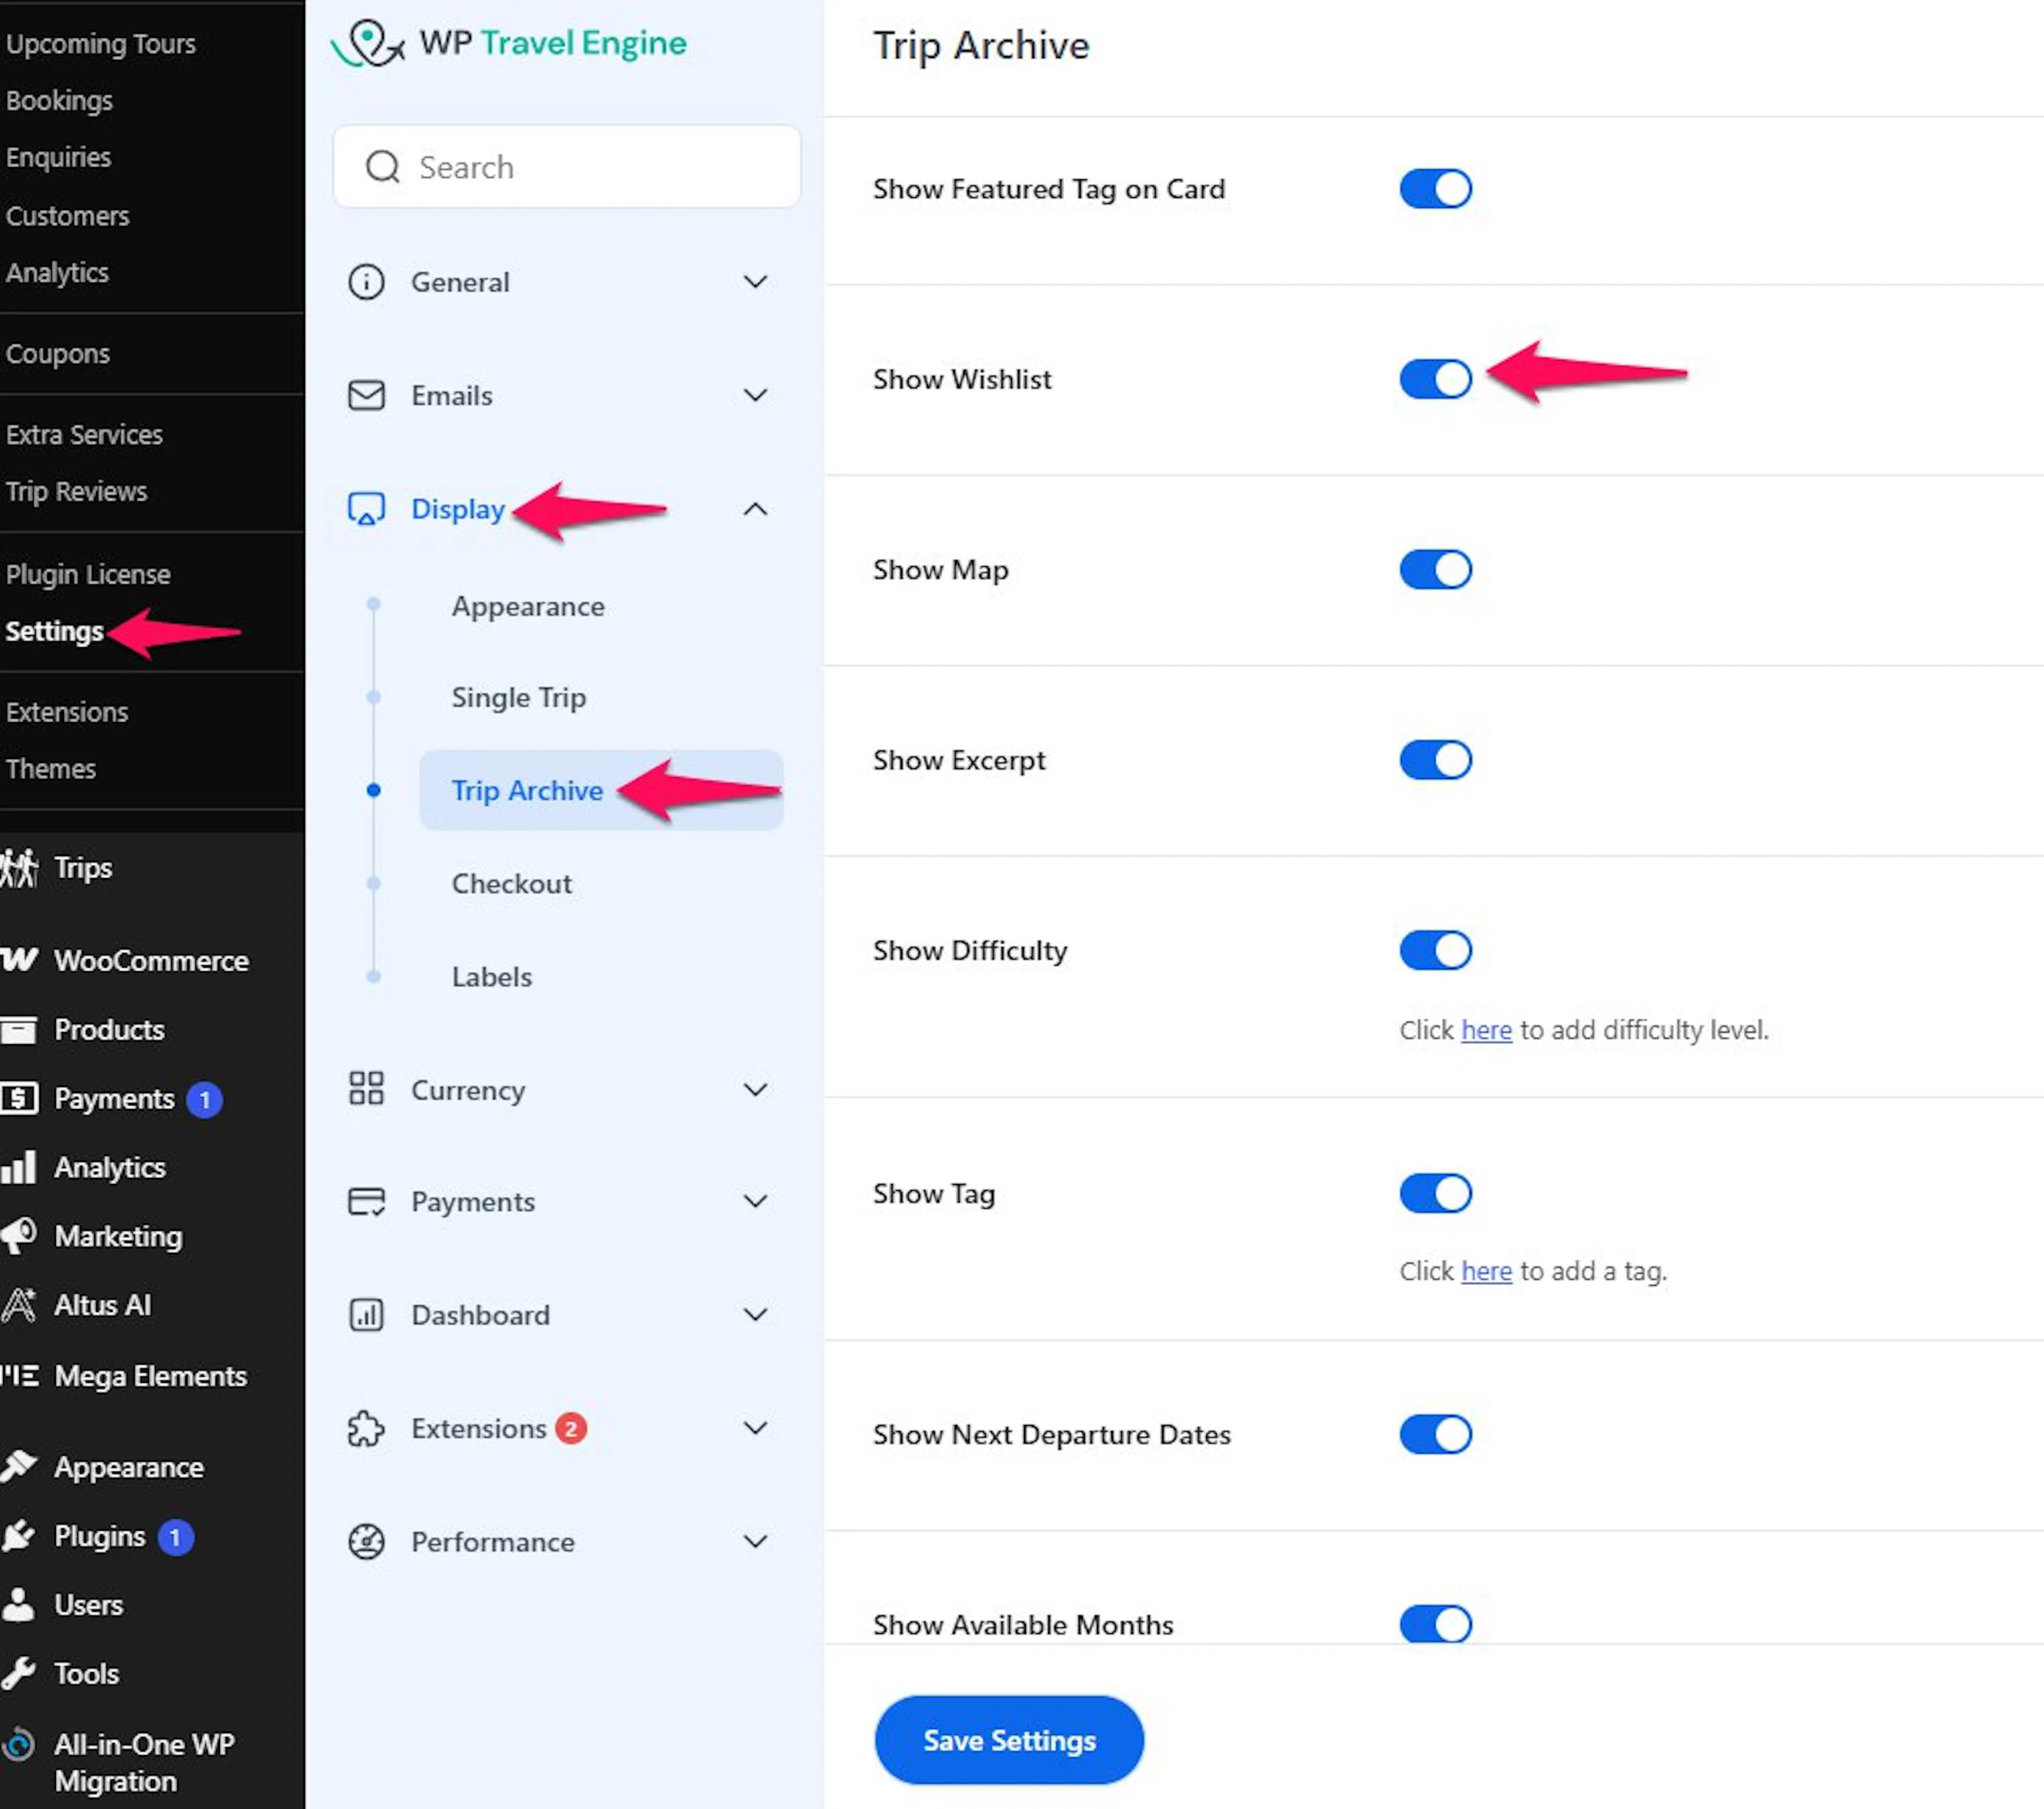
Show Wishlist
A wishlist lets visitors save trips to look at later.
For example, someone planning a big holiday might save 4 or 5 treks or day tours, then come back later to compare them before booking.
You can enable the Wishlist feature on the Trip Search / Archive Page to allow users to save trips they are interested in.
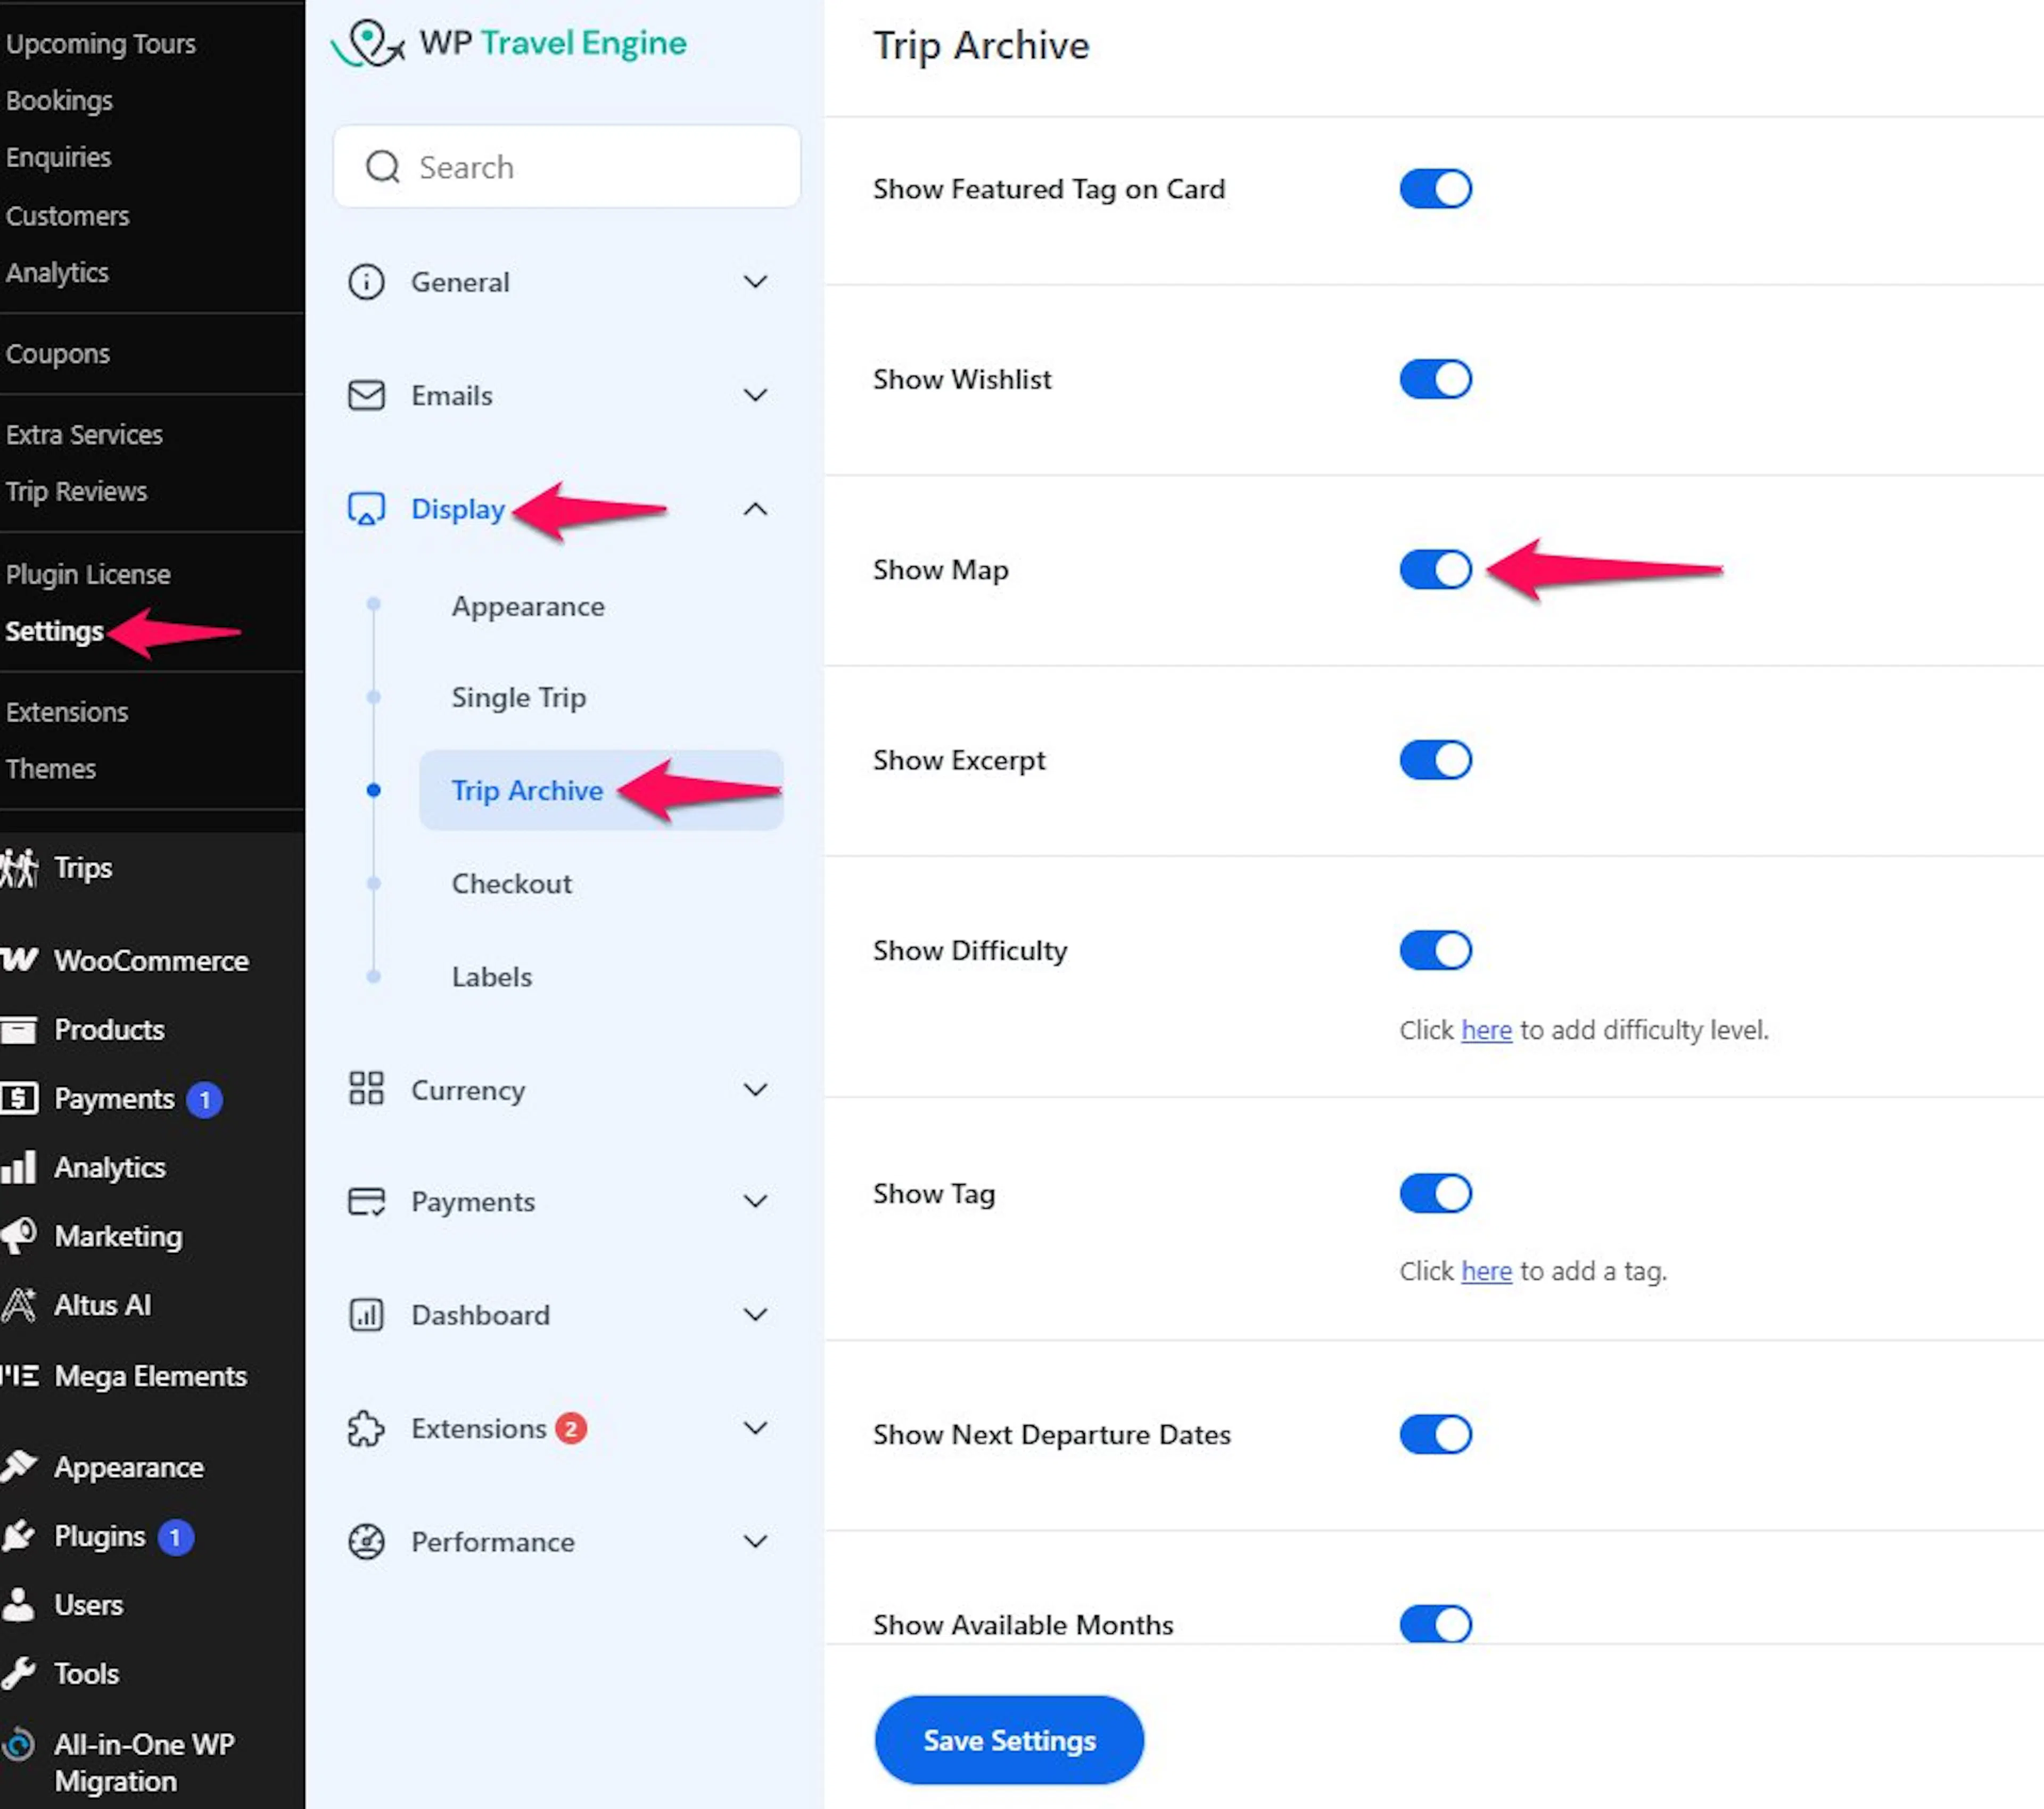
Show Map
This setting shows the location of the trip on the card.
If you run trips in more than one country or region, the map helps travelers quickly spot trips in the area they care about.
You can enable the map on the Trip Search / Archive Page to show the location of each travel destination, helping users quickly identify where the trips take place.
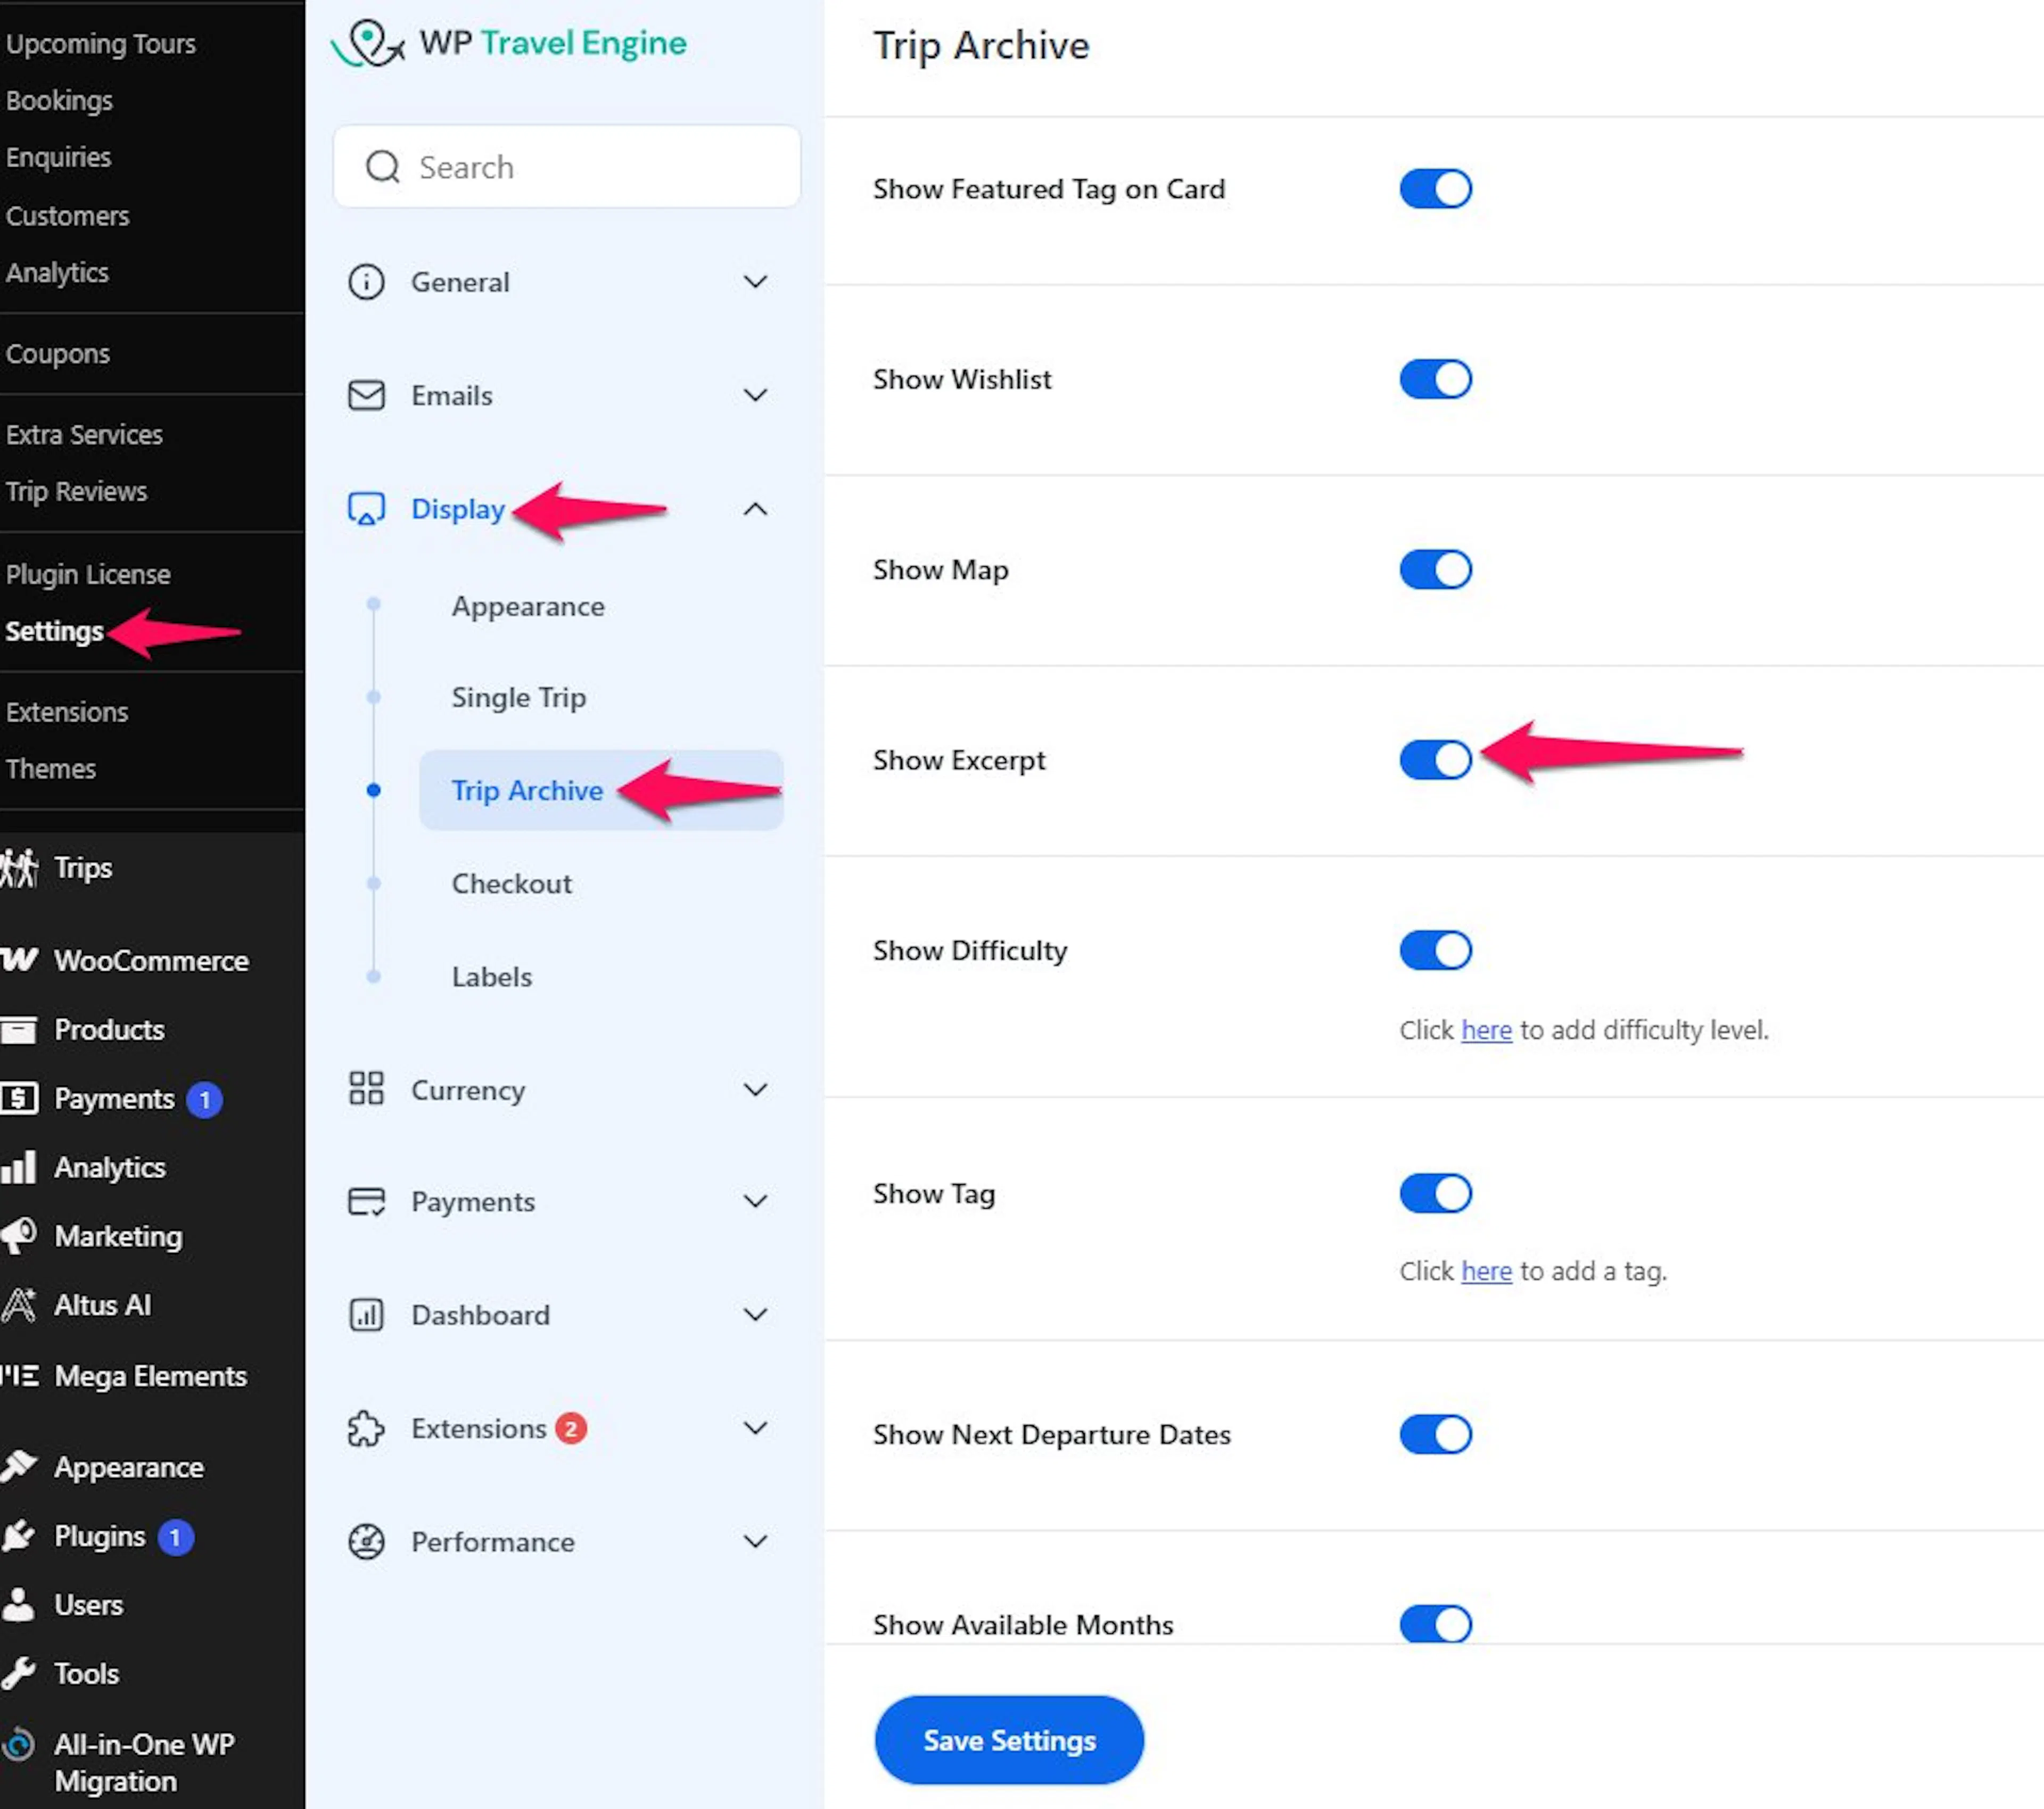
Show Excerpt
An excerpt is a short text summary of the trip.
This gives visitors a quick idea of what the trip involves without opening the full trip page. It can help with trips that need a little more context, like a multi-day package with gear rental add-ons.
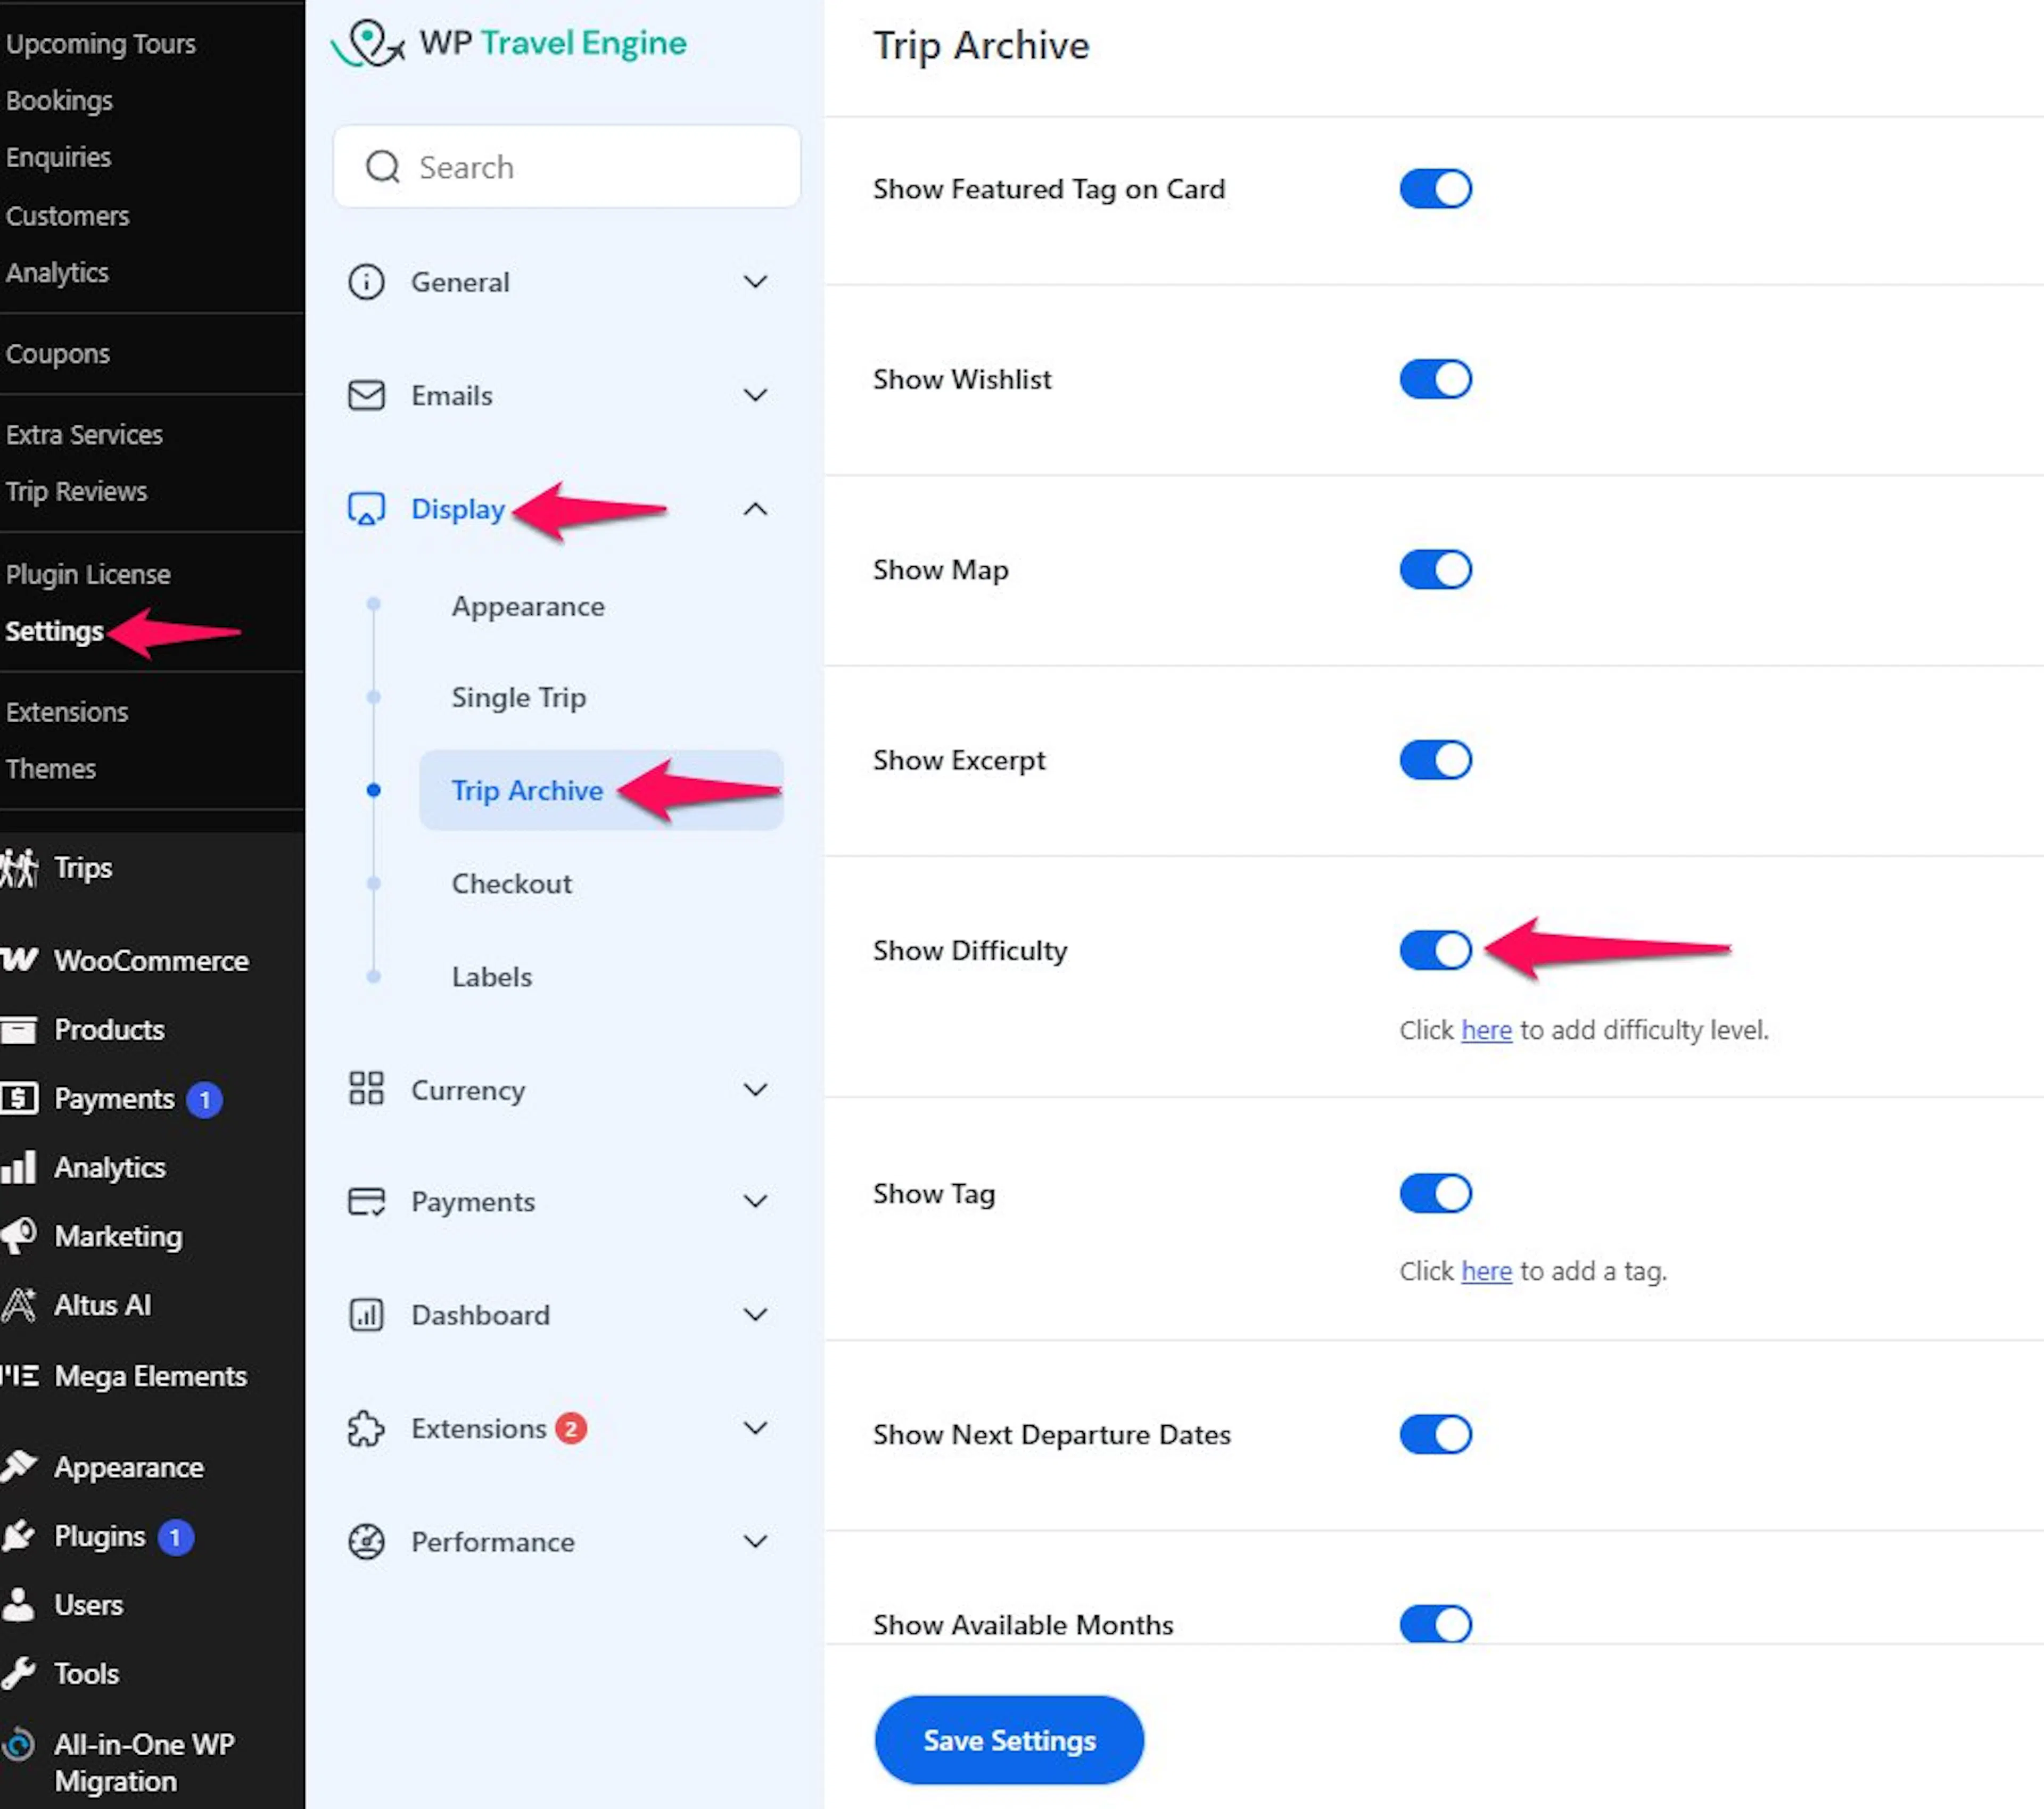
Show Difficulty
This setting shows how challenging the trip is.
For example, visitors may see levels such as Easy, Moderate, or Challenging. This helps people judge whether a trip fits their comfort level.
Show Tag
Tags are labels you assign to trips to group them by theme.
For example, you might use tags like Family Friendly, Adventure, or Cultural Tour. When you turn this on, those labels appear on the trip card.
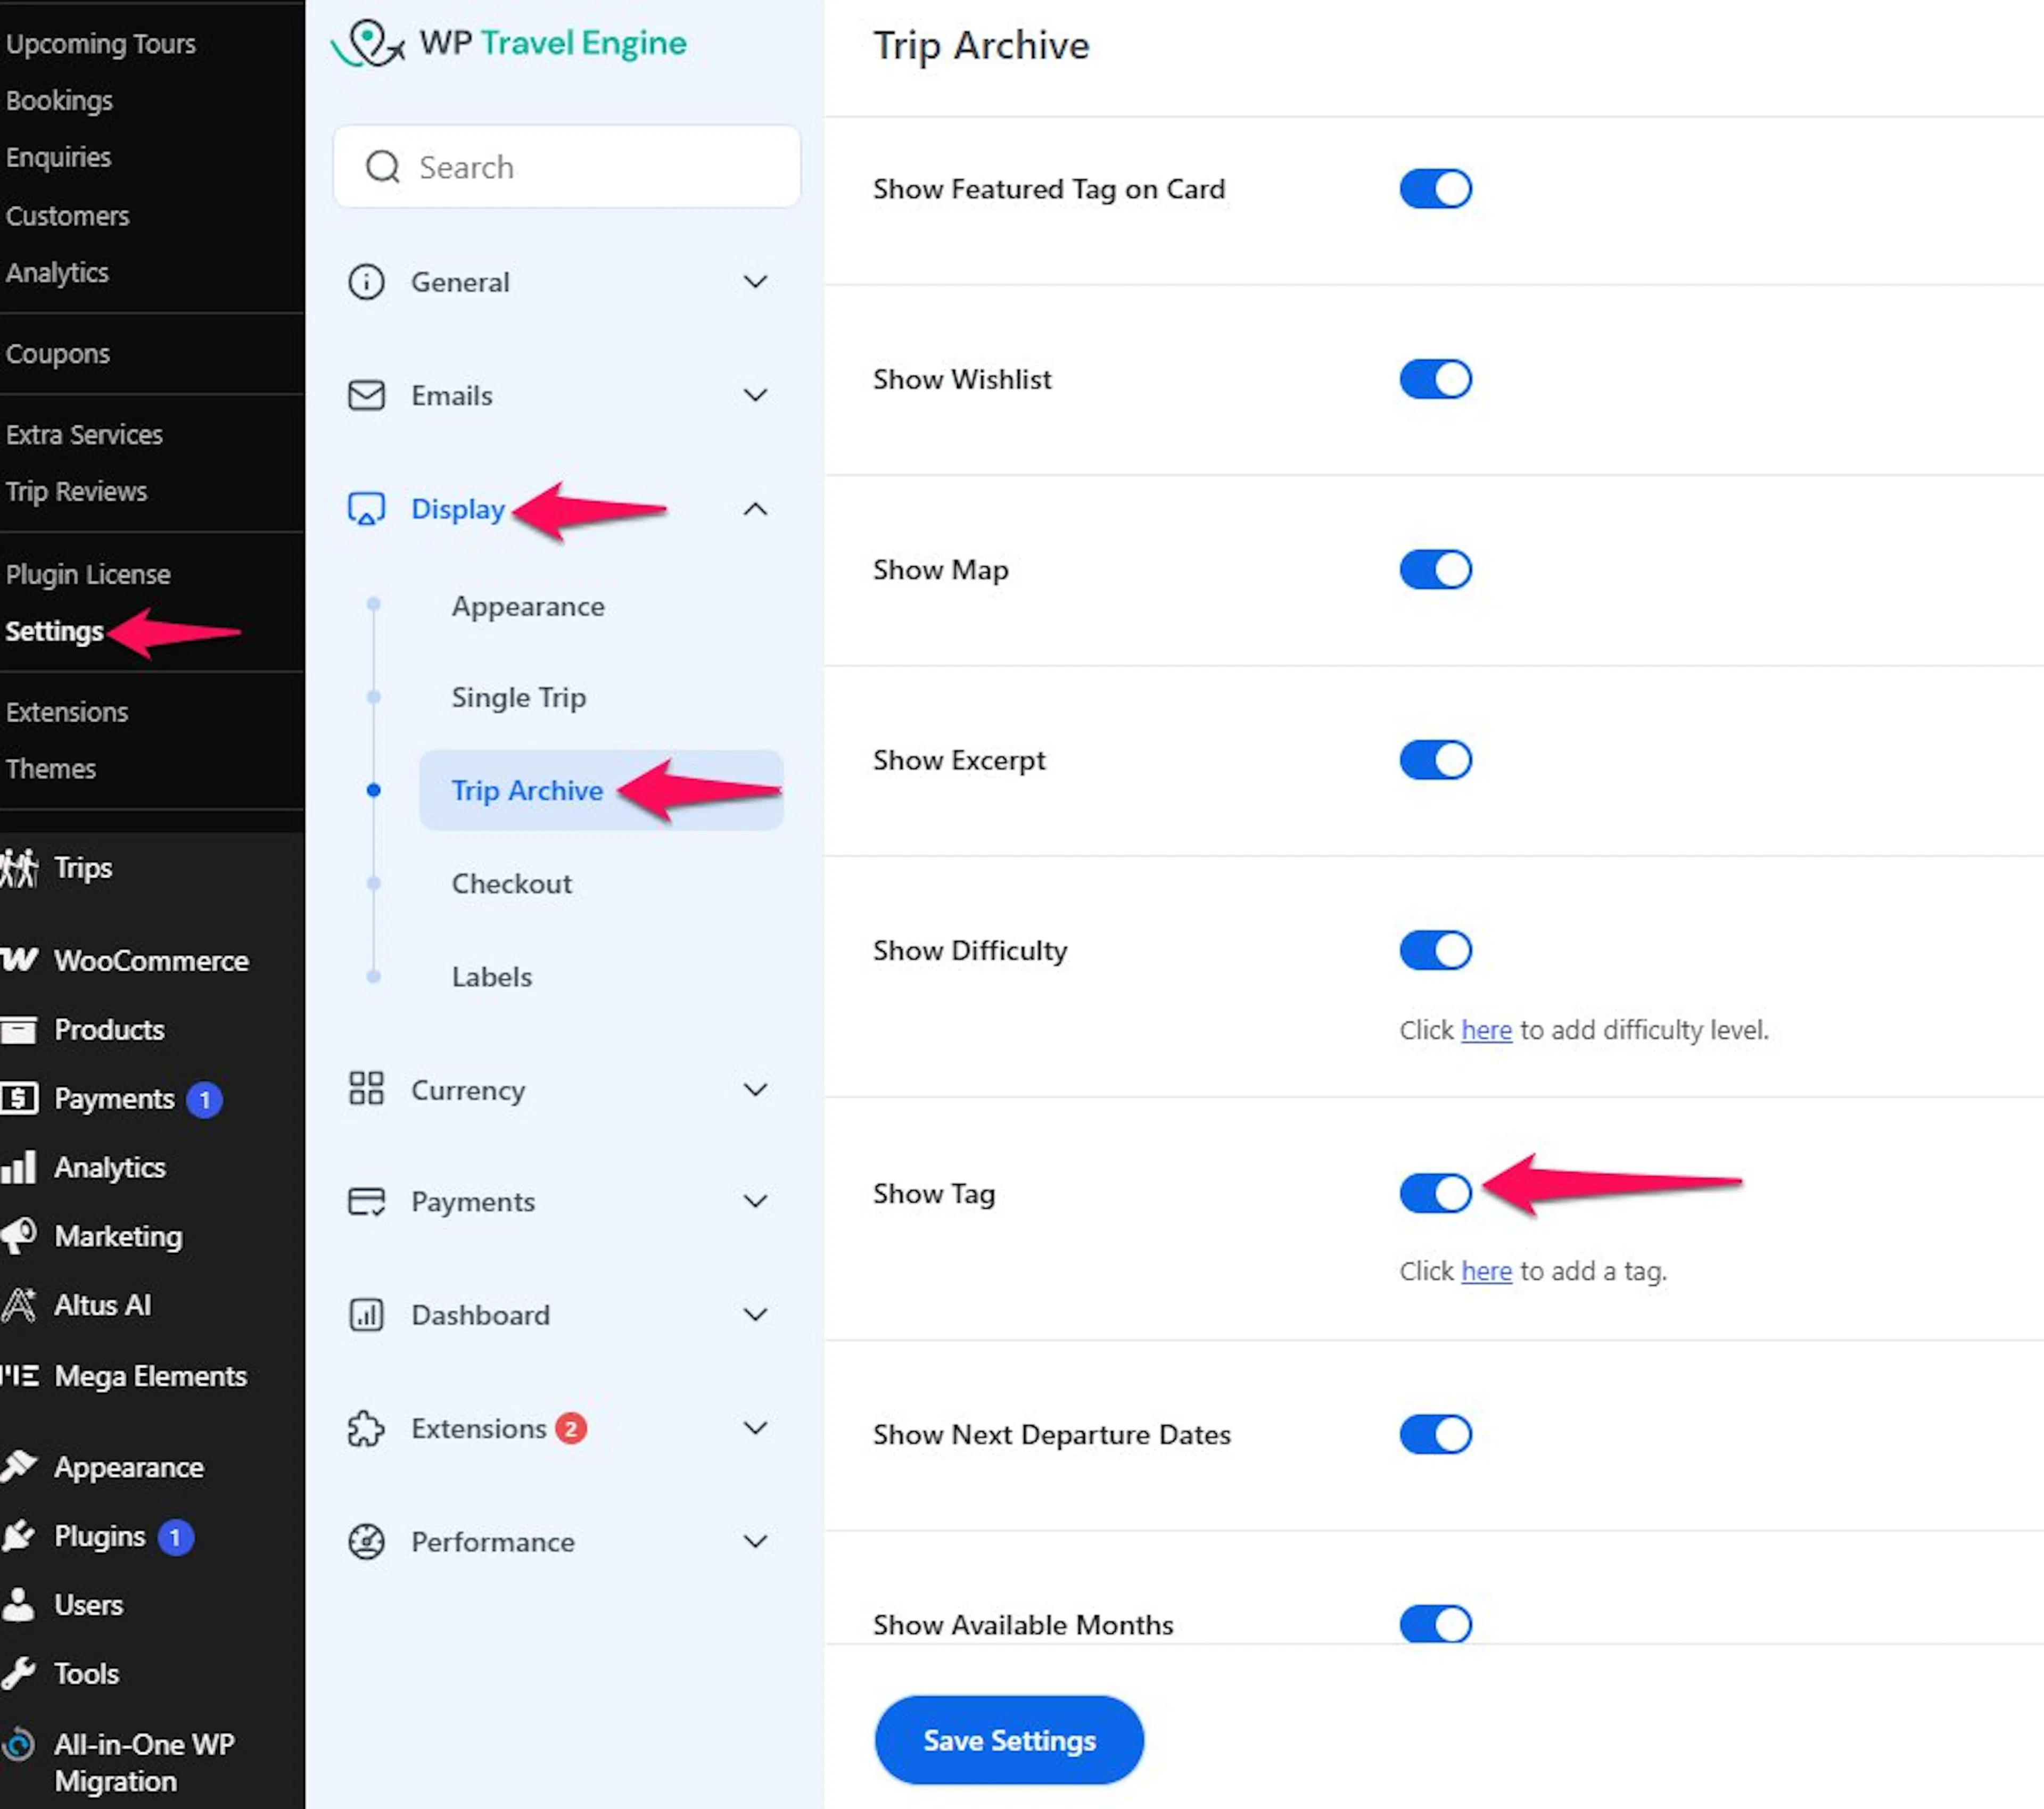
Show Next Departure Dates
This setting shows the next upcoming departure dates on each trip card.
That helps visitors see right away when a trip starts next. This is especially useful for group departures and seasonal tours.
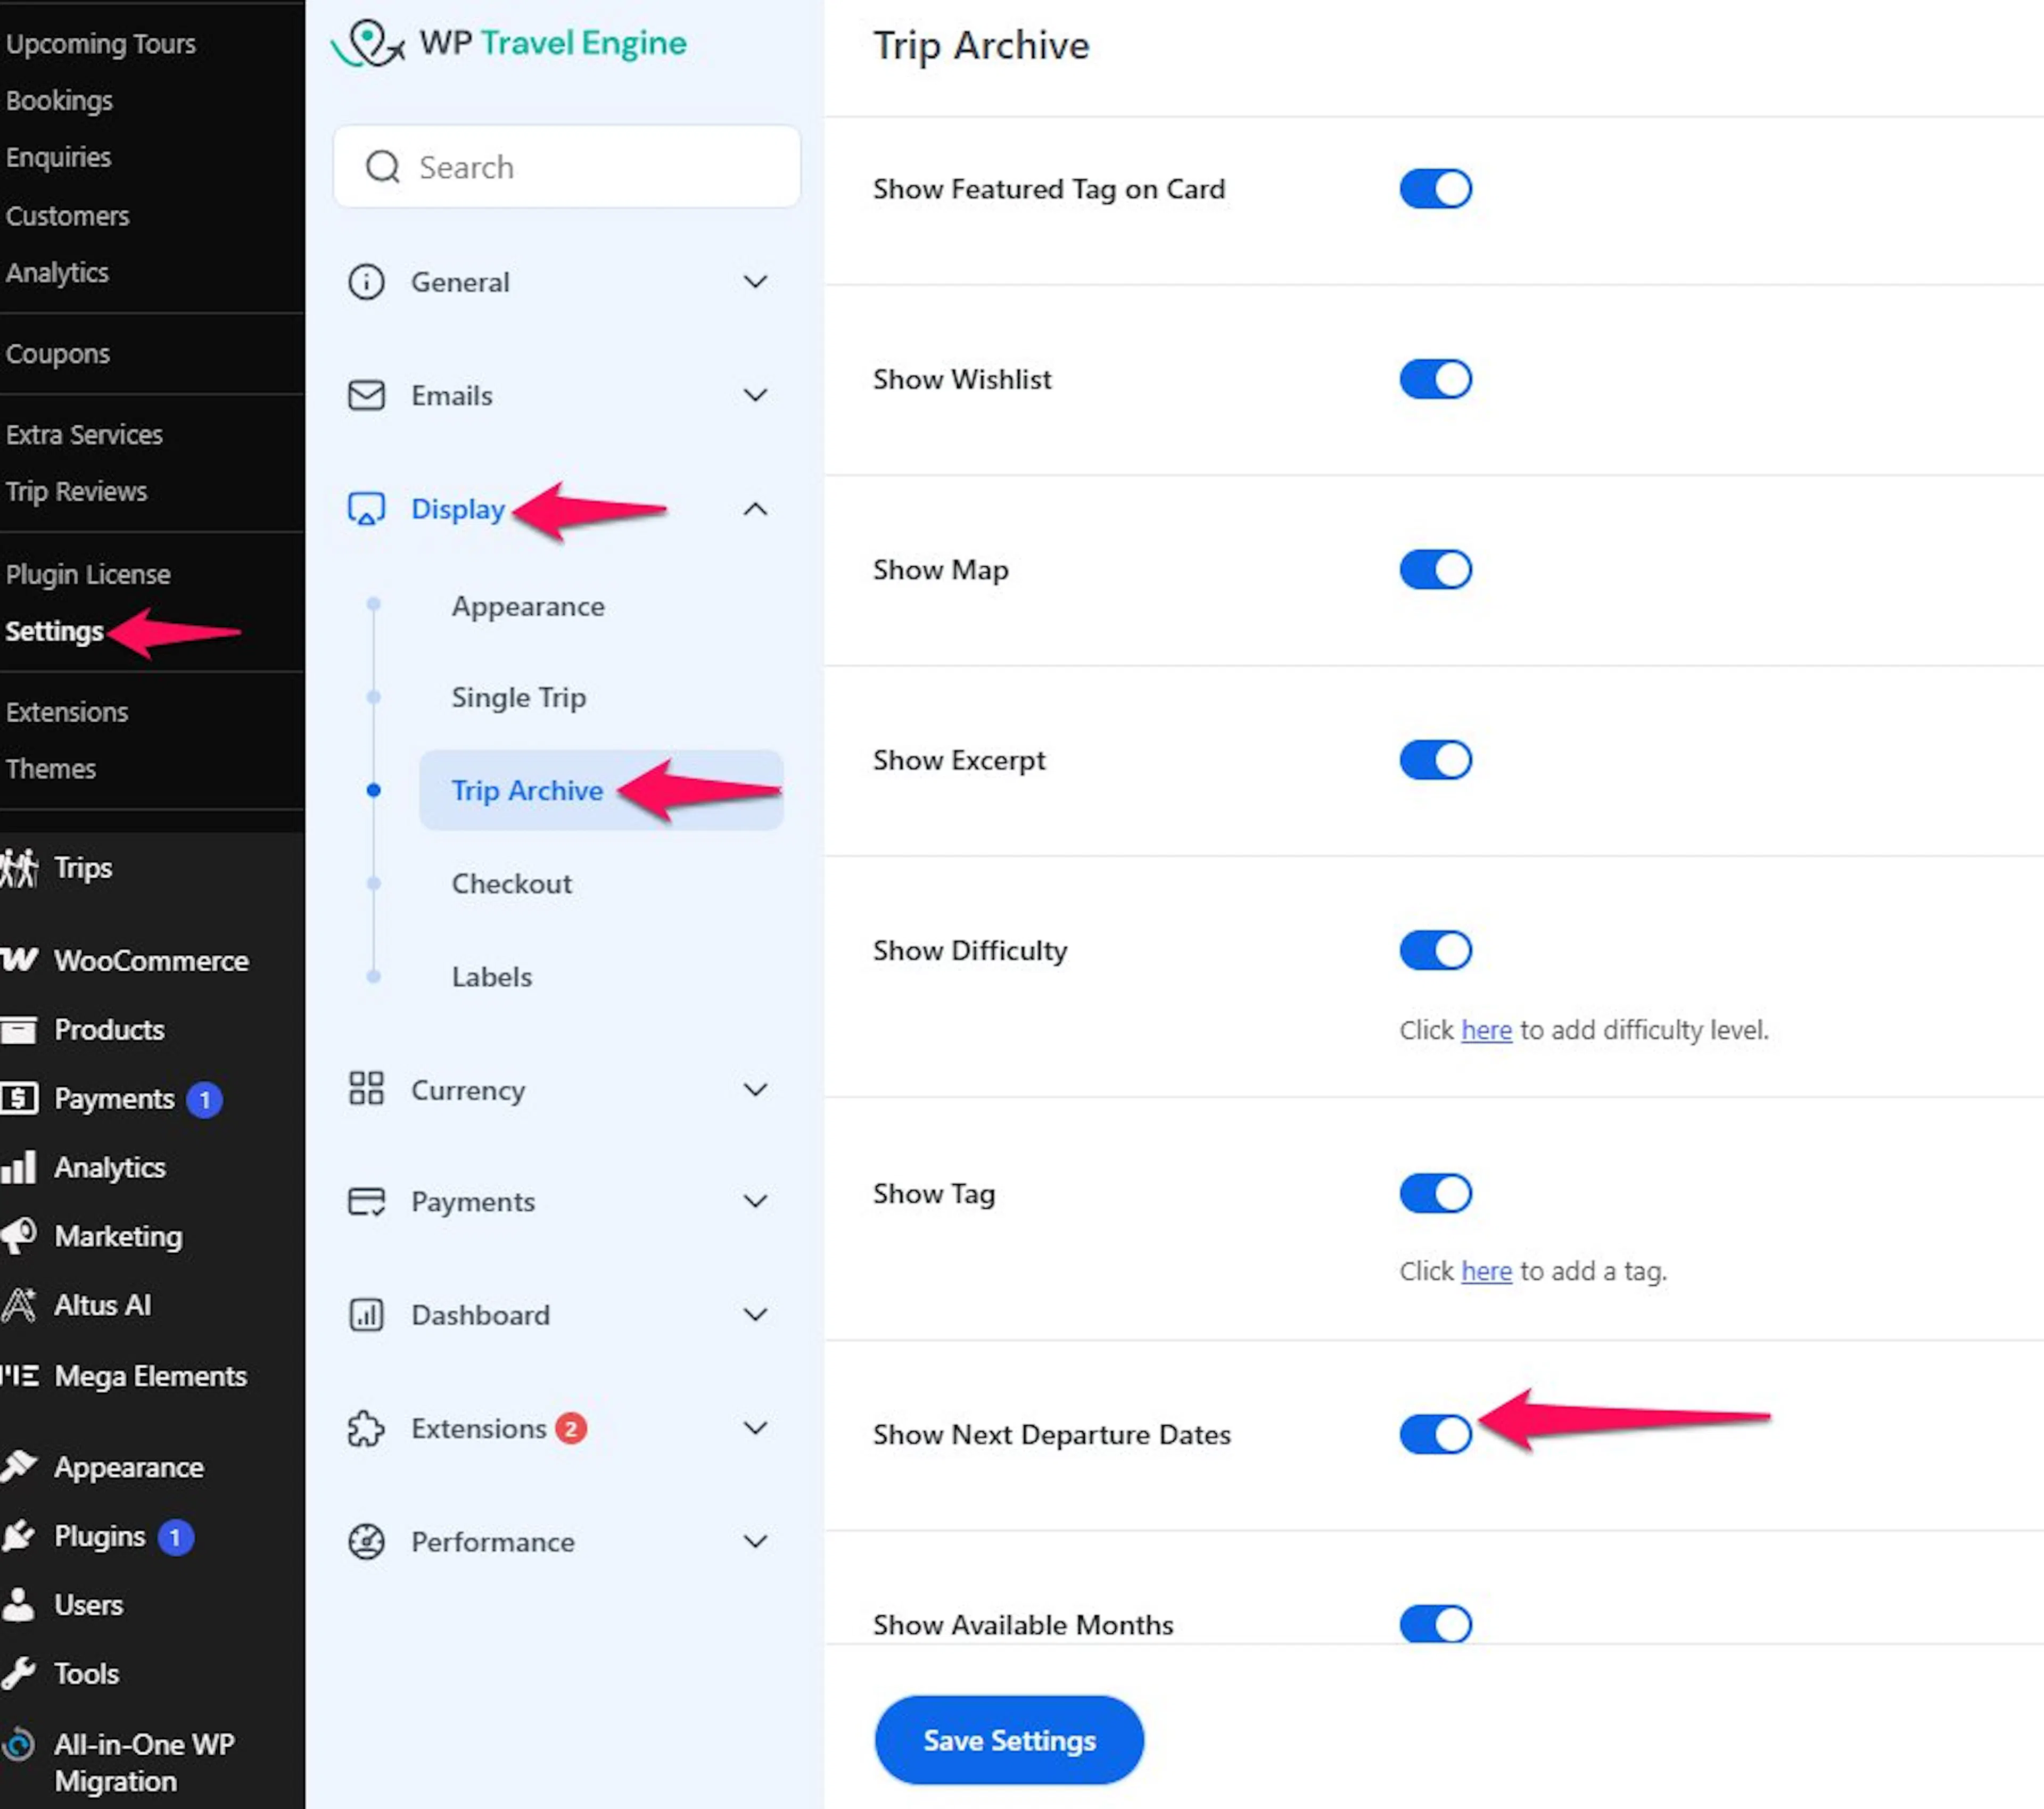
Show Months Available
This setting shows which months the trip is available.
That helps travelers match your schedule with their travel plans. It can be very useful for seasonal trips, such as monsoon-free treks or winter wildlife tours.
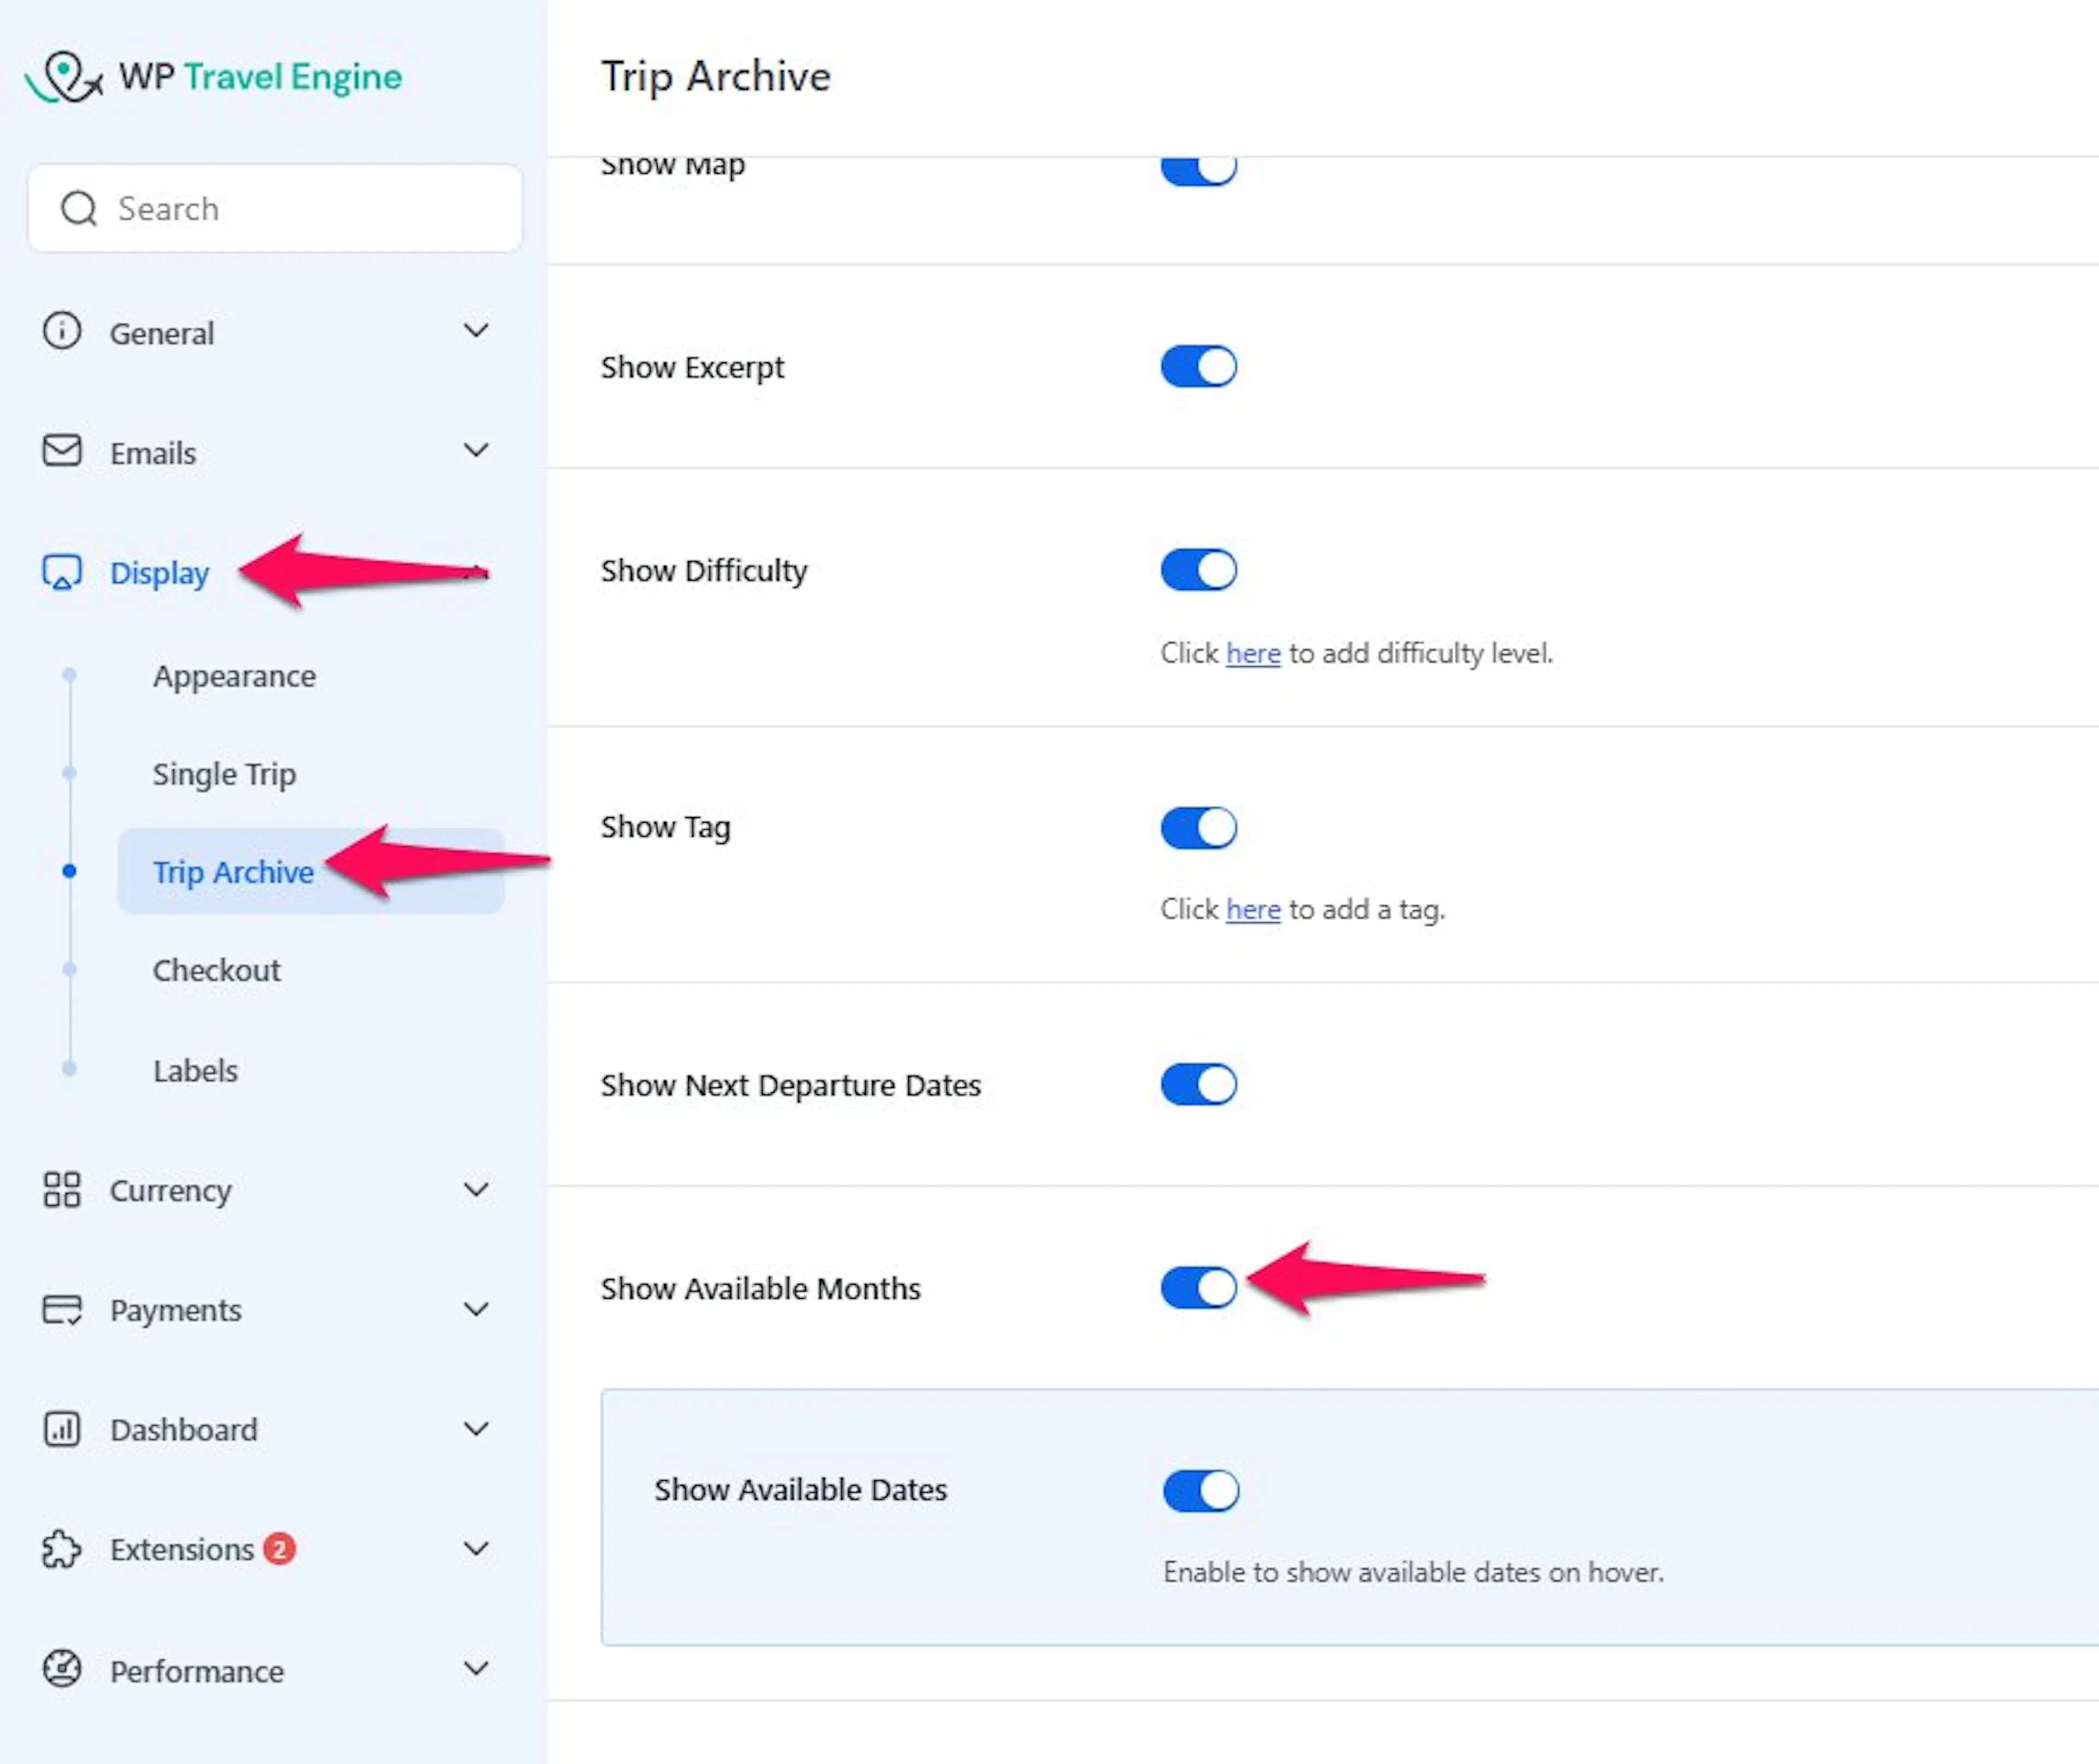
Show Available Dates
Enable this option to show the number of dates available once you hover on the months.
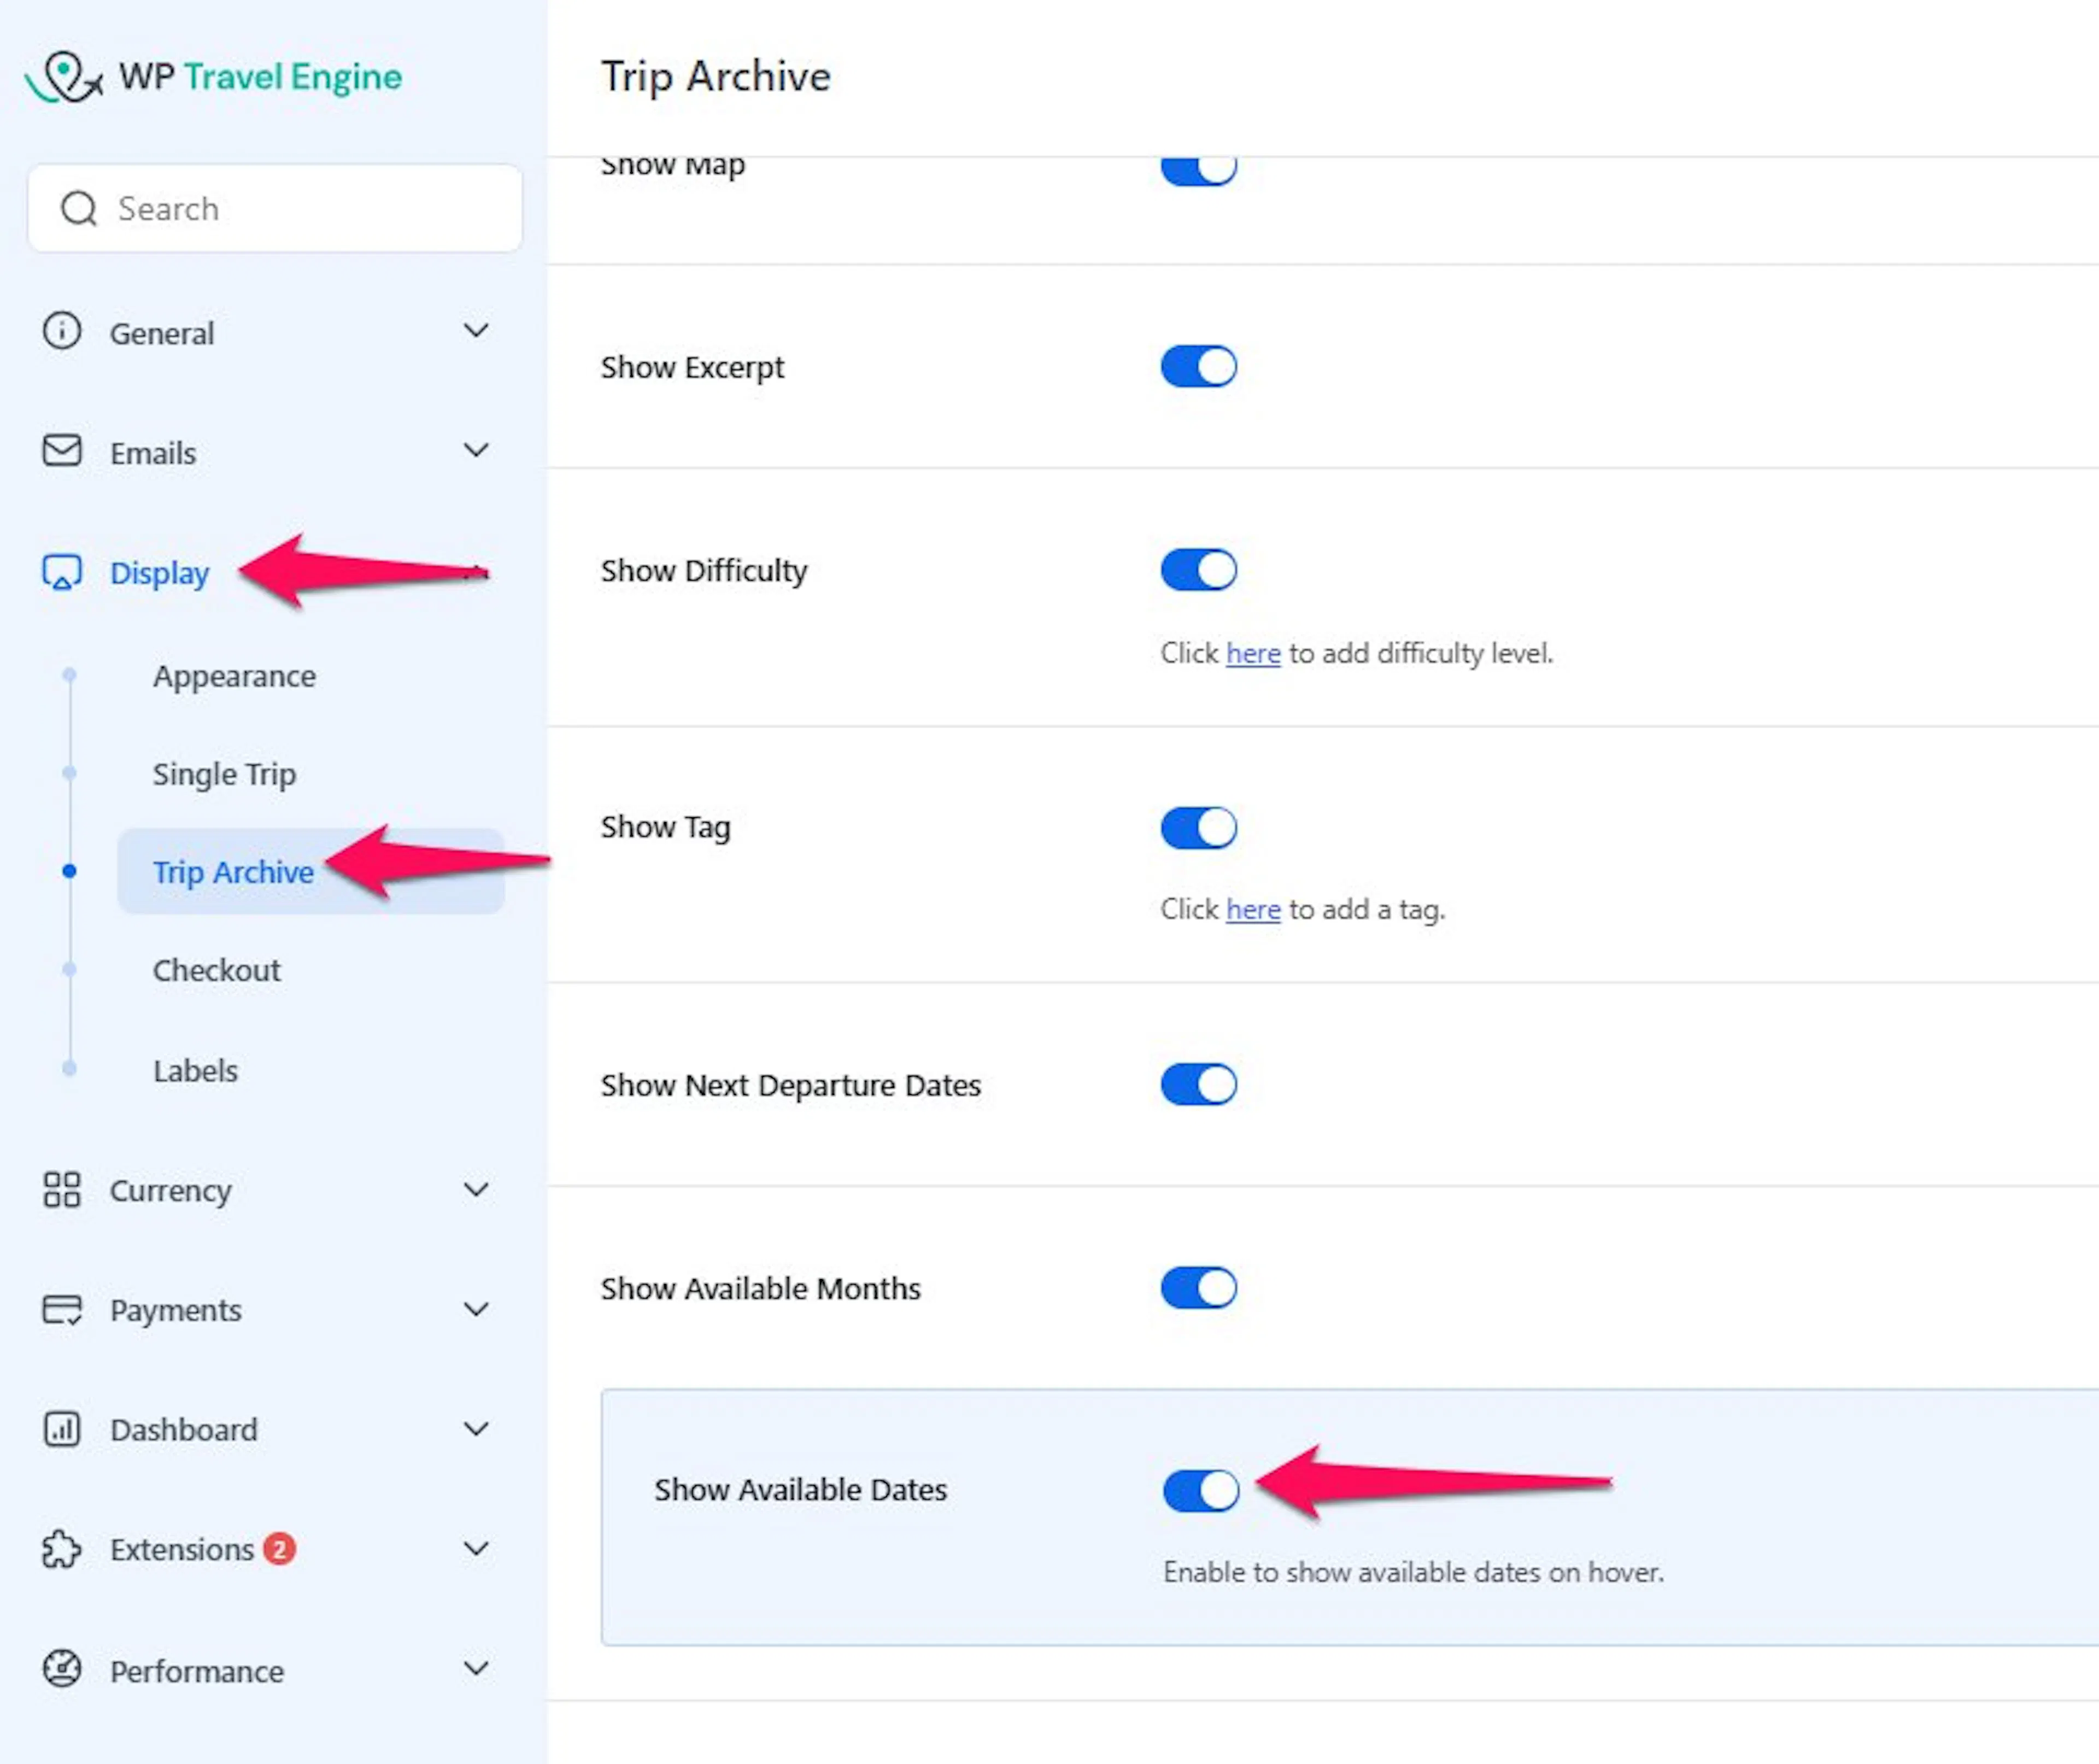
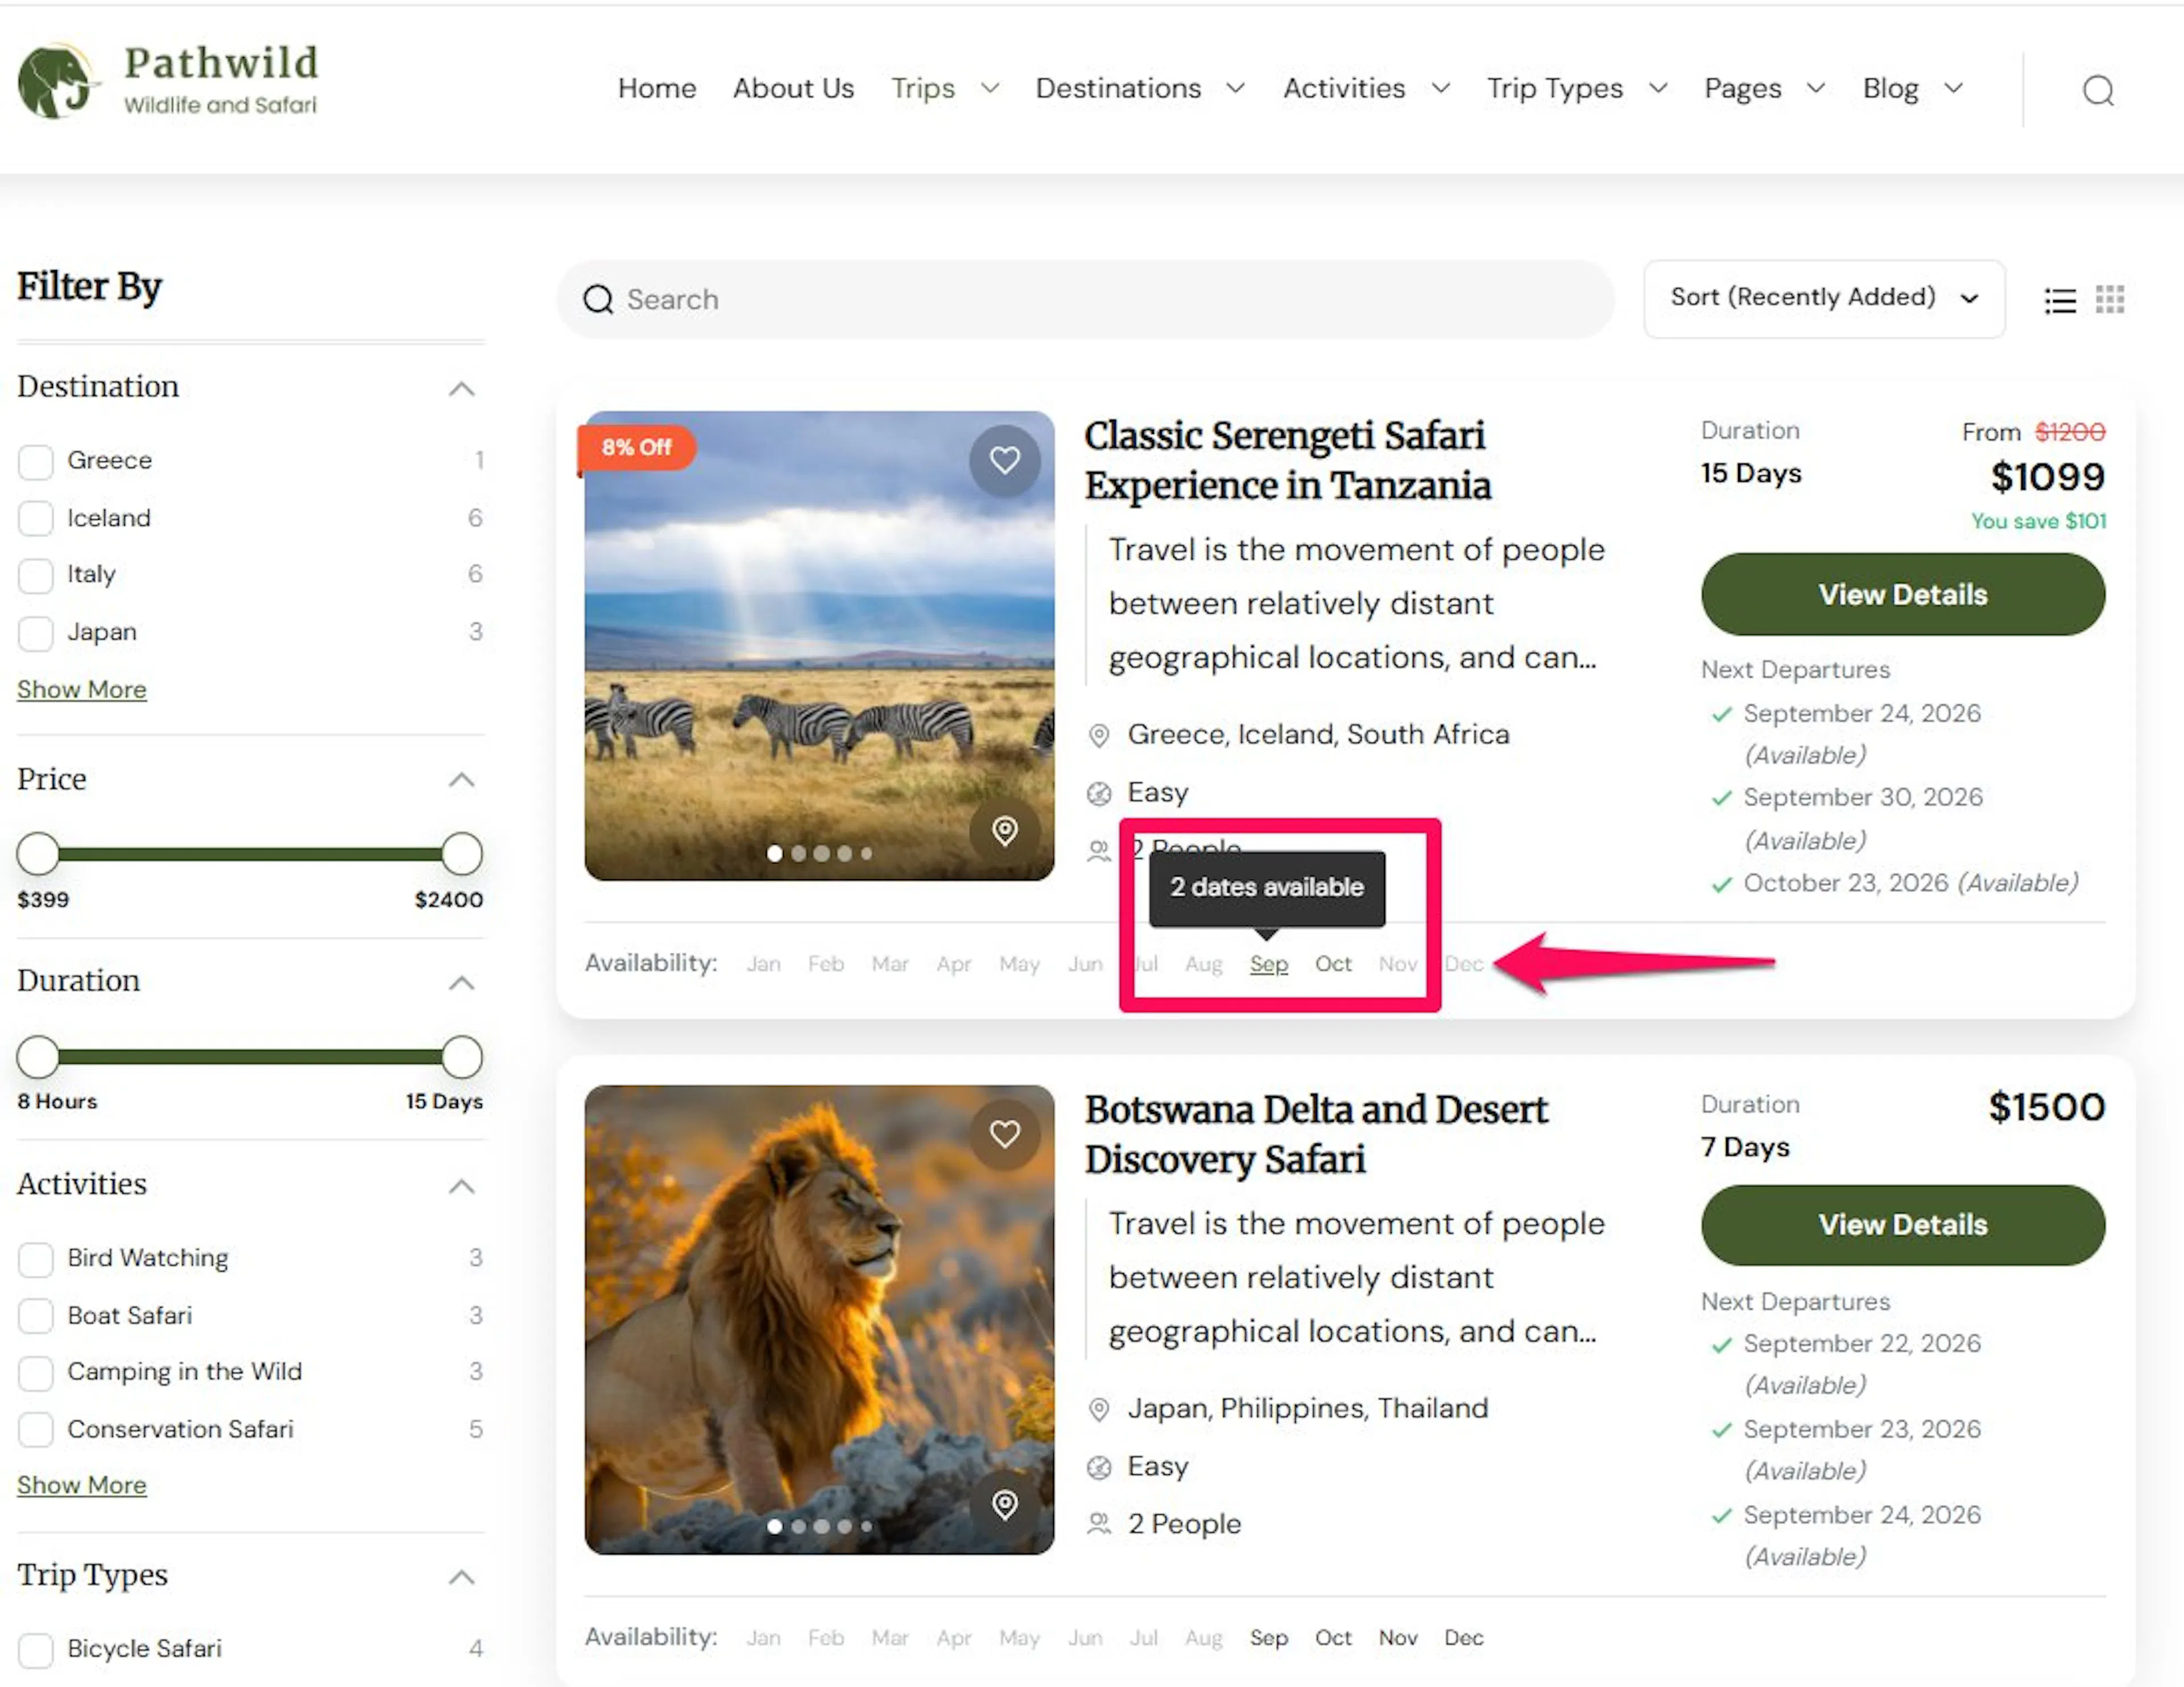
Once enabled, you also get the option to show available months on hover.
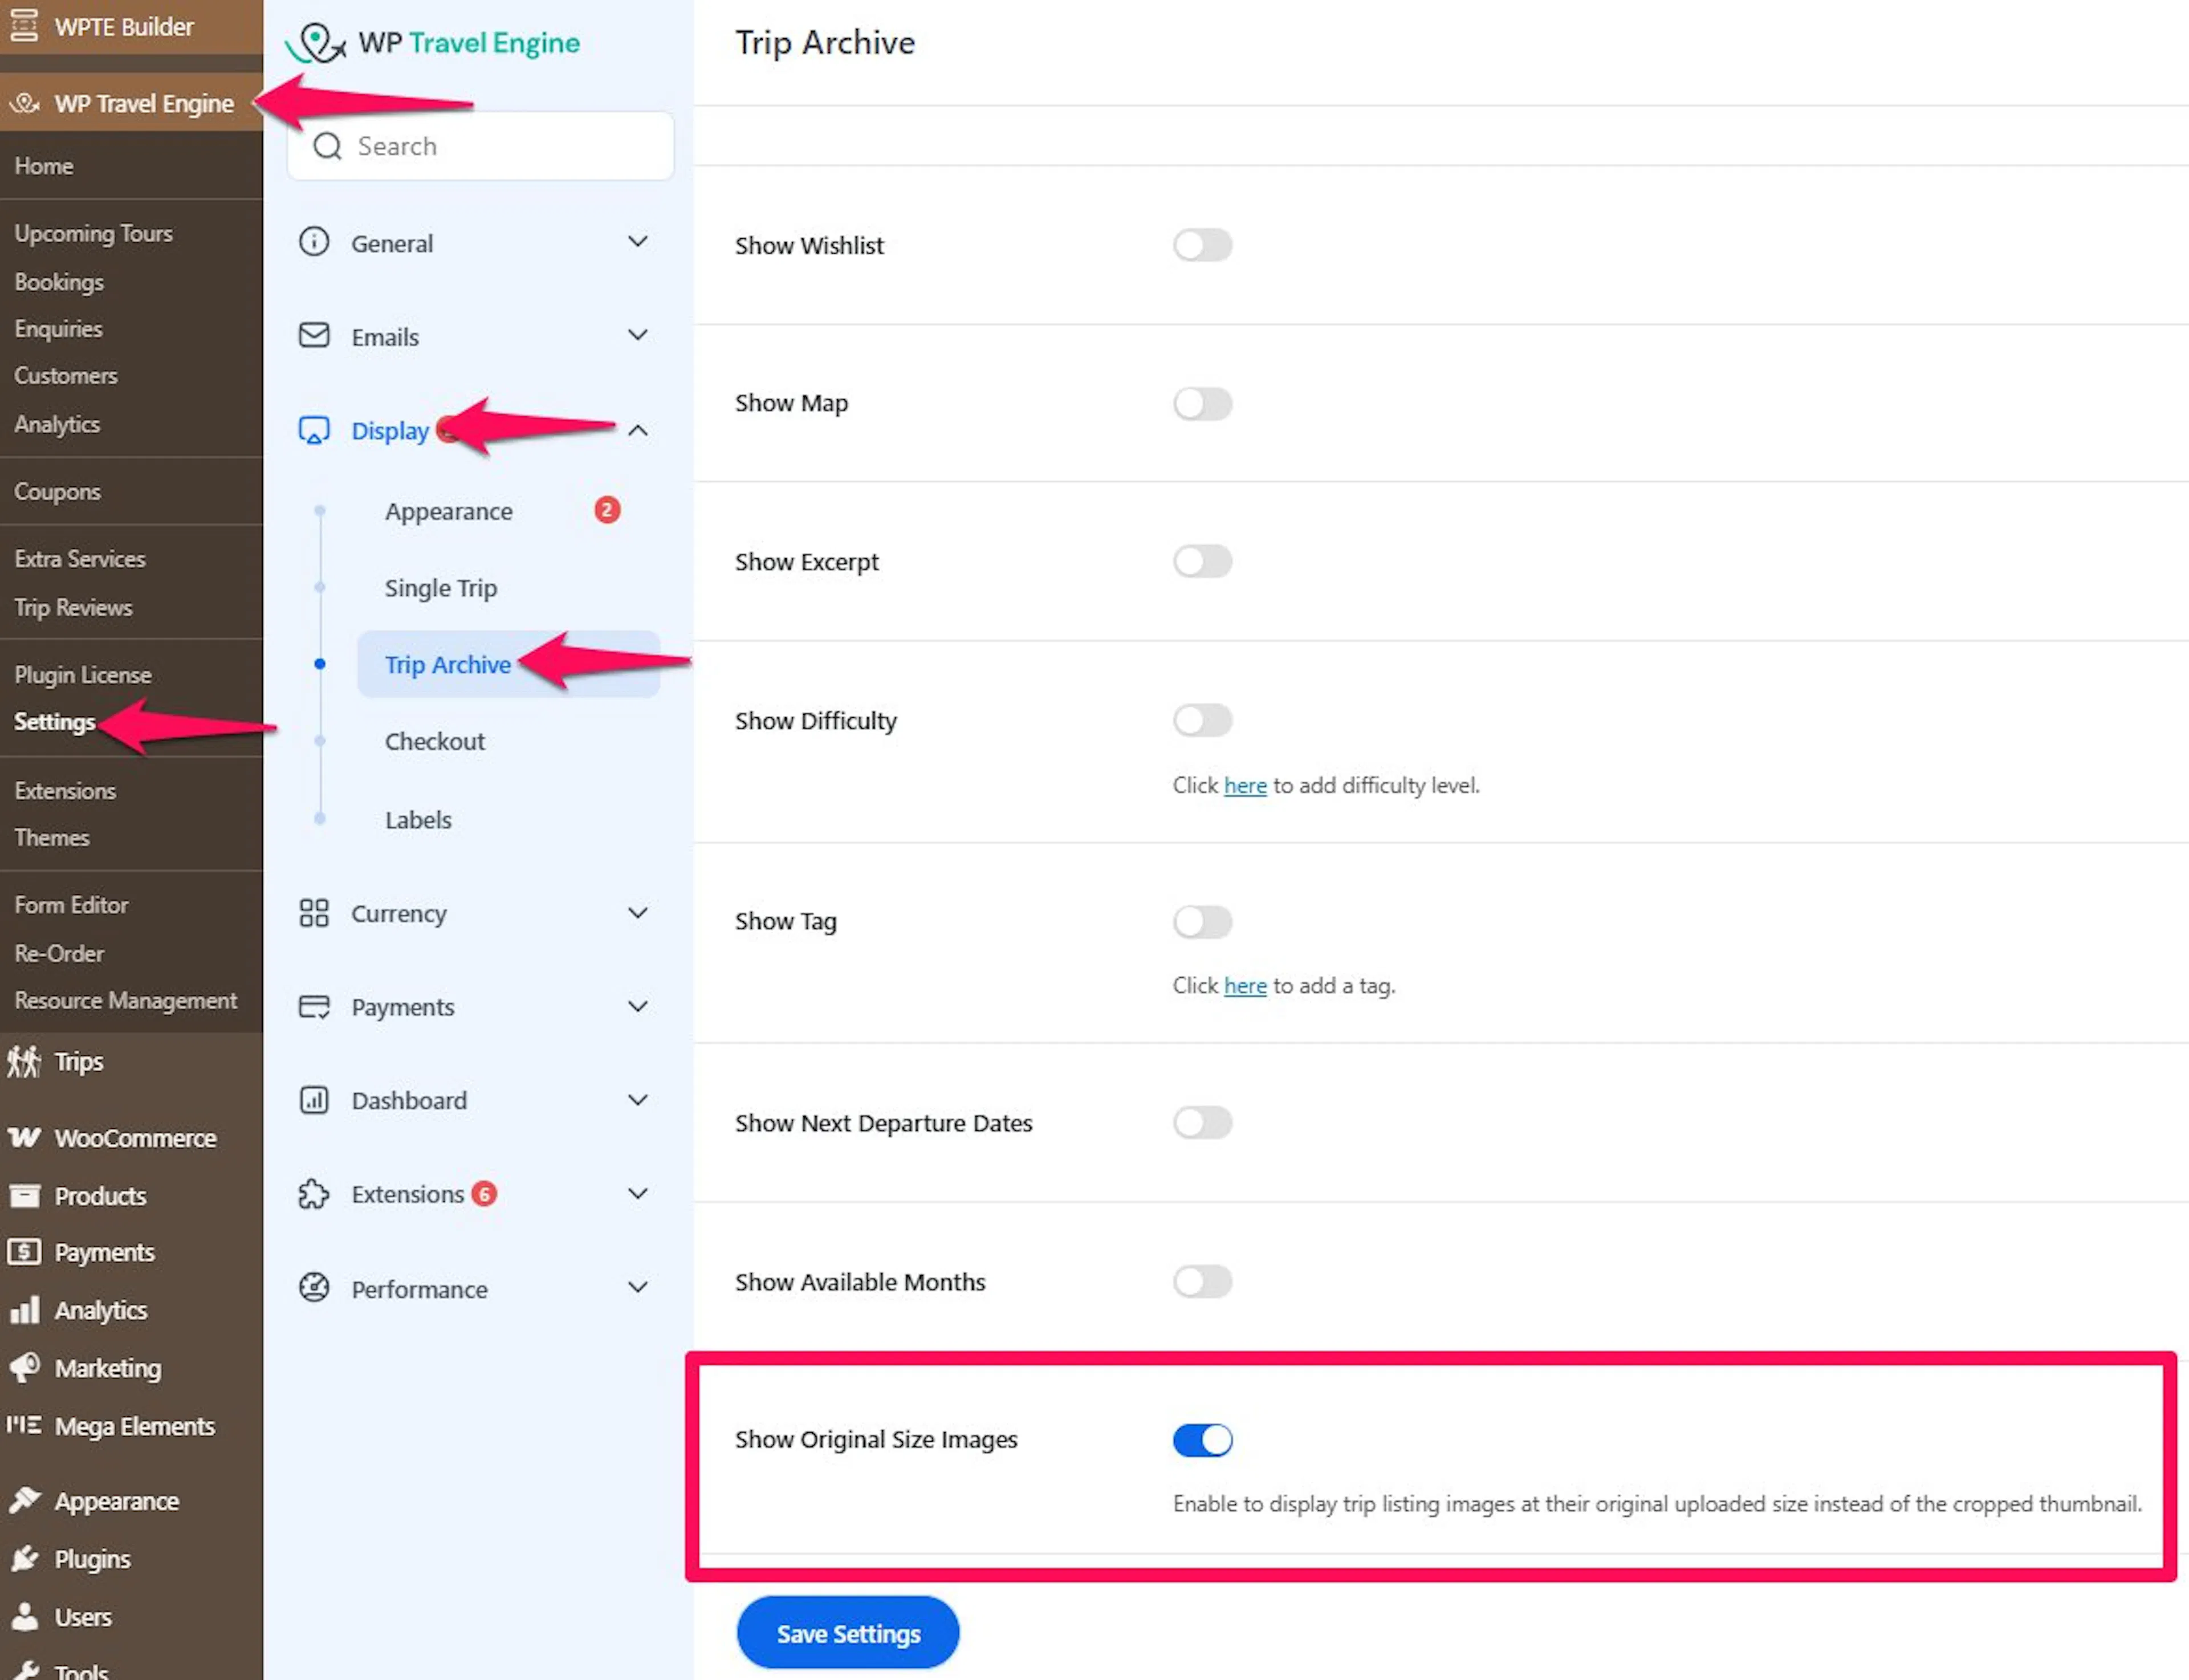
Show Original Size Image
This setting controls whether trip listing images display at their original uploaded size or as WPTE's cropped thumbnail.
Toggle it on to show images in the size they were uploaded, without any cropping.
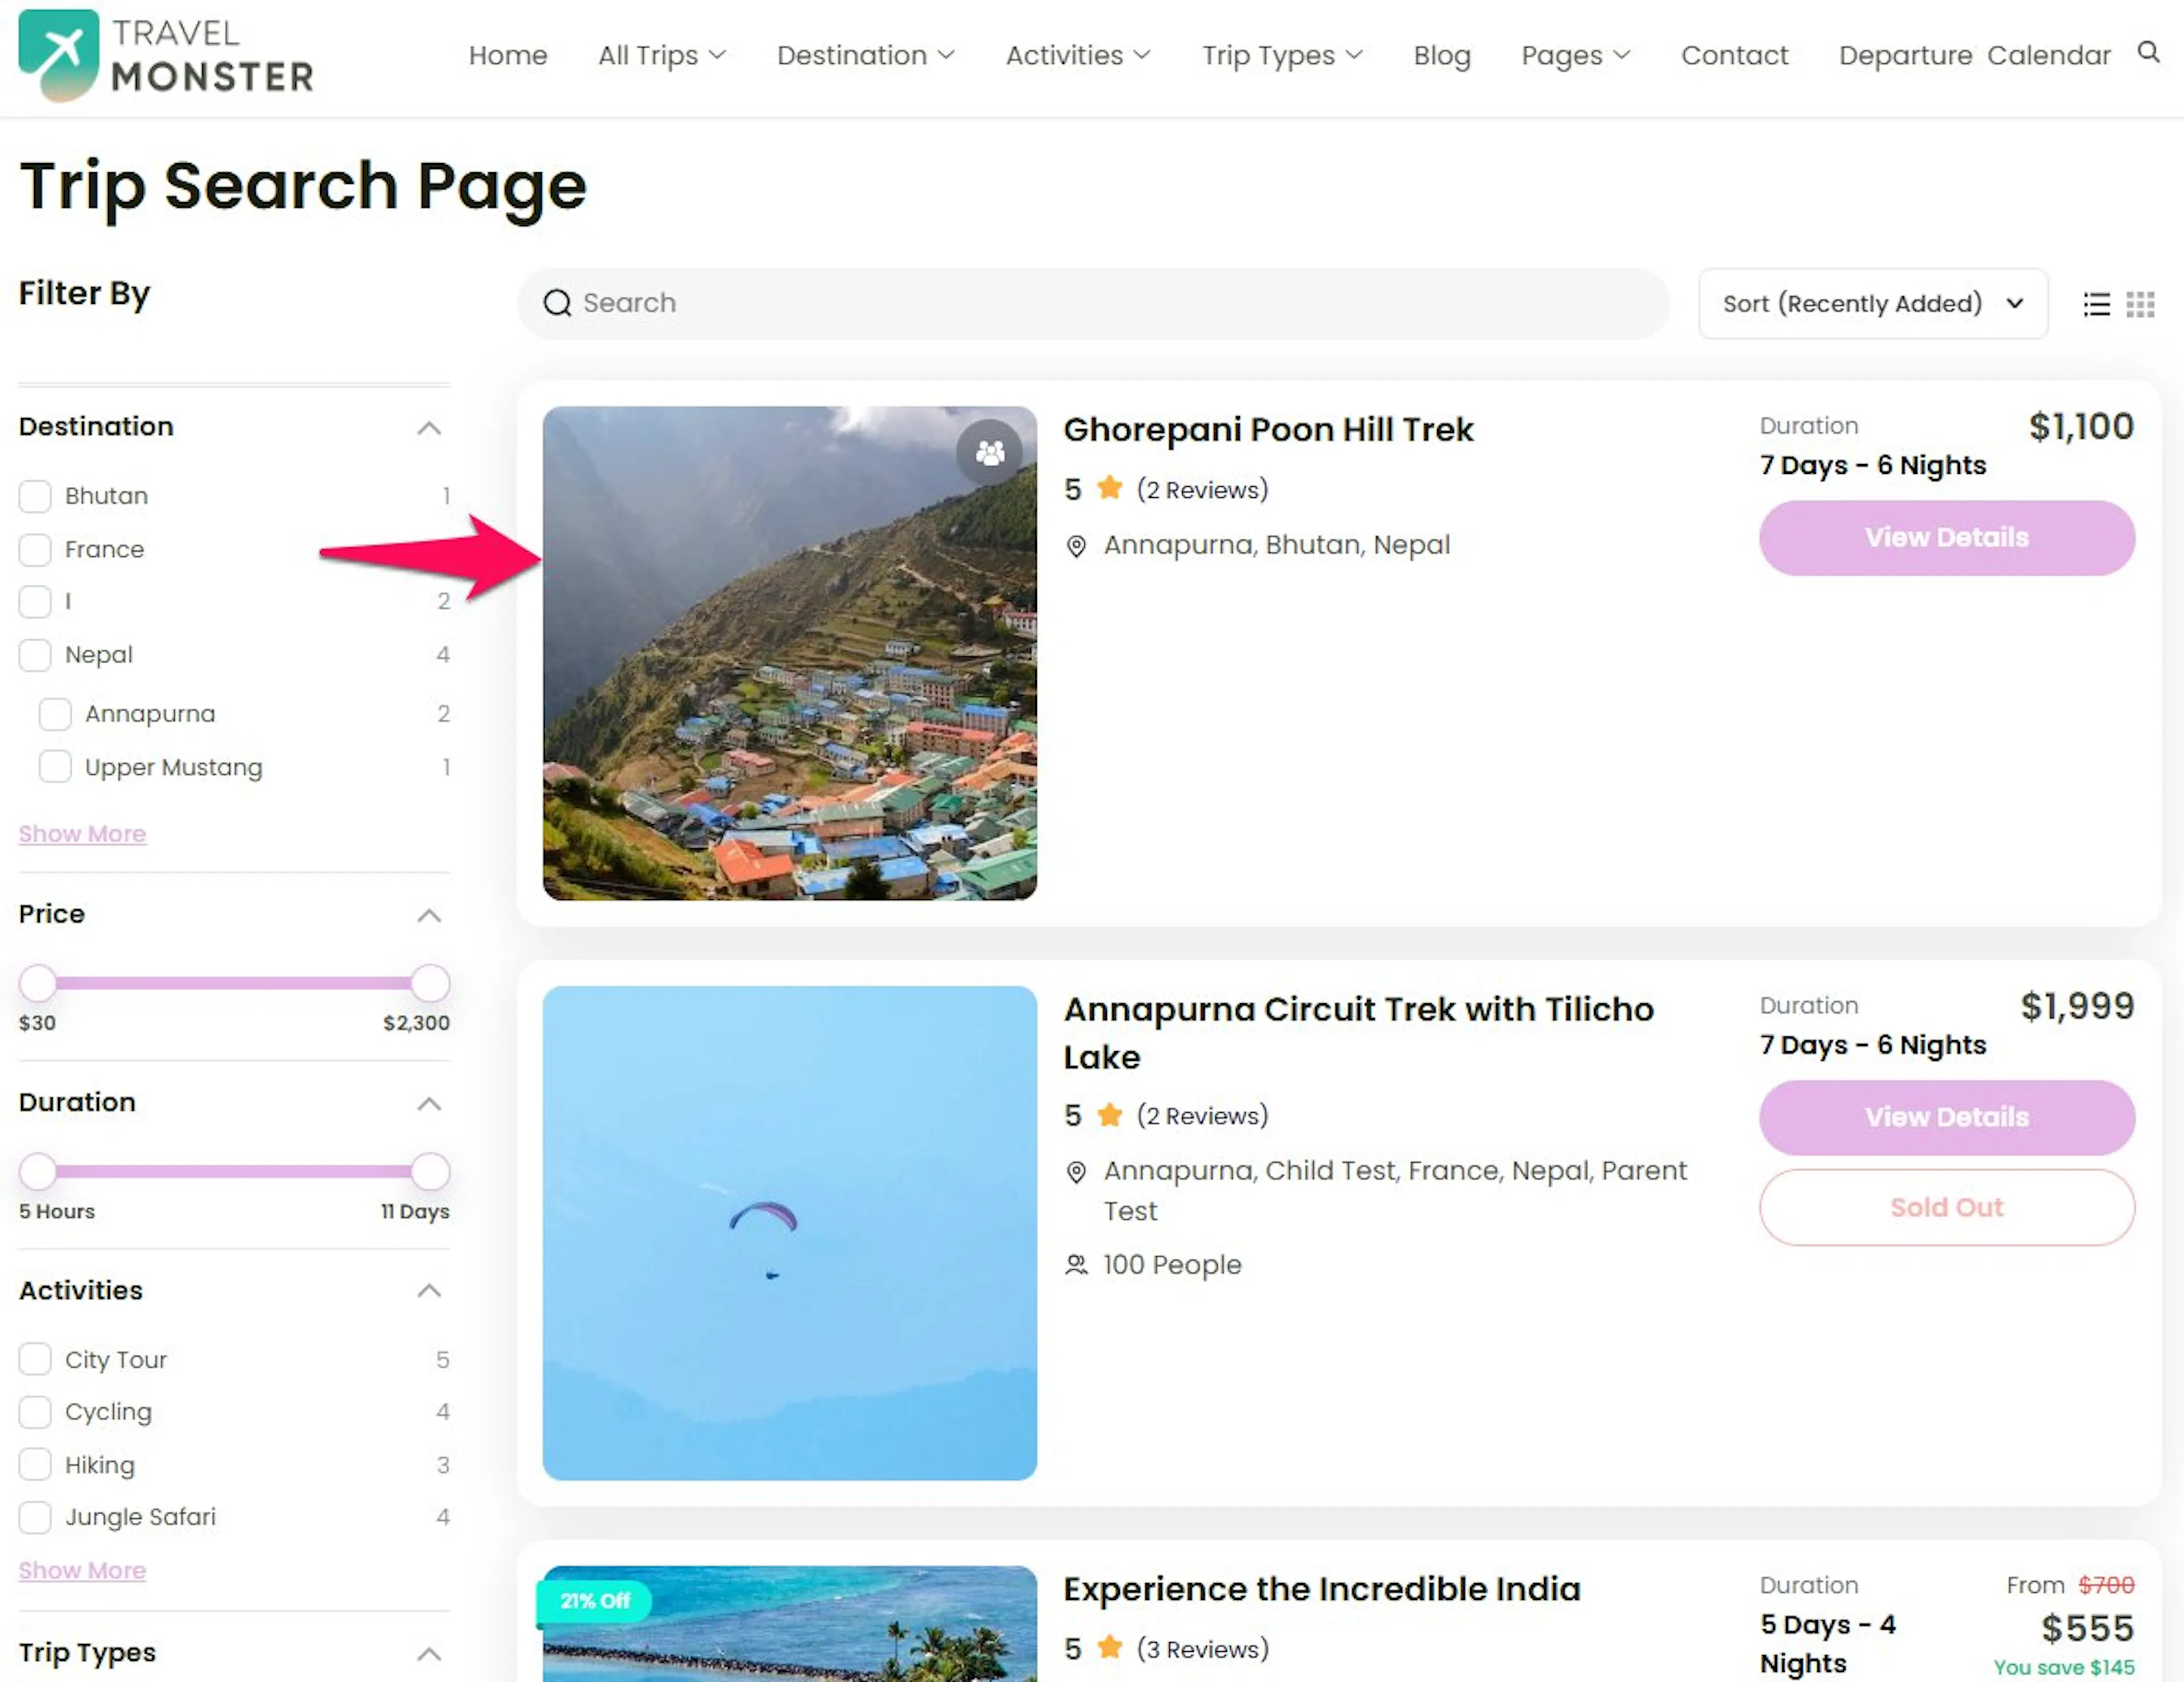
By default, WP Travel Engine plugin crops images to keep every card the same shape across the archive. Turning this on gives you the original image instead, useful if your trip photos are landscape, portrait, or otherwise vary in aspect ratio and you don't want them cropped. Keep in mind that enabling it can throw off the card grid's uniformity, since not every image will be the same size anymore.
Show Pricing Type Label
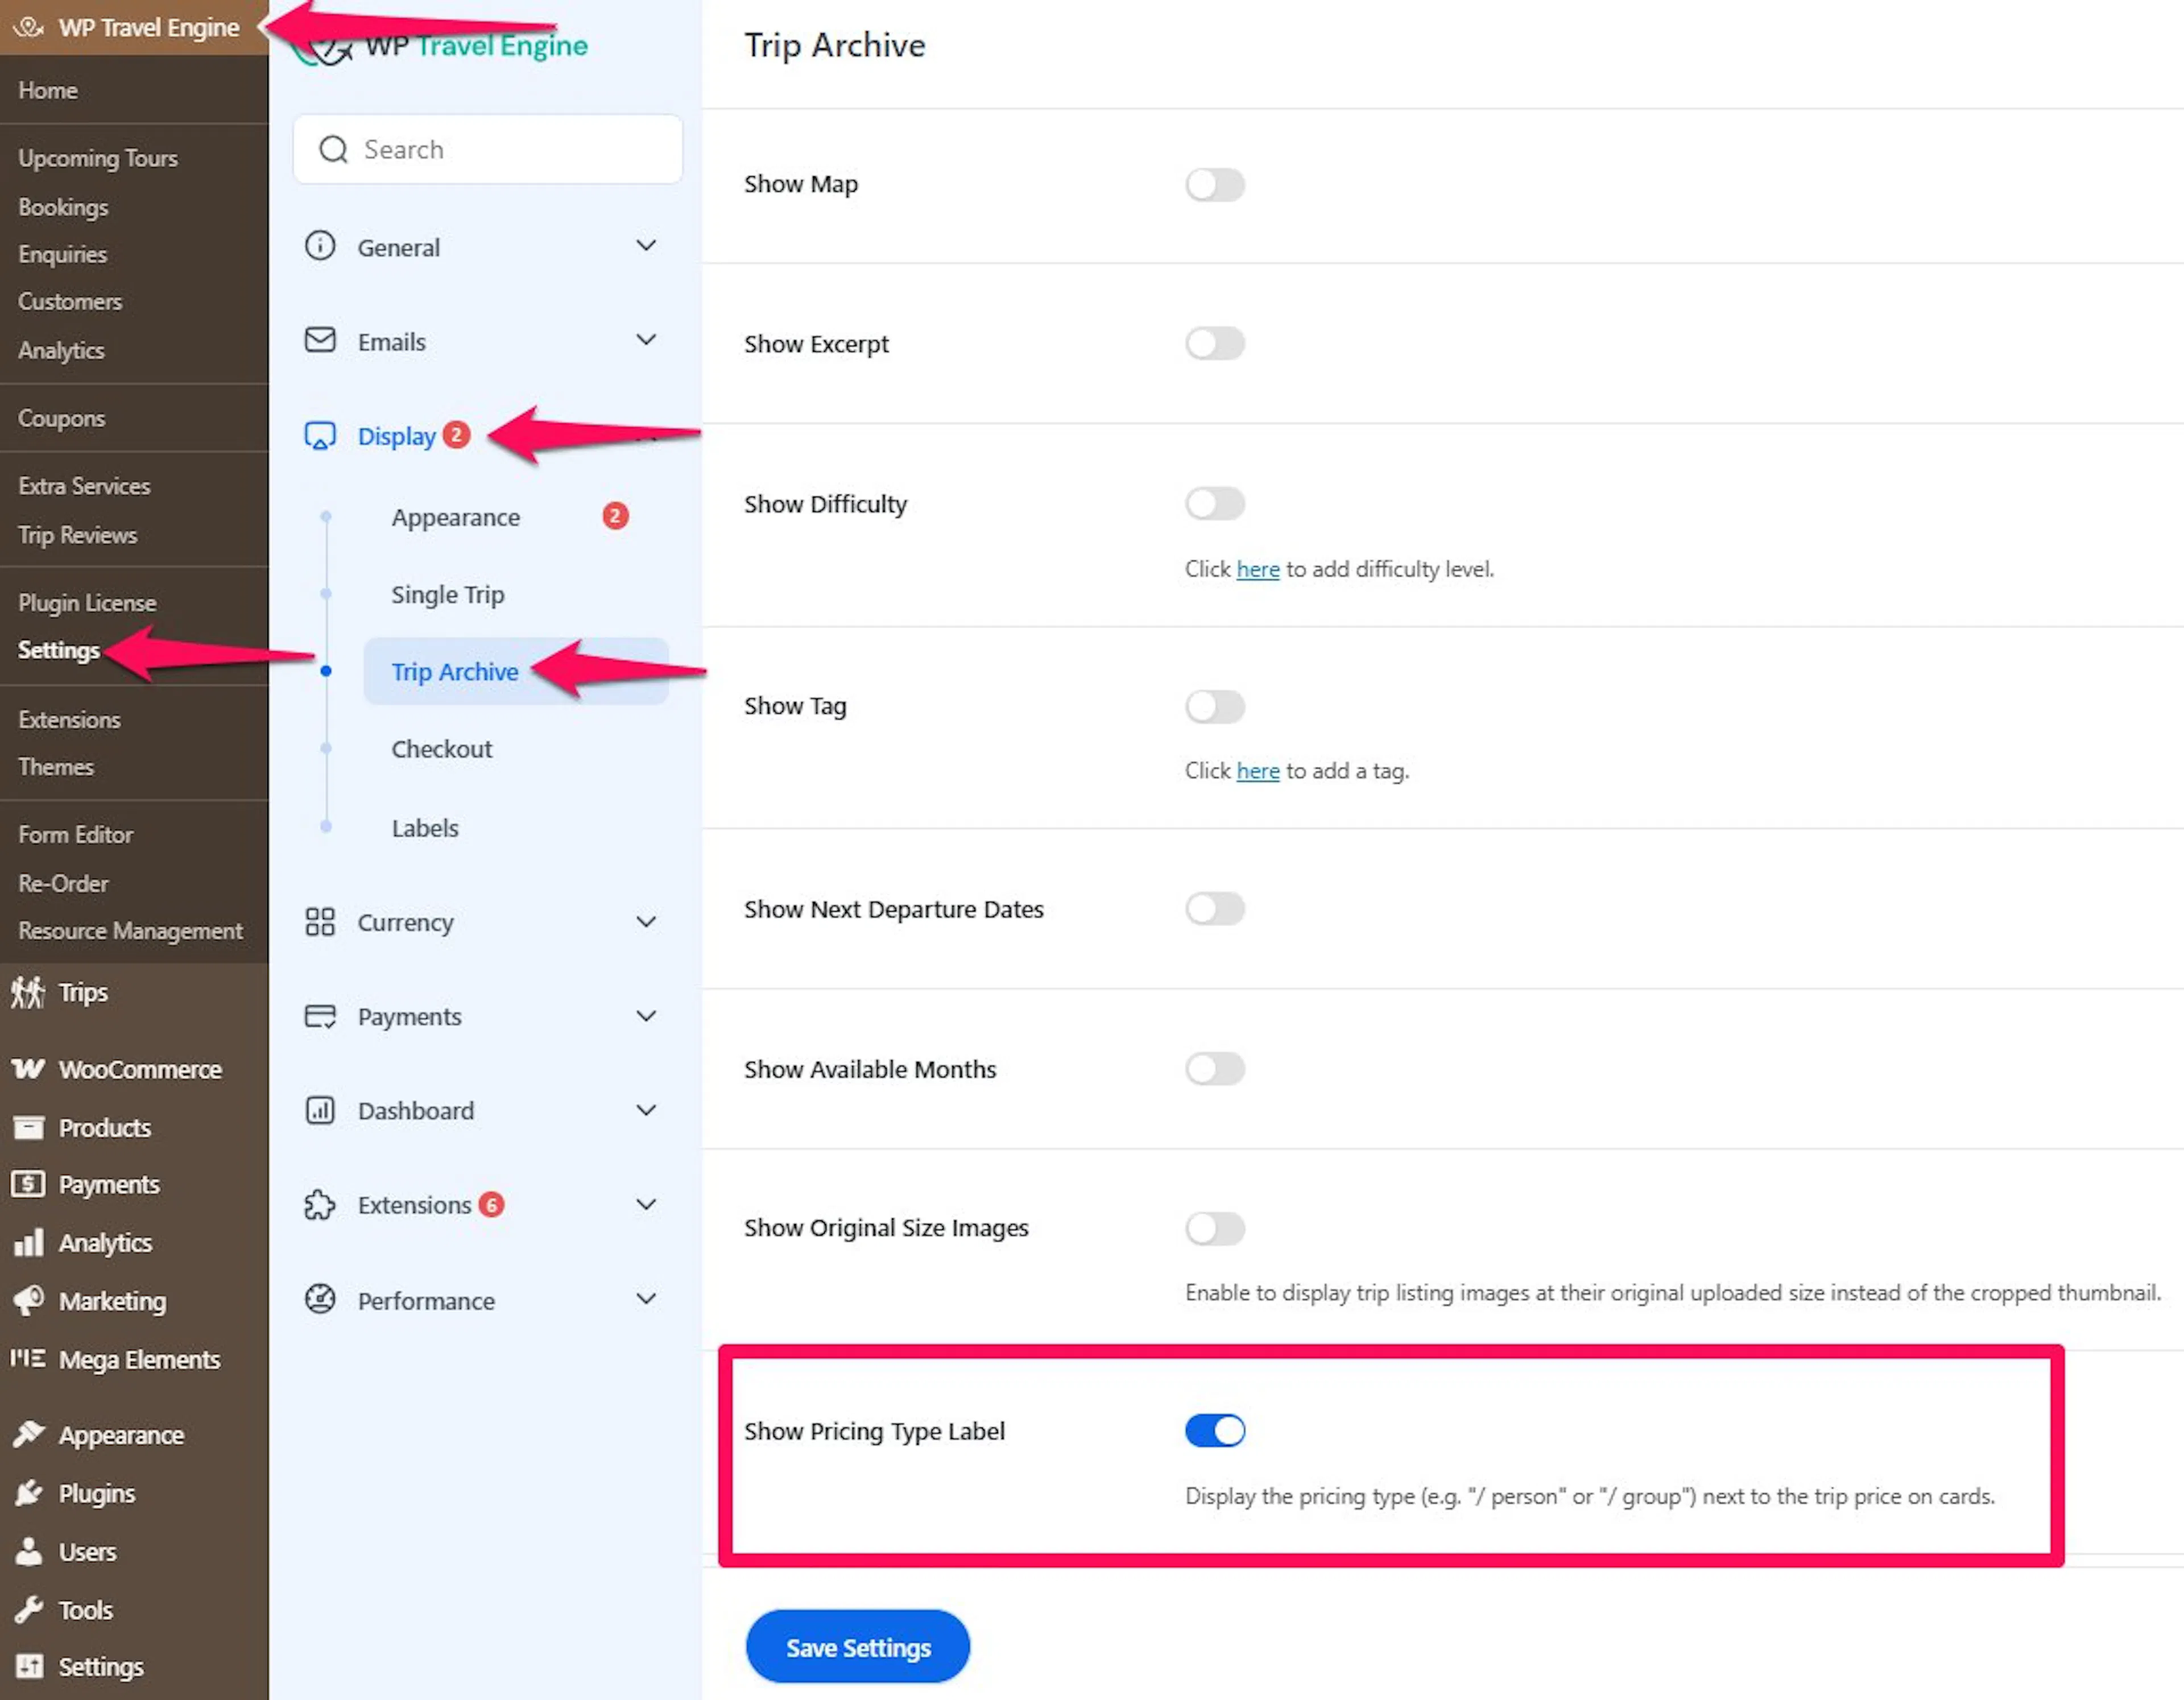
This setting controls whether the pricing type shows next to the trip price on cards.
Toggle it on to display the pricing type, such as / person or / group — right after the price on trip listing cards.
This helps customers understand what the listed price actually covers before they click into a trip, especially if your catalog mixes per-person pricing with group packages.
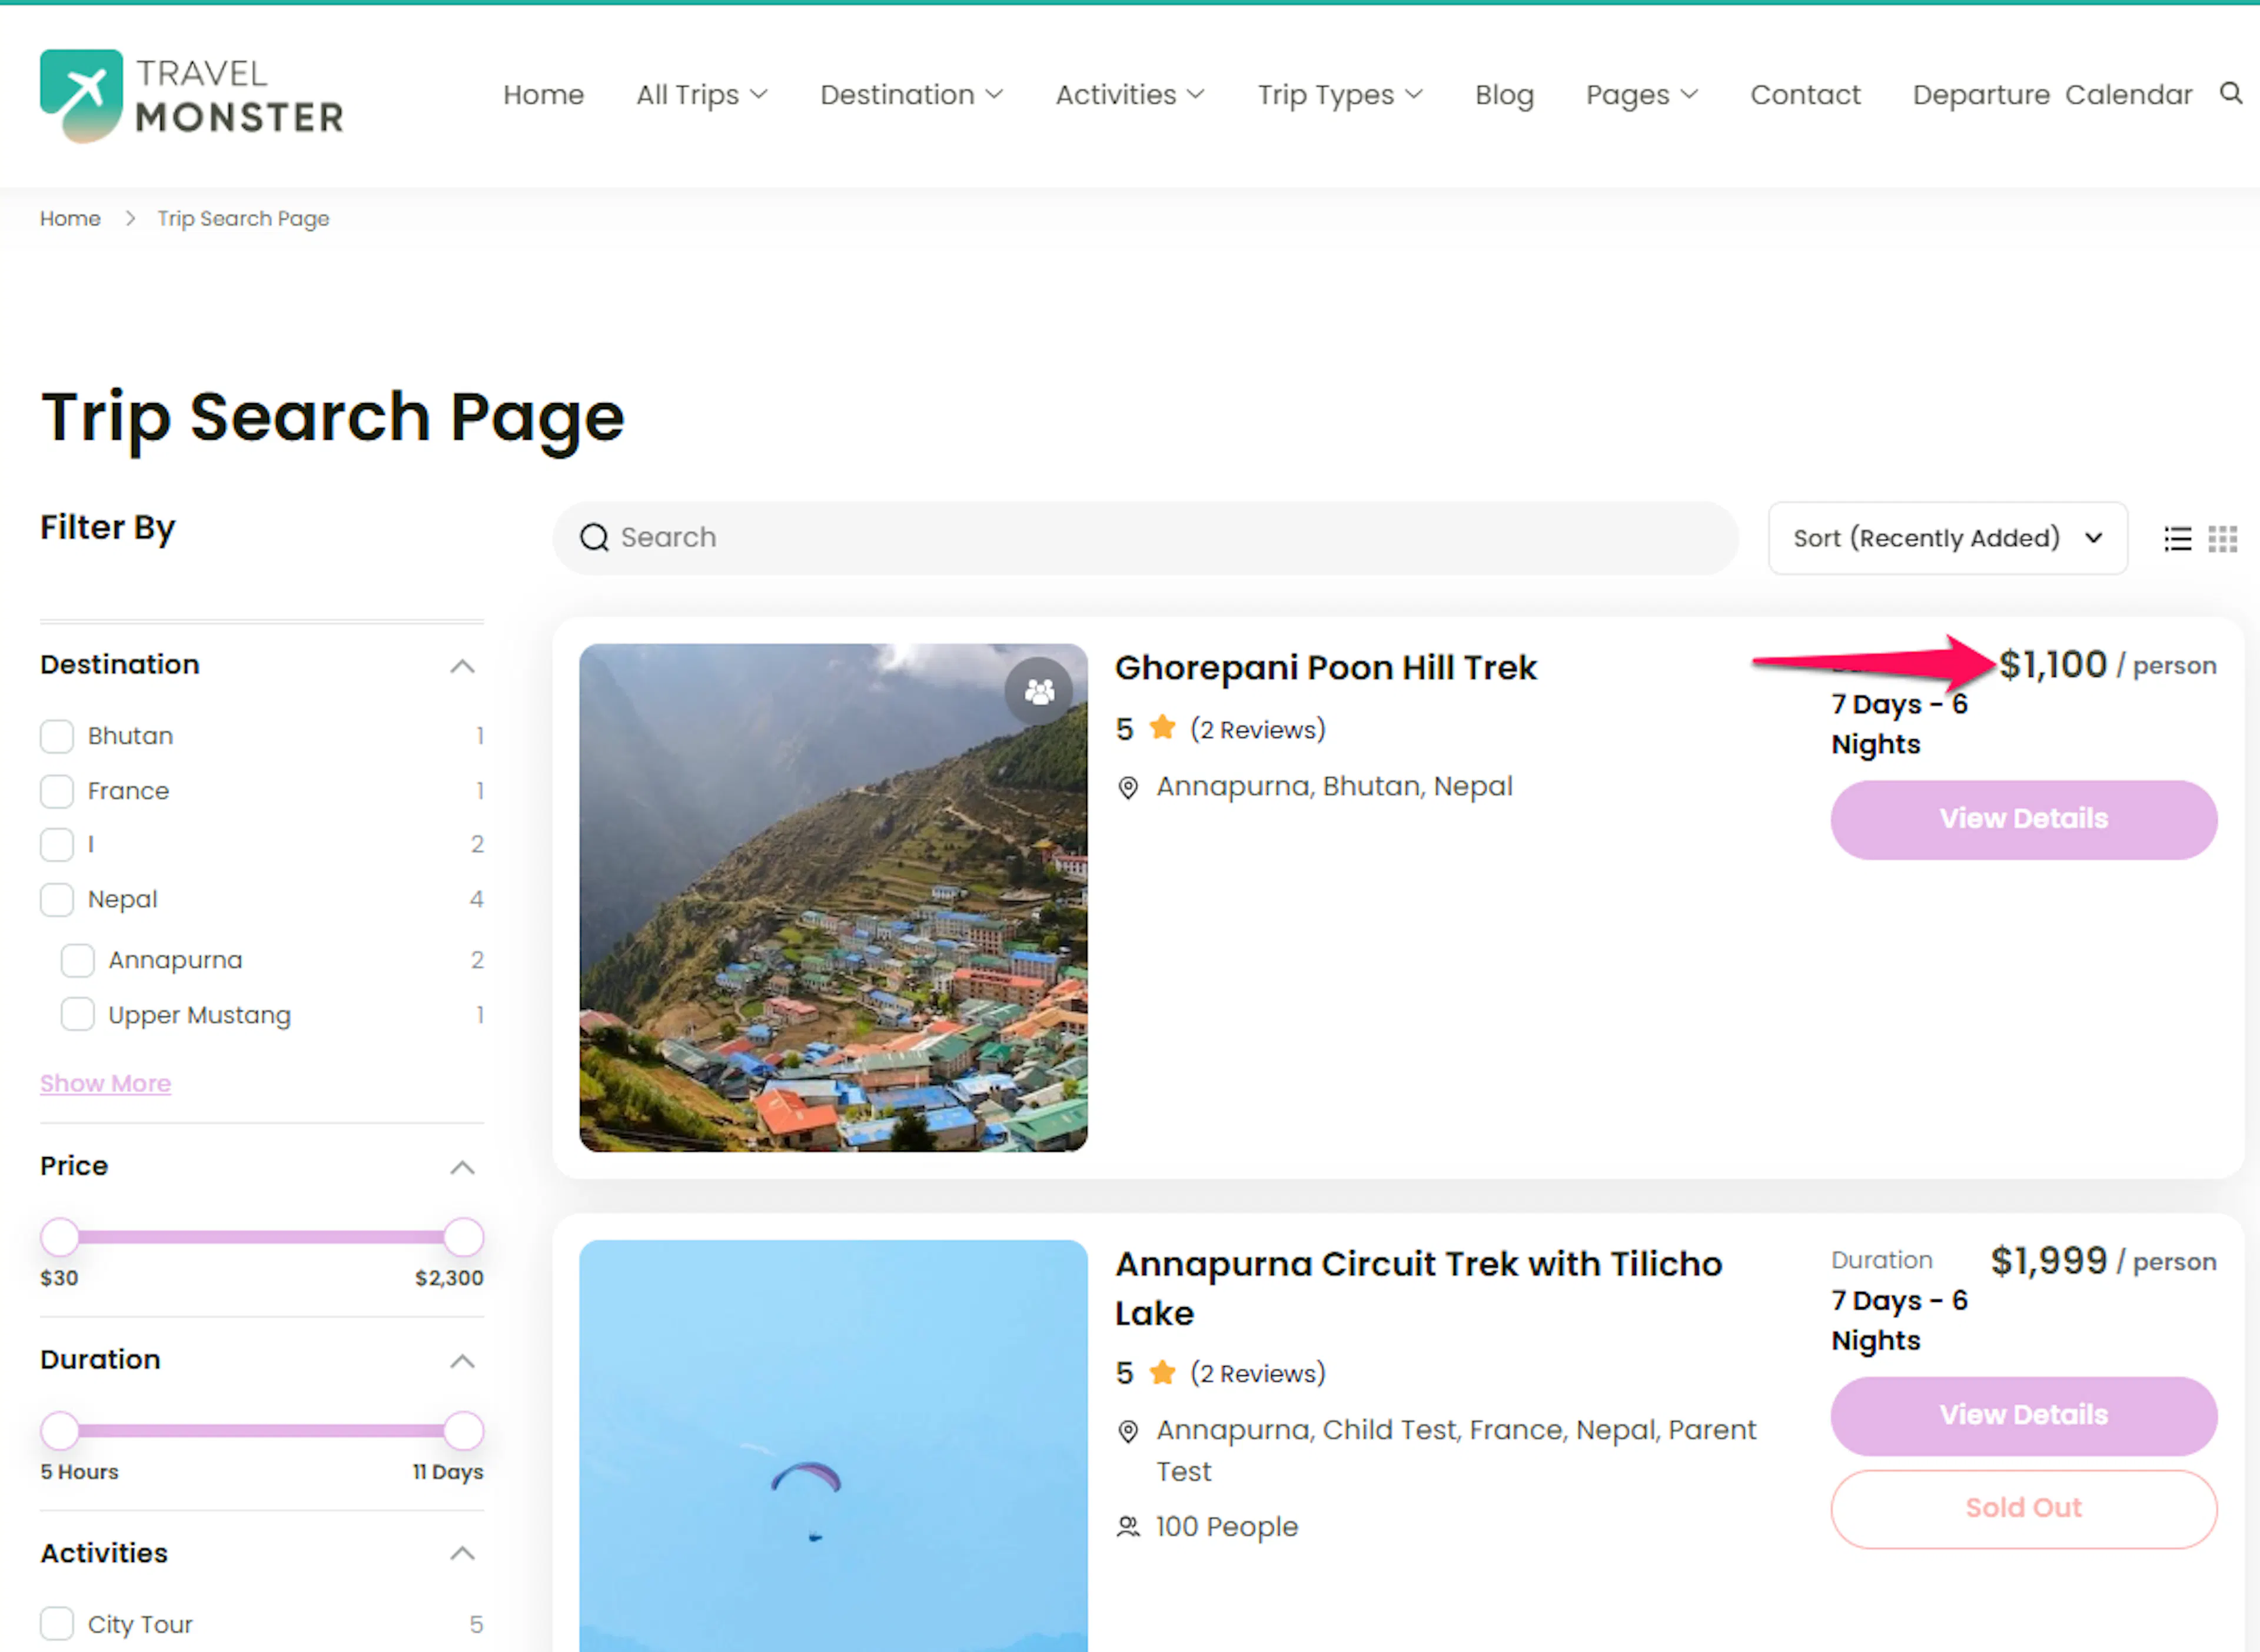
Trip Duration
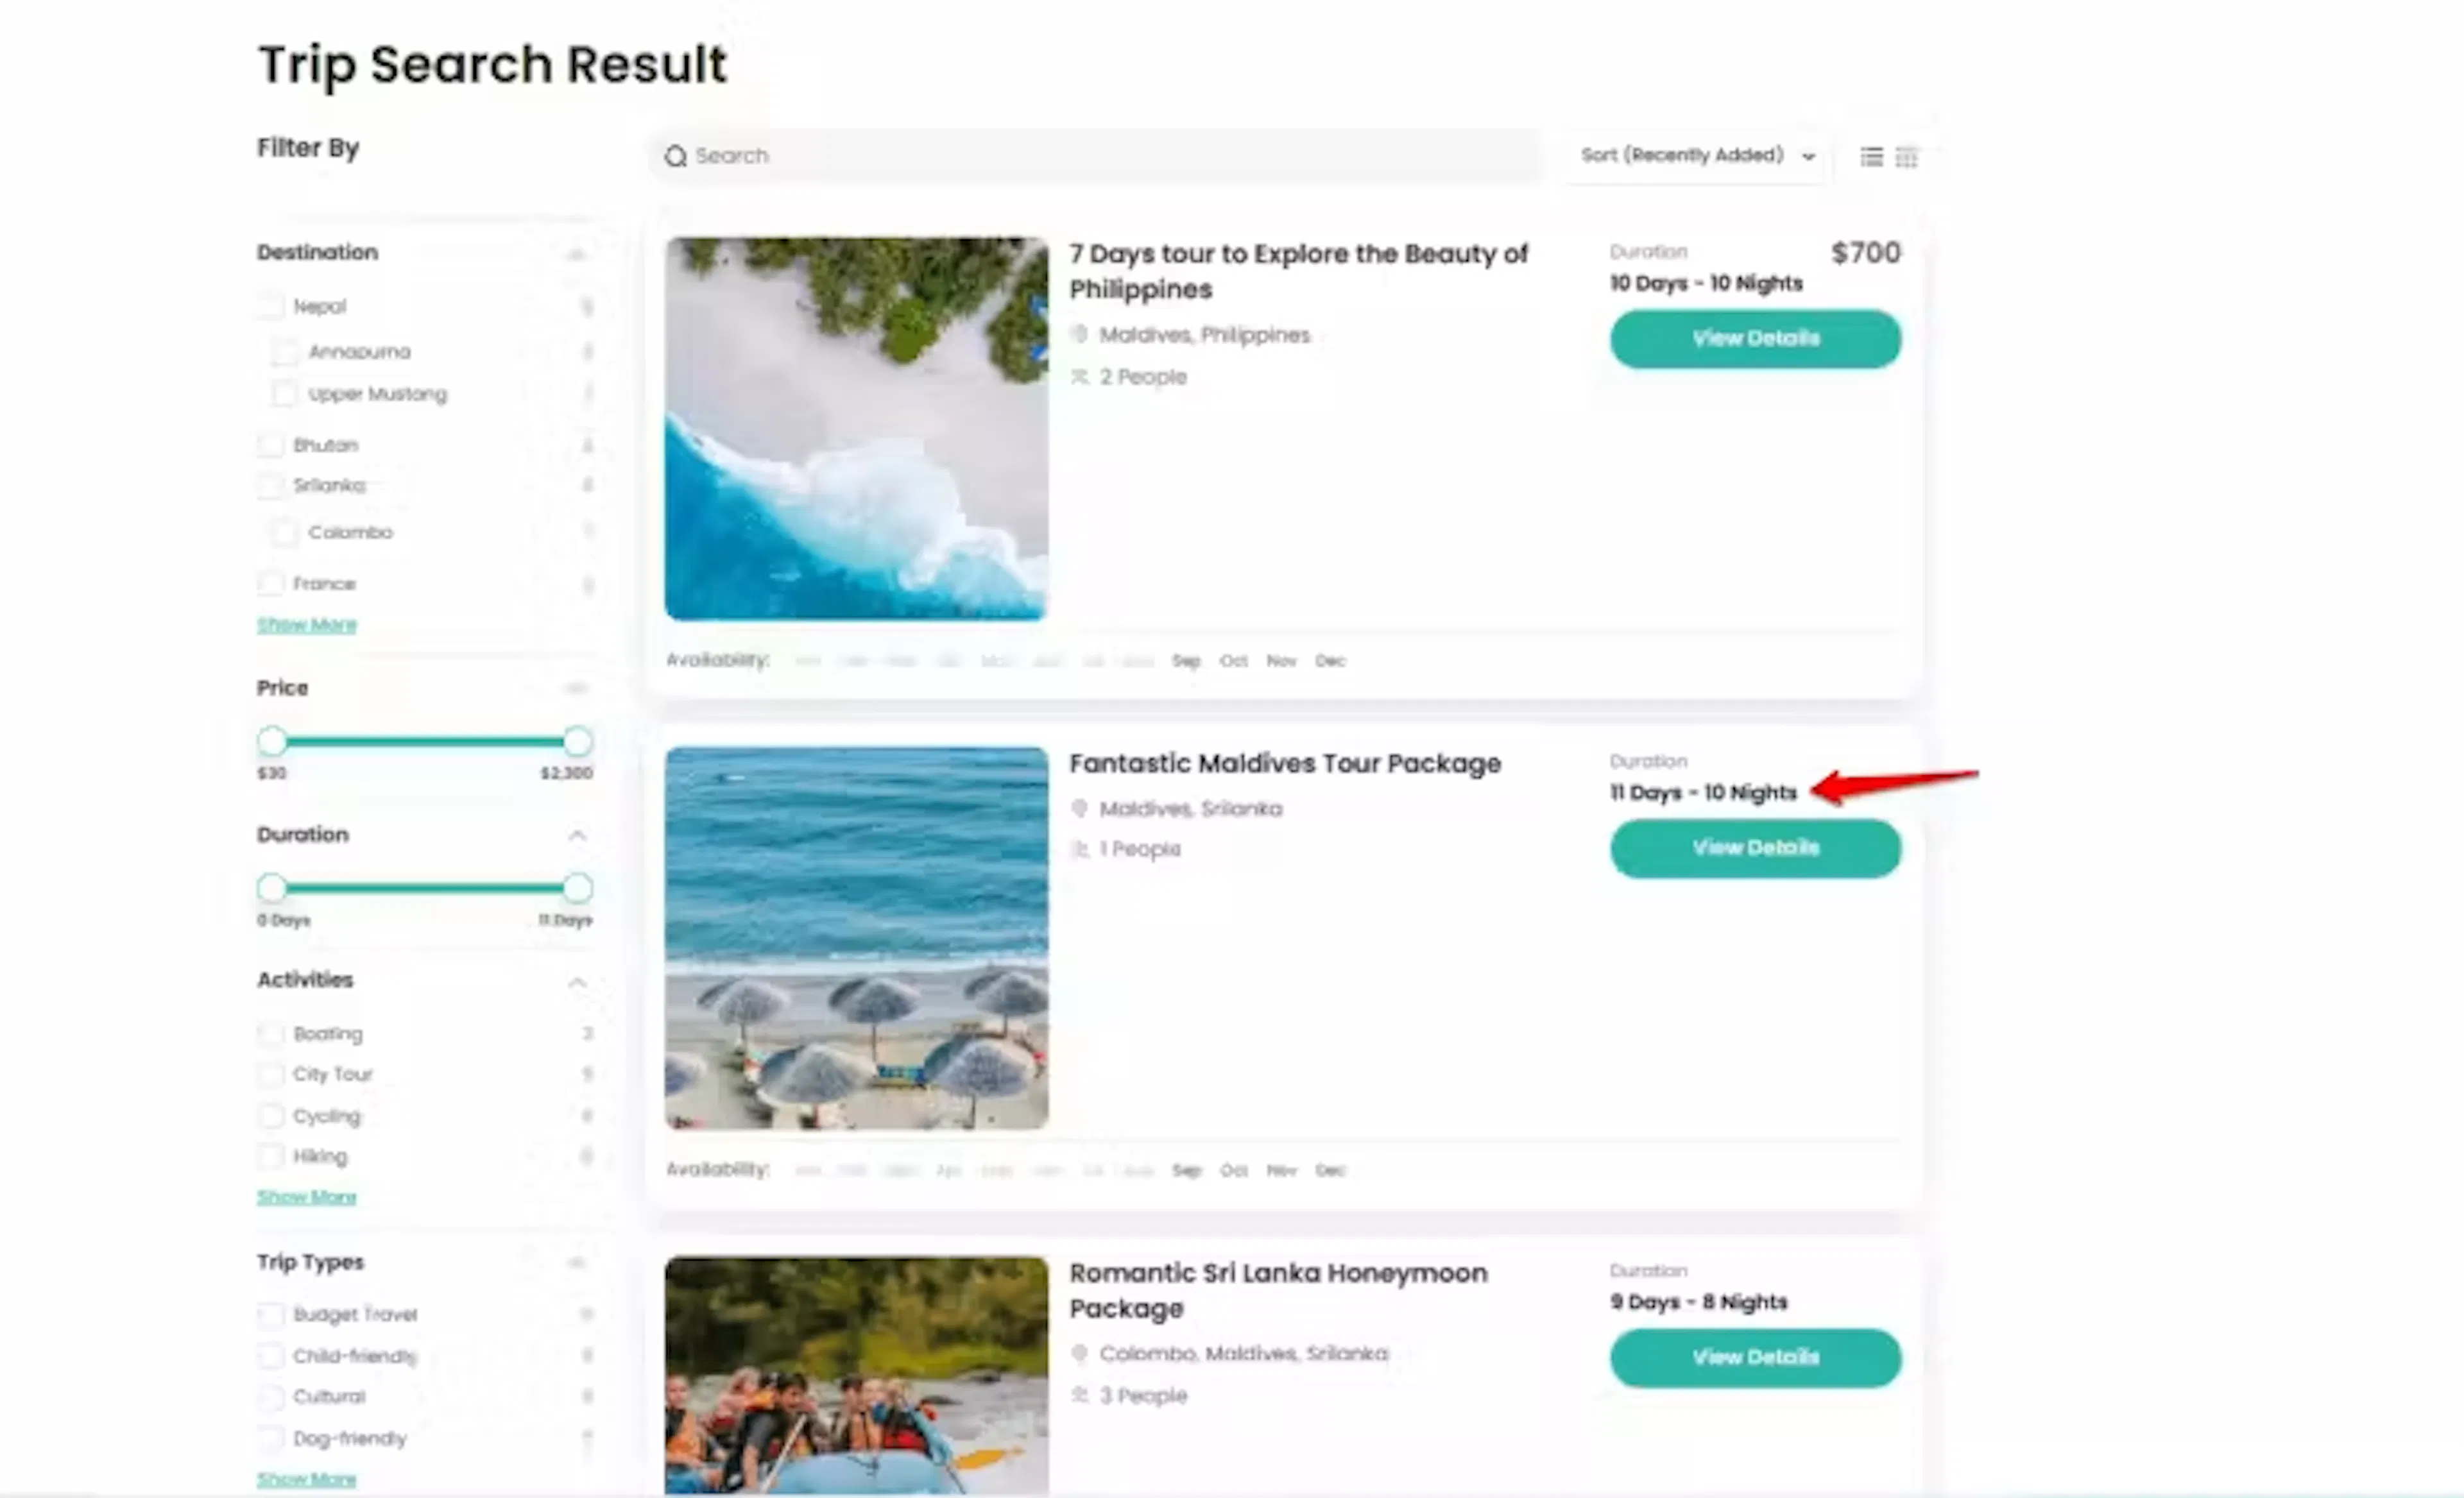
This setting controls how the trip length appears on the card.
Choose one of these display formats:
- Days and Nights
- Days Only
- Nights Only
Pick the format that matches how you usually describe your tours. Many operators use Days and Nights for multi-day packages and Days Only for short tours.
Trip Taxonomy
WordPress uses the word taxonomy for the groups that organize your trips. These can include Destinations, Activities, and Trip Types.
These settings control how those category pages look. So if someone opens your Nepal page or Hiking page, these options affect what they see there.
Show Taxonomy Image
This setting shows an image at the top of the category page.
For example, you could place a photo of the Himalayas at the top of your Nepal destination page. That gives the page a stronger visual identity.
Show Taxonomy Children Terms
Some taxonomies have parent and child terms. A parent term is a broader group. A child term is a more specific group inside it.
For example, you might use Asia as a parent destination. Then Nepal and Bhutan could sit under it as child destinations.
When this setting is enabled, child terms associated with parent terms display on the taxonomy archive page. Without it, only the higher-level parent terms show by default unless you choose otherwise.
Once these settings are in place, your category pages will be clearer and easier to browse. That makes it easier for visitors to move from a broad interest to the exact trip they want.
Need more help
If you're still stuck or have a question we didn't cover, our support team is happy to help. Reach out at our support page and we'll get you sorted.