

Authorize.net Payment Gateway
Connect Authorize.net to WP Travel Engine so travelers can pay for trips by credit card directly on your website.
Overview
The Authorize.net Payment Gateway extension lets you accept credit card payments on your website through your Authorize.net account.
Authorize.net is a payment service that processes credit card payments for businesses. Once you connect it to WP Travel Engine, travelers can pay for trips directly on your website with their credit card. That means fewer back-and-forth messages and a smoother booking experience for your customers.
If you run trekking tours, day tours, or multi-day packages, this setup helps you take payment at the time of booking. You stay in control of bookings from your WordPress dashboard. Next, make sure you have everything ready before you start.
WP Travel Engine must be installed before you use Authorize.net Payment Gateway. A plugin is a small add-on that gives your WordPress site extra features.
What you'll need before you start
A few details need to be ready before you open the payment settings. Having them in front of you will make the setup much faster.
- An active Authorize.net merchant account
- Your API Login ID
- Your Transaction Key
- WP Travel Engine installed and active on your WordPress site
An Authorize.net merchant account is your business payment account with Authorize.net. It is the account that receives and processes your customers' card payments.
Open your Authorize.net account in another browser tab before you begin. You will need to copy two codes from it during setup.
Now you are ready to connect the payment gateway inside WordPress.
Main configuration
These settings tell your website how to connect to your Authorize.net account. Once they are saved, your travelers can choose this payment option at checkout.
Open payment settings
First, go to the payment area in WordPress so you can turn on the gateway.
Sign in to your WordPress dashboard. On the left sidebar of your WordPress dashboard, go to WP Travel Engine > Settings > Payment.
You should now see the payment settings page for your travel website. If you can see the payment section, you are in the right place.
Show the credential fields
Next, reveal the fields where your Authorize.net account details will go.
Find the option that shows the Authorize.net API Login ID and Transaction Key fields. Tick that option.
This opens the two fields where you will paste your Authorize.net codes. Once those fields appear, you can move to the next step.

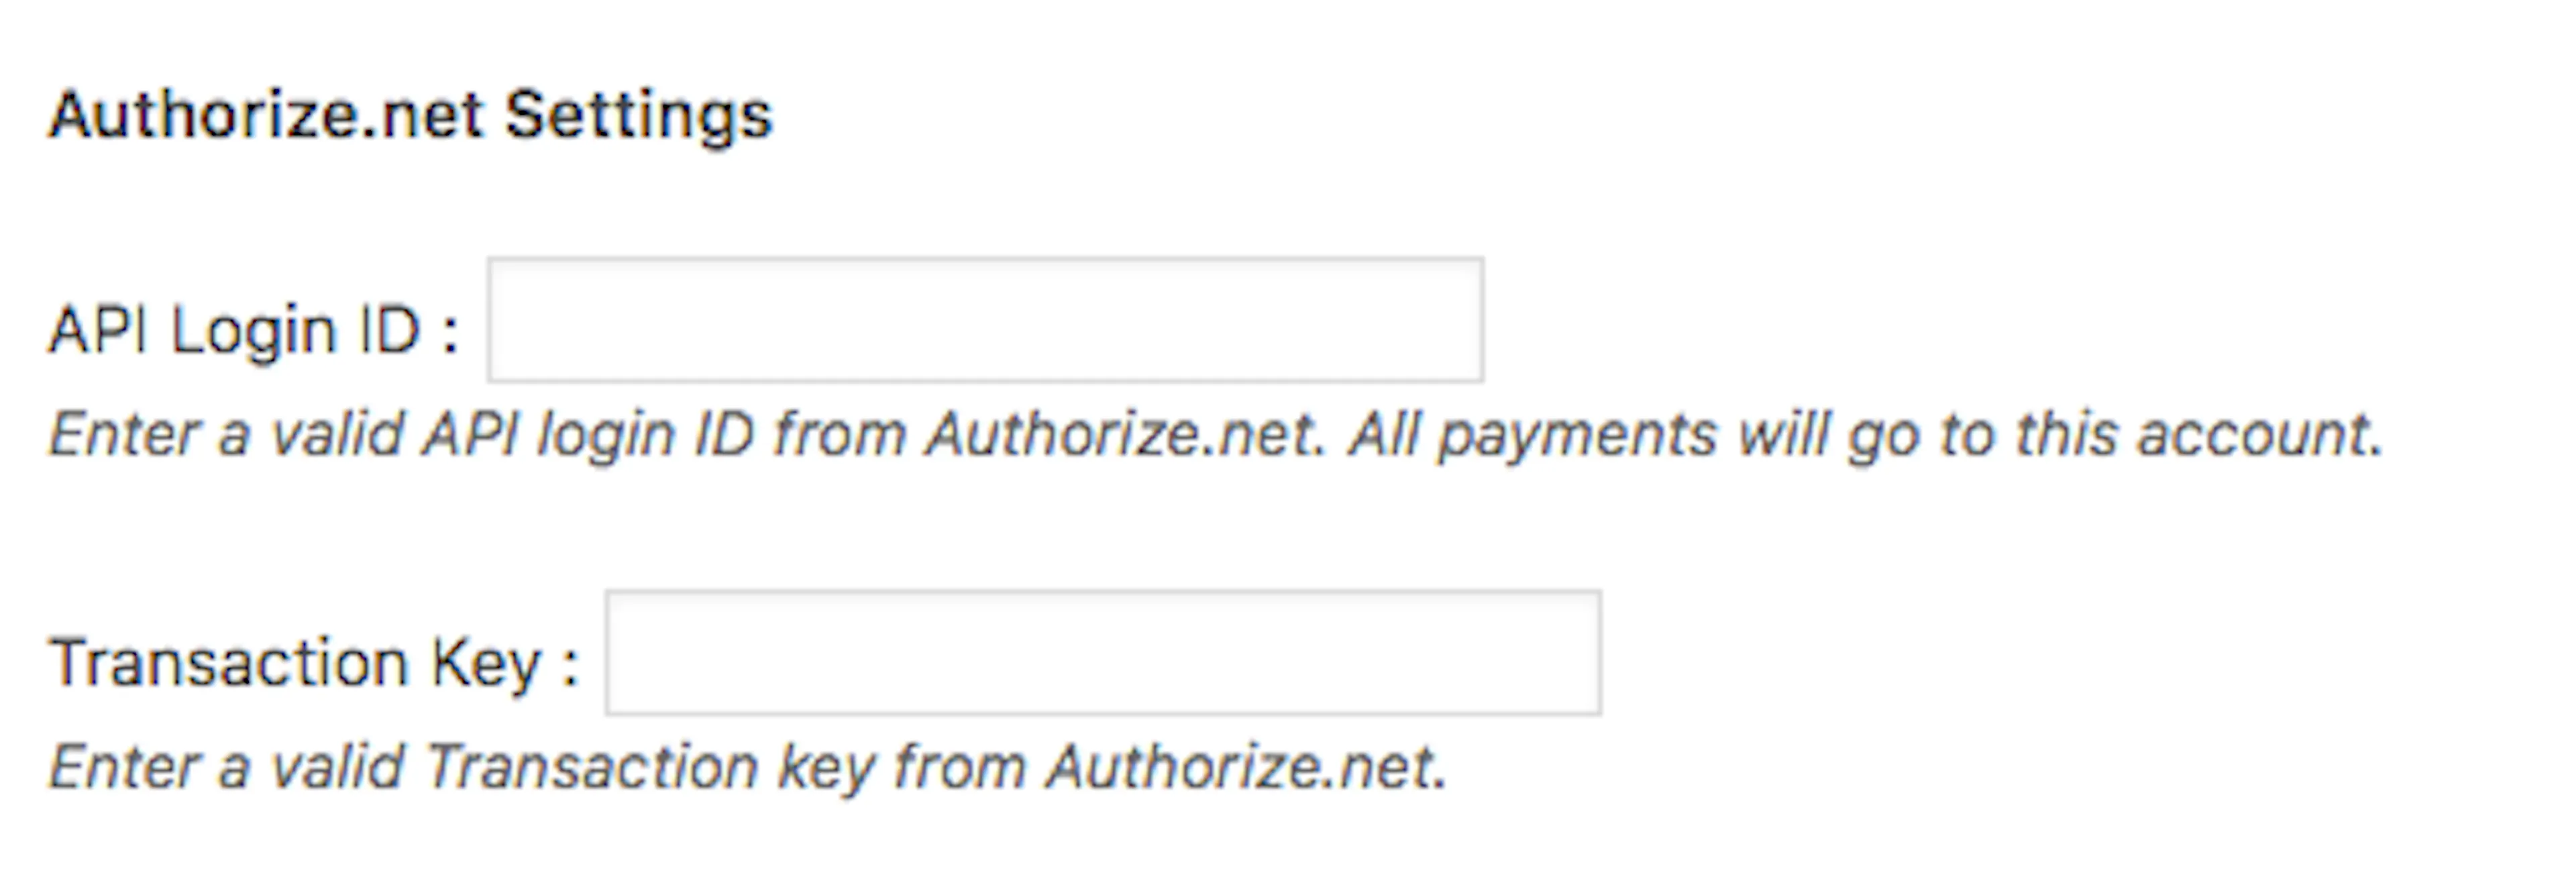
Enter your credentials
Now connect your site to your Authorize.net account by pasting in the two codes.
In your Authorize.net merchant interface, go to Account > Settings > Security Settings > API Credentials & Keys. An API Login ID is a unique code that tells Authorize.net the payment is coming from your business. A Transaction Key works with the API Login ID to confirm your website is allowed to use your Authorize.net account. Think of it as a private password.
Copy the API Login ID from Authorize.net and paste it into the matching field in WP Travel Engine. Then copy the Transaction Key and paste it into its matching field.
Check that each code is in the correct field before you continue. That helps avoid payment connection errors later.
Save your changes
Save the settings so your website remembers the connection.
Scroll to the bottom of the page and click Save Changes.
After the page reloads, your settings should stay in place. If the values are still there, the connection details were saved.
This is your unique code from Authorize.net that tells their system the payment is coming from your business. You can find it in your Authorize.net merchant interface under Account > Settings > Security Settings > API Credentials & Keys.
This works alongside your API Login ID to confirm your website is allowed to use your Authorize.net account. Think of it as a private password. You can generate it from the same API Credentials & Keys page in your Authorize.net account.
What happens at checkout
Once the settings are saved, travelers will see Authorize.net as a payment option when they book a trip. They can enter their card details and pay right on your website.
After payment is made, the booking appears in your WordPress dashboard. That gives you one place to track trip bookings and payments.
For example, a traveler might book a 5-day mountain trek on your site and pay with their credit card through Authorize.net. You receive the booking through WP Travel Engine, and the payment is processed through your Authorize.net account. At this point, your payment setup is ready to use.
If you're still stuck or have a question we didn't cover, our support team is happy to help. Reach out at our support page and we'll get you sorted.