

How to Configure Trip Card / Listing Page Settings in WP Travel Engine
Configure the slider, featured tag, wishlist, map, excerpt, difficulty, tags, departure dates, available months, and trip duration display on trip cards.
Trip cards are the little boxes people see when they browse your trips. Each card usually shows a photo, trip name, price, and a few key details. These settings let you choose what else appears on those cards so people can understand your trips faster before they click.
Before you start
Make sure WP Travel Engine is installed and active on your site.
If you can see WP Travel Engine in the left-hand menu of your WordPress dashboard, you're ready to go.
Once that's in place, you can open the display settings and choose what your trip cards show.
How to get to these settings
These steps take you to the exact area where you control your trip card display.
Log in to your WordPress dashboard
Open your website login page by typing your website address followed by /wp-admin.
For example, if your site is yourwebsite.com, go to yourwebsite.com/wp-admin.
When you log in, you'll land in your WordPress admin dashboard.
Open WP Travel Engine settings
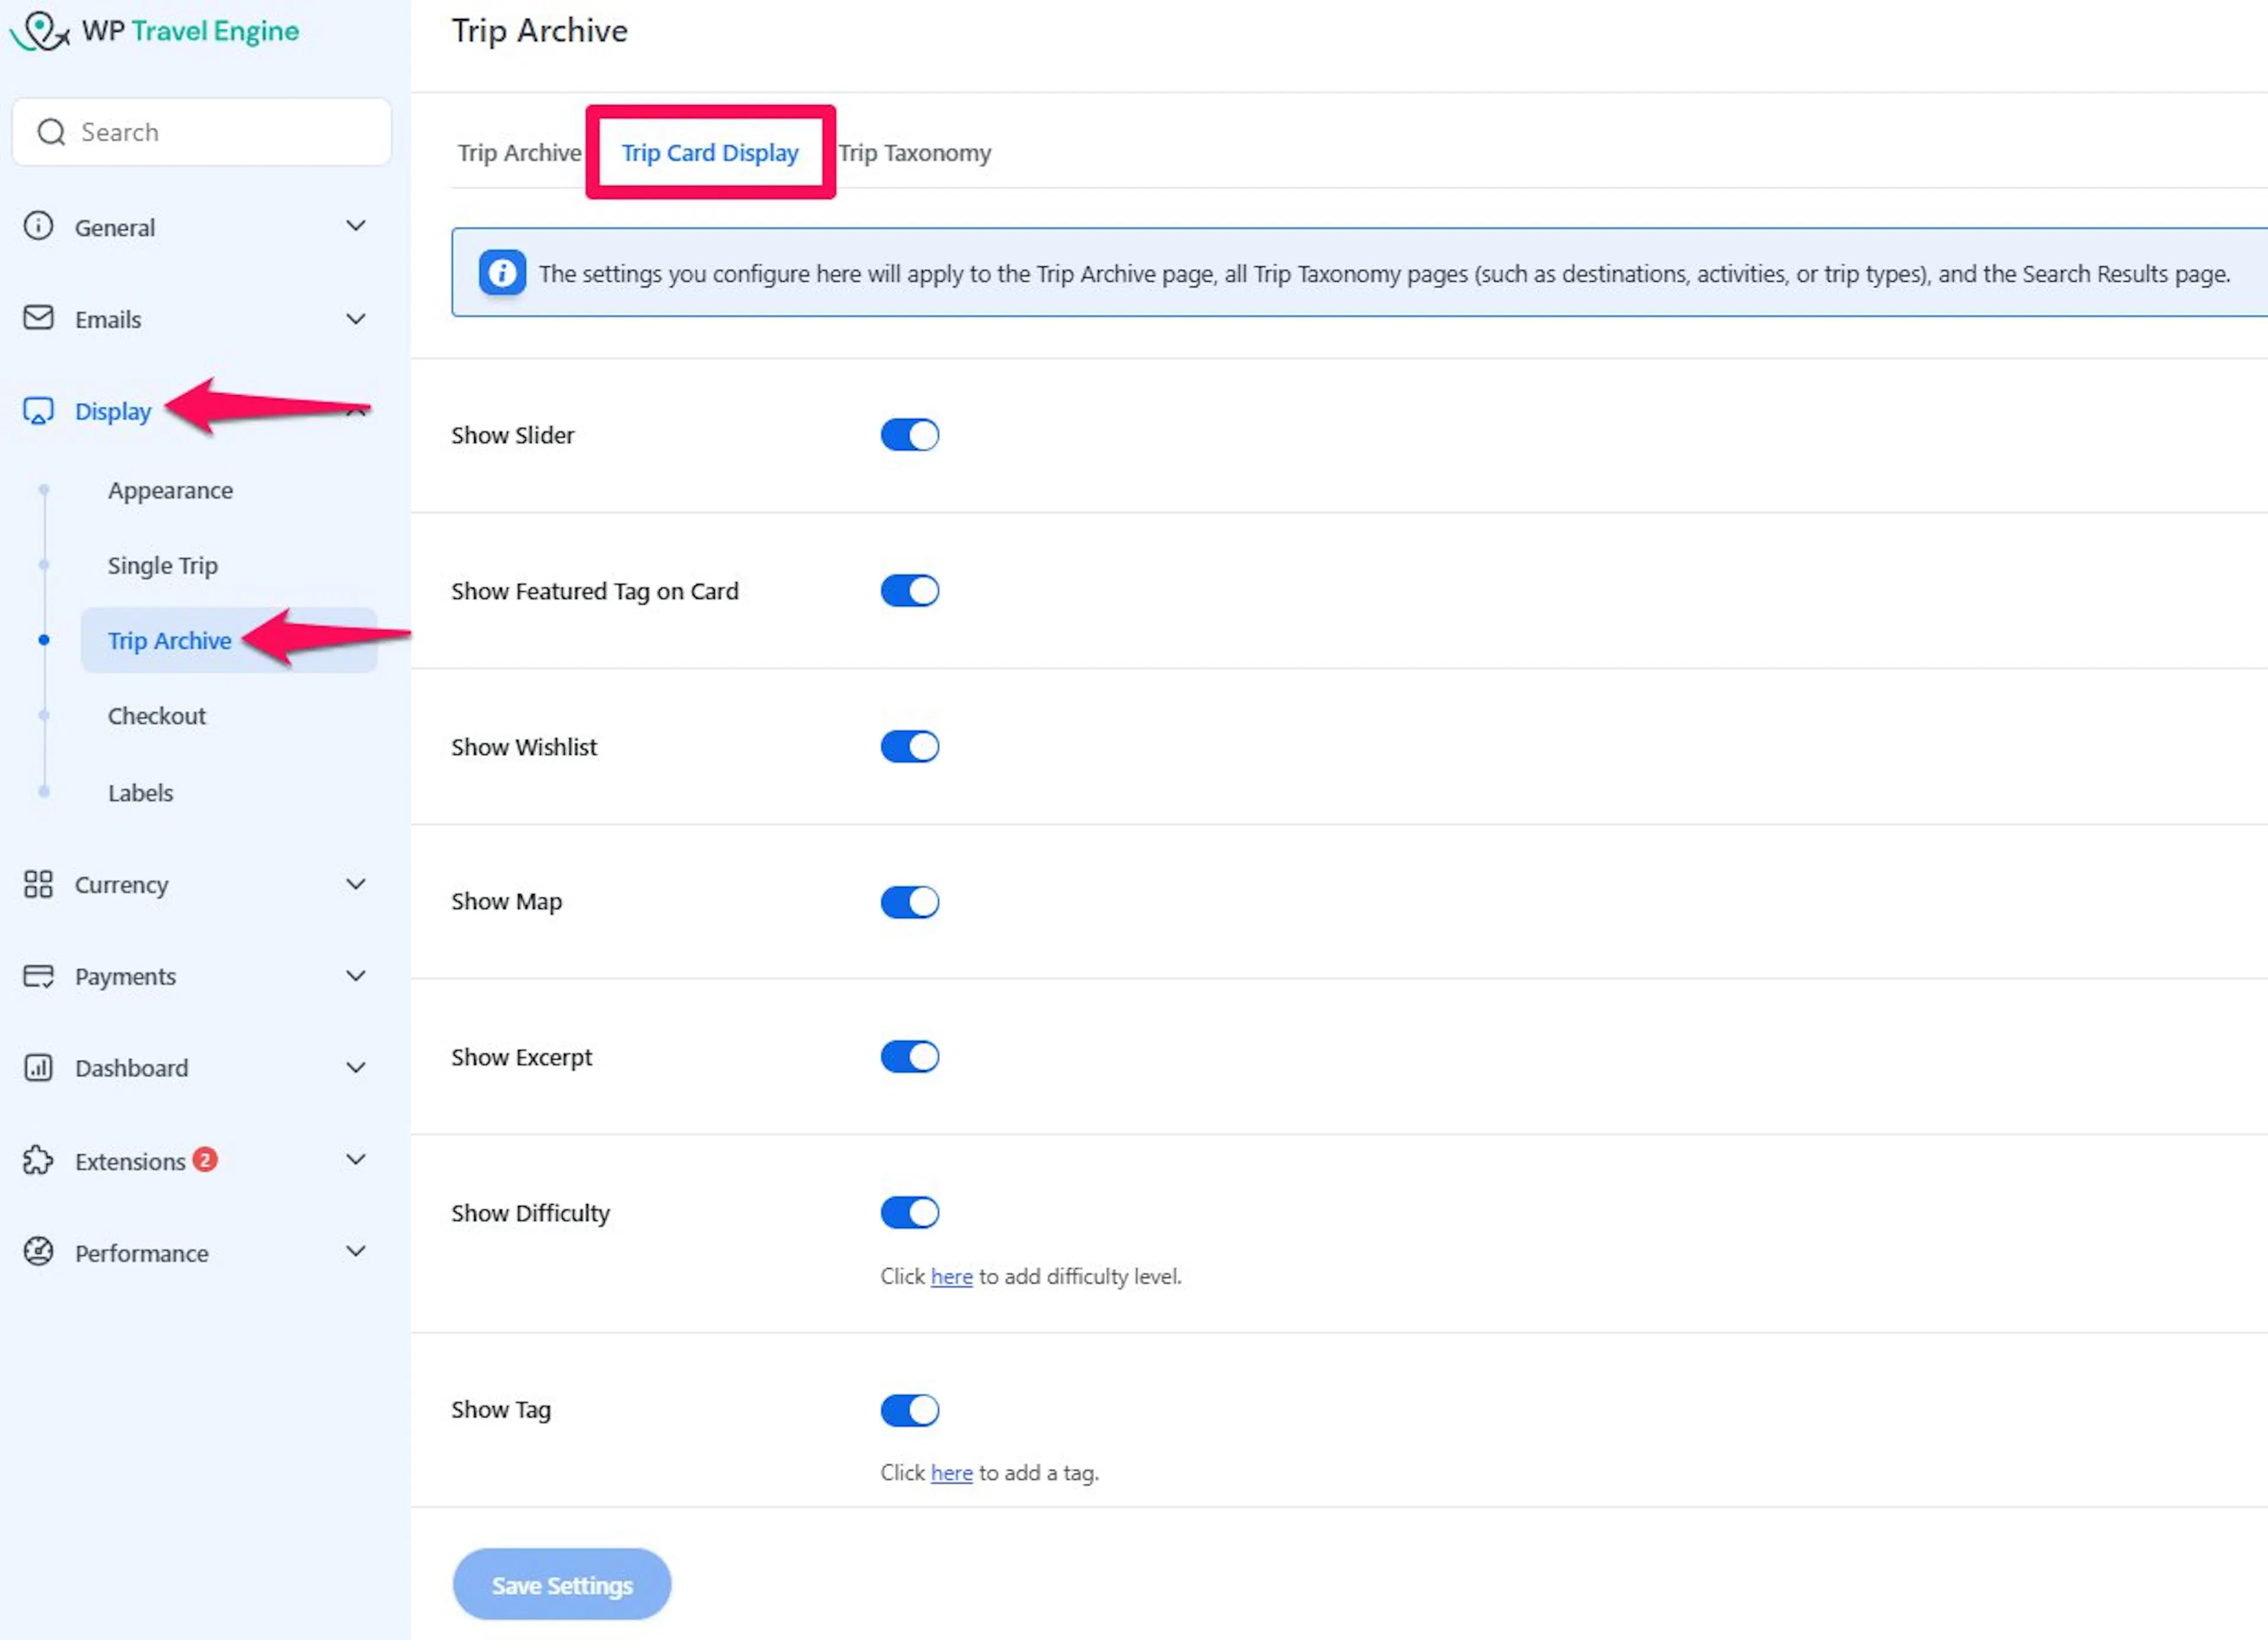
On the left side of the dashboard, click WP Travel Engine.
Then click Settings.
This opens the main settings area for your travel website.
Go to Trip Card Display
Click Display at the top of the settings page.
Then click Trip Archive.
In that section, find Trip Card Display.
This is where you turn each trip card option on or off.
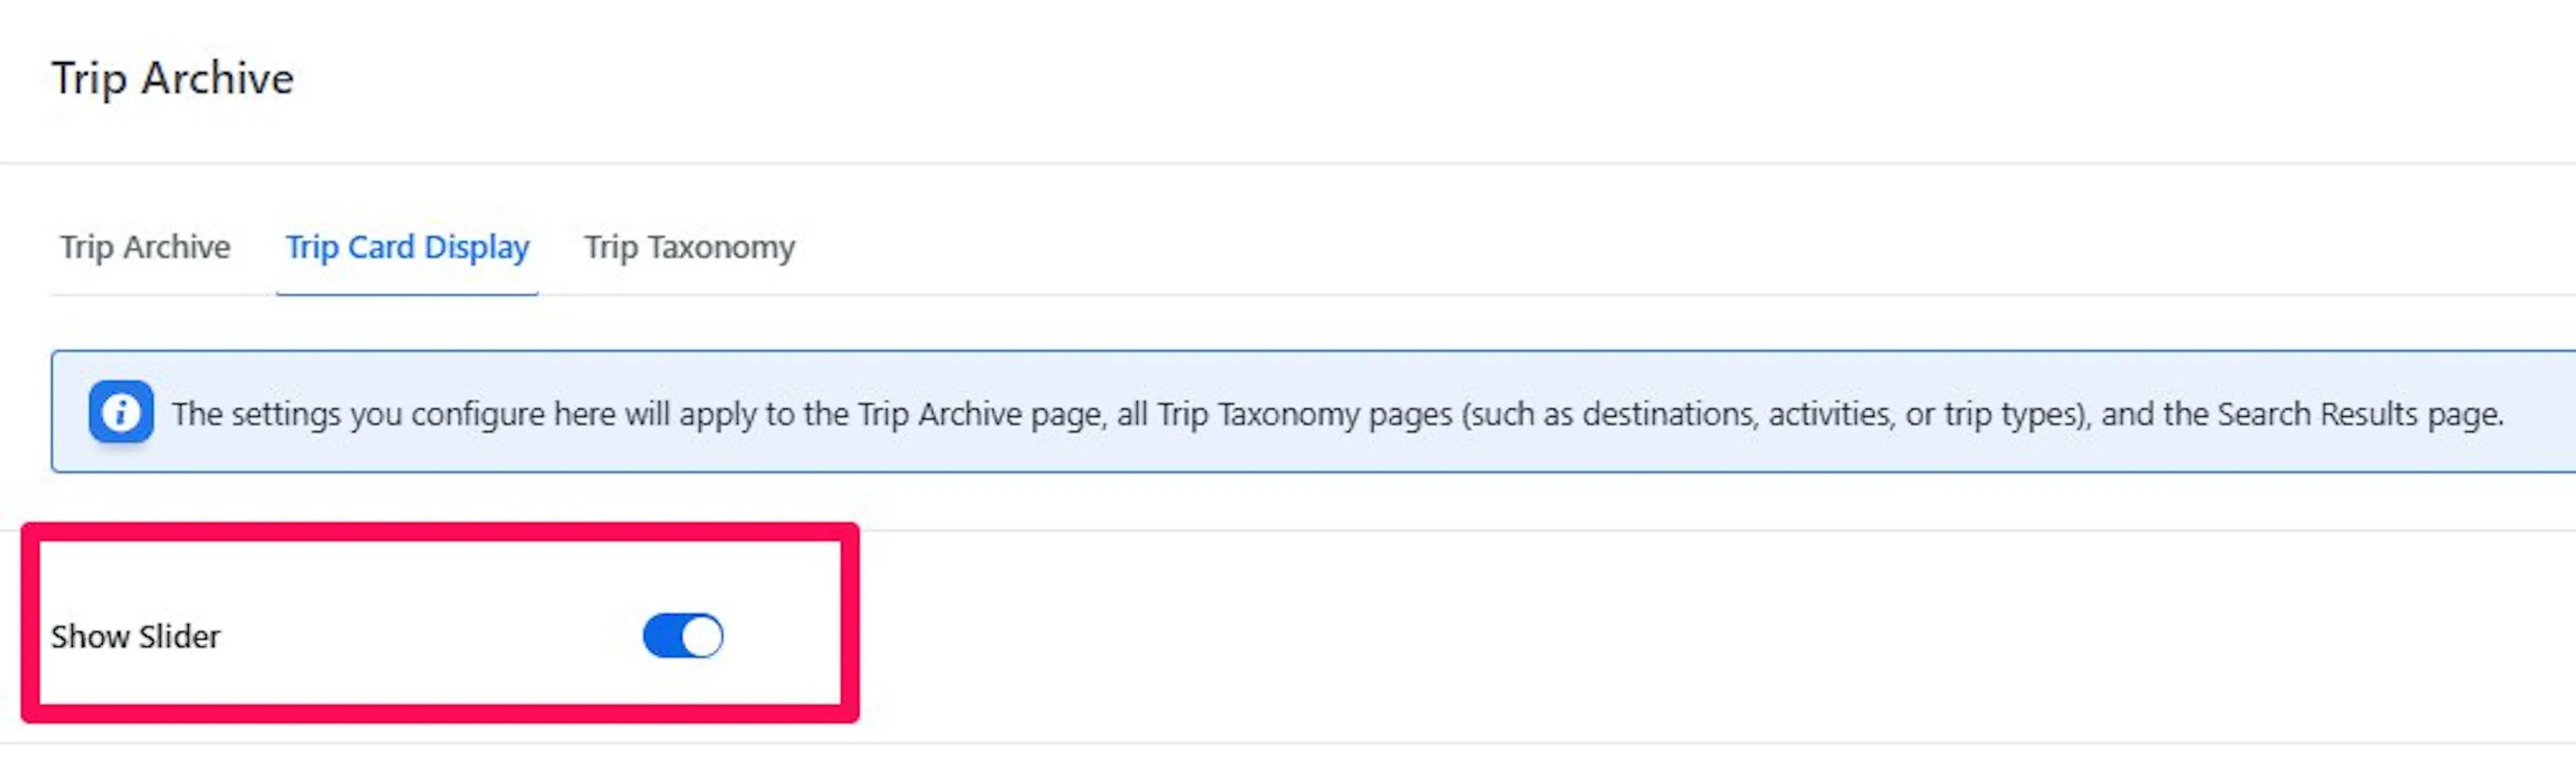
Show Slider
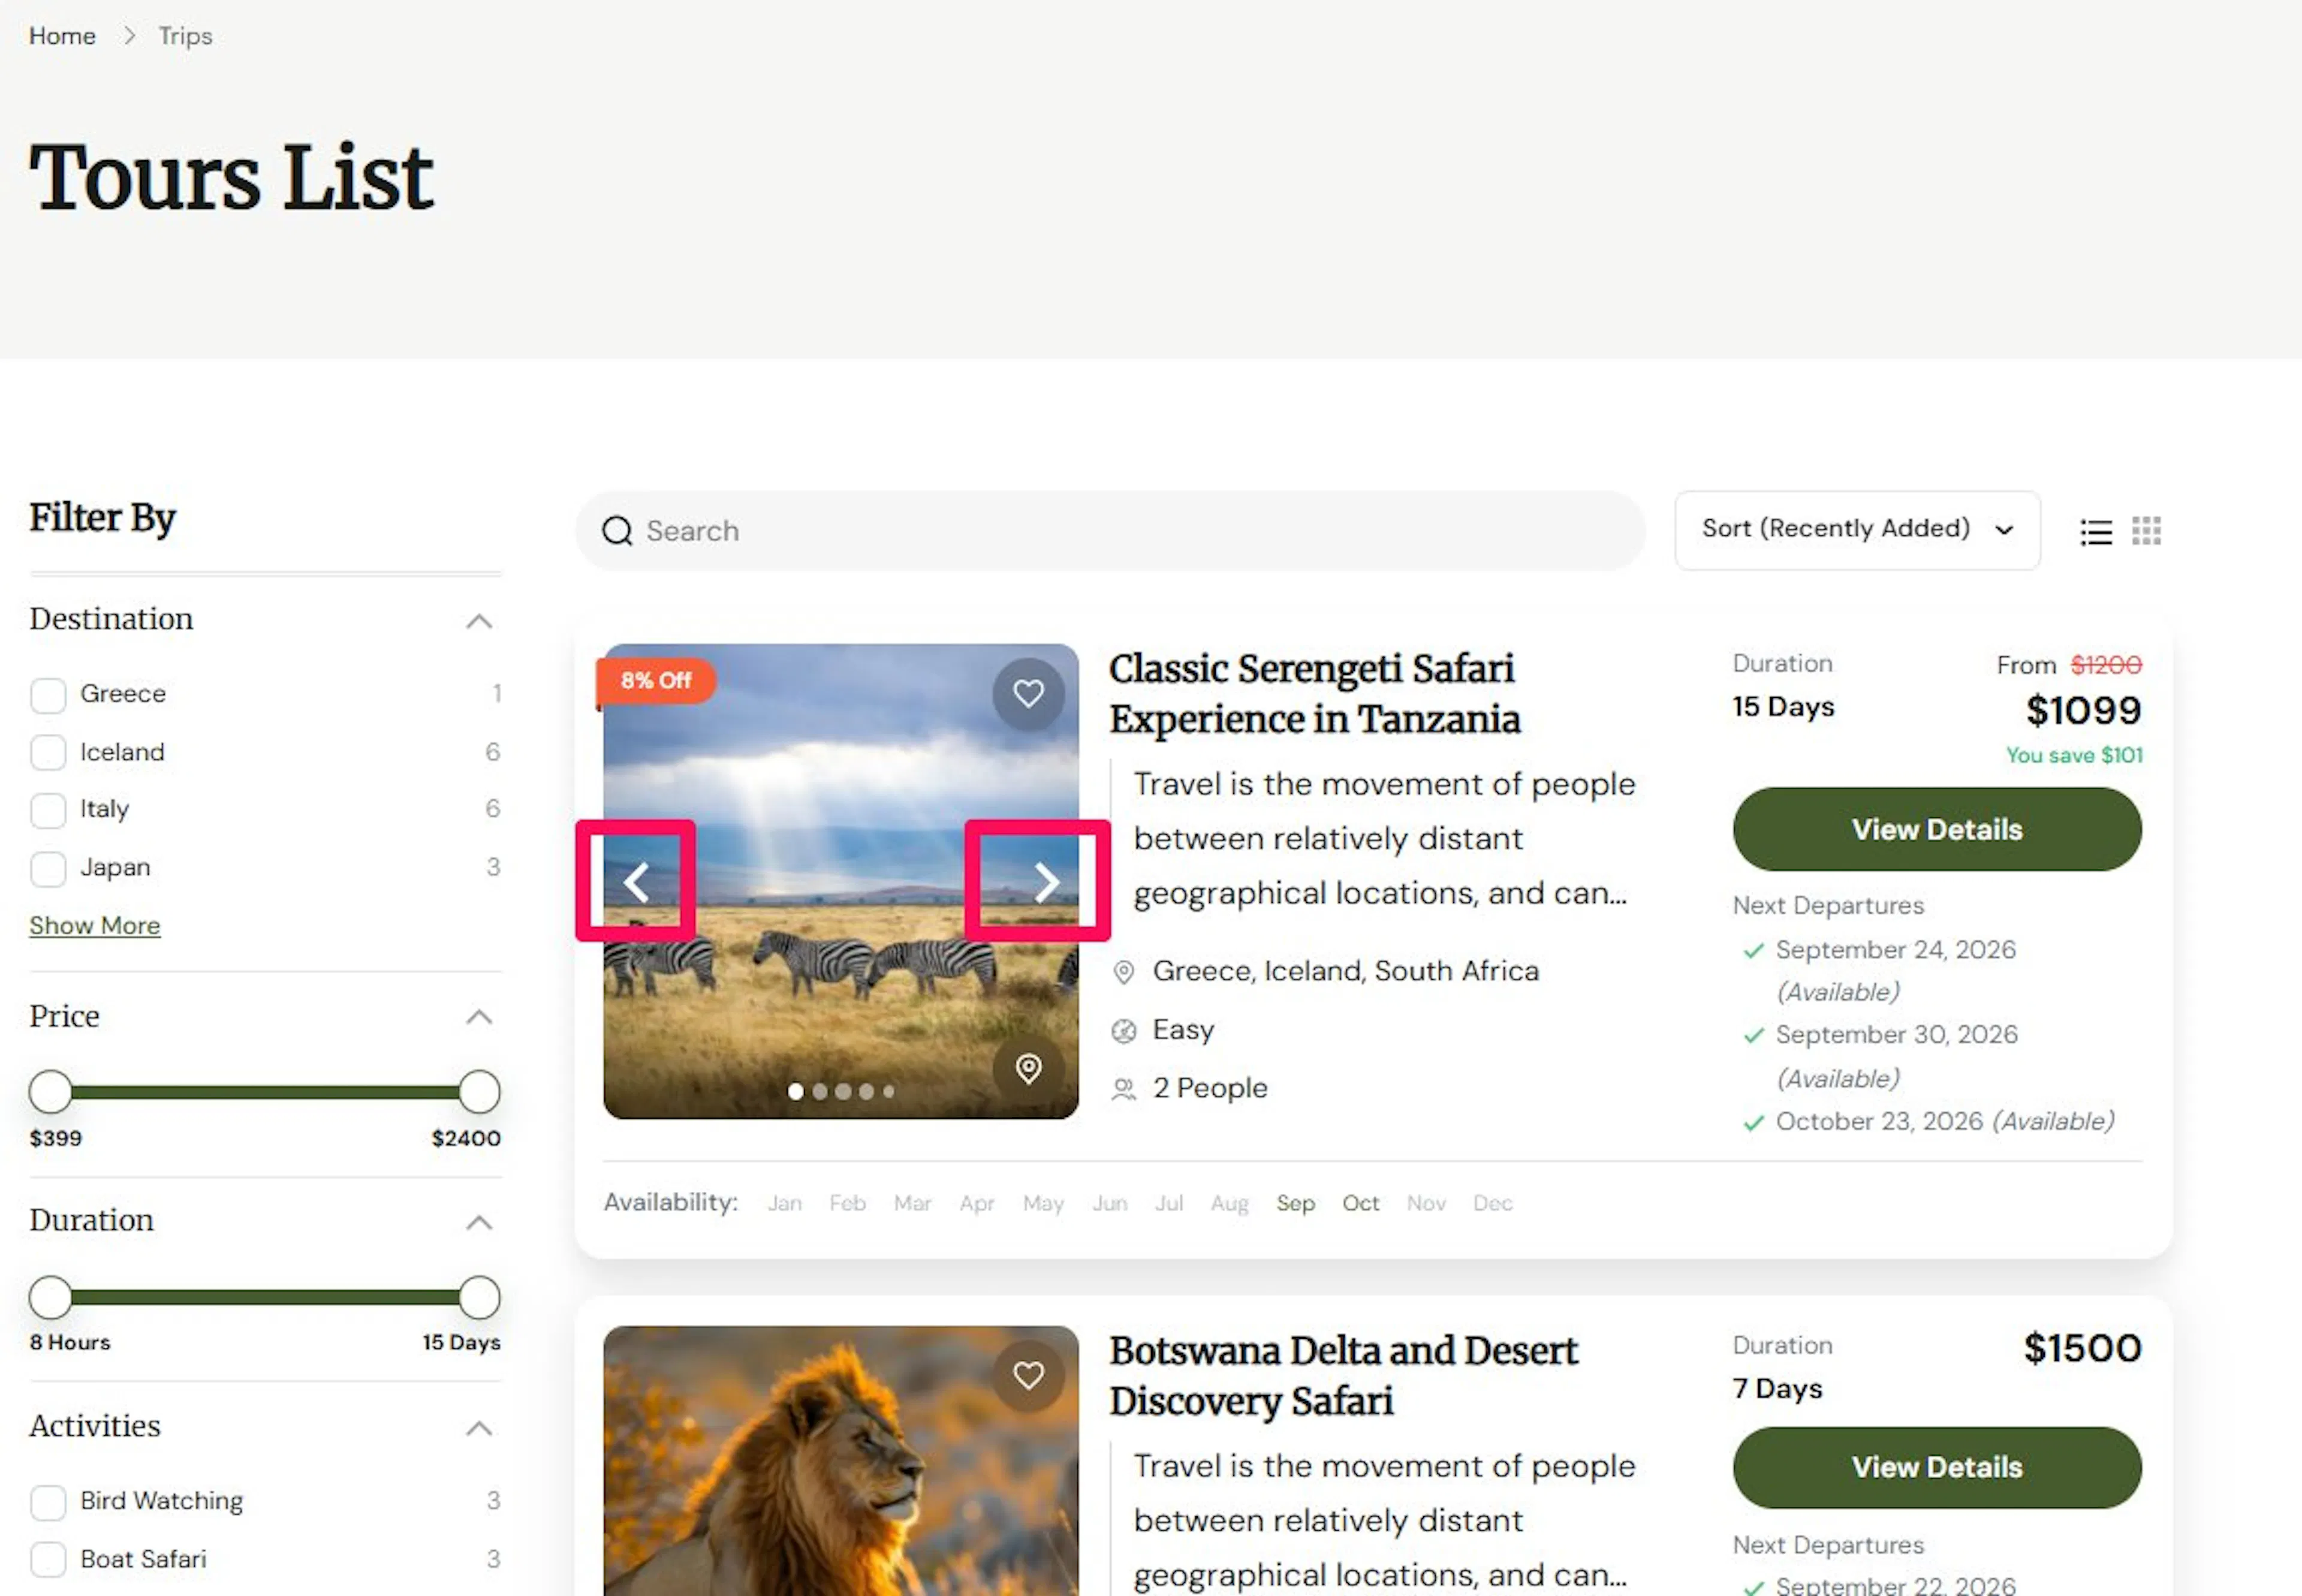
Turn this on if you want people to see more than one photo before they open the trip page.
This adds an image slider to each trip card using photos from that trip's gallery. If you have a 7-day trek with 10 strong photos, visitors can flip through them right from the browse page.
If your photos help sell the experience, this setting can make your listing page feel more inviting.
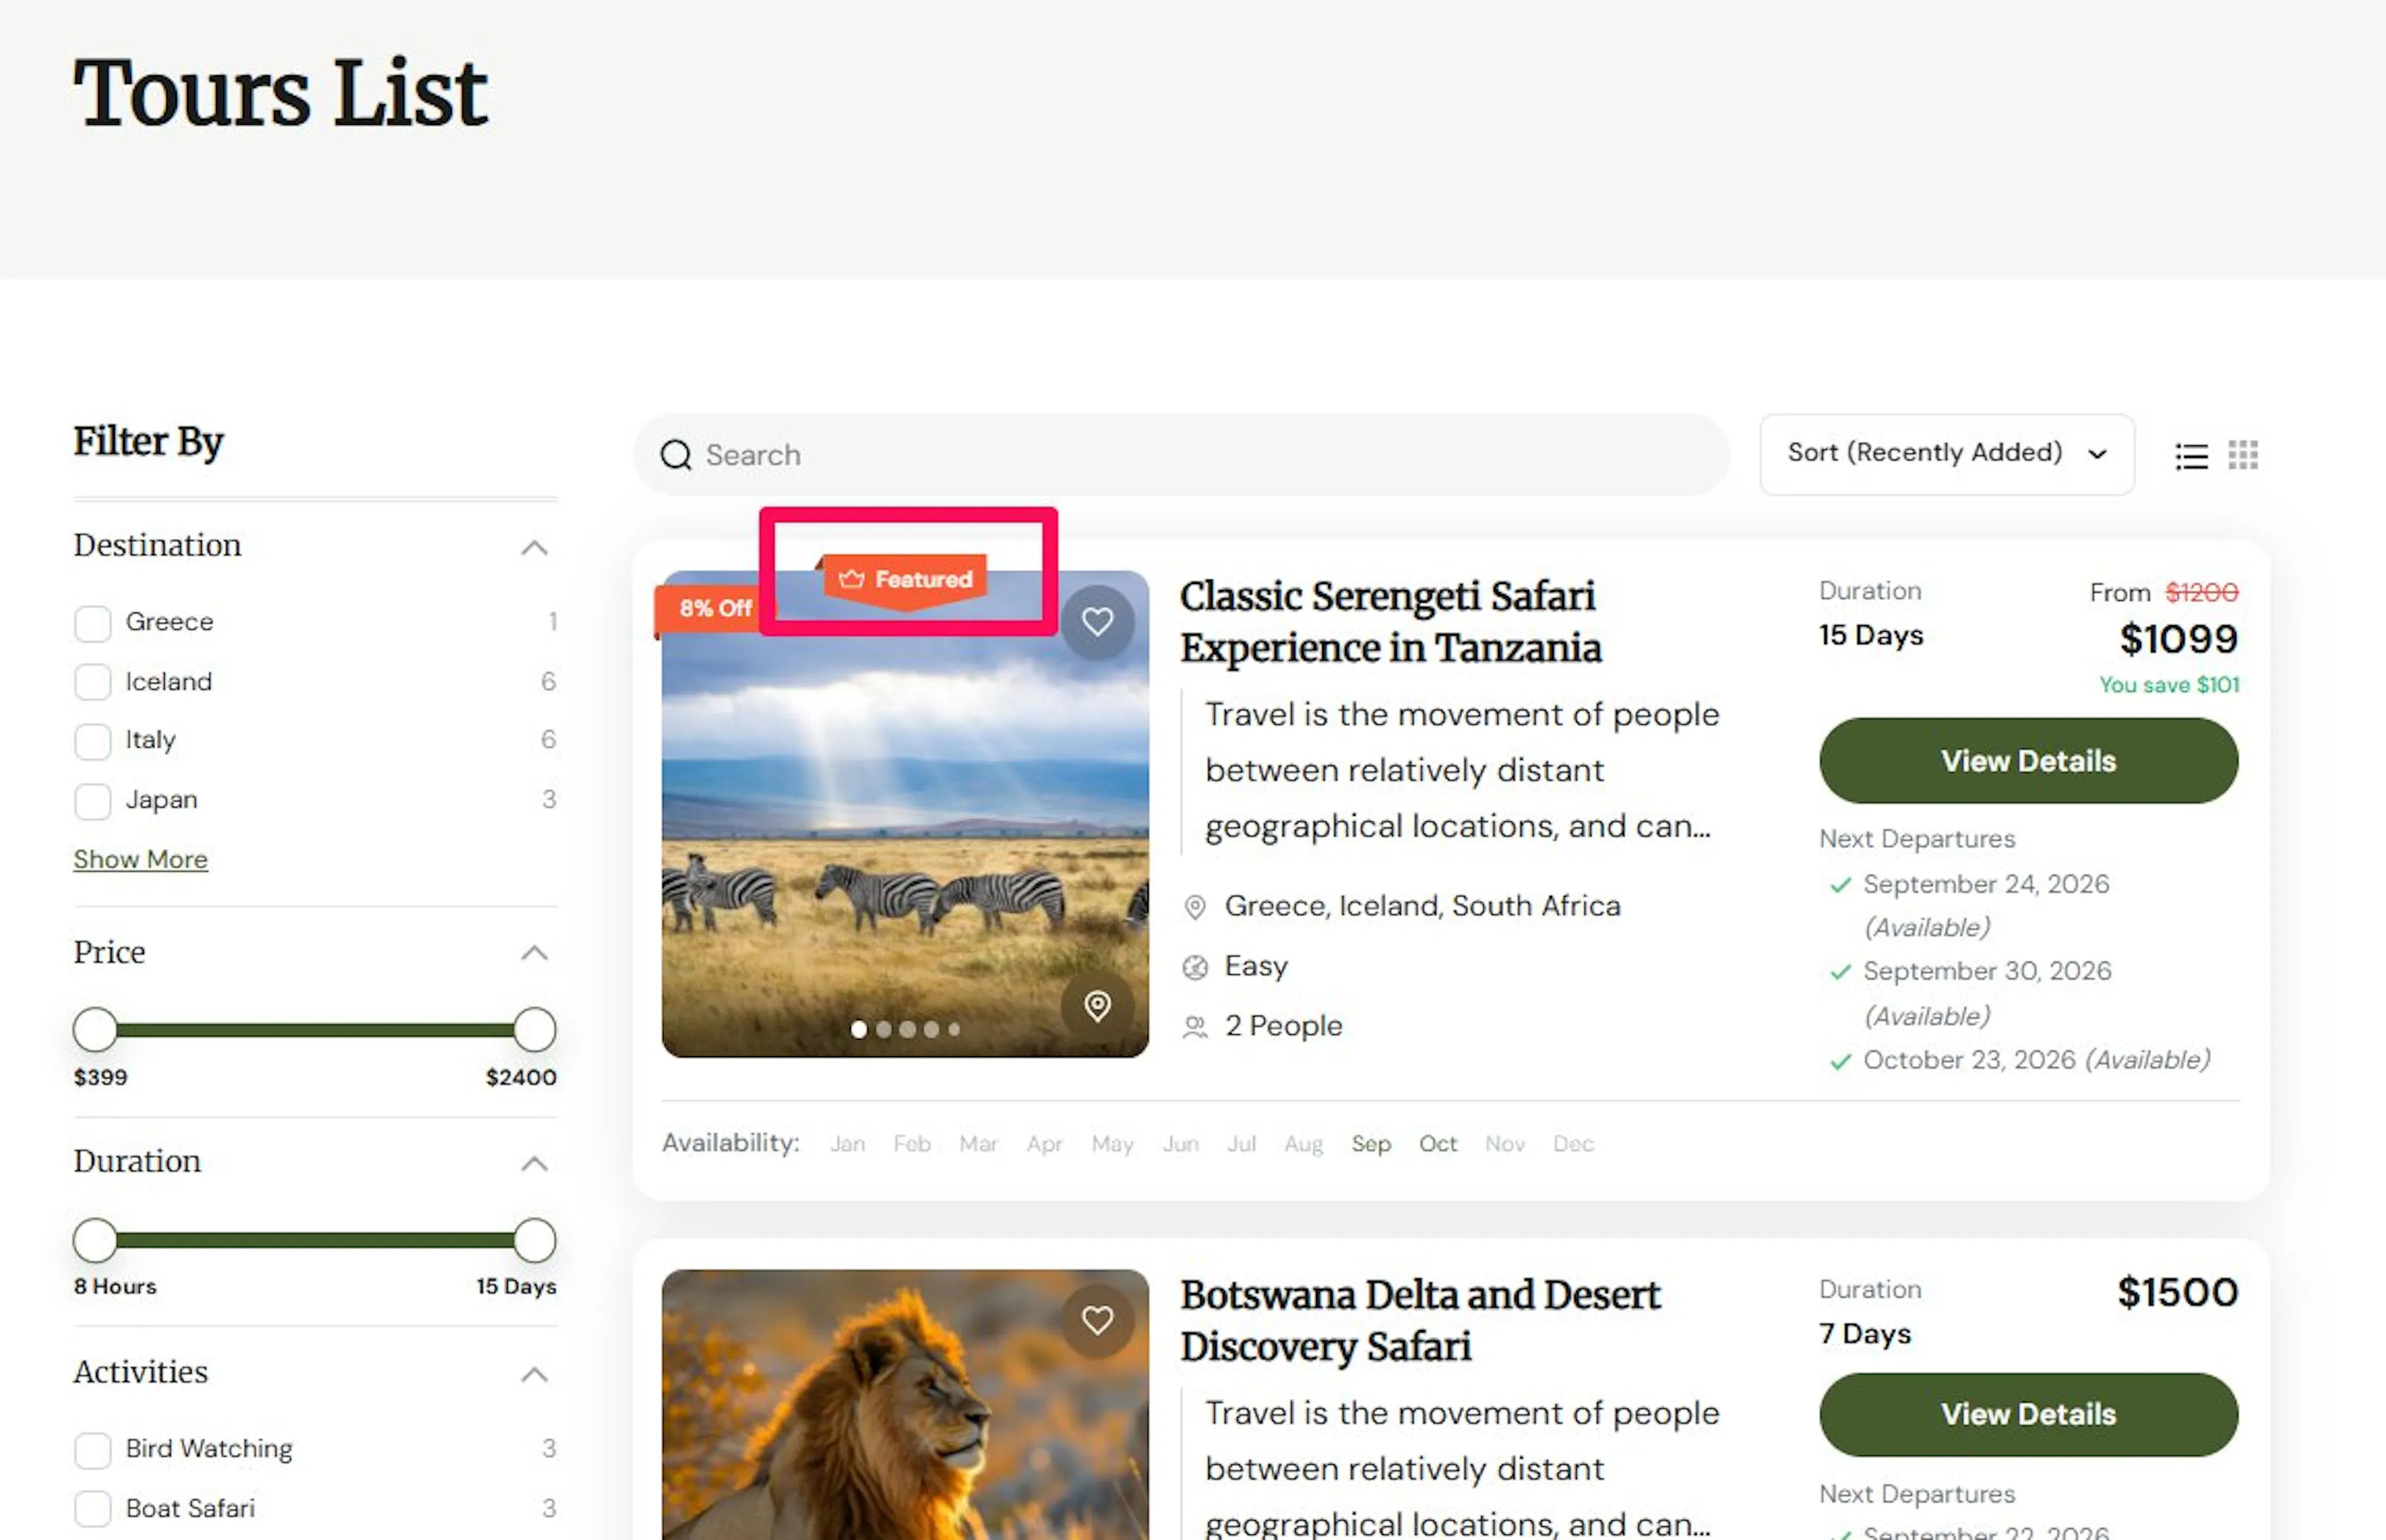
Show Featured Tag on Card
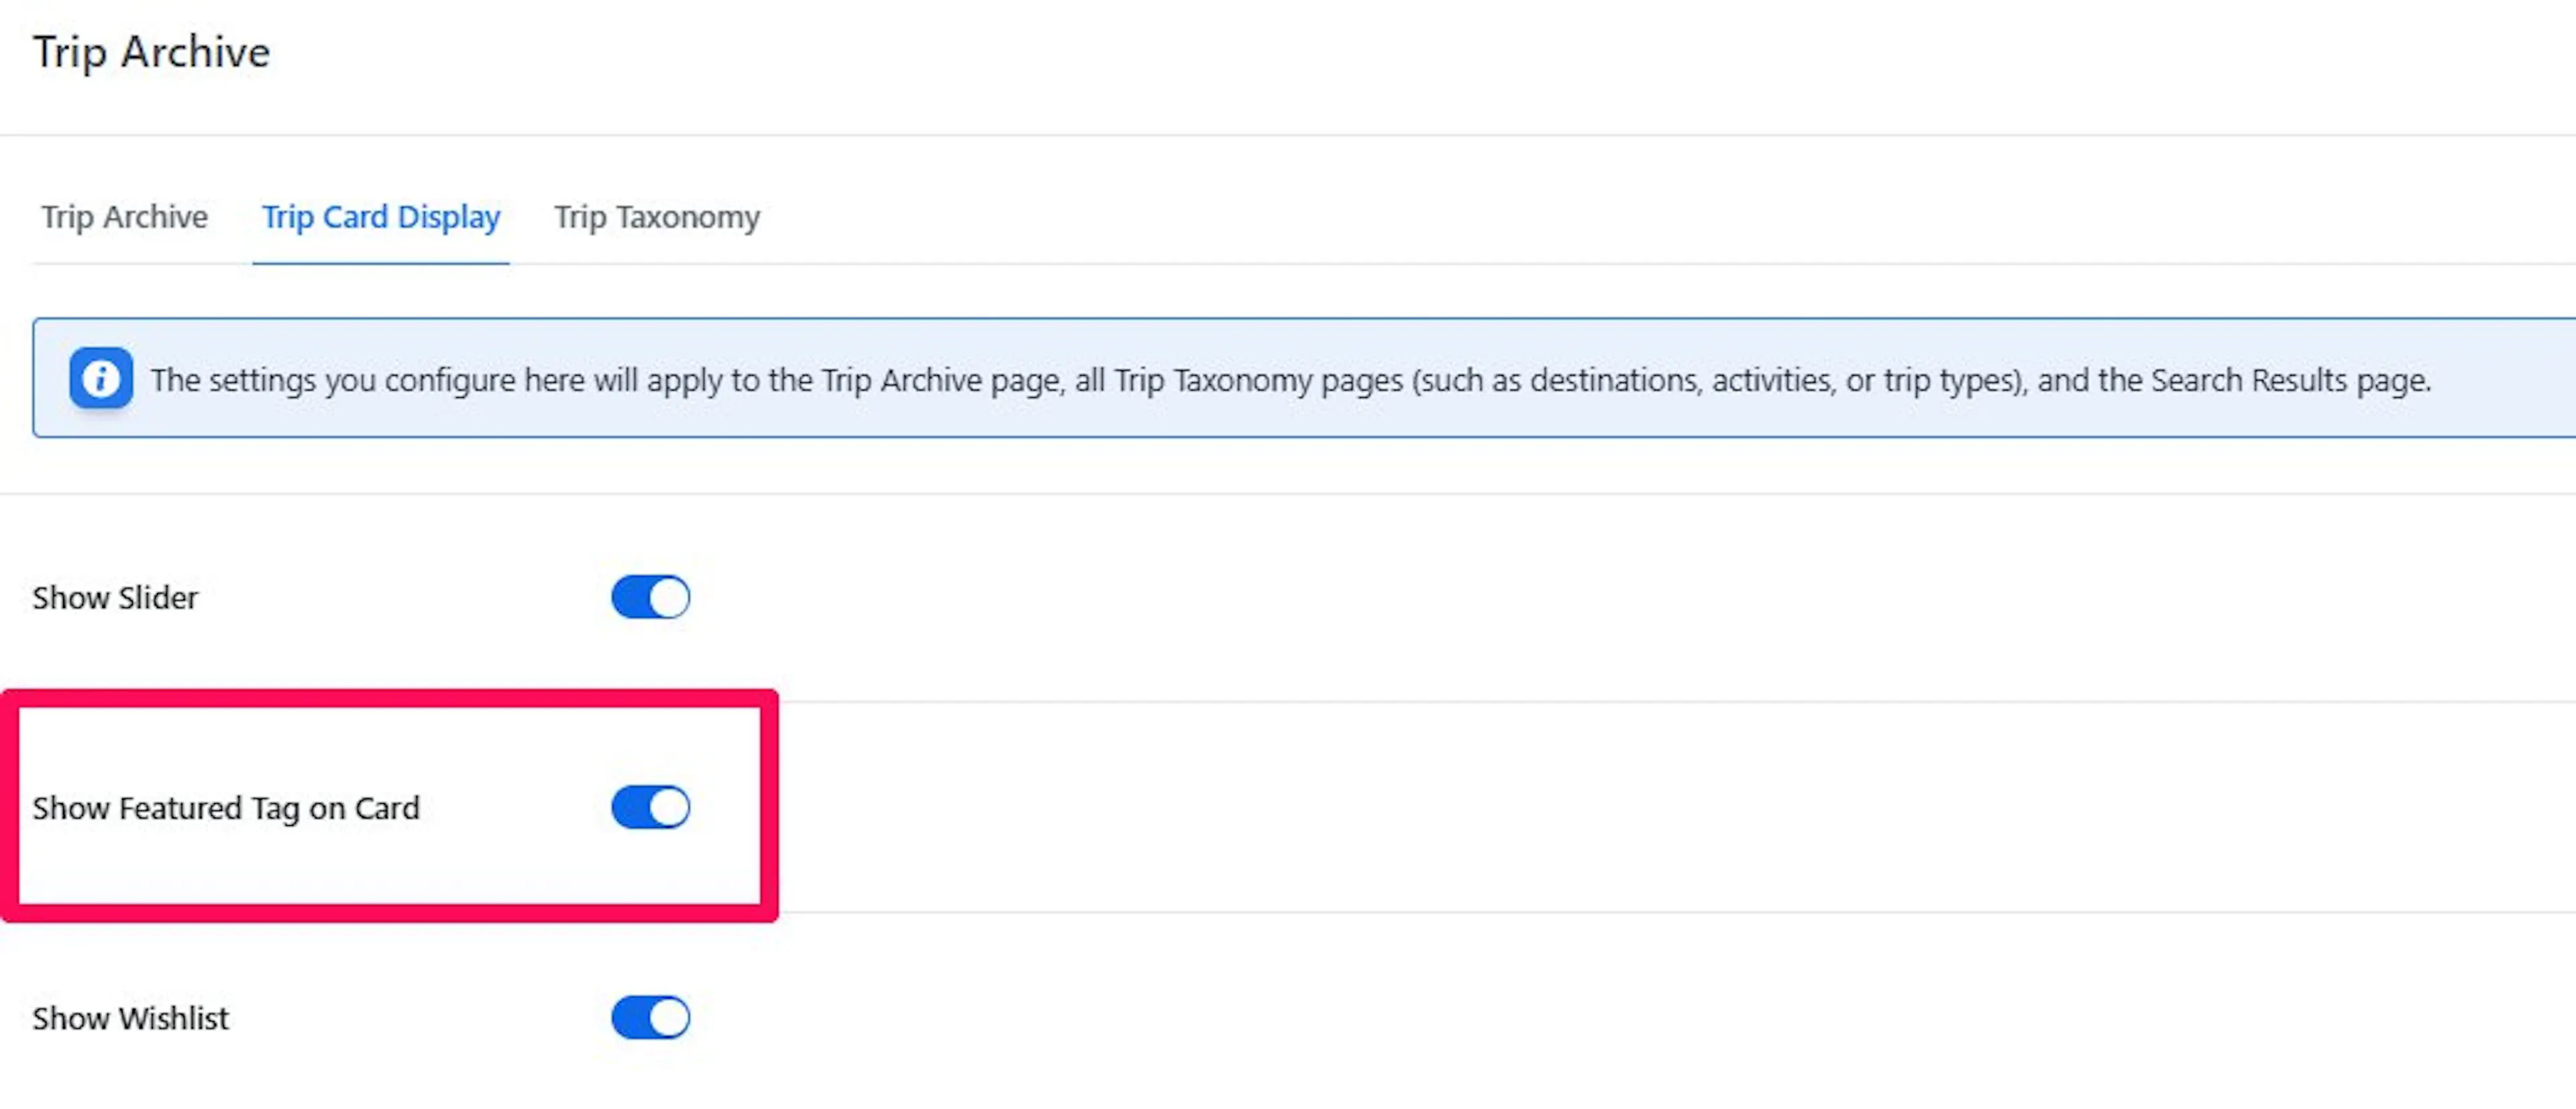
Turn this on if you want certain trips to stand out right away.
This shows a "Featured" tag on trips you have already marked as featured. For example, if your best-selling weekend getaway is marked as featured, it gets a small badge on the card.
This is useful when you want to draw attention to your most popular or most profitable trips.
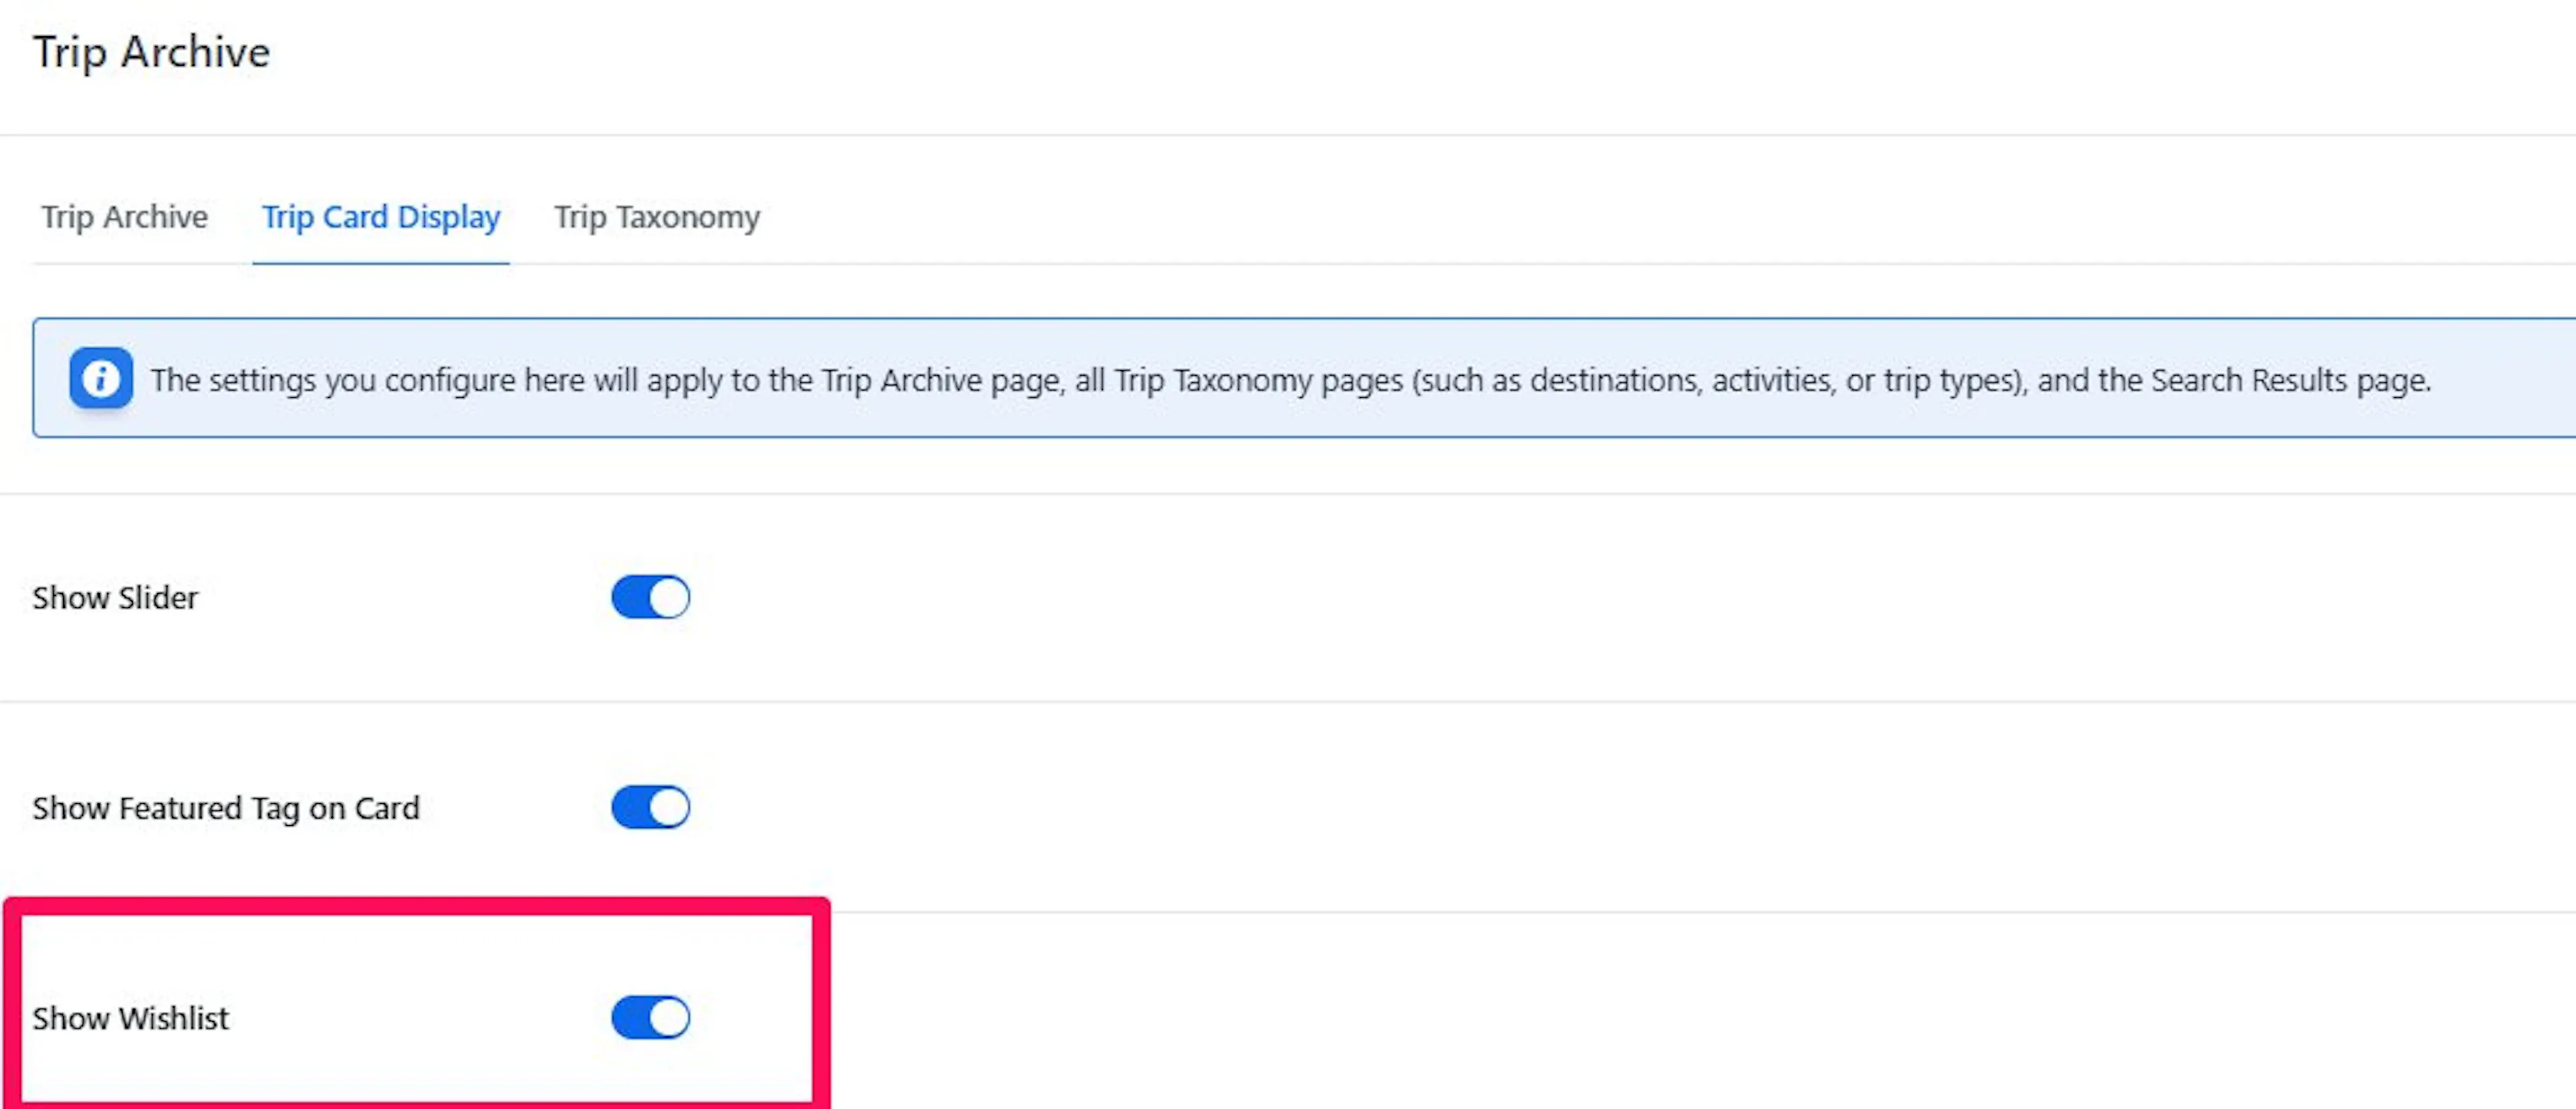
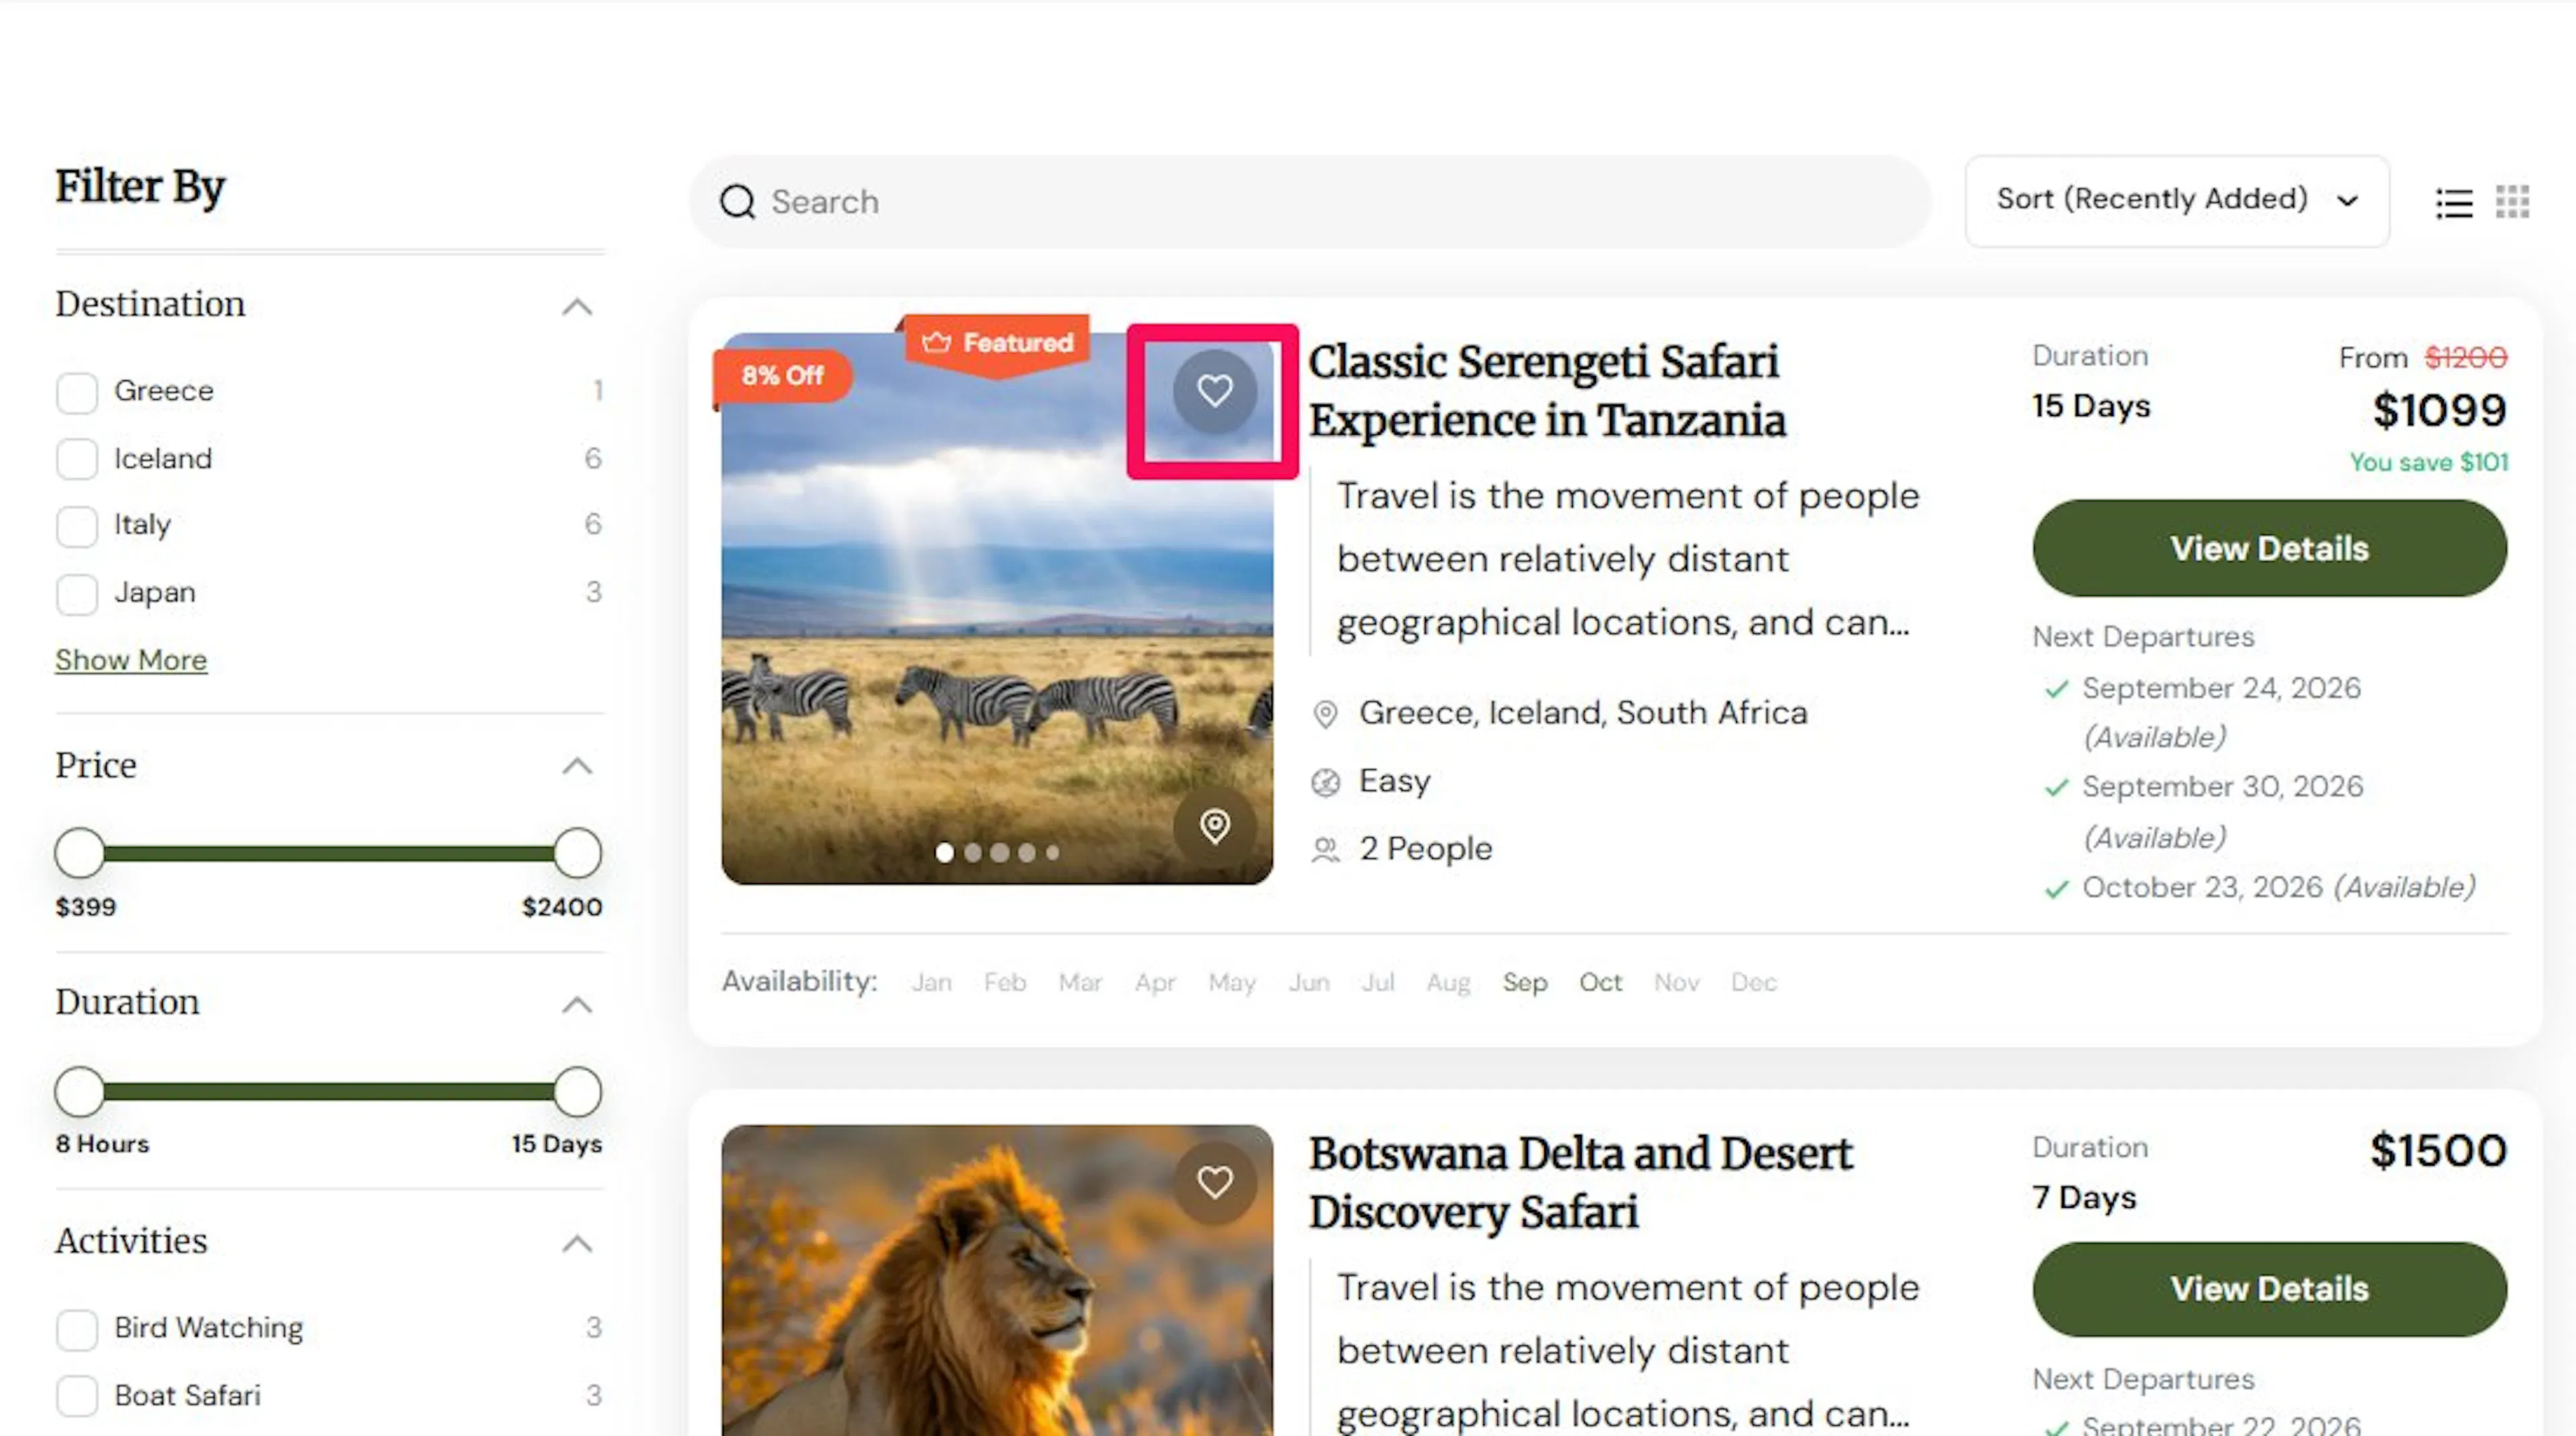
Show Wishlist
Turn this on if you want visitors to save trips and come back to them later.
This adds a wishlist icon to the trip card. For example, someone planning a summer holiday can save a few trips they like and compare them later.
This can help when people are still deciding and are not ready to book on the first visit.
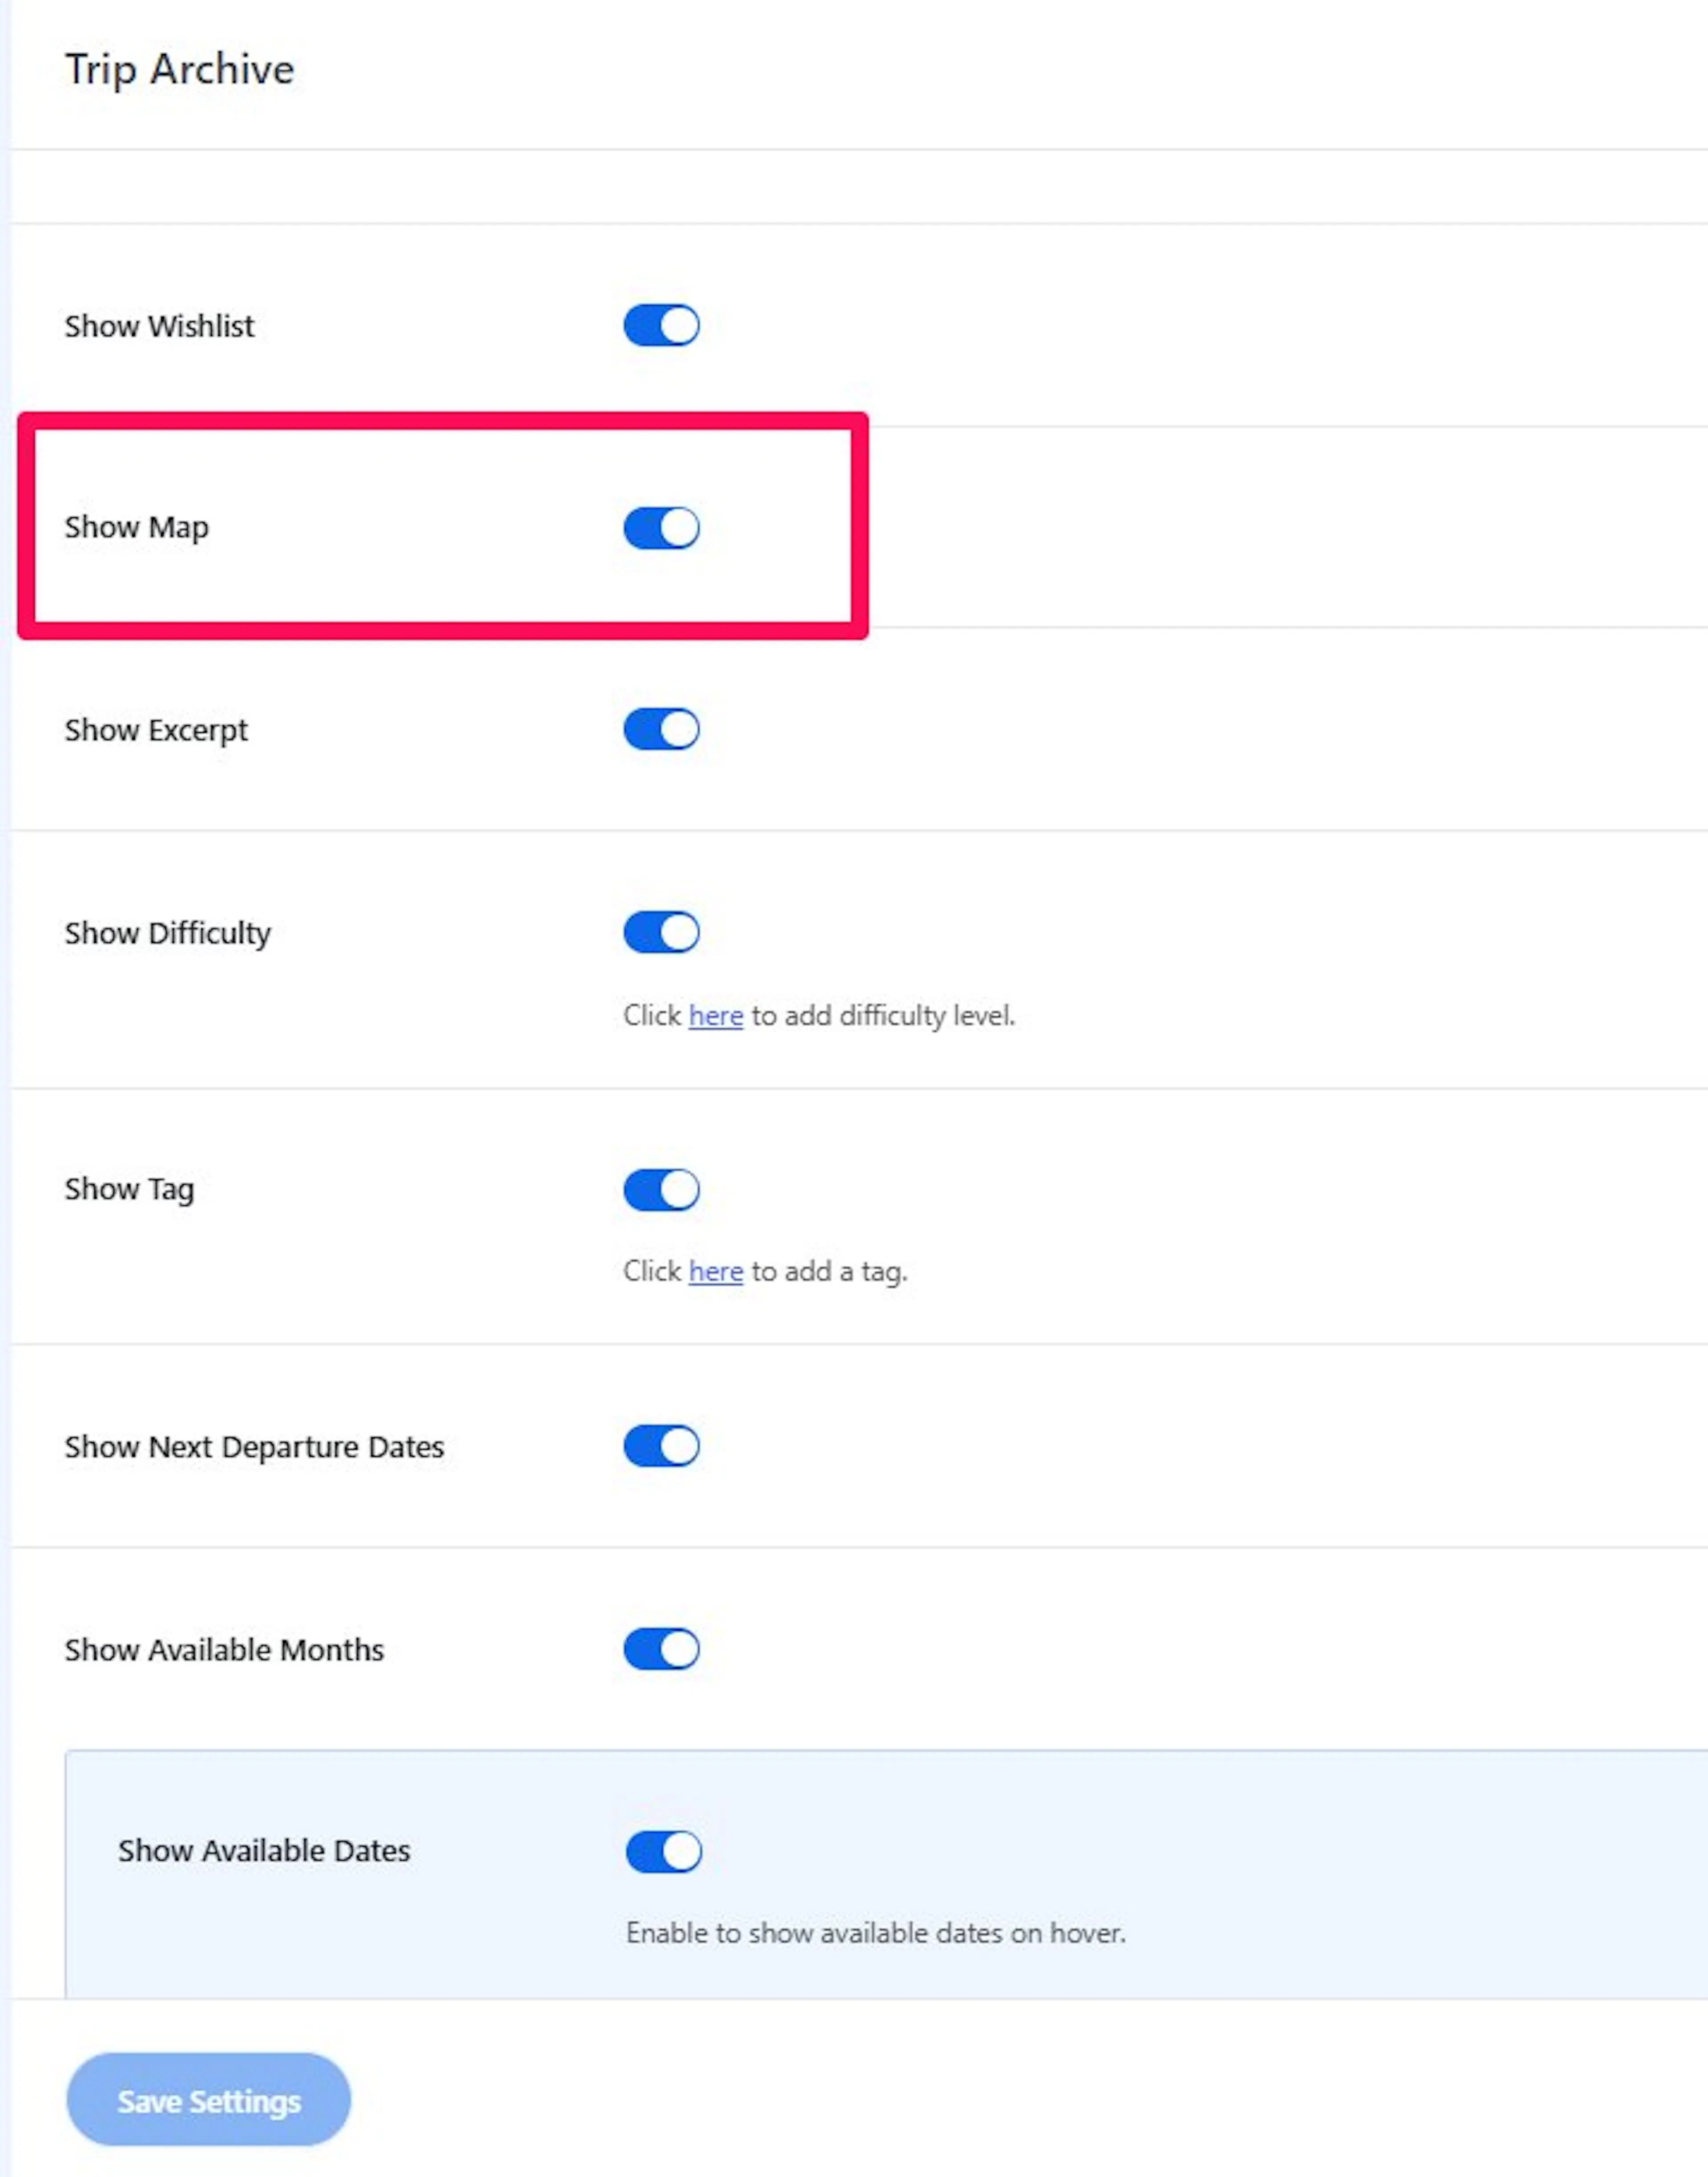
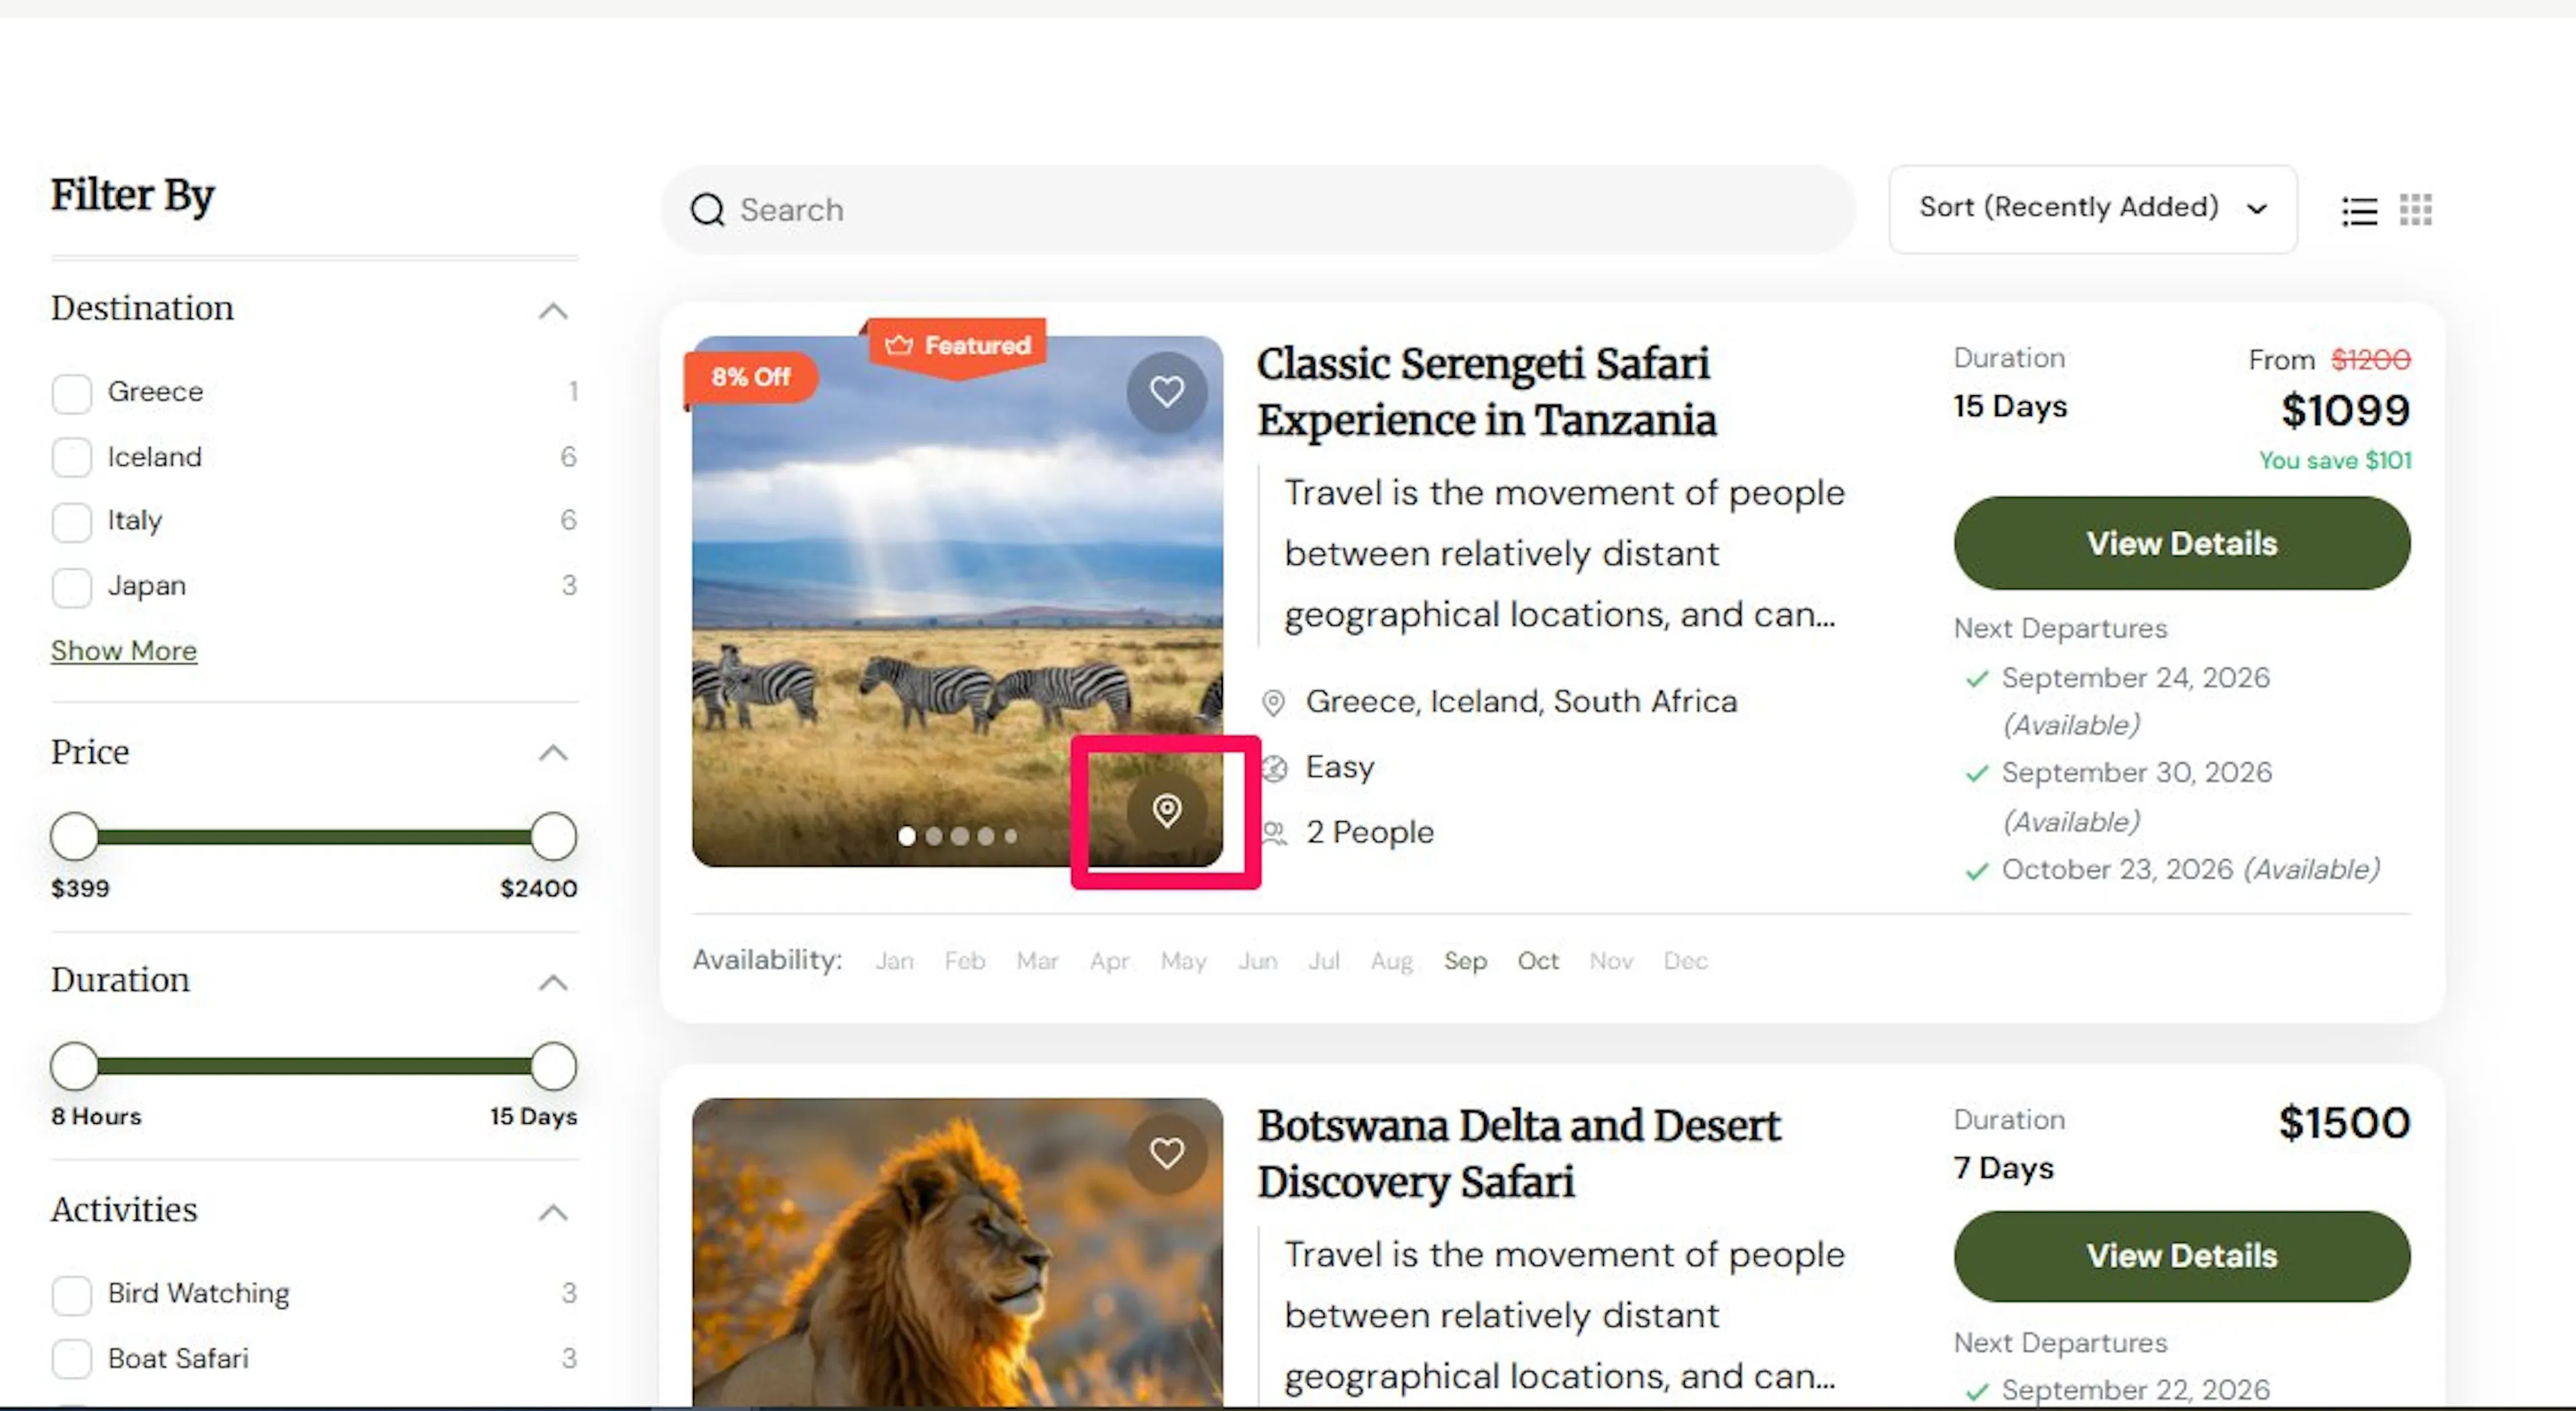
Show Map
Turn this on if location matters when people choose between trips.
This adds a map icon to the trip card. When someone clicks it, they can view the trip location on the individual trip page. For example, if you offer city walking tours, travelers can see where the tour starts before they dig into all the trip details.
This helps people feel more certain about where the trip takes place.
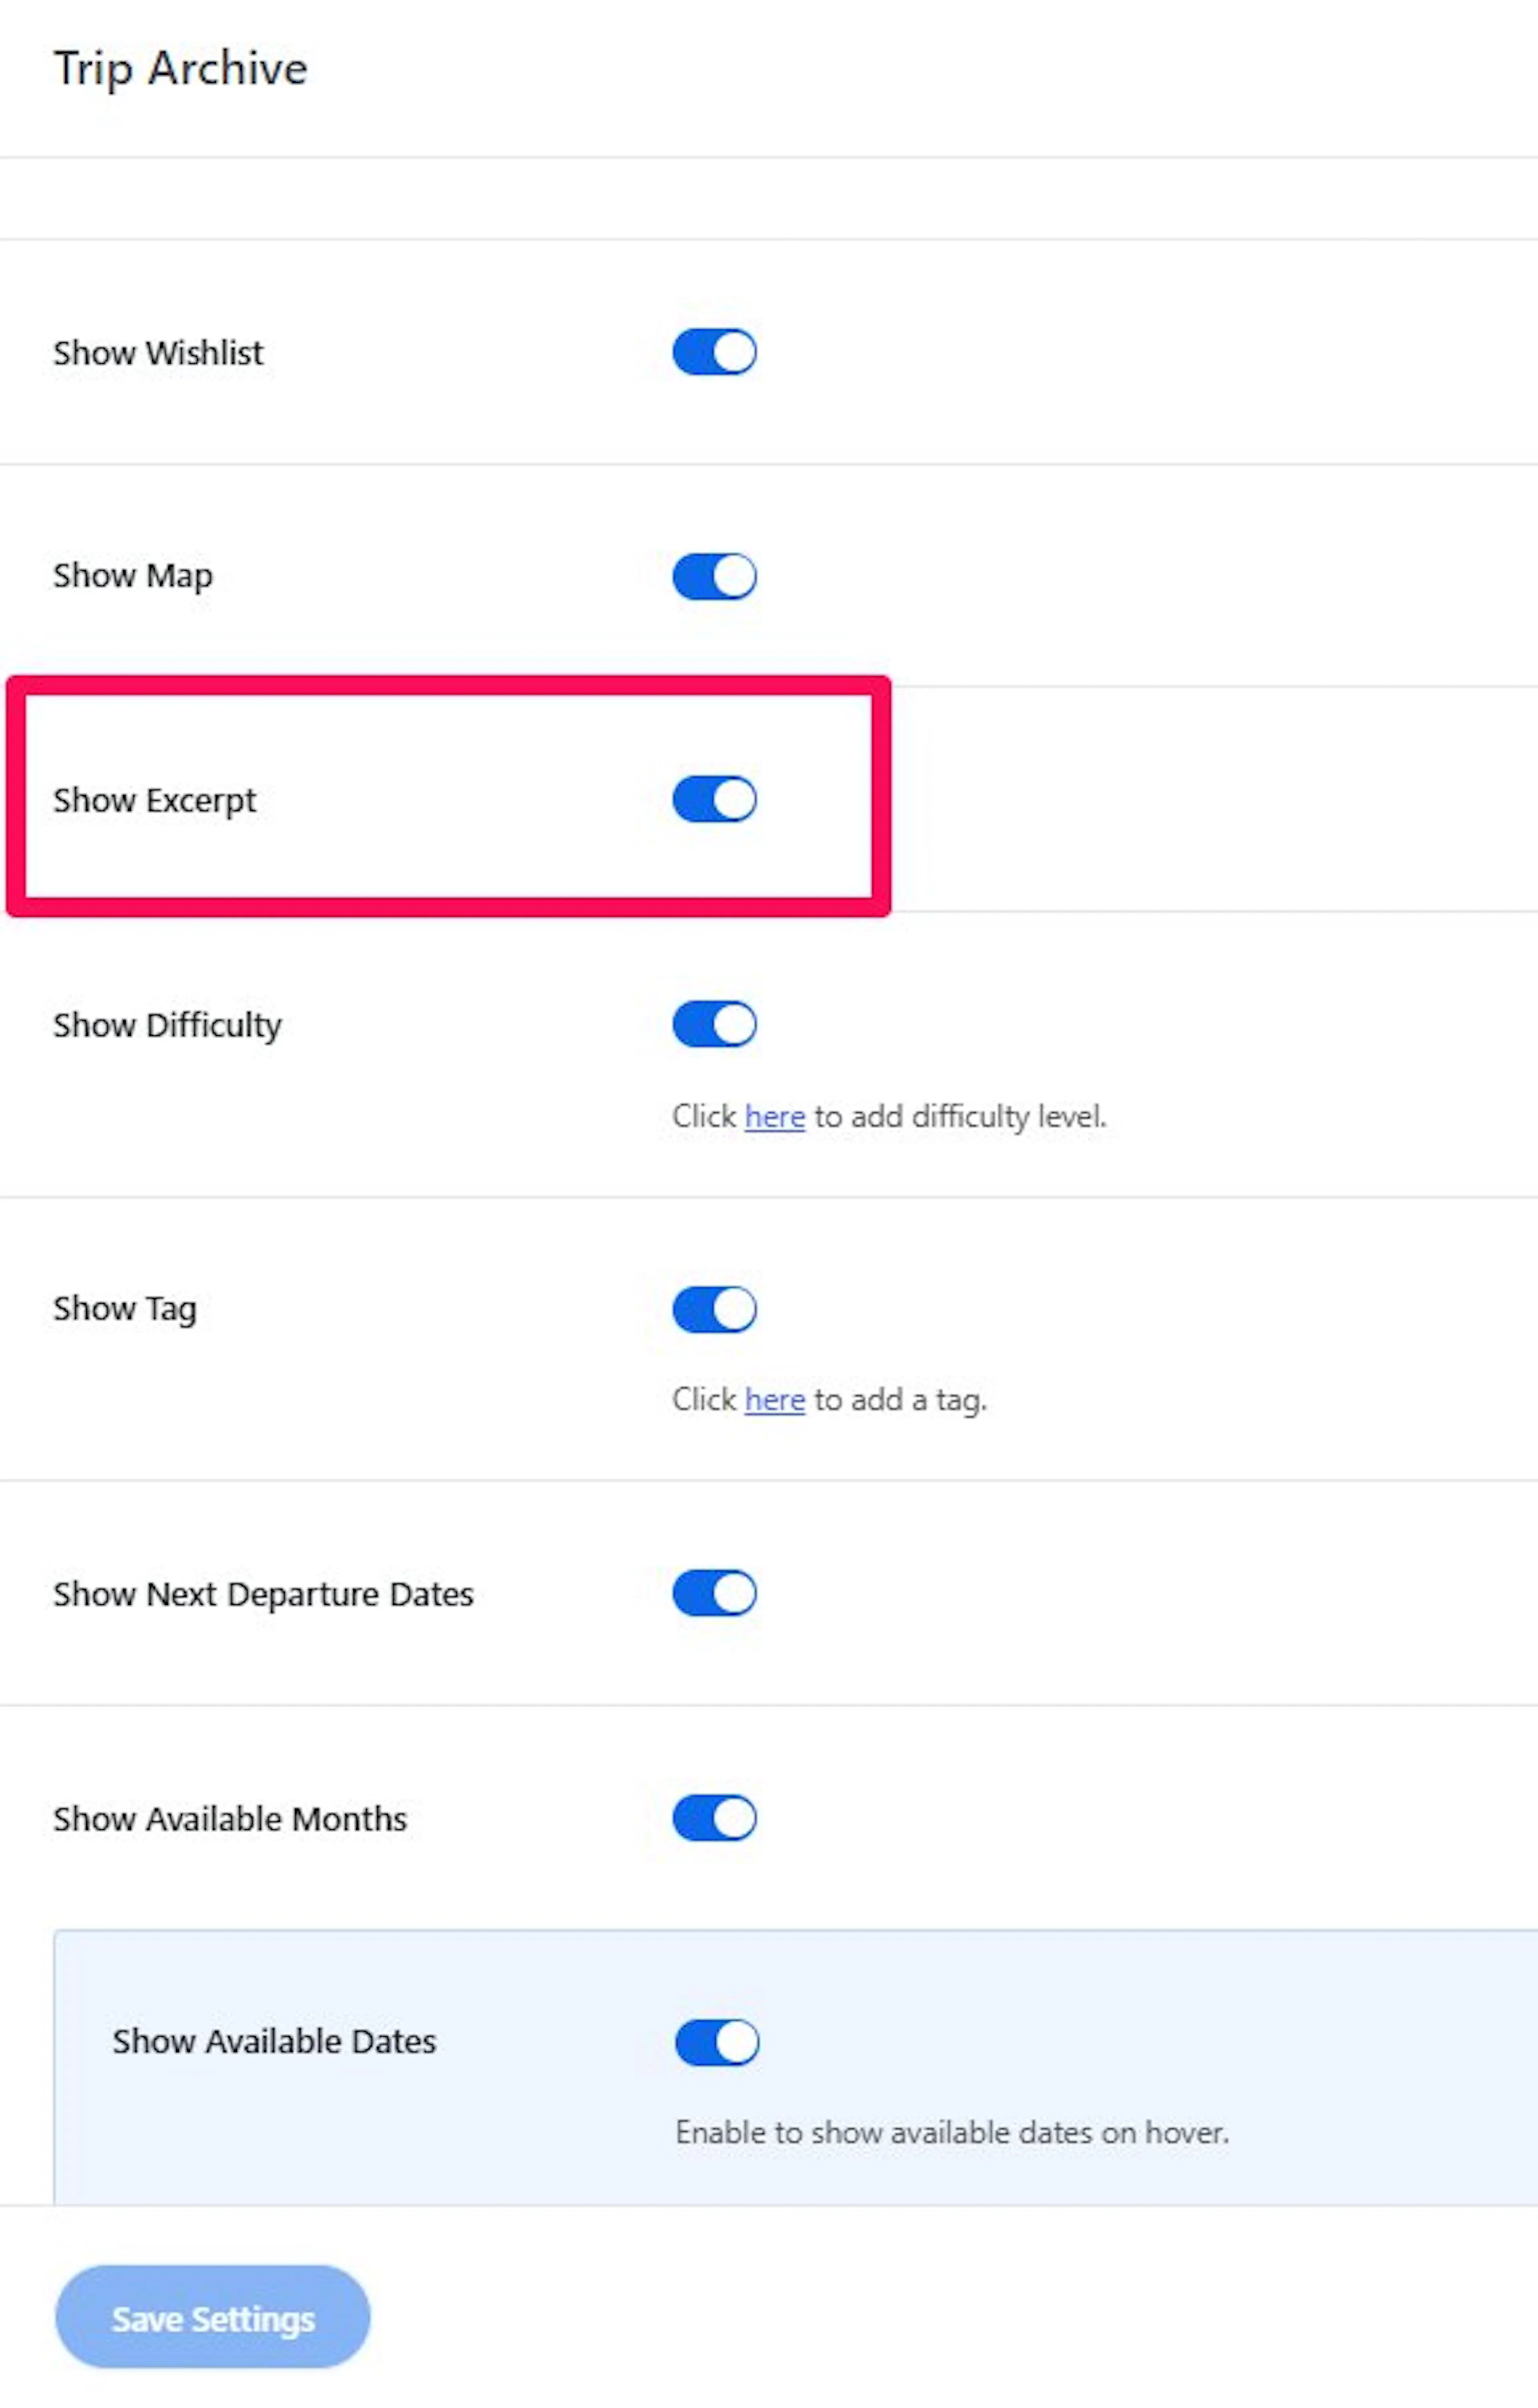
Show Excerpt
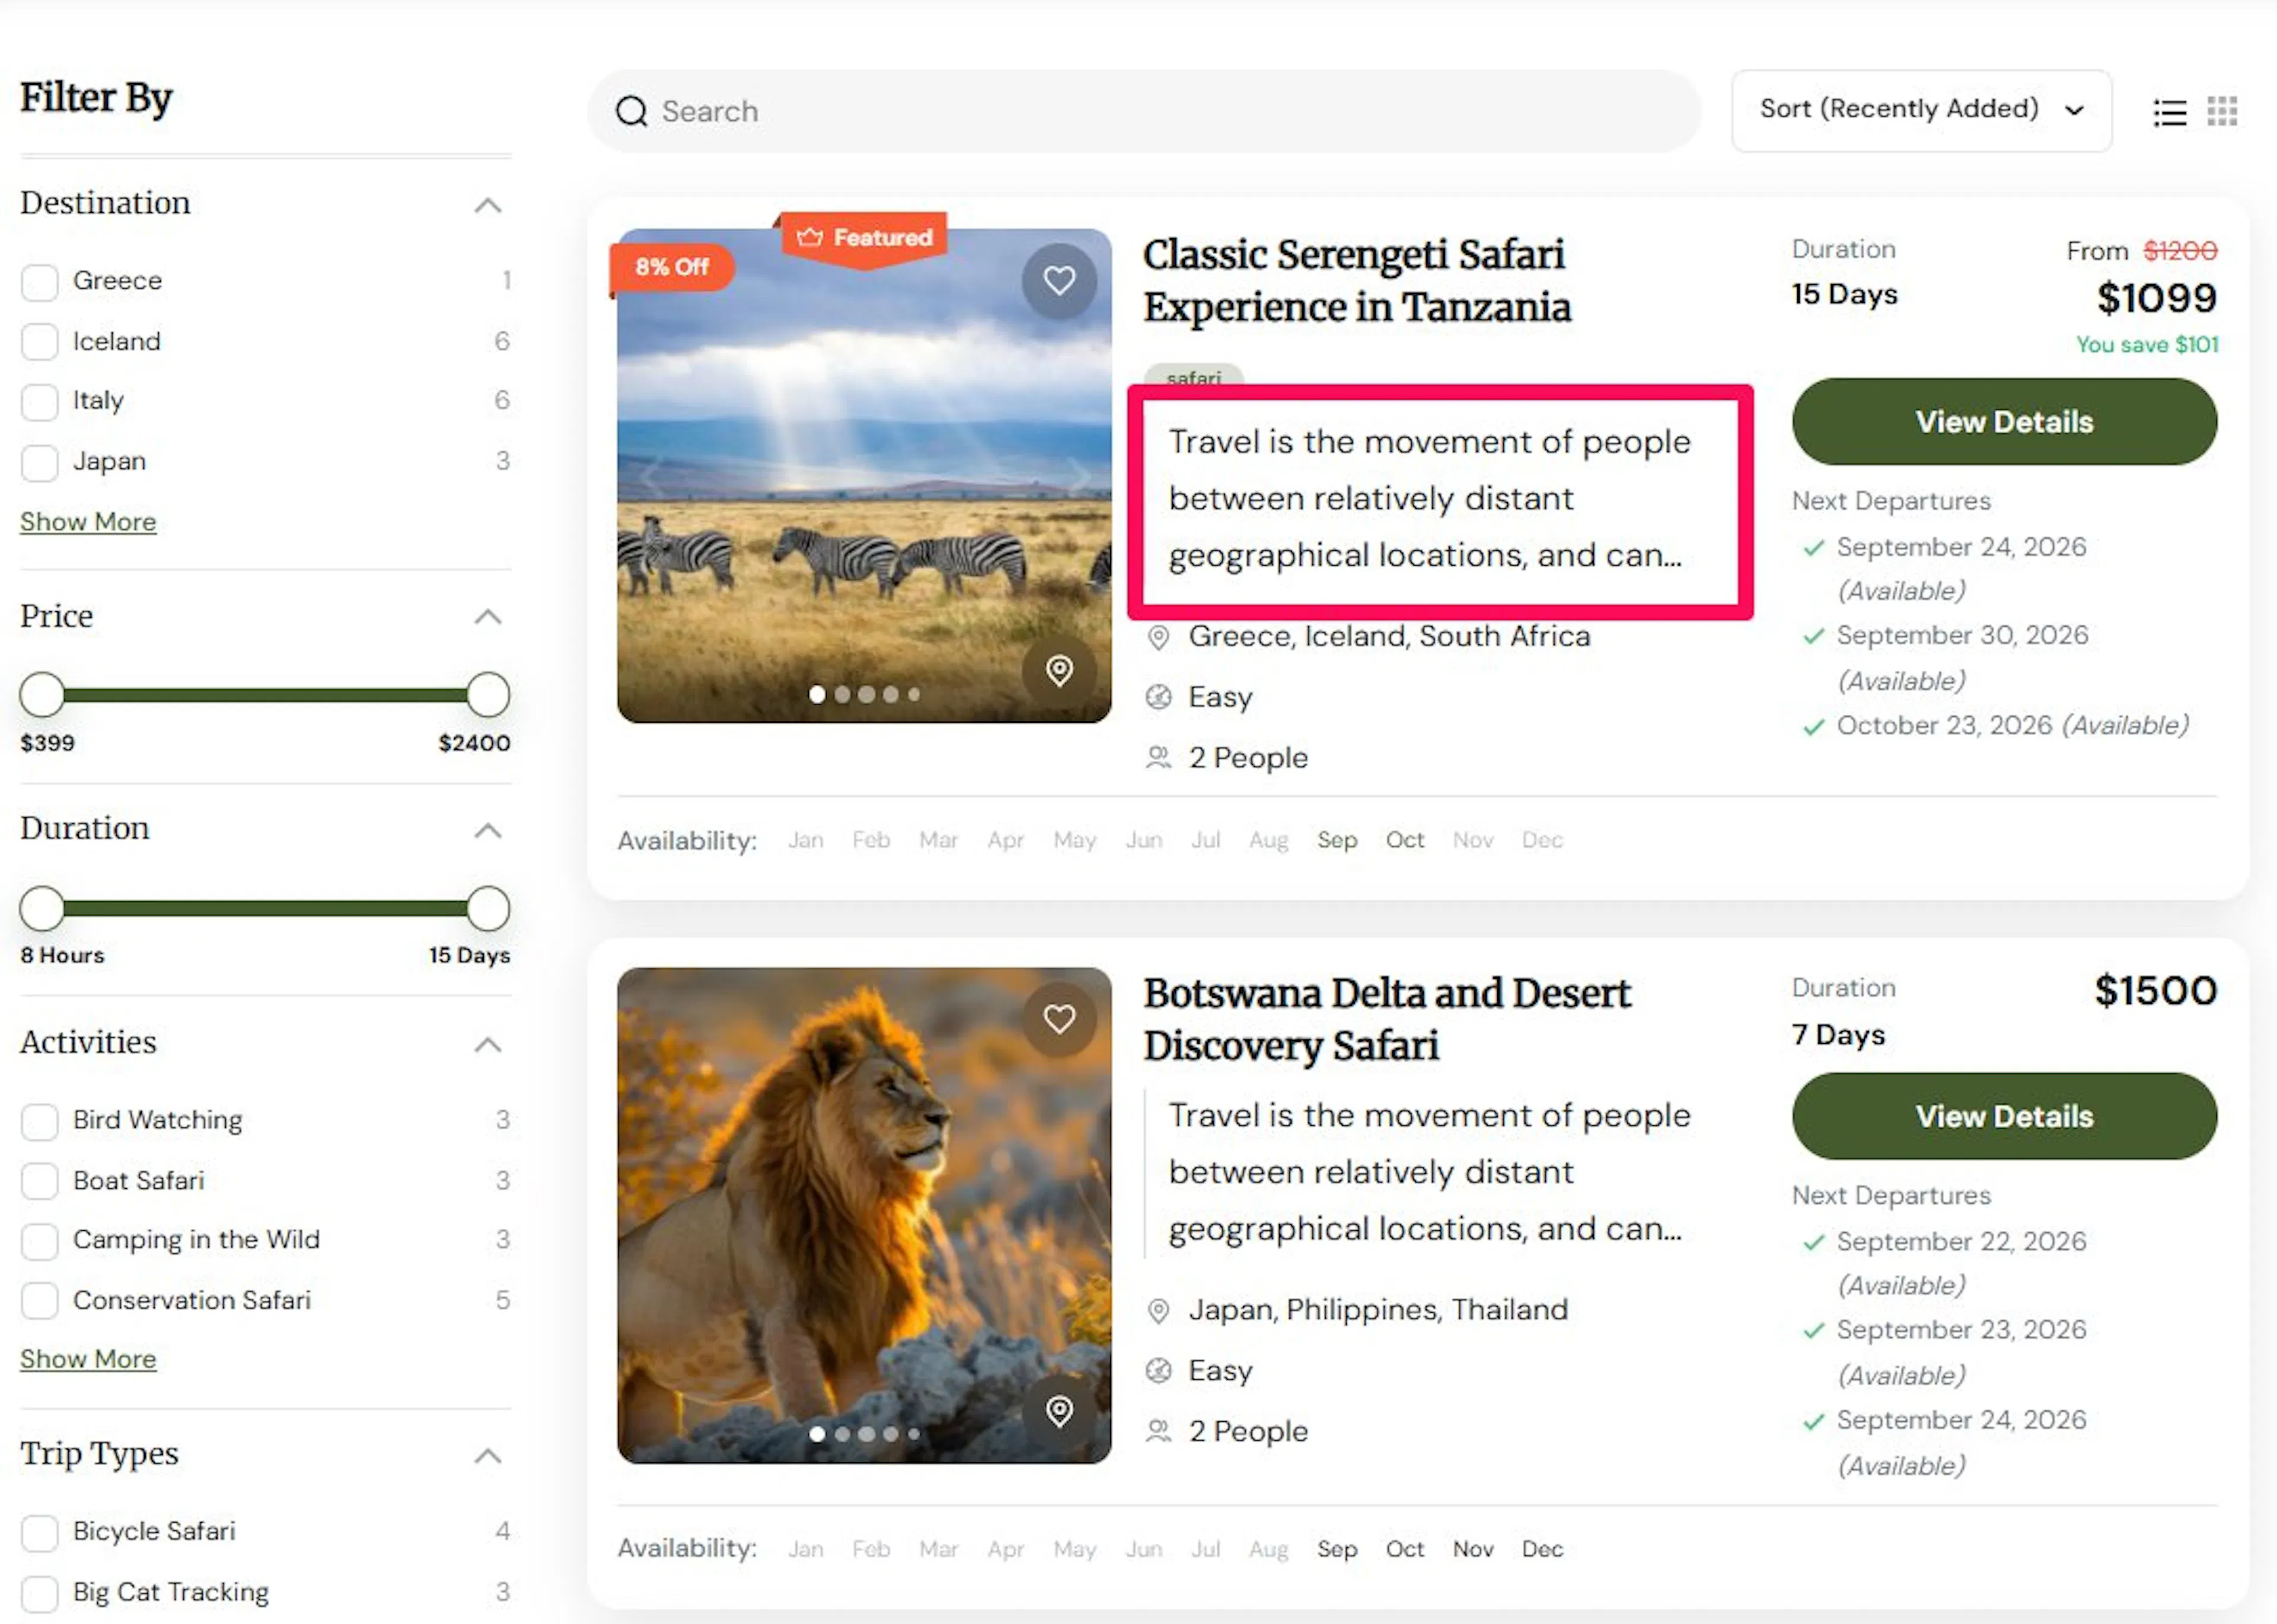
Turn this on if you want each card to say a little more about the trip.
This shows a short summary taken from the trip description. A good example is a one-line teaser like Explore ancient temples and hidden waterfalls on this 3-day adventure.
This works well when the trip title alone does not tell the full story.
Show Difficulty
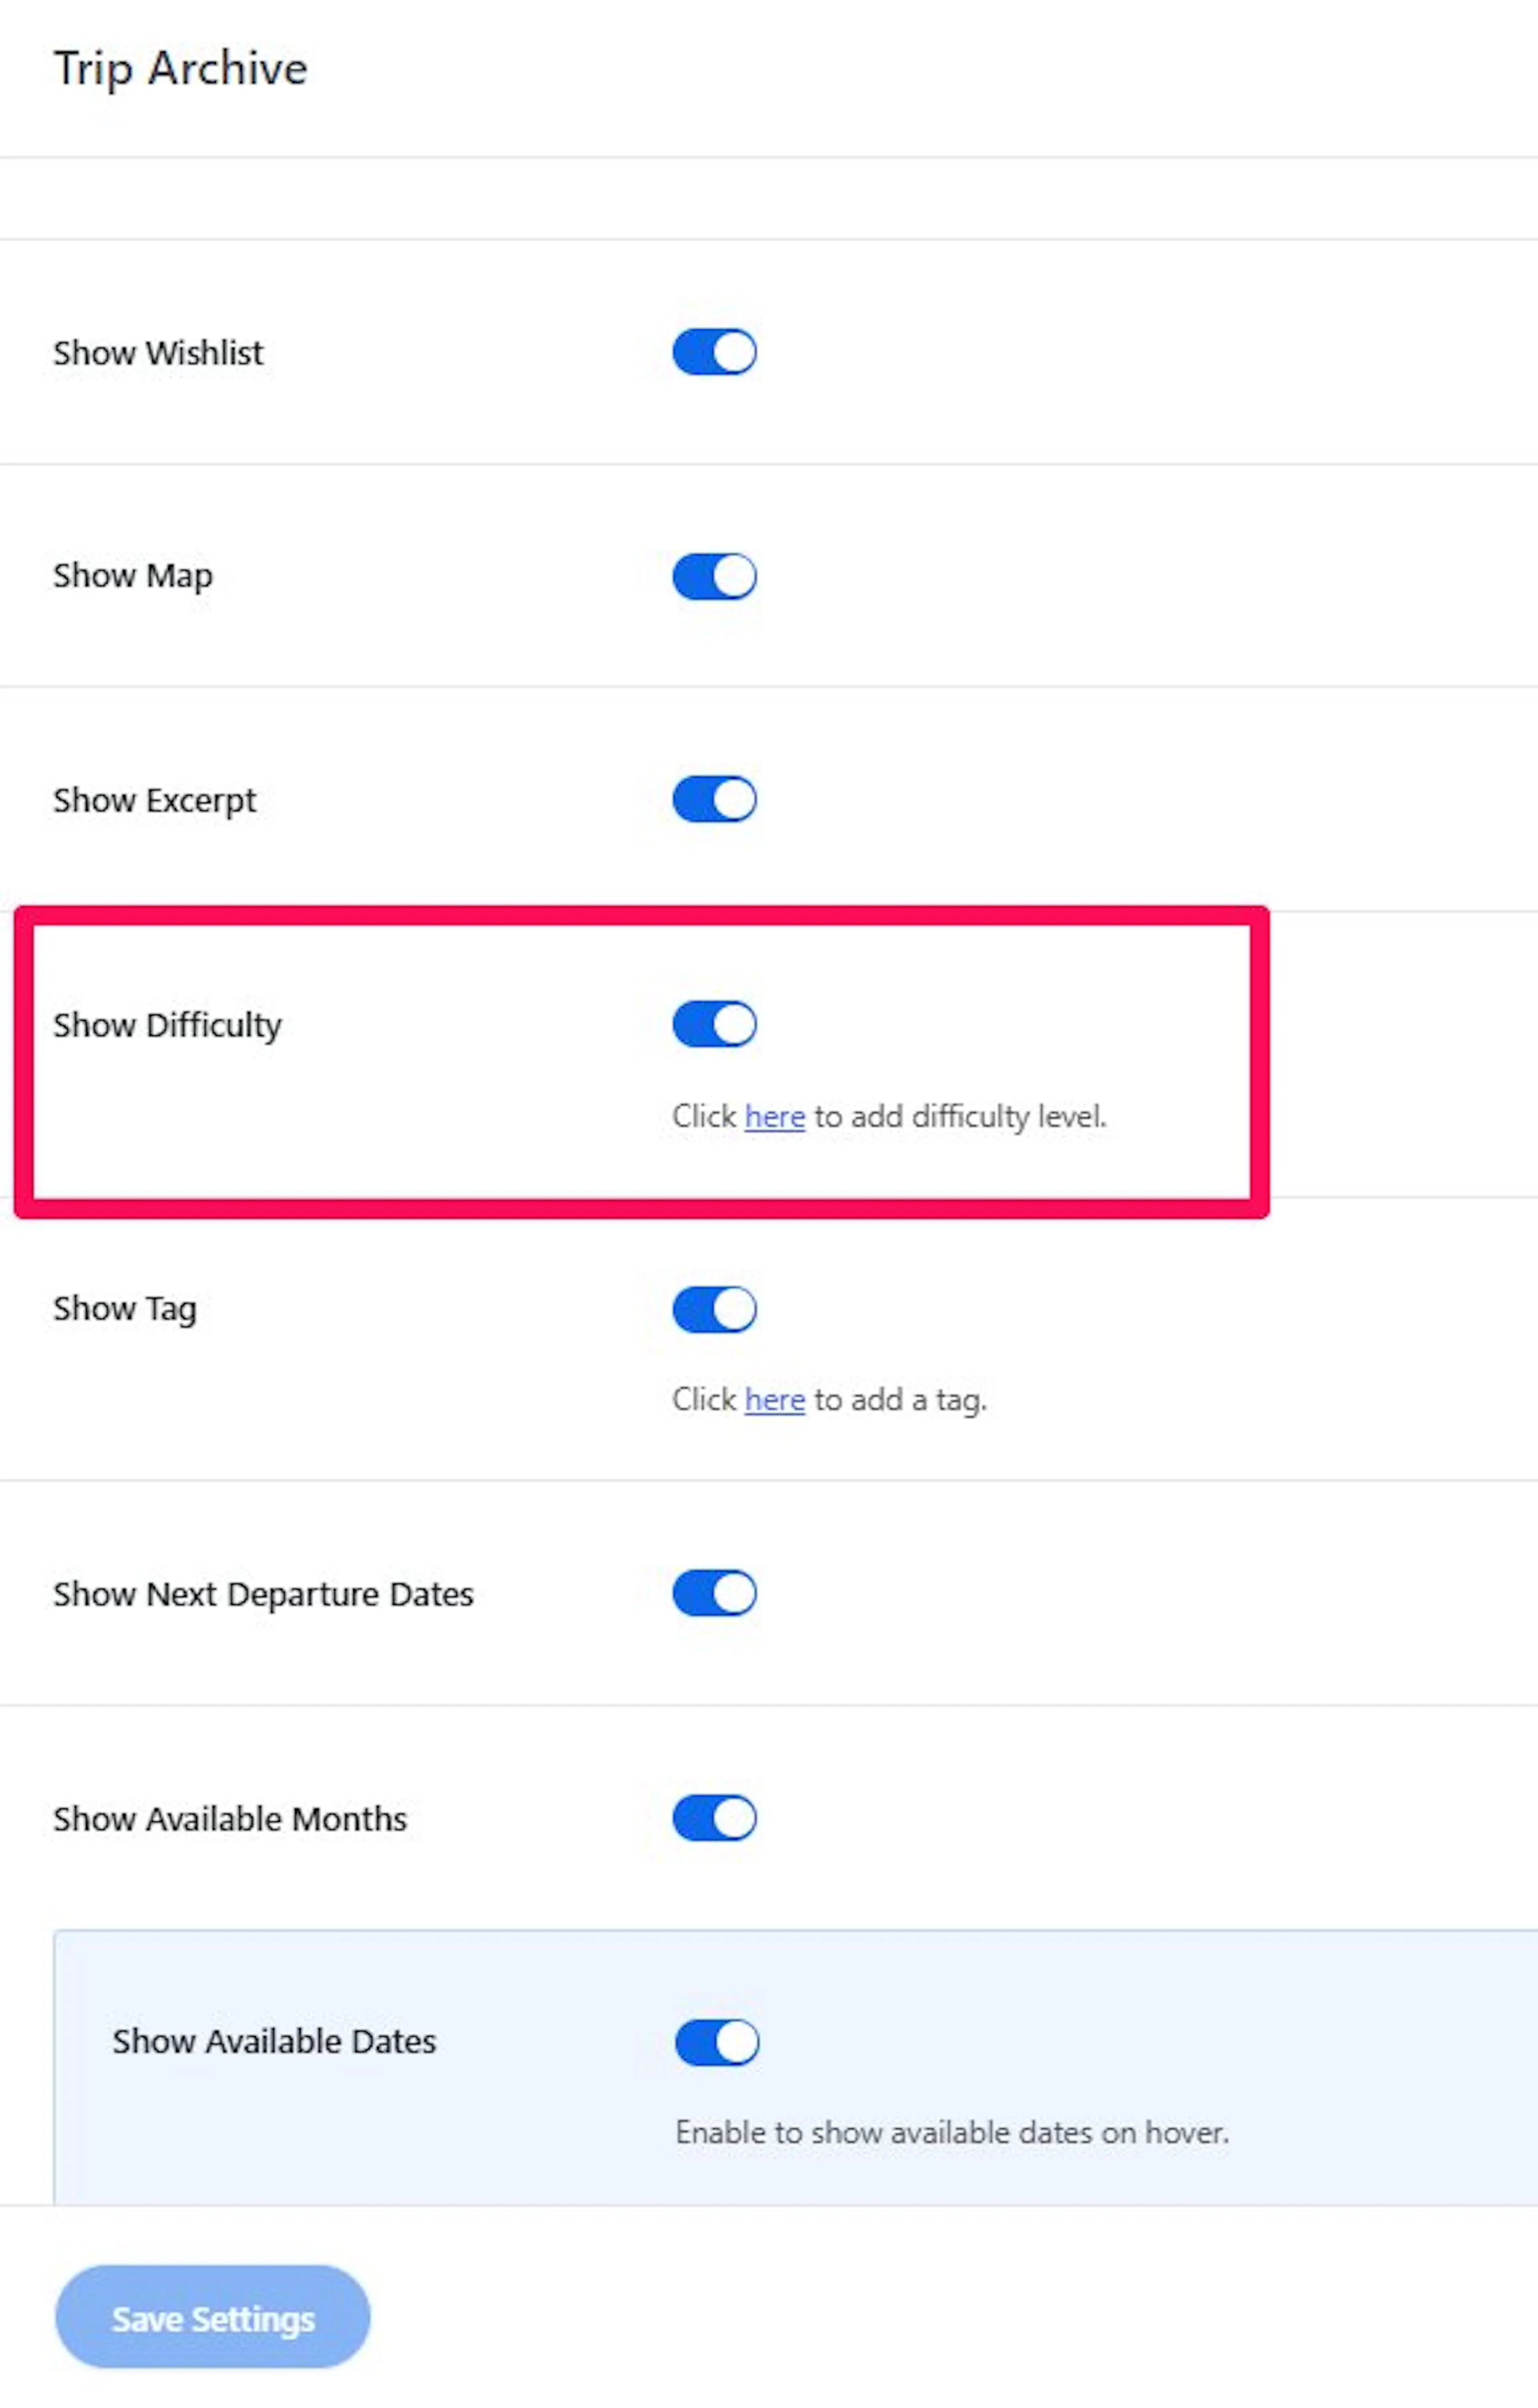
Turn this on if you want travelers to know the effort level up front.
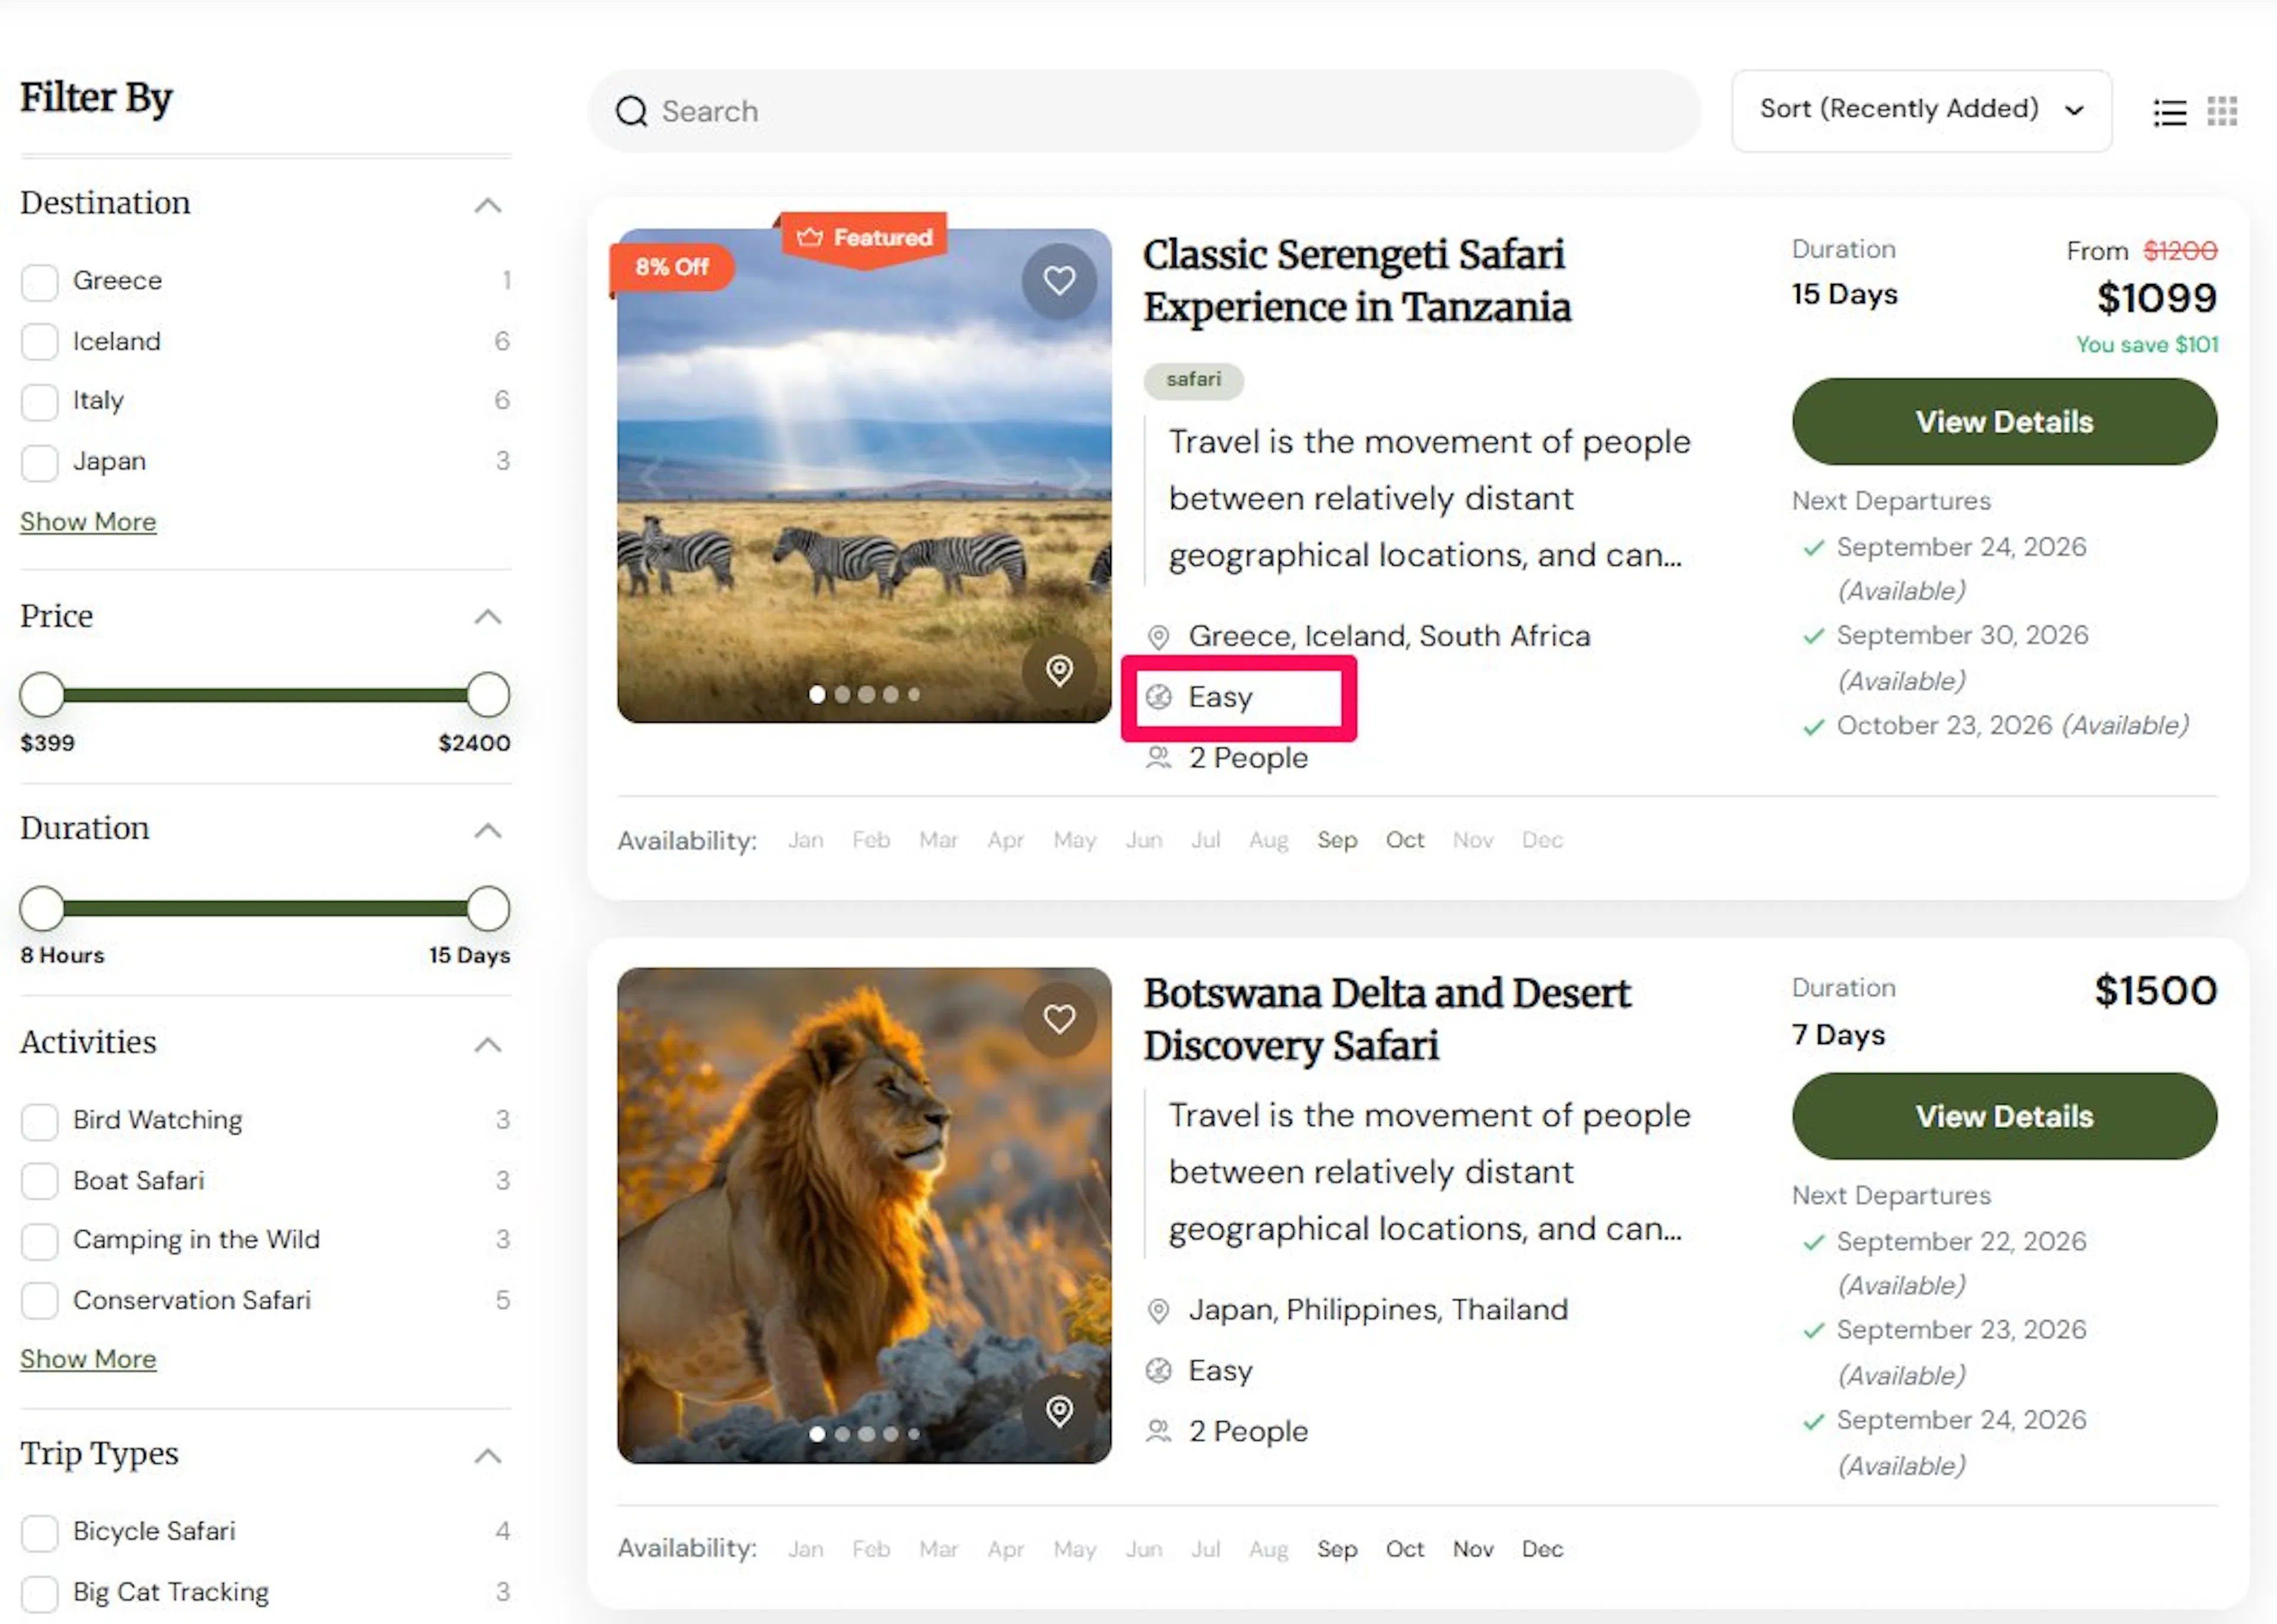
This shows the trip's difficulty level on the card. For example, people might see Easy, Moderate, or Extreme before they click into the full trip page.
This is helpful for trekking, hiking, and active tours where fitness level affects booking decisions.
Show Tag
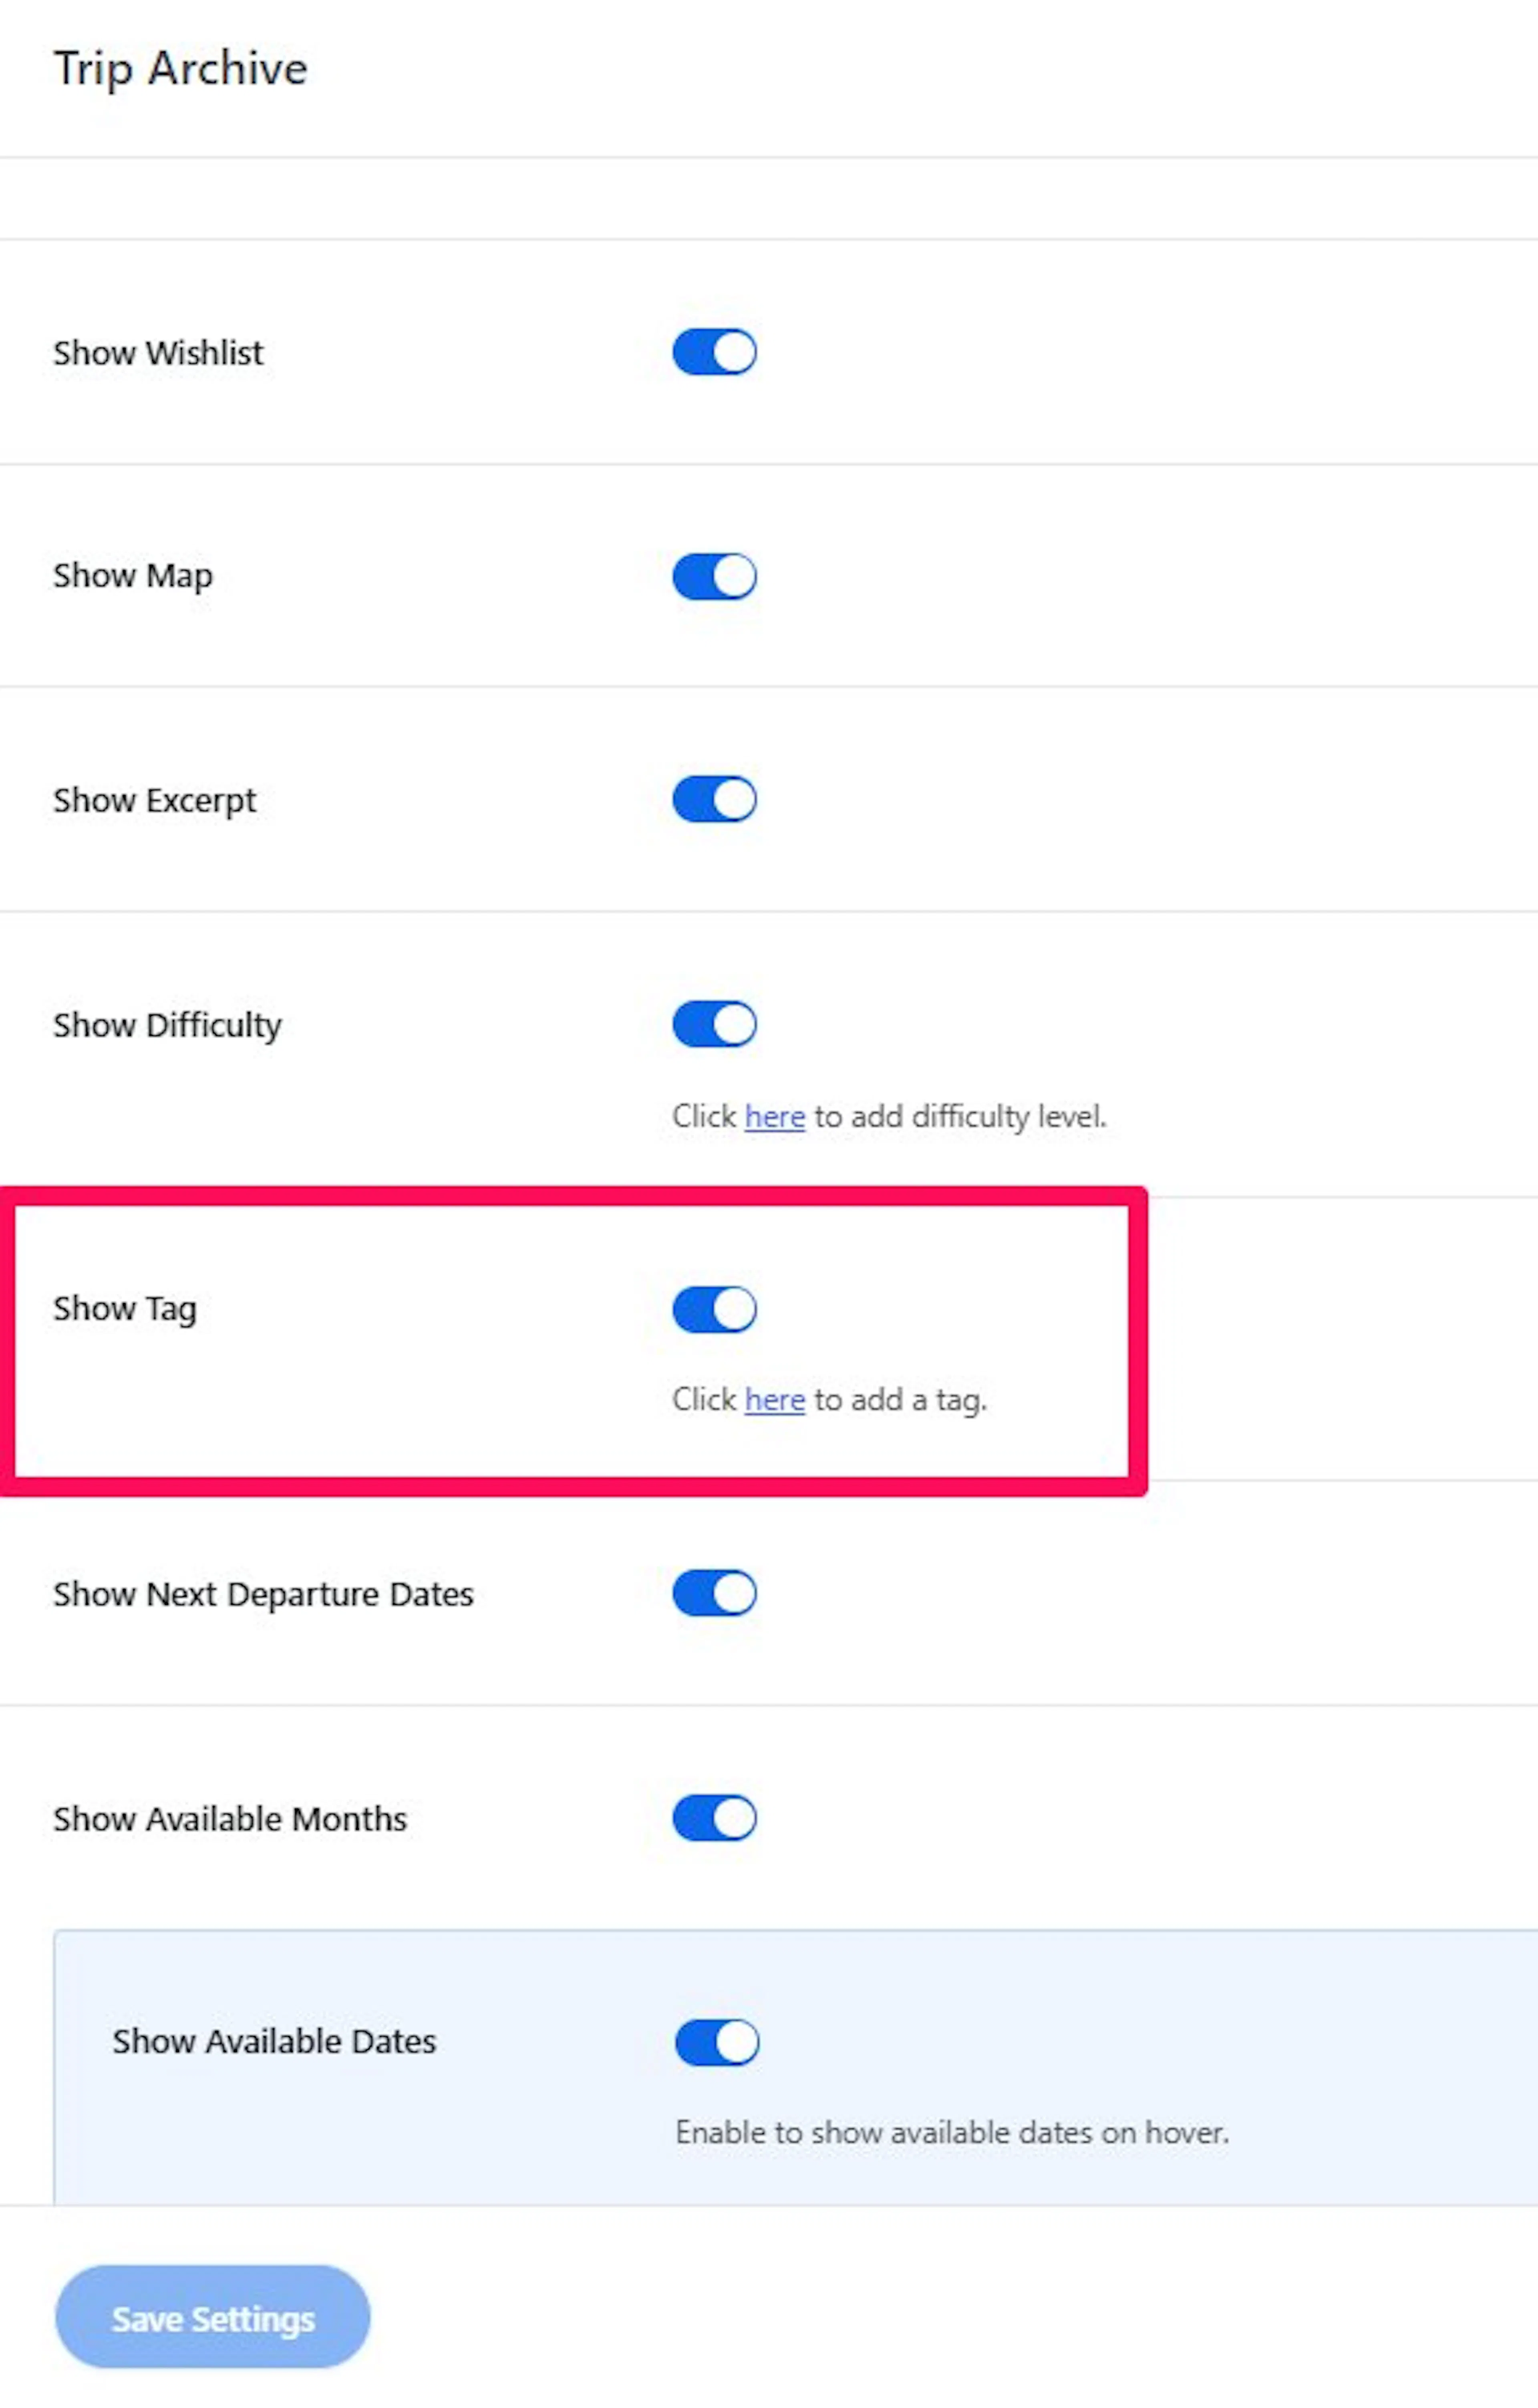
Turn this on if you want to label trips by style or audience.
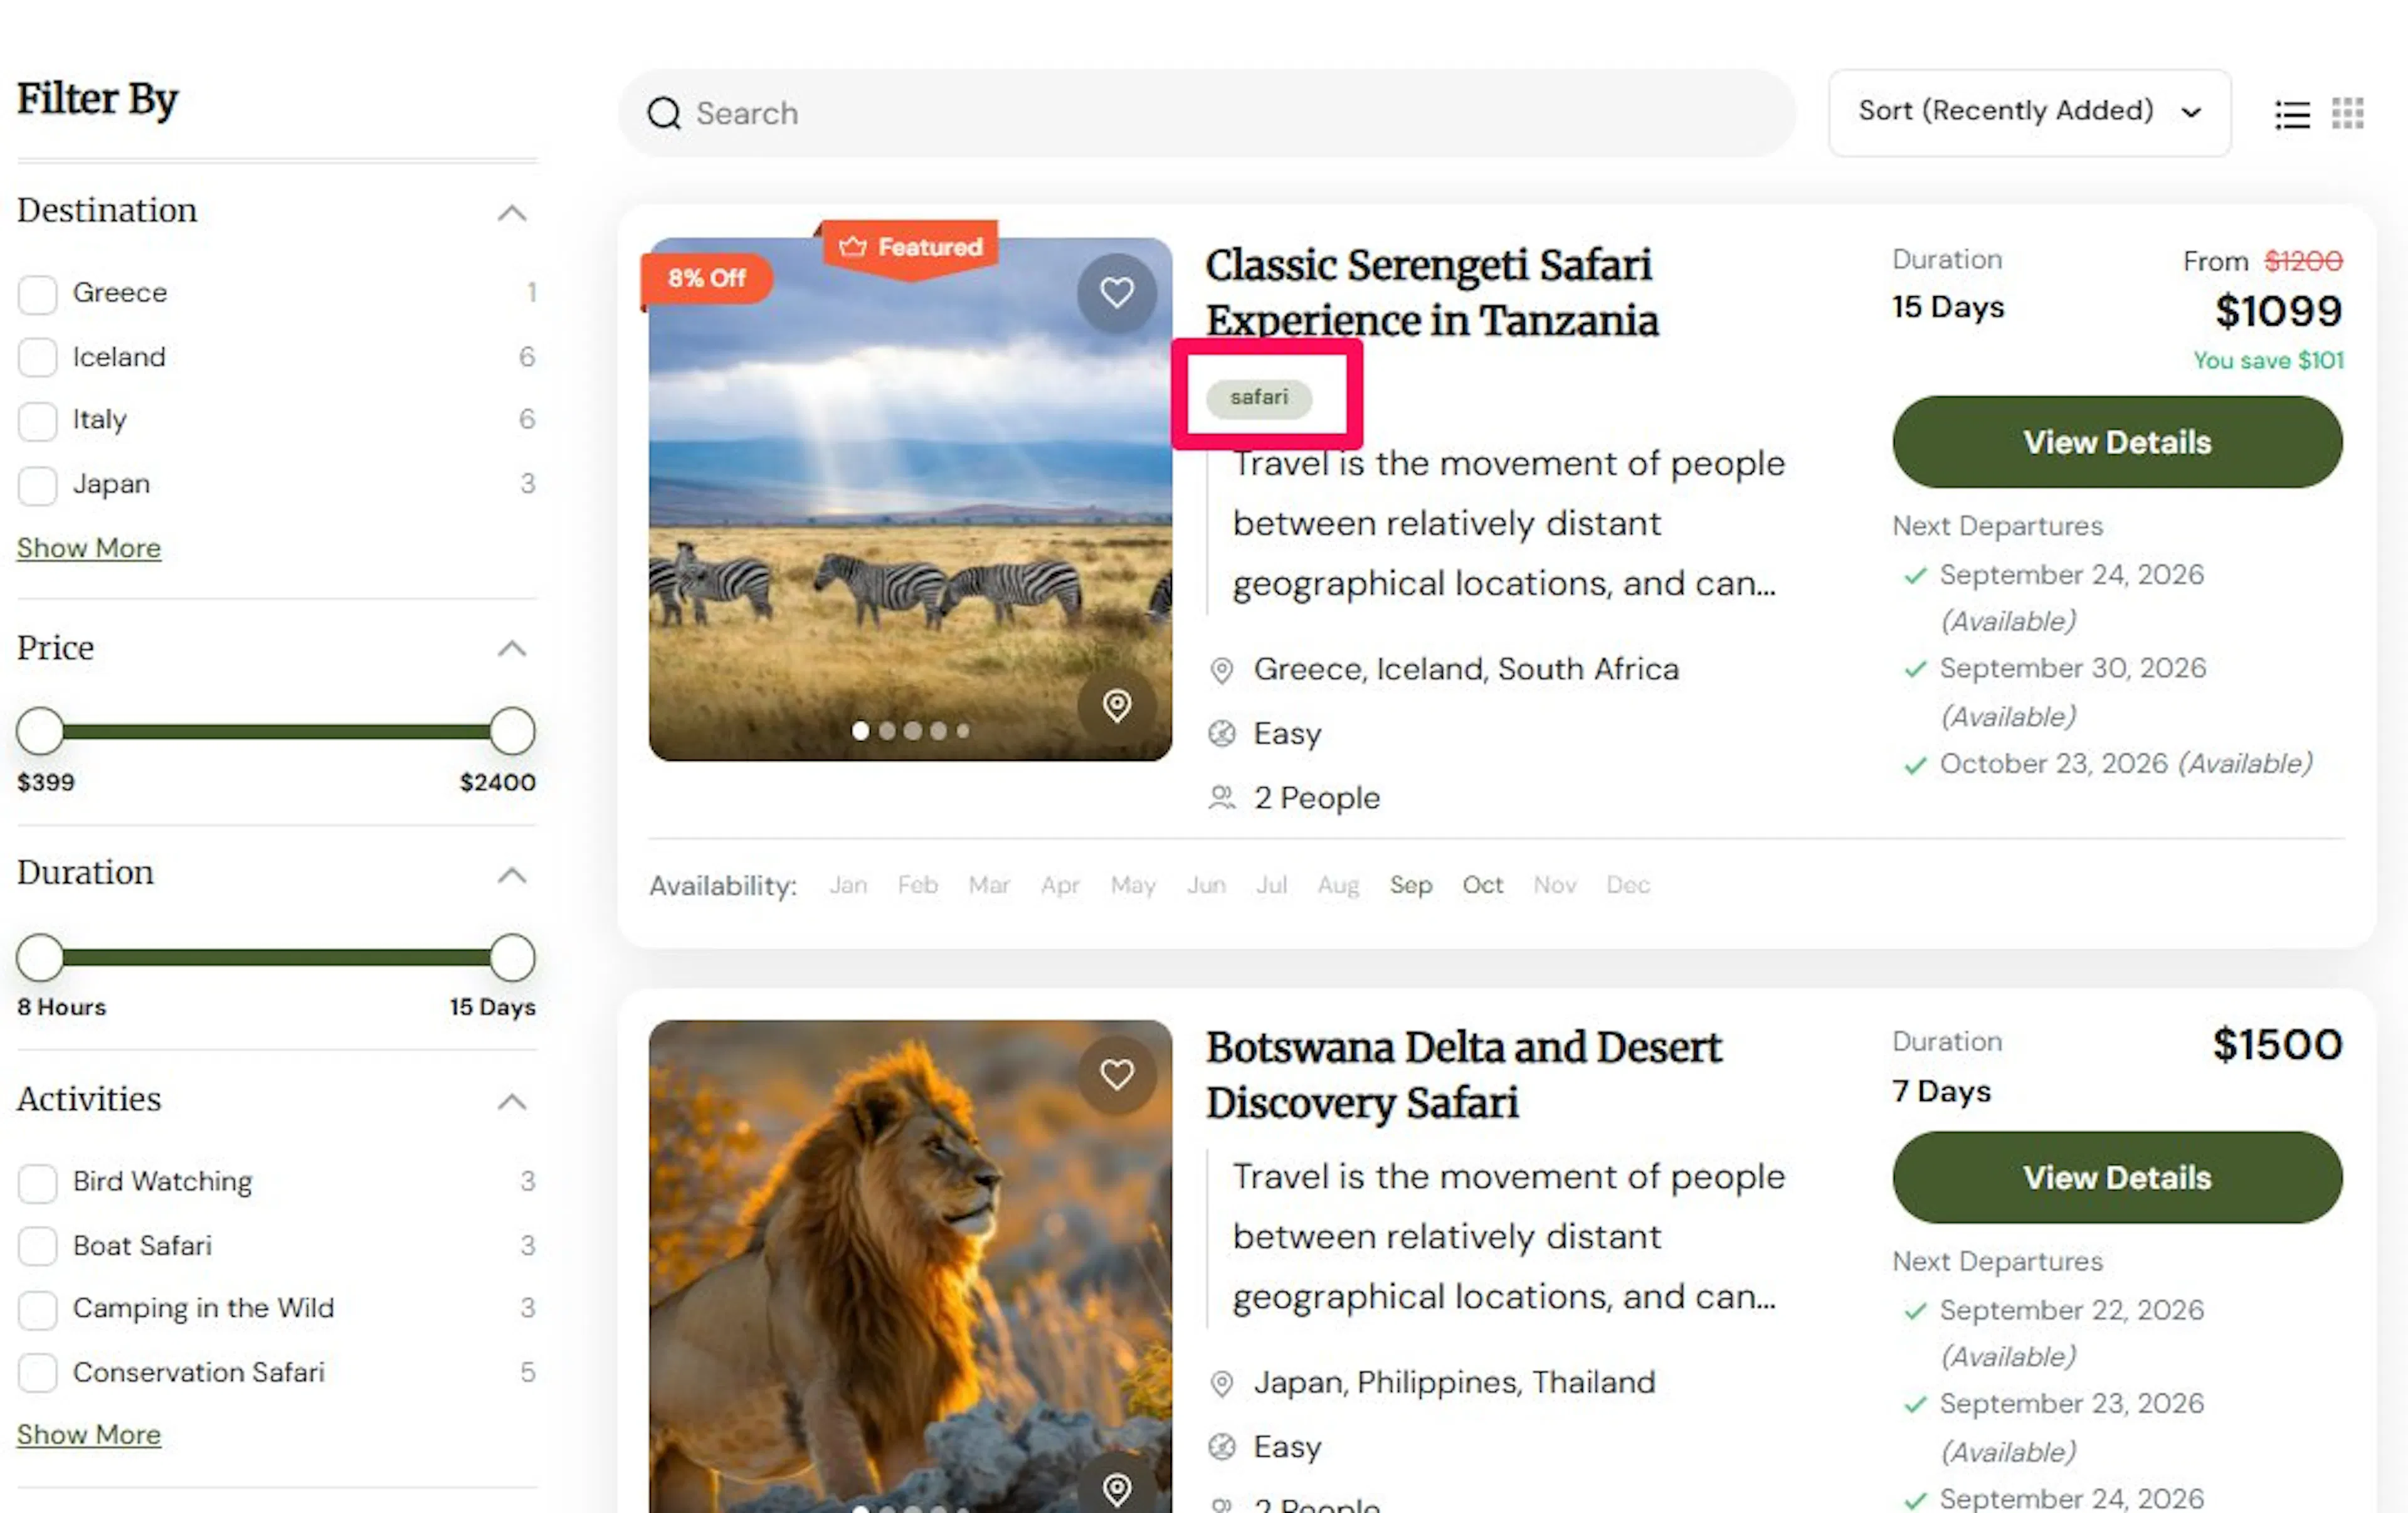
This shows tags connected to the trip, such as Adventure or Family-friendly. These tags help people skim the page and spot the kind of trip they want.
This is especially useful if you offer several different trip types on the same site.
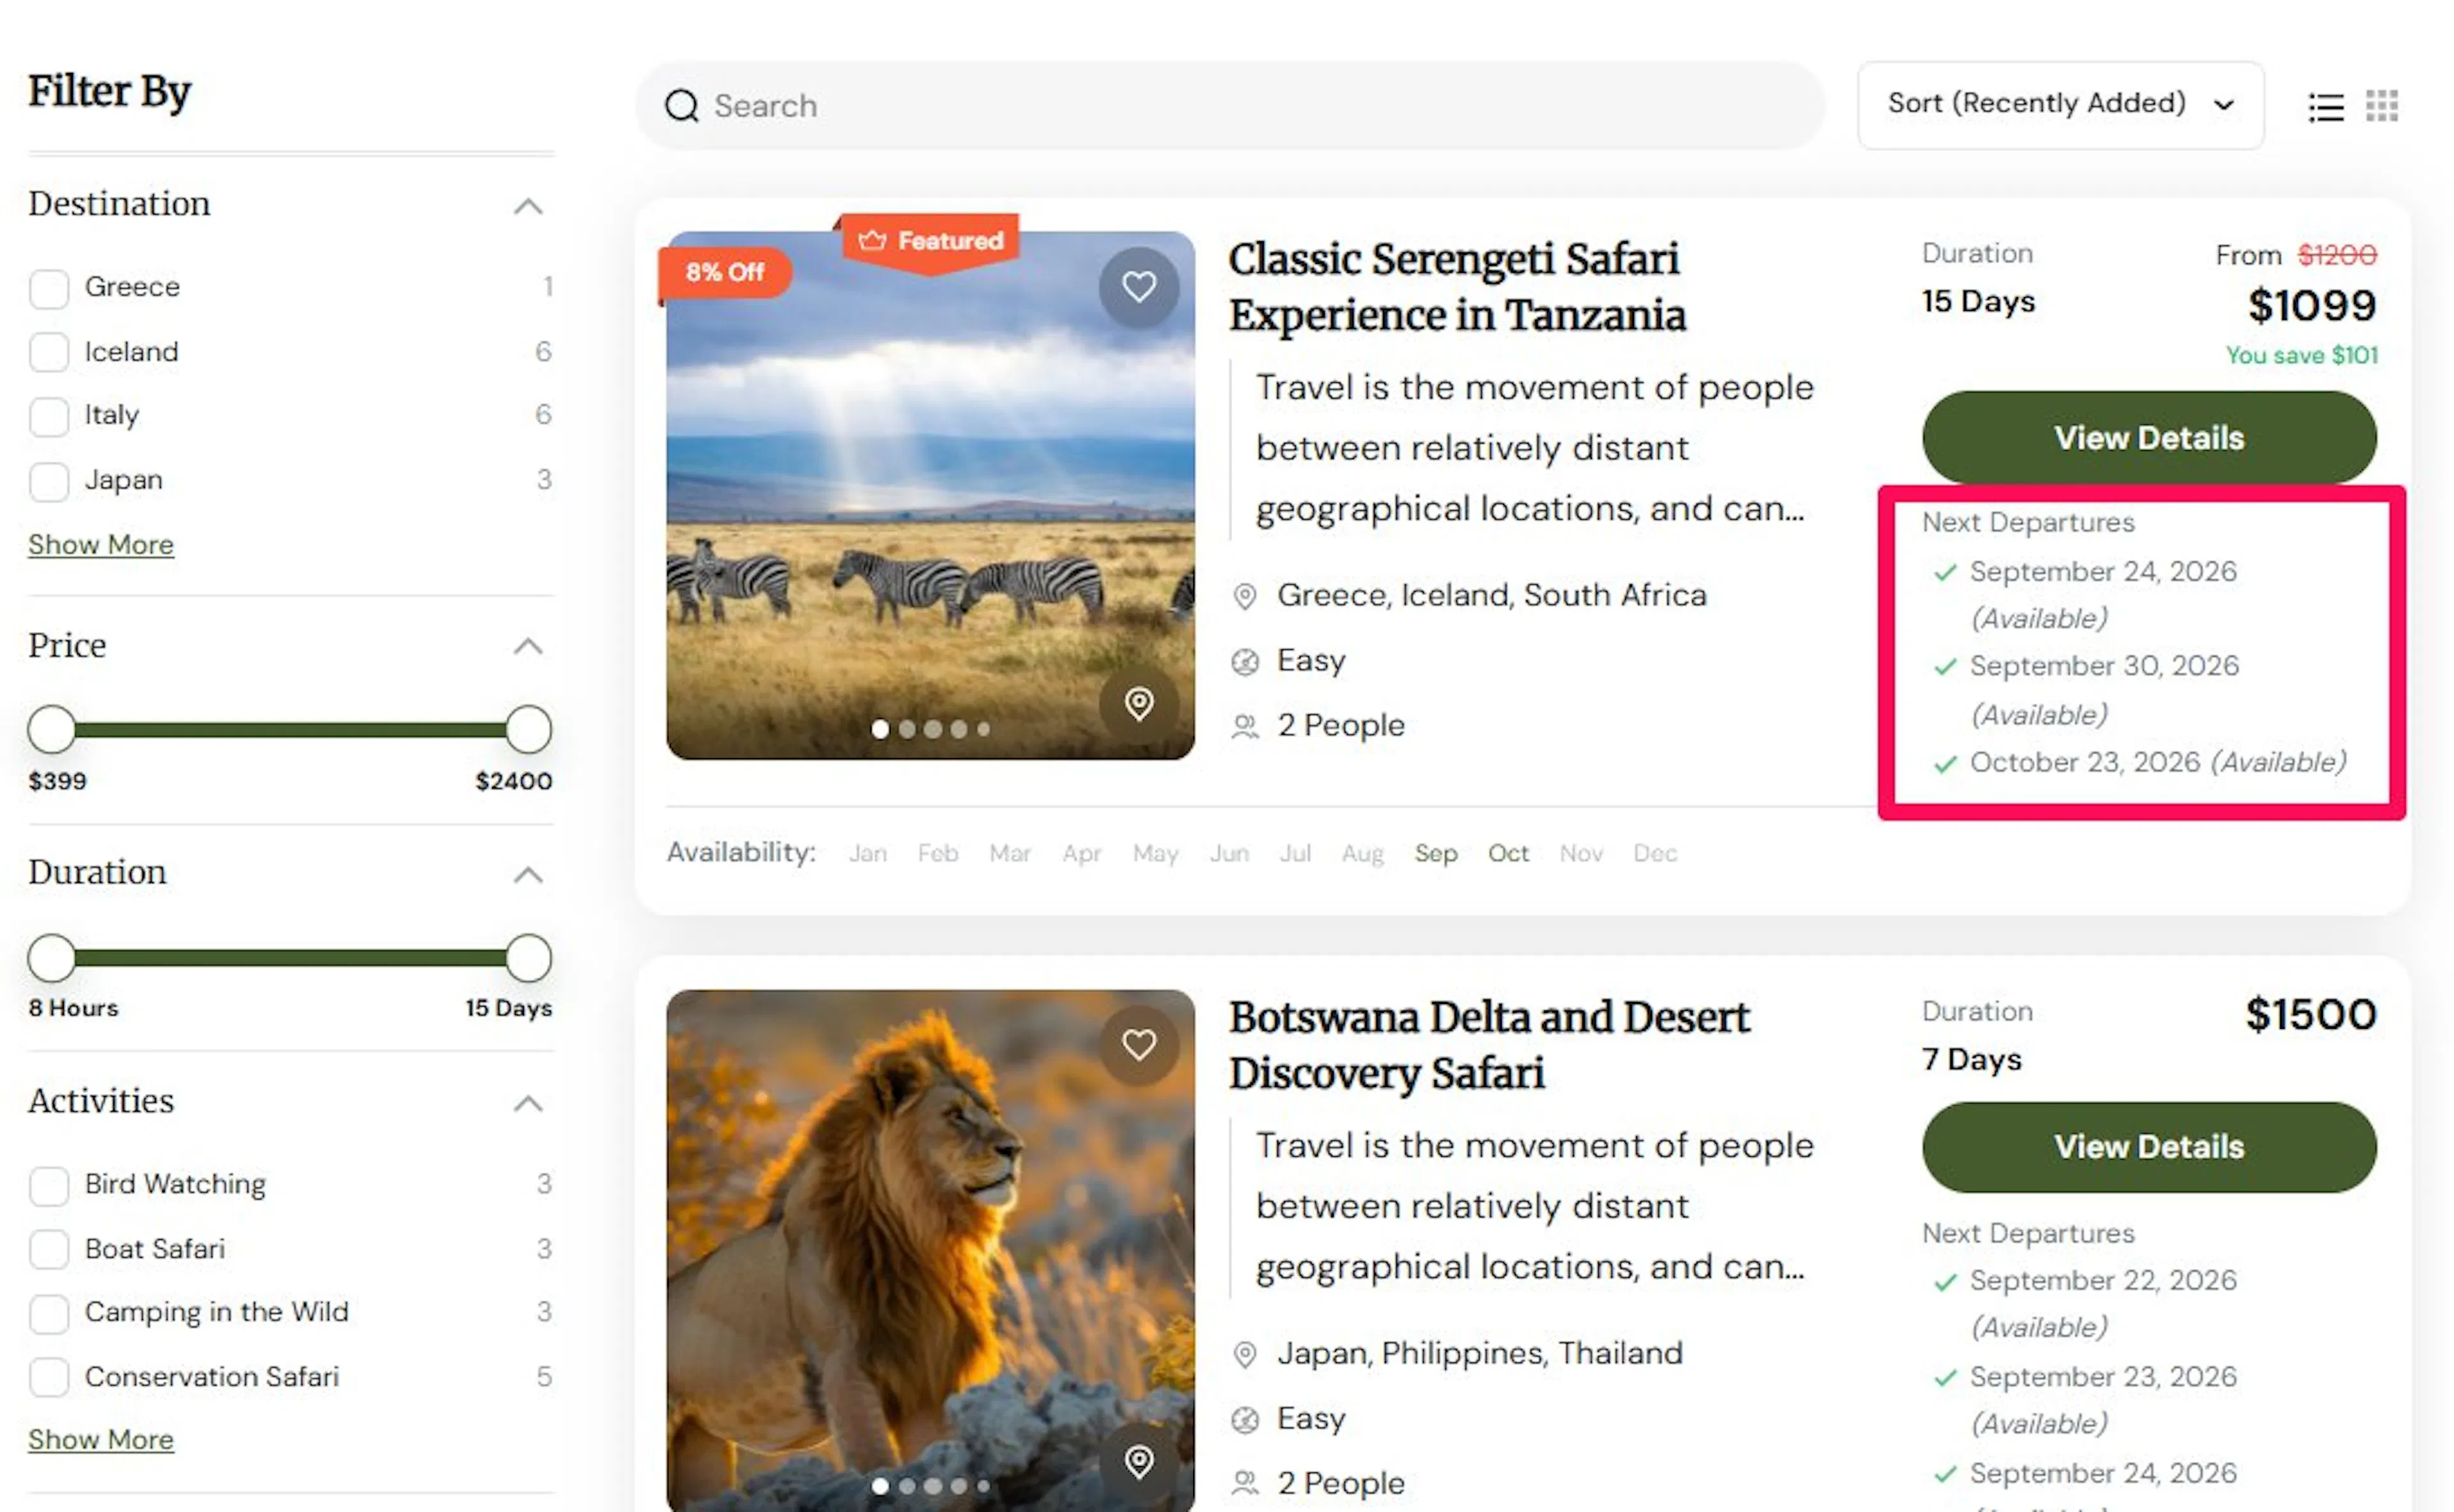
Show Next Departure Dates
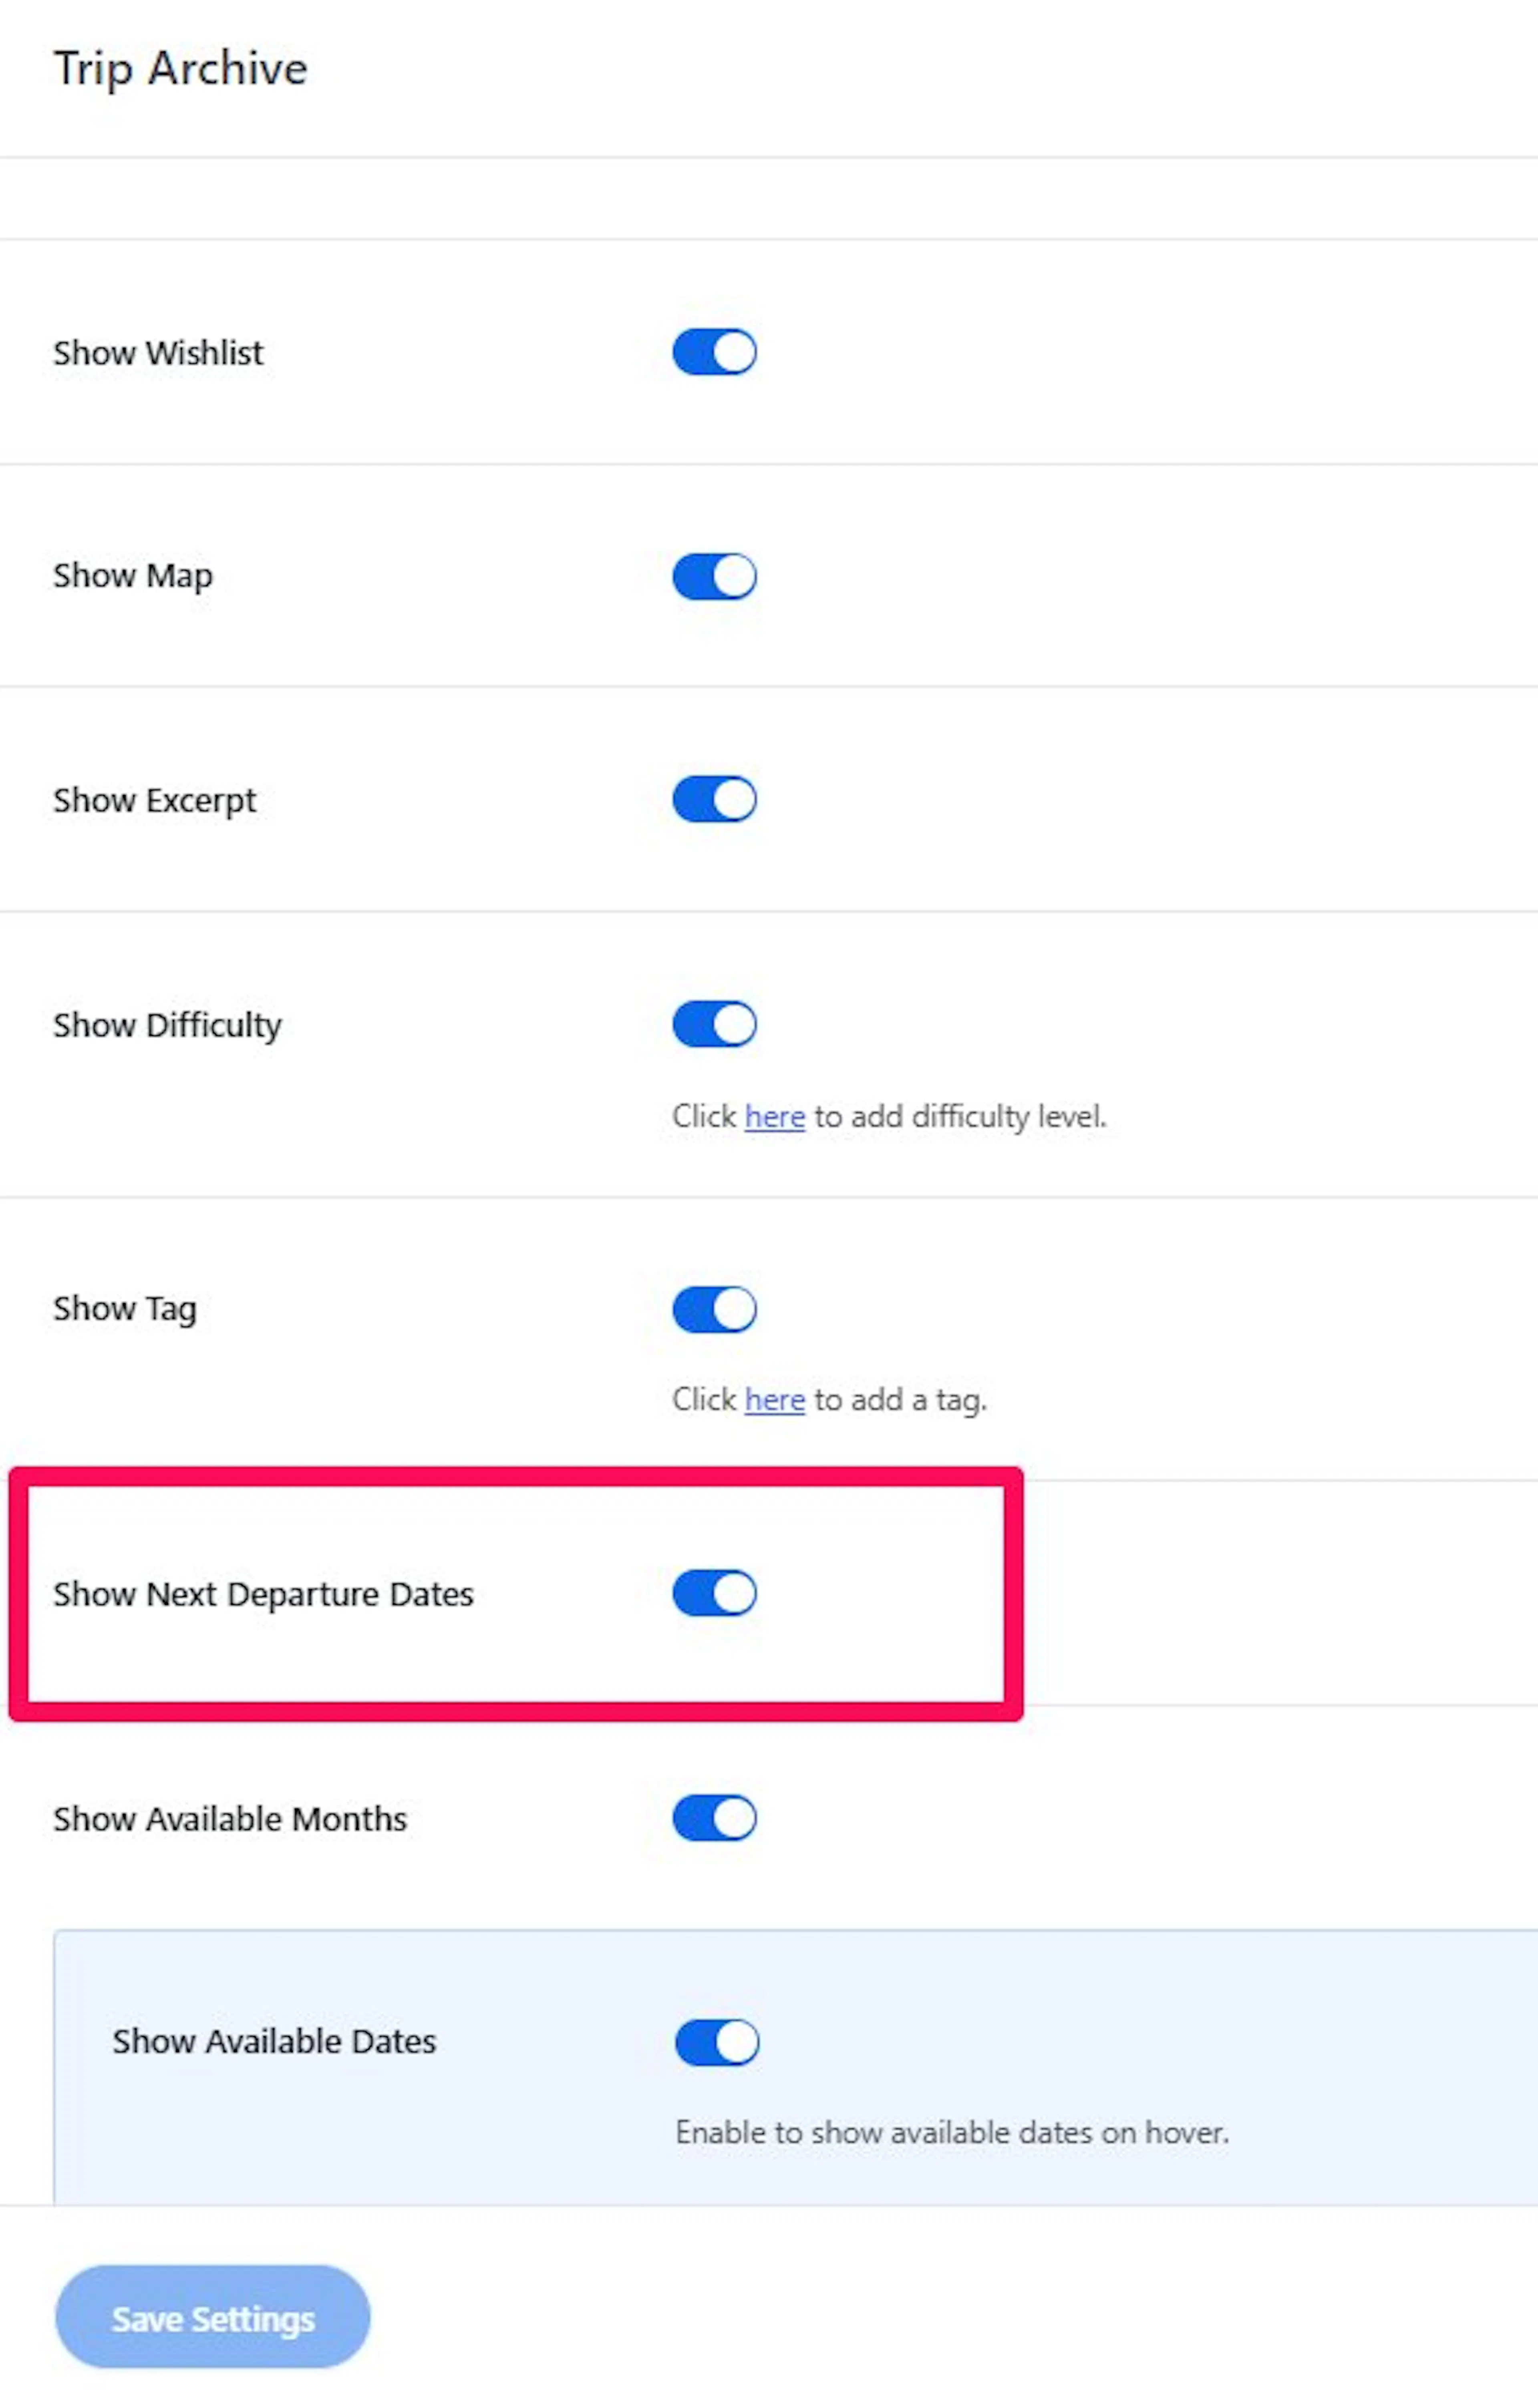
Turn this on if you want people to see the next departure right away.
This shows the next available departure date on the trip card. For example, if a trek leaves on June 15, that date can appear on the card without the traveler opening the full trip page.
This can help people move faster when they are booking around a specific date.
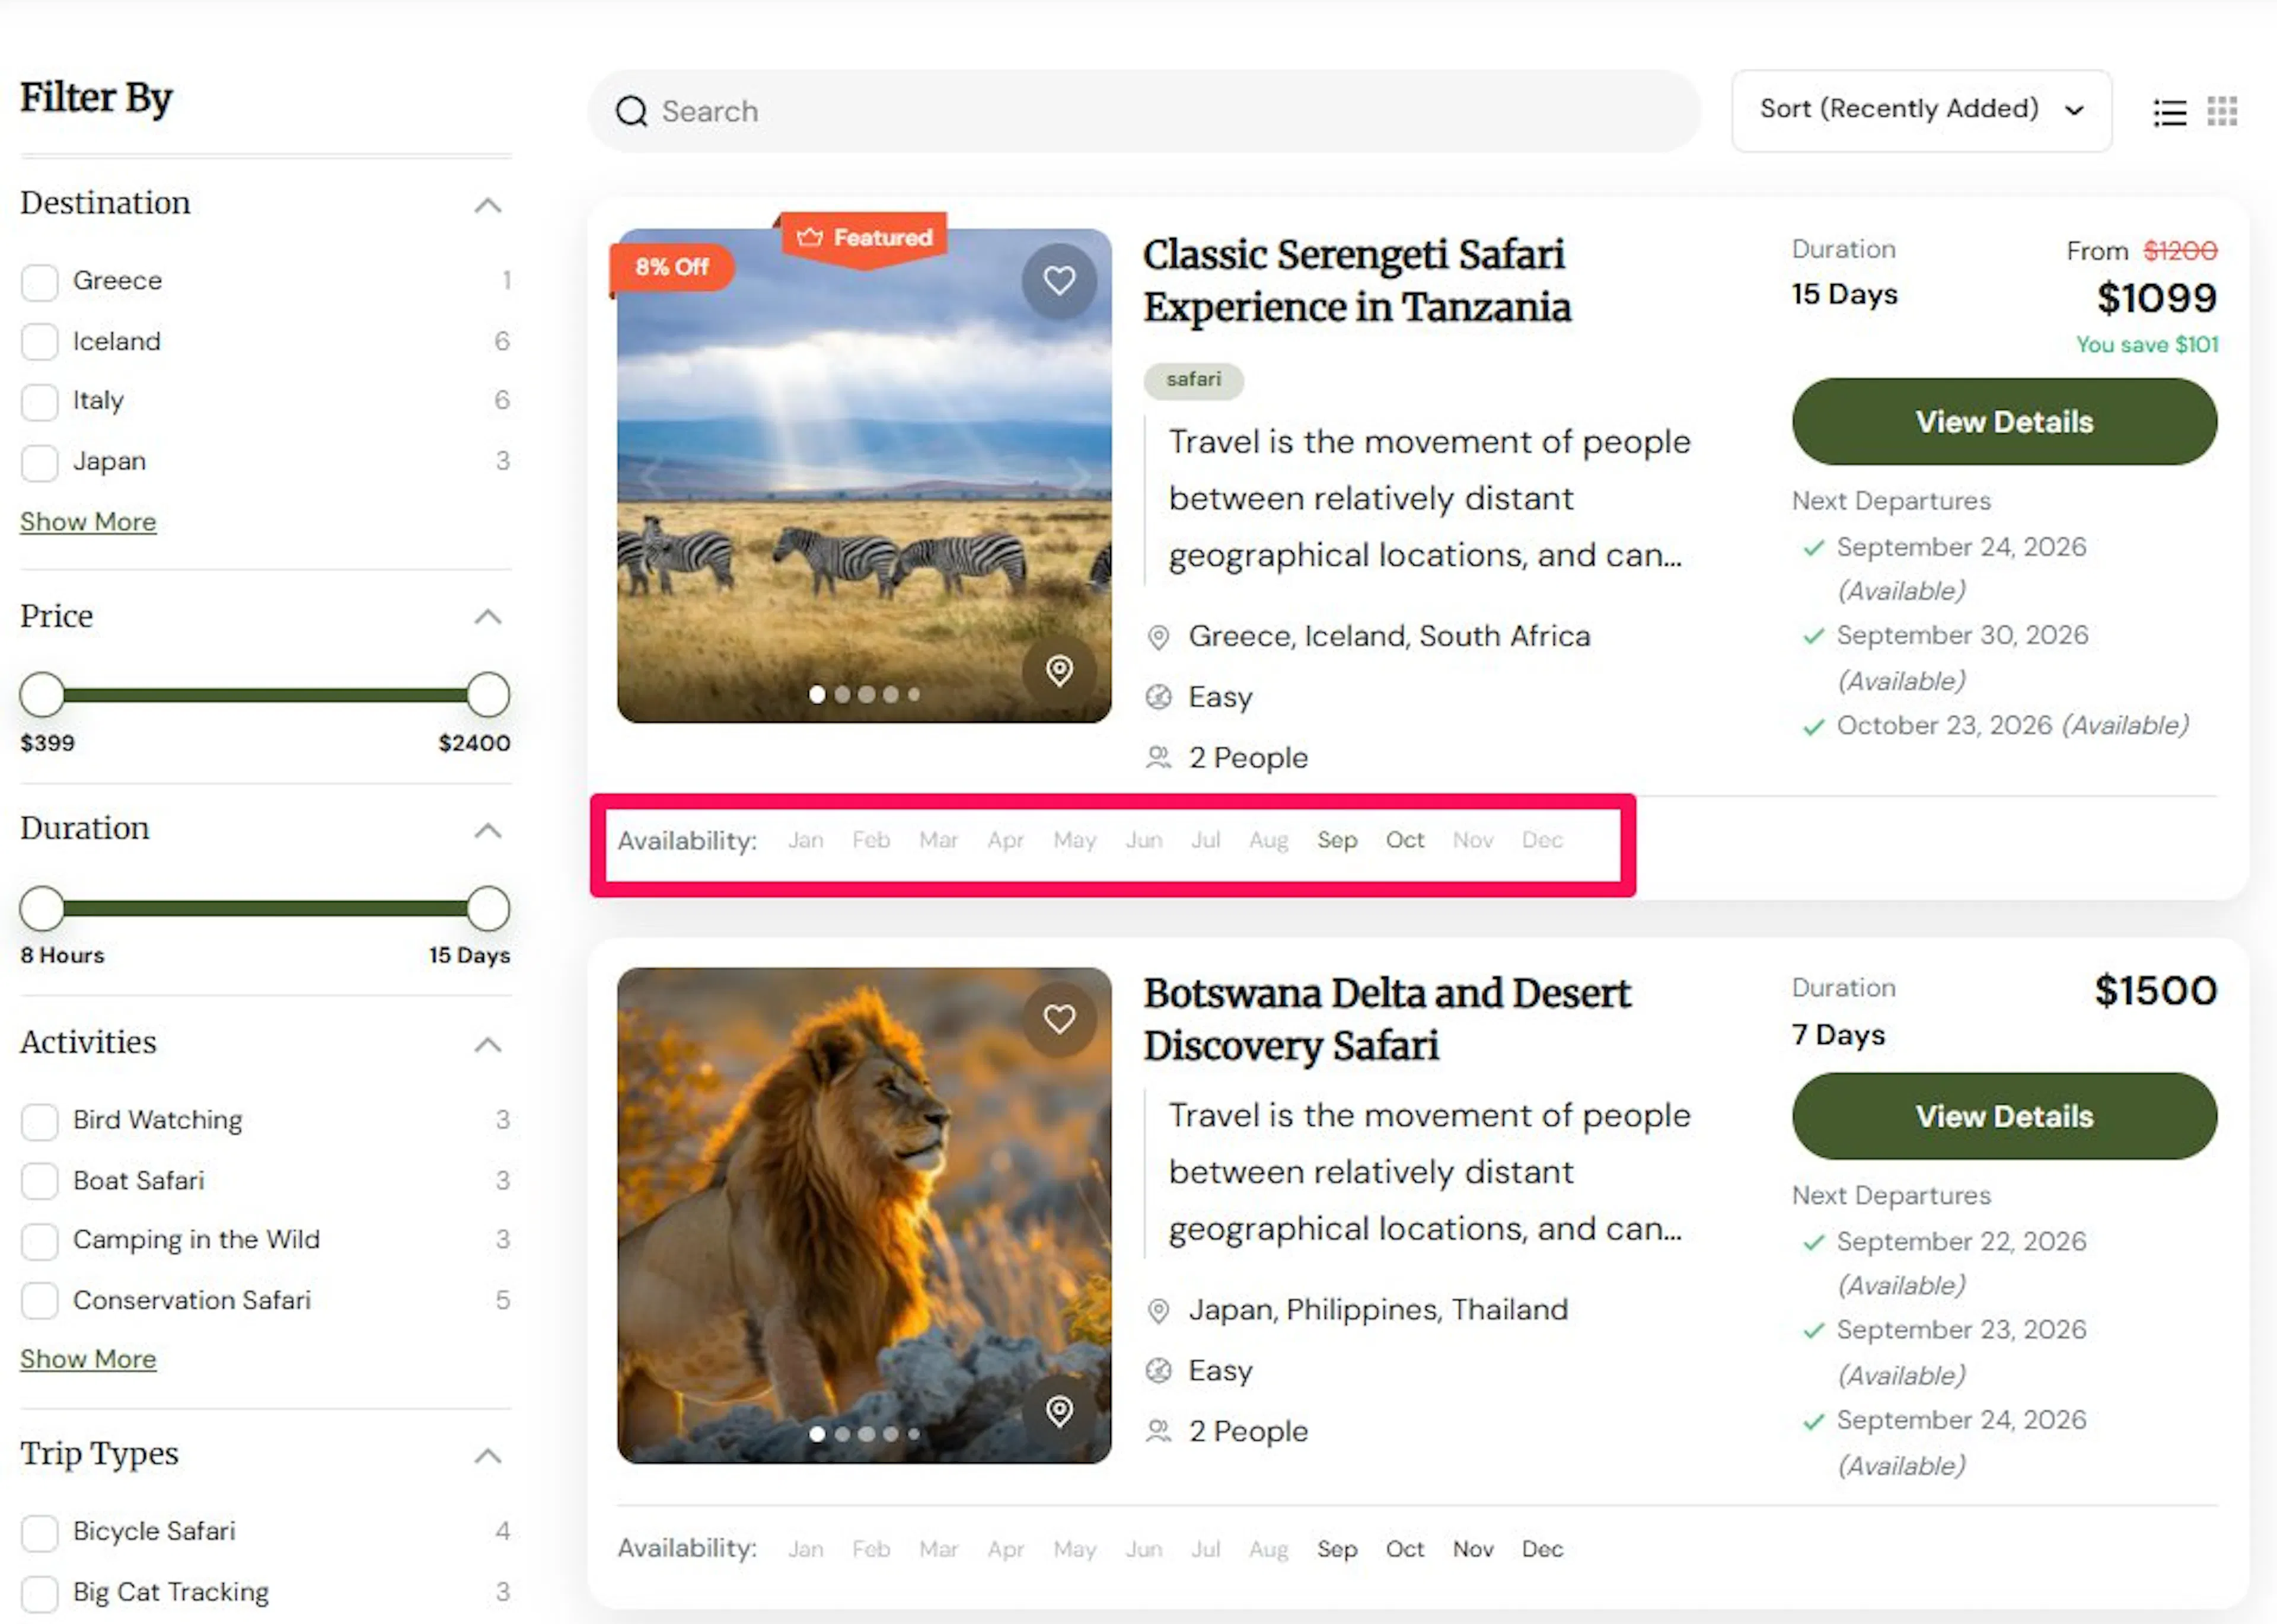
Show Available Months
Turn this on if you want to show your broader booking window.
This shows which months are available for booking on the trip card. That gives people a quick sense of seasonality before they click further.
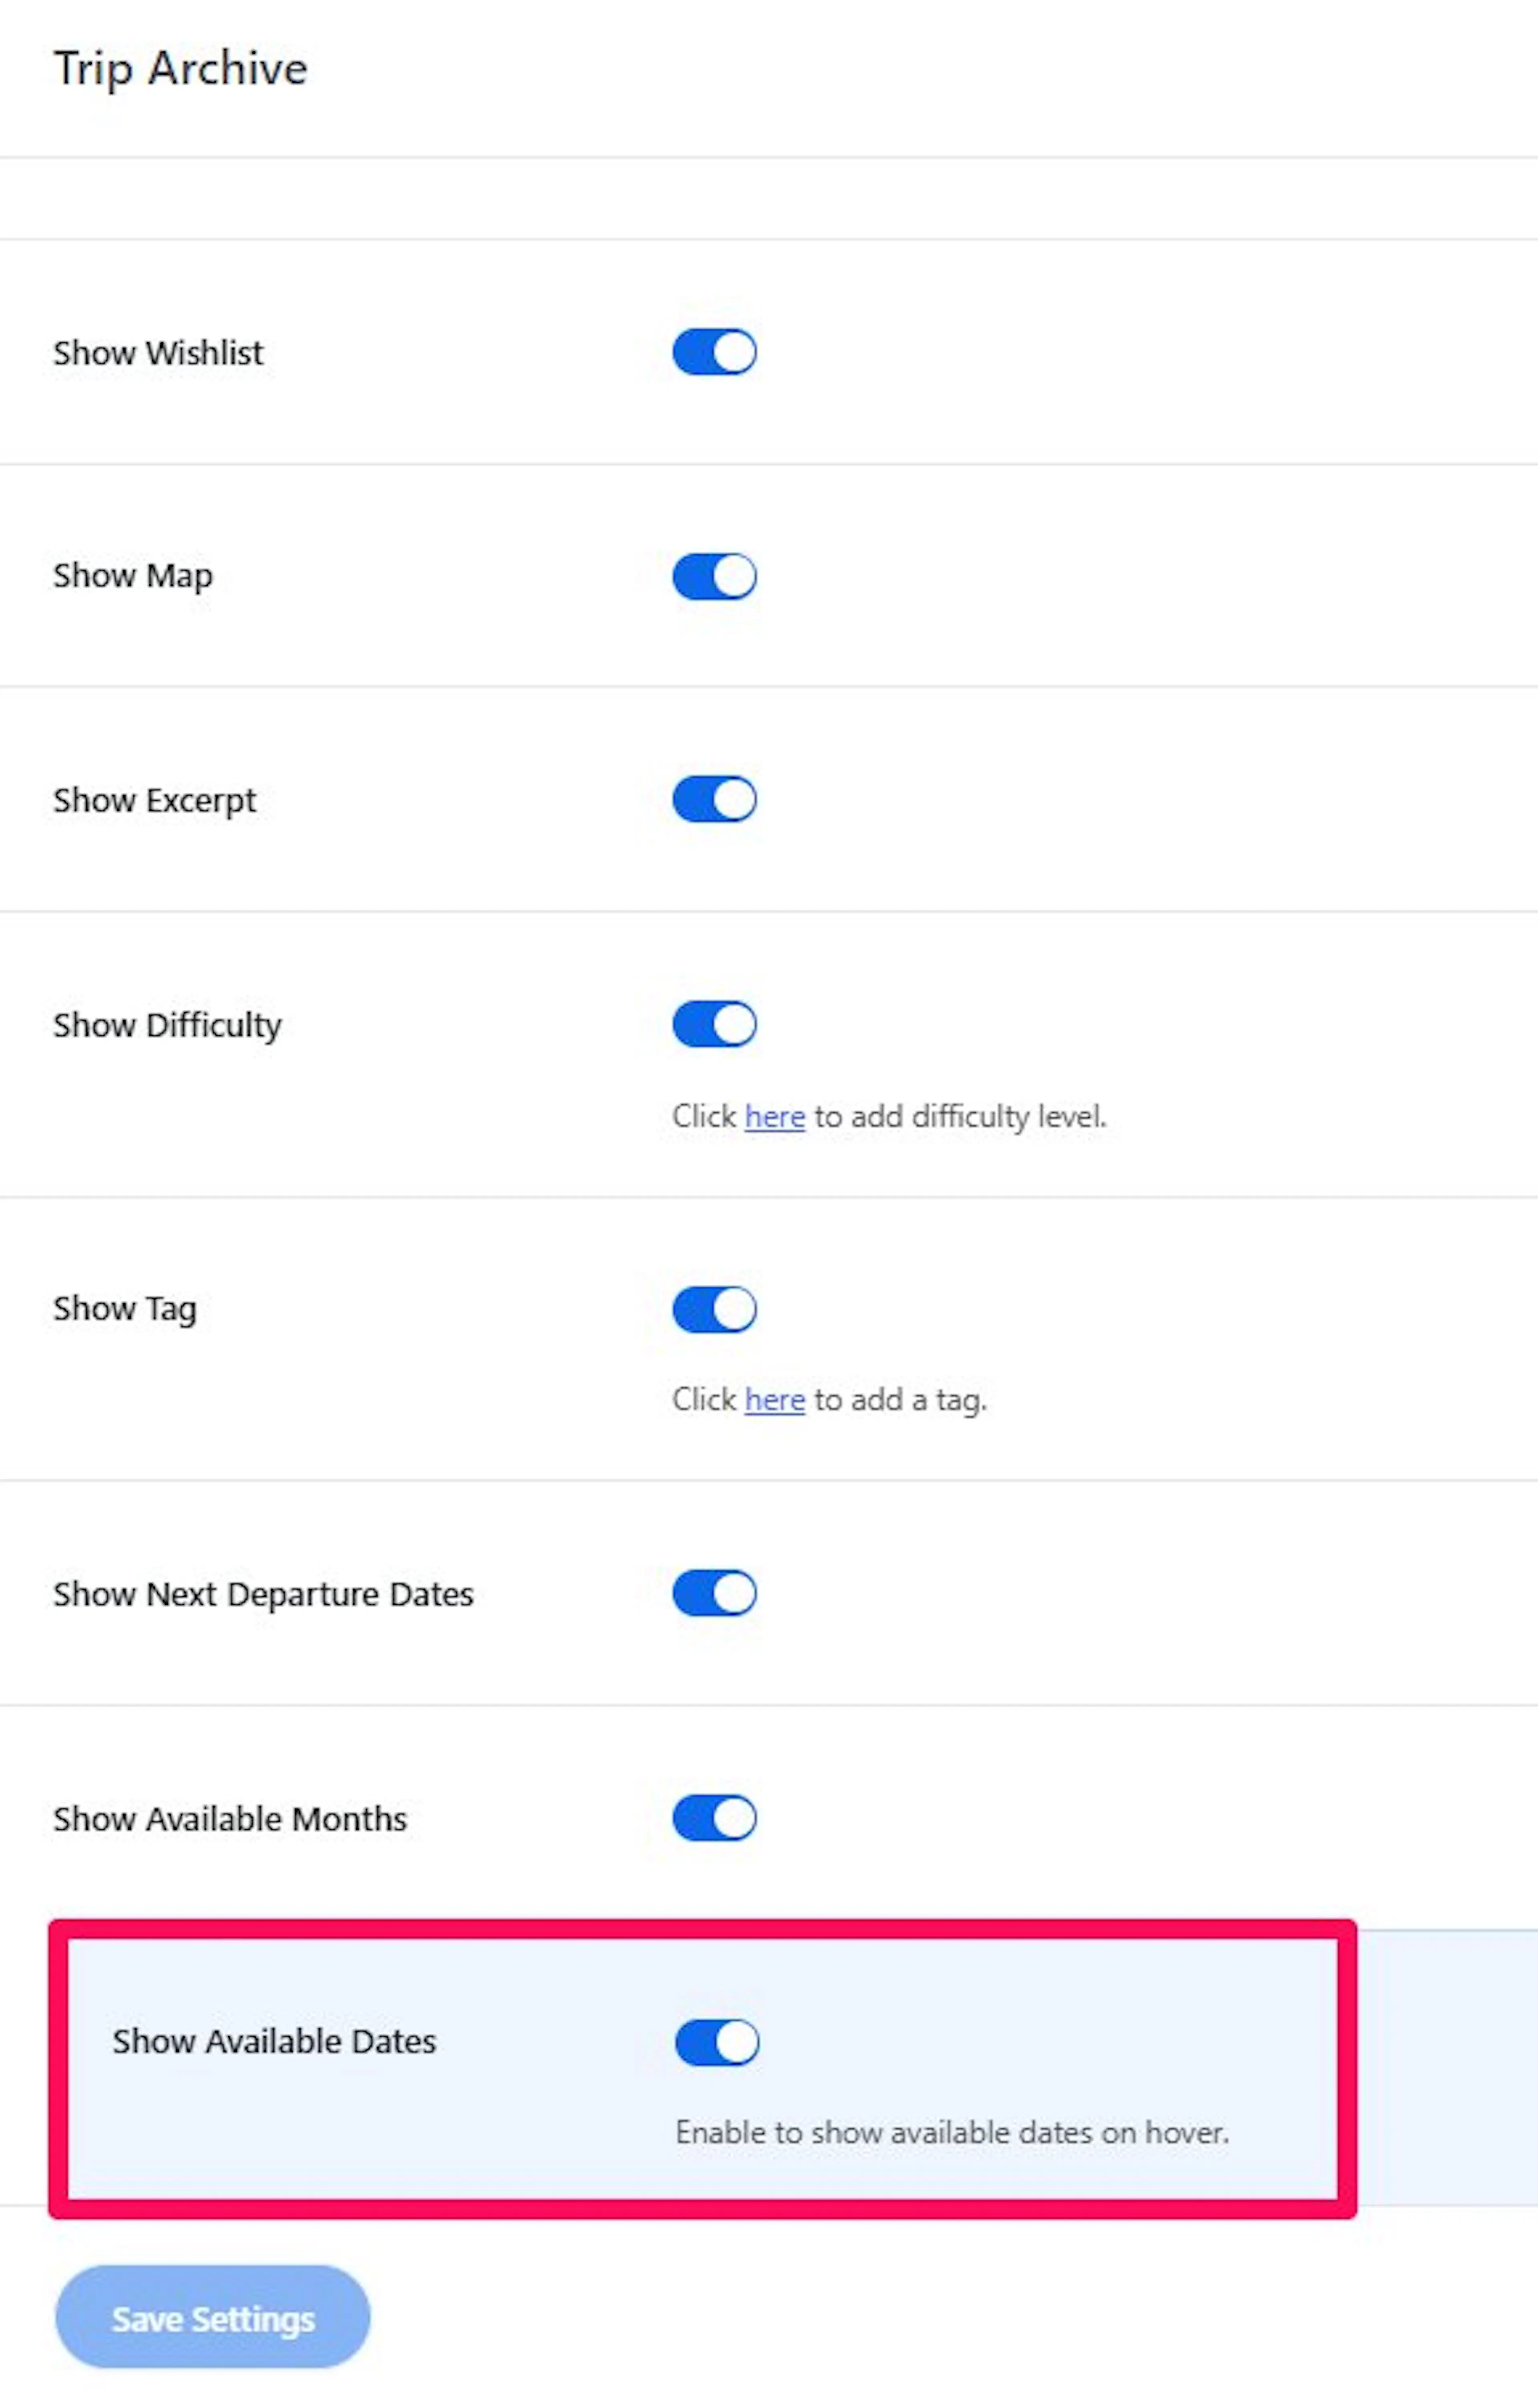
Once you enable Show Available Months, the Show Available Dates option appears.
Once this is on, you can decide whether to show exact dates too.
Show Available Dates
Turn this on if you want to display specific bookable dates on the card.
This shows the actual available dates for the trip. That can be helpful if you run scheduled departures and want travelers to see exact options right away.
If people often ask, "What dates do you still have left?" this setting can answer that before they contact you.
Trip Duration
Use this setting to choose how trip length appears on the Trip Archive page.
You can show duration in one of these formats:
- Days and Nights - for example,
7 Days / 6 Nights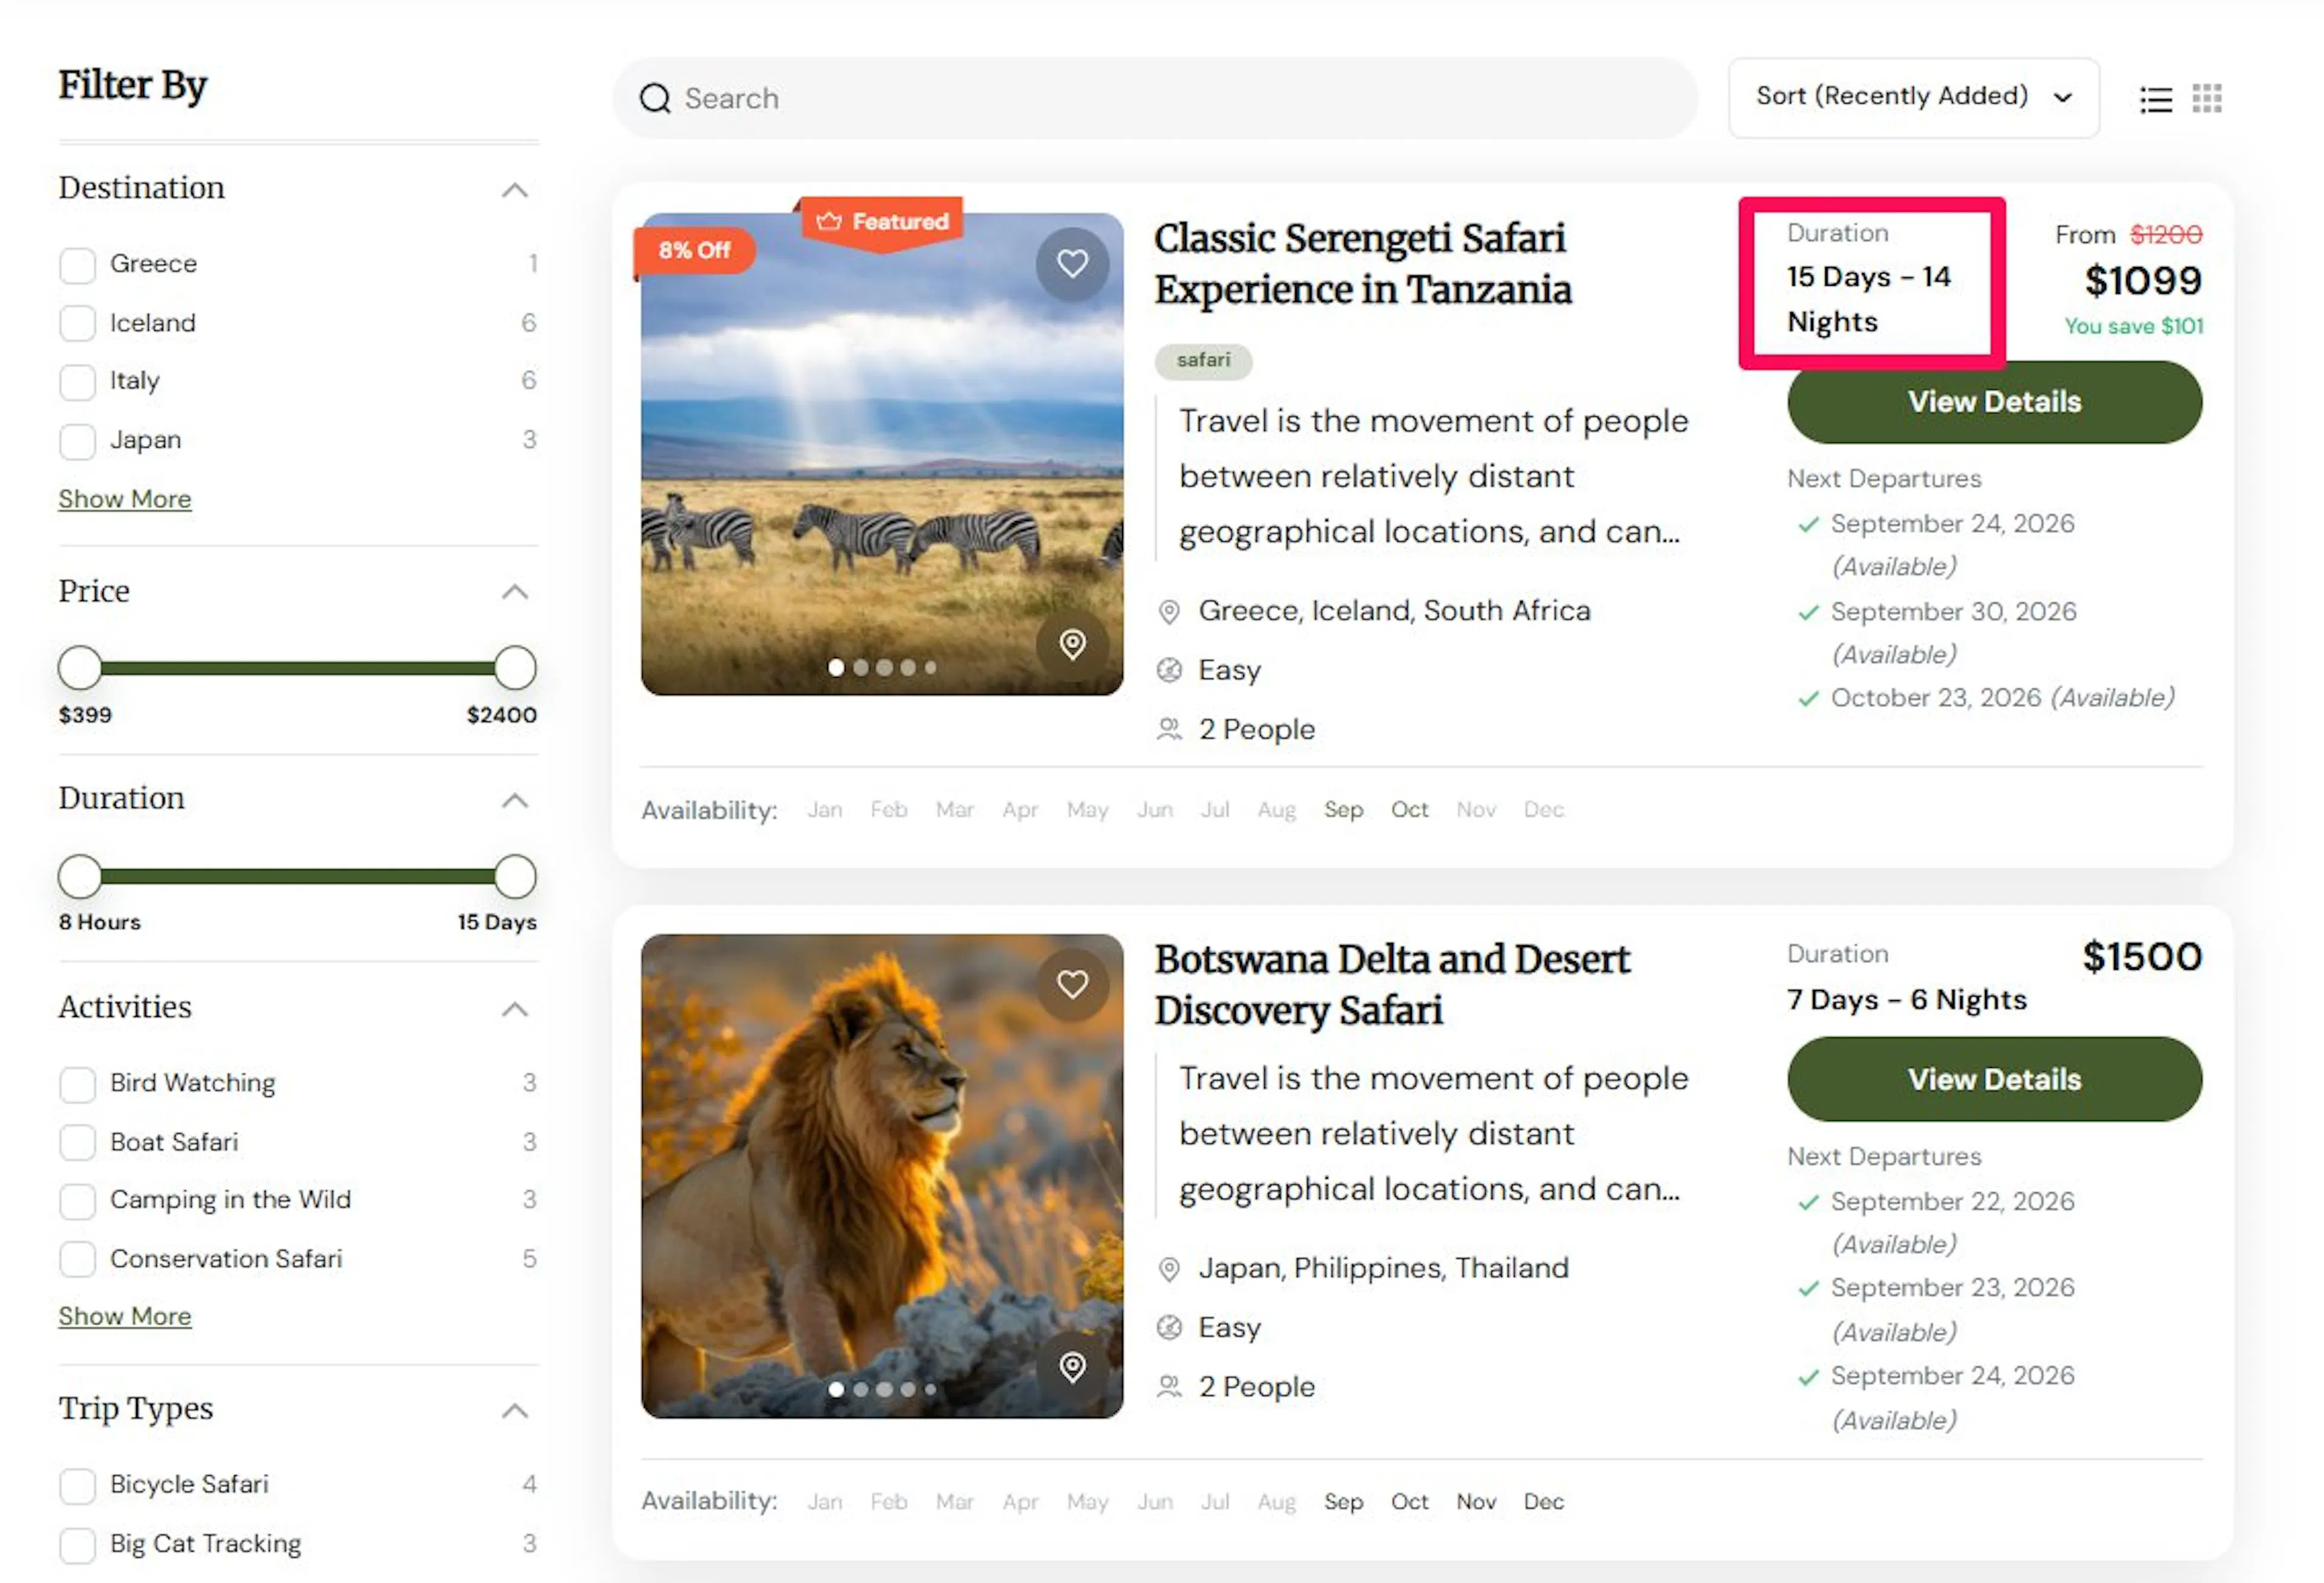
- Days - for example,
7 Days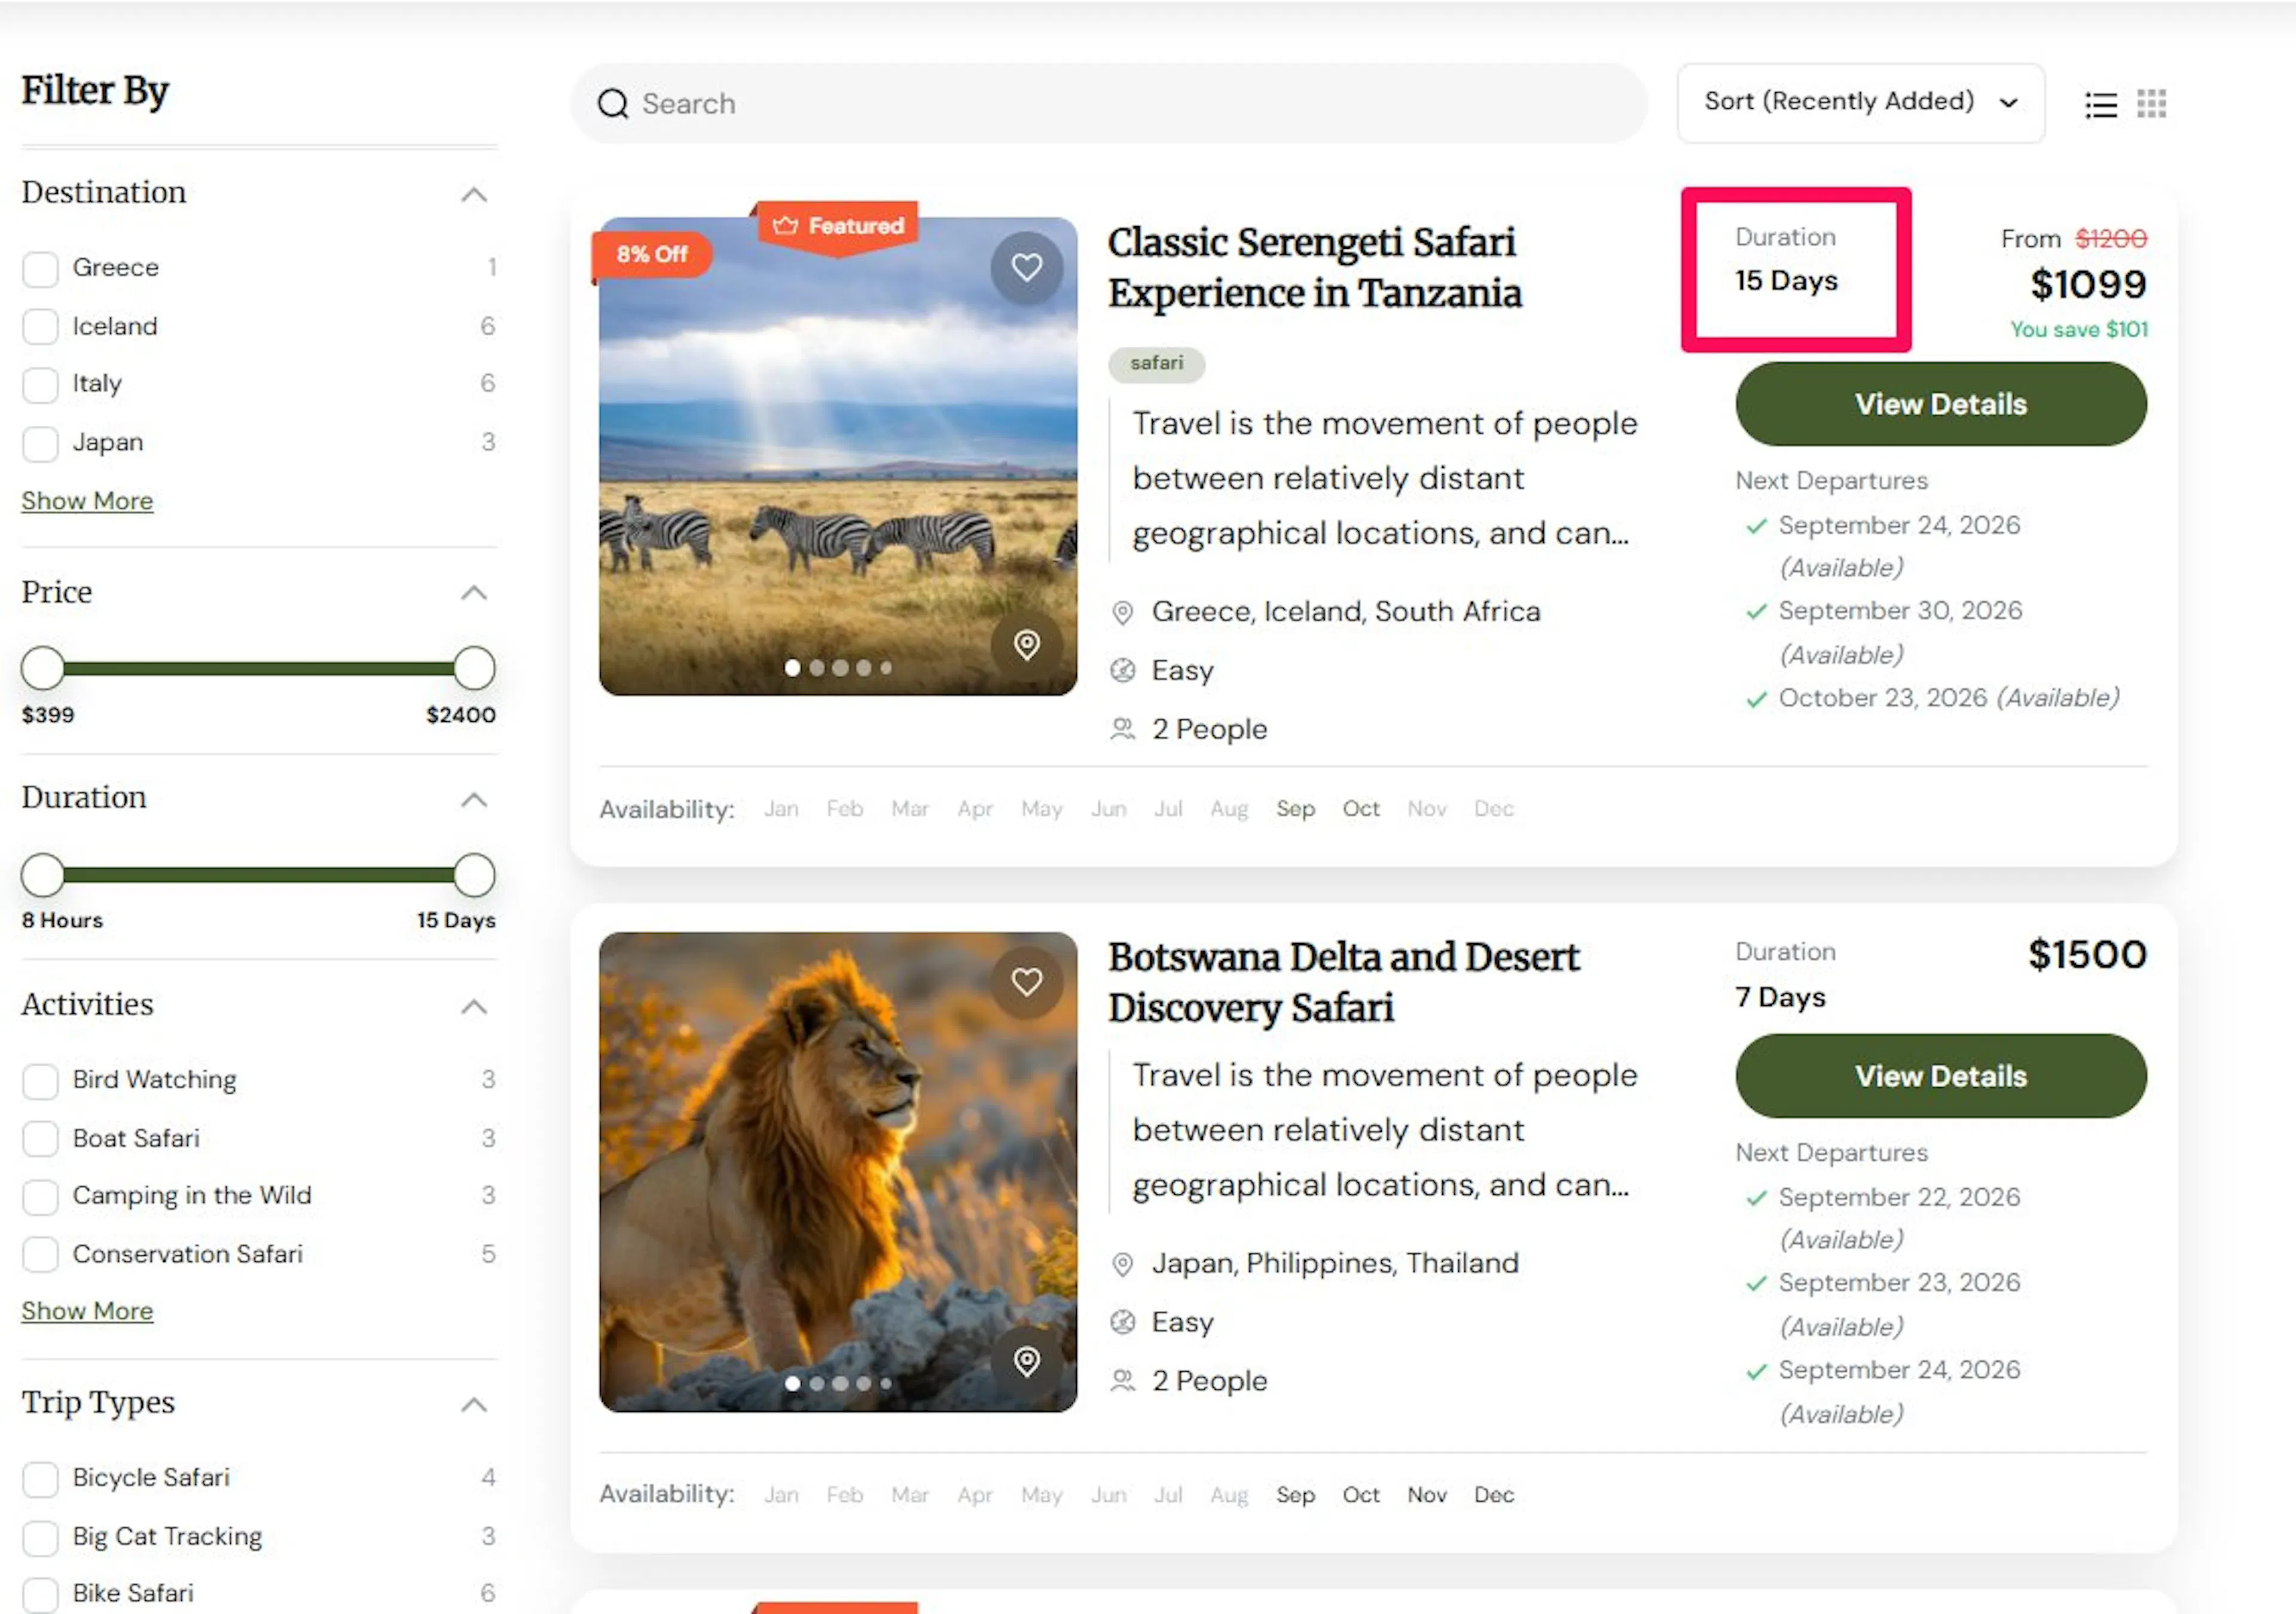
- Nights - for example,
6 Nights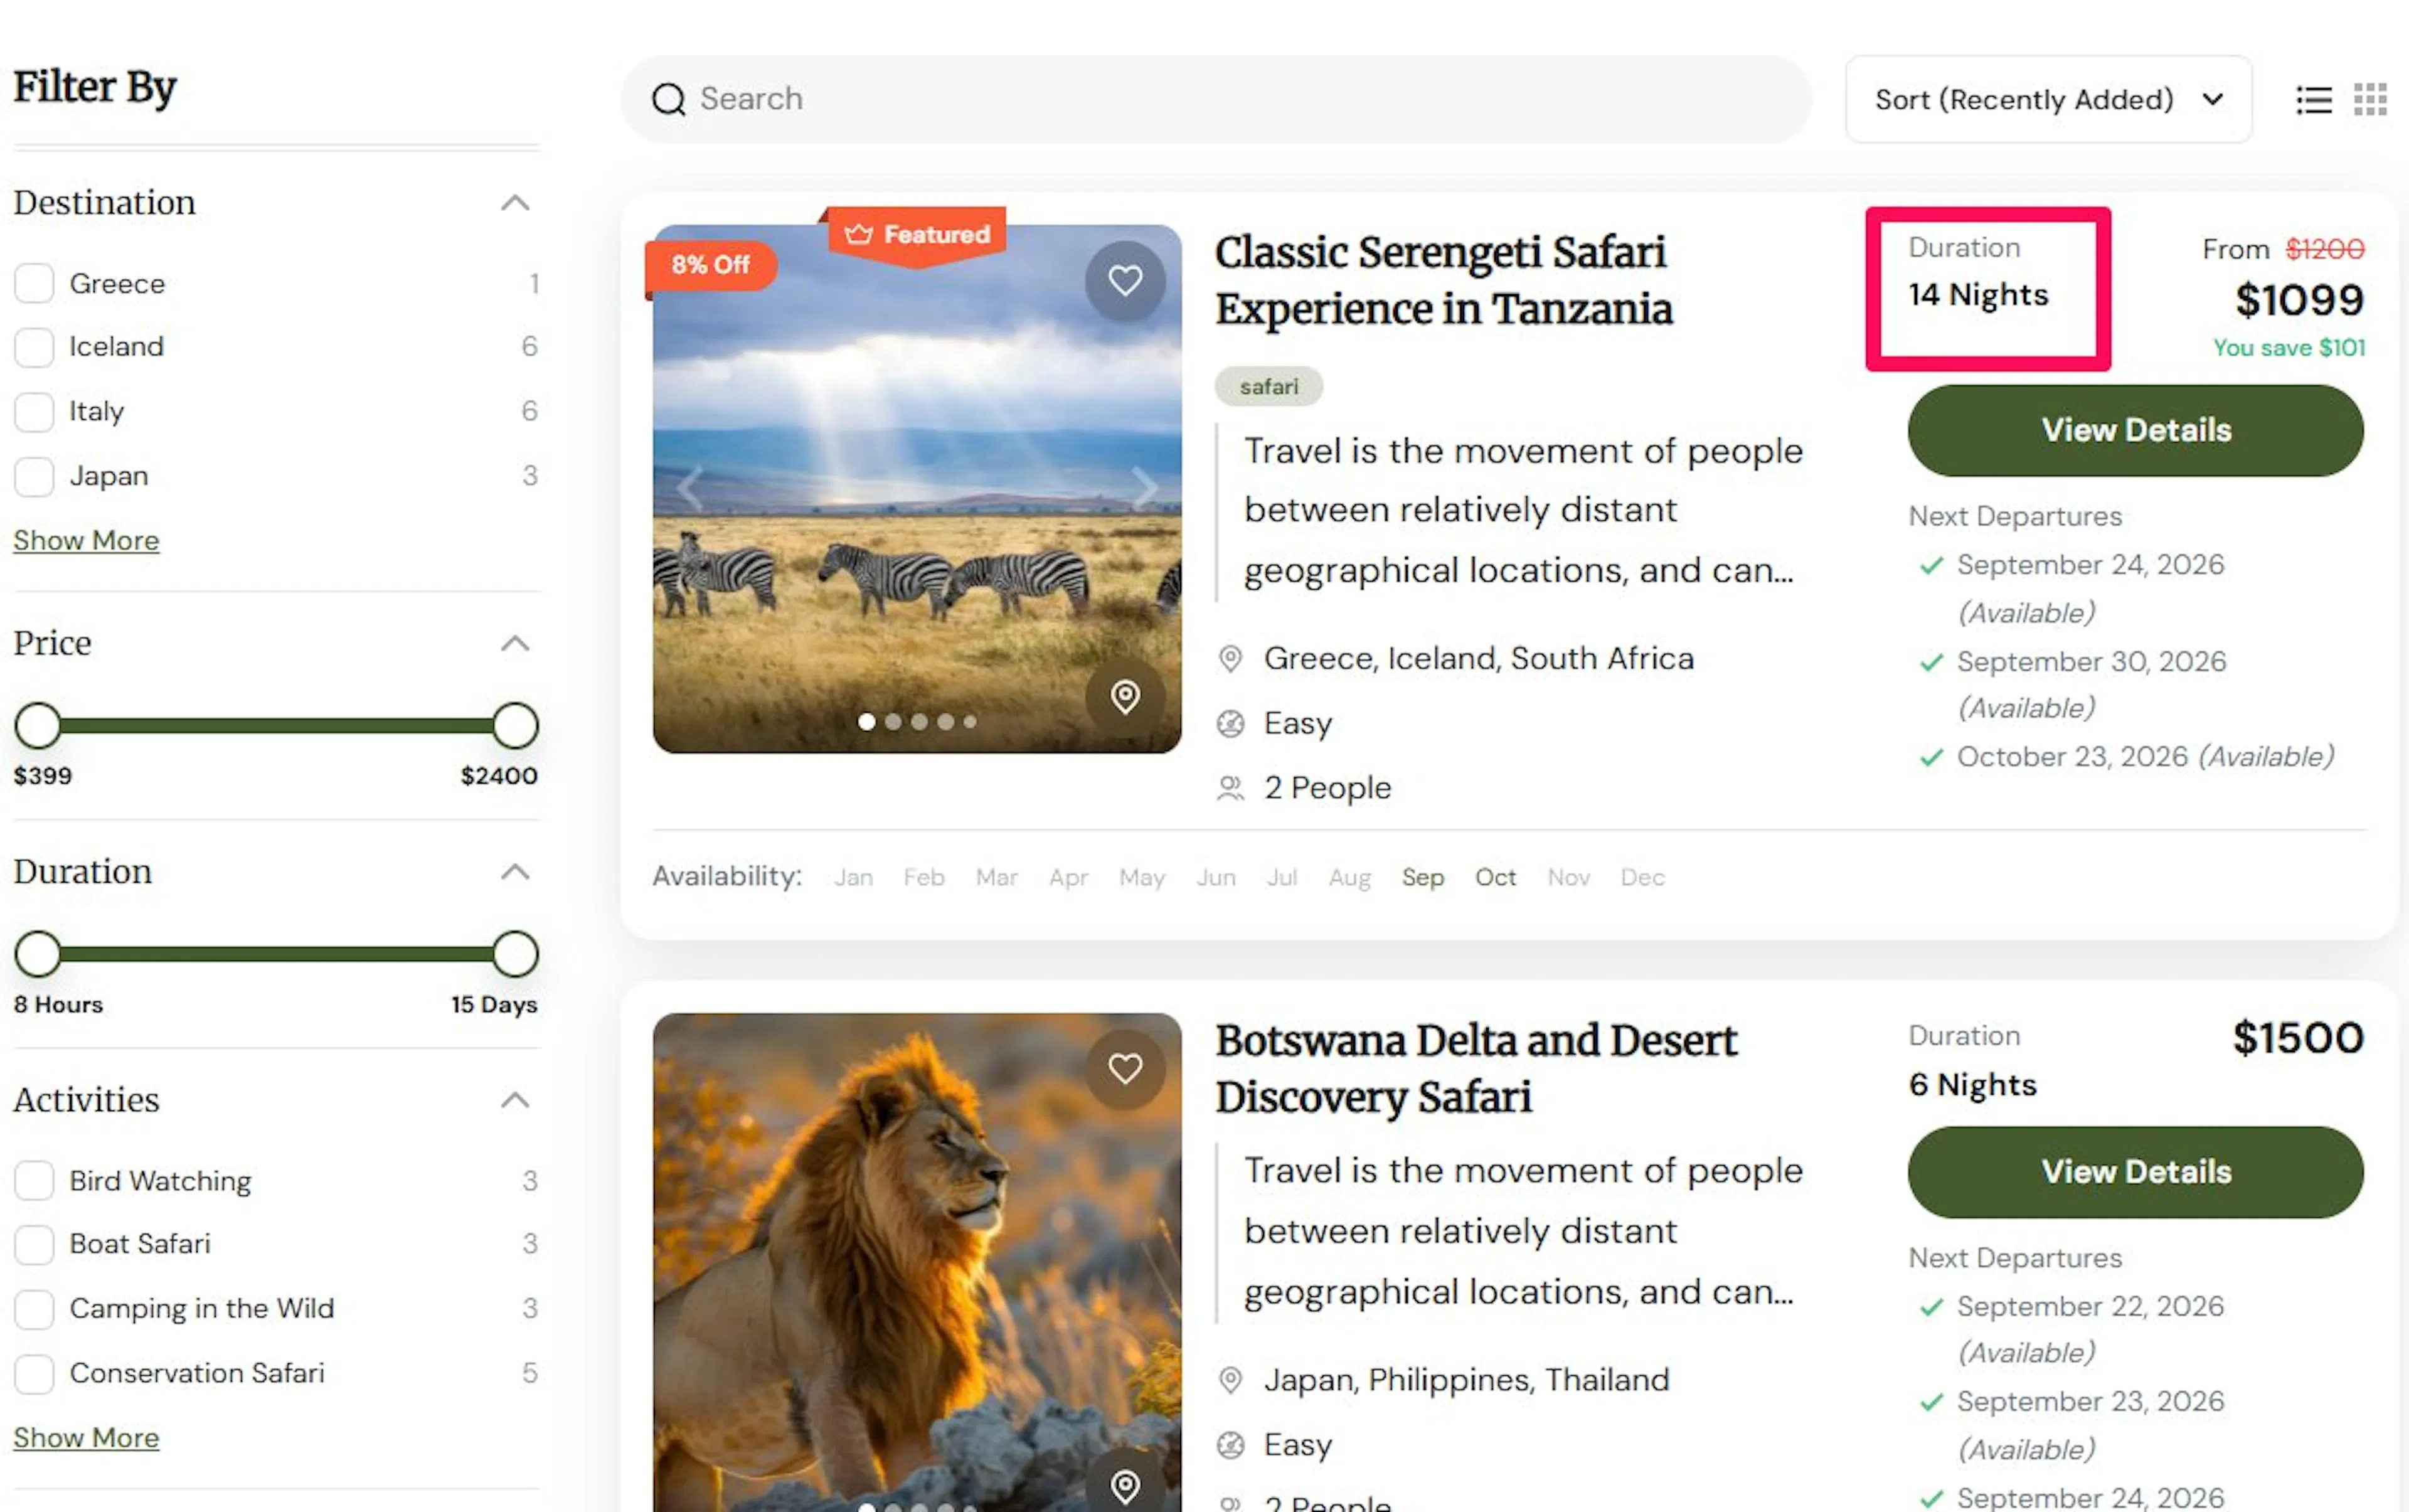
Pick the version that matches how you usually talk about your trips with customers.
Trip Layout
WP Travel Engine also includes a Trip Layout setting.
You can enable or disable Trip Layout separately from the other trip card options on this page. That means you can change the overall layout choice without changing the individual items like the slider, wishlist, or departure dates.
Once you finish reviewing the display options, you're almost done.
Save your changes
Don't forget to click Save Changes at the bottom of the settings page when you're done.
It's common to turn options on or off and then leave the page without saving. A quick check here can save you from having to do it again.
If you're still stuck or have a question we didn't cover, our support team is happy to help. Reach out at our support page and we'll get you sorted.