The Social Proof add-on for the WP Travel Engine plugin allows you to display real-time notifications of the user activities on your website, such as Trip booking, Trip enquiry, and Trip review.
Just as the name suggests, these pop-ups work as a social proof of the customer interaction and conversion on your website for the website visitors. This further builds up their trust in your business and inclines a potential customer to buy your product or package.
WP Travel Engine Social Proof addon requires WP Travel Engine plugin v. 5.0 or later installed and activated on your website.
How to Install the Social Proof Add-on
Configuring the Social Proof addon #
You can configure the Social Proof addon via Admin Dashboard > WP Travel Engine > Social Proof.
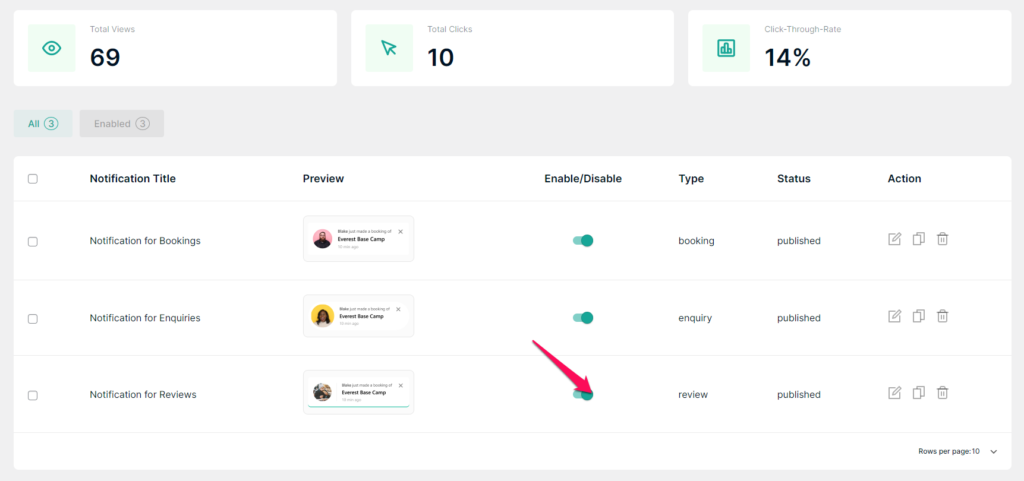
Social Proof Dashboard #
The Social Proof Dashboard lists the notifications you created using the addon and also provides an overview of the total View count, click count, and click-through rate generated from the added notifications.
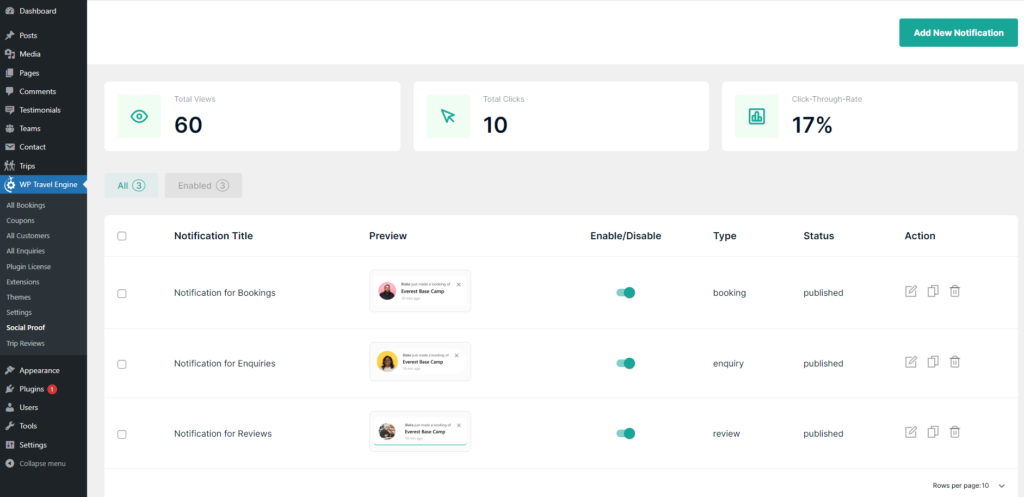
You can enable/disable a notification created and also edit, delete or generate a duplicate copy of an added notification via the Social Proof Dashboard.
Notification Type #
You can create three different types of notifications using the Social Proof addon.
- Trip Booking Notification
- Trip Review Notification
- Trip Enquiry Notification
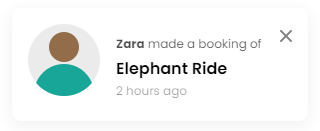
Trip Booking Notification: This notification will be displayed whenever a customer books a trip on your website.
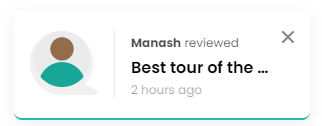
Trip Review Notification: This notification will be displayed whenever a customer leaves a review for a trip on your website. If you want to use this notification type then please make sure that you install and activate the WP Travel Engine – Trip Reviews extension on your website.
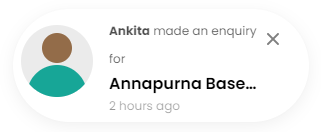
Trip Enquiry Notification: The Trip Enquiry notification will come into action when a visitor or customer submits an enquiry for a trip using the Trip enquiry form.
How to add a Notification? #
You can follow the steps below to add a Notification on your website using the Social Proof addon:
- Click on the Add New Notification button inside the Social Proof Dashboard.
- Configure the step-wise settings provided for the Notification.
- Finally, click on the Save as Draft/Publish button depending on your requirement.
Note: Whenever a notification is added, its state is set to Disable by default. Therefore, you will have to Enable it manually on the Social Proof Dashboard to display the notification created on your website.
Notification Settings #
The following are the different Notification settings provided for adding a Notification.
Notification Type: You can select the type of notification you want to add.
Notification Styles: Select the design for your notification.
Content Editing: Inside the Content Editing option, you can enter the content or create a template for the Notification pop-up. You can use the Available Tags to display customer-specific information.
Show Booking Of: This option is only available when you choose the Trip Booking Notification option inside the Notification Type. Here you can choose to display the booking notification for all trips or for the selected trips on your website.
Show on: You can choose to display the notification either on all the pages of your website or only on the Single Trip page.
Display for: You can choose to display the notification either for everyone or only for the logged-in users.
Position: Here you can select the position for the notification pop-up.
Notification Size: Set the maximum width value in (px) for the notification.
Mobile Visibility: Enable this option to hide the Notification on mobile.
Delay Before First Notification: Set the time in seconds after which you want to display the first notification once a site has loaded.
Display For: Enter the timeframe for each notification to display.
Delay Between: Set the delay between the display of each notification.
Display the last: Select the number of the latest bookings/reviews/enquiries you want to highlight through the notification.
Display from (in Days): Enter the number of days to display the notification from.
Frontend view #