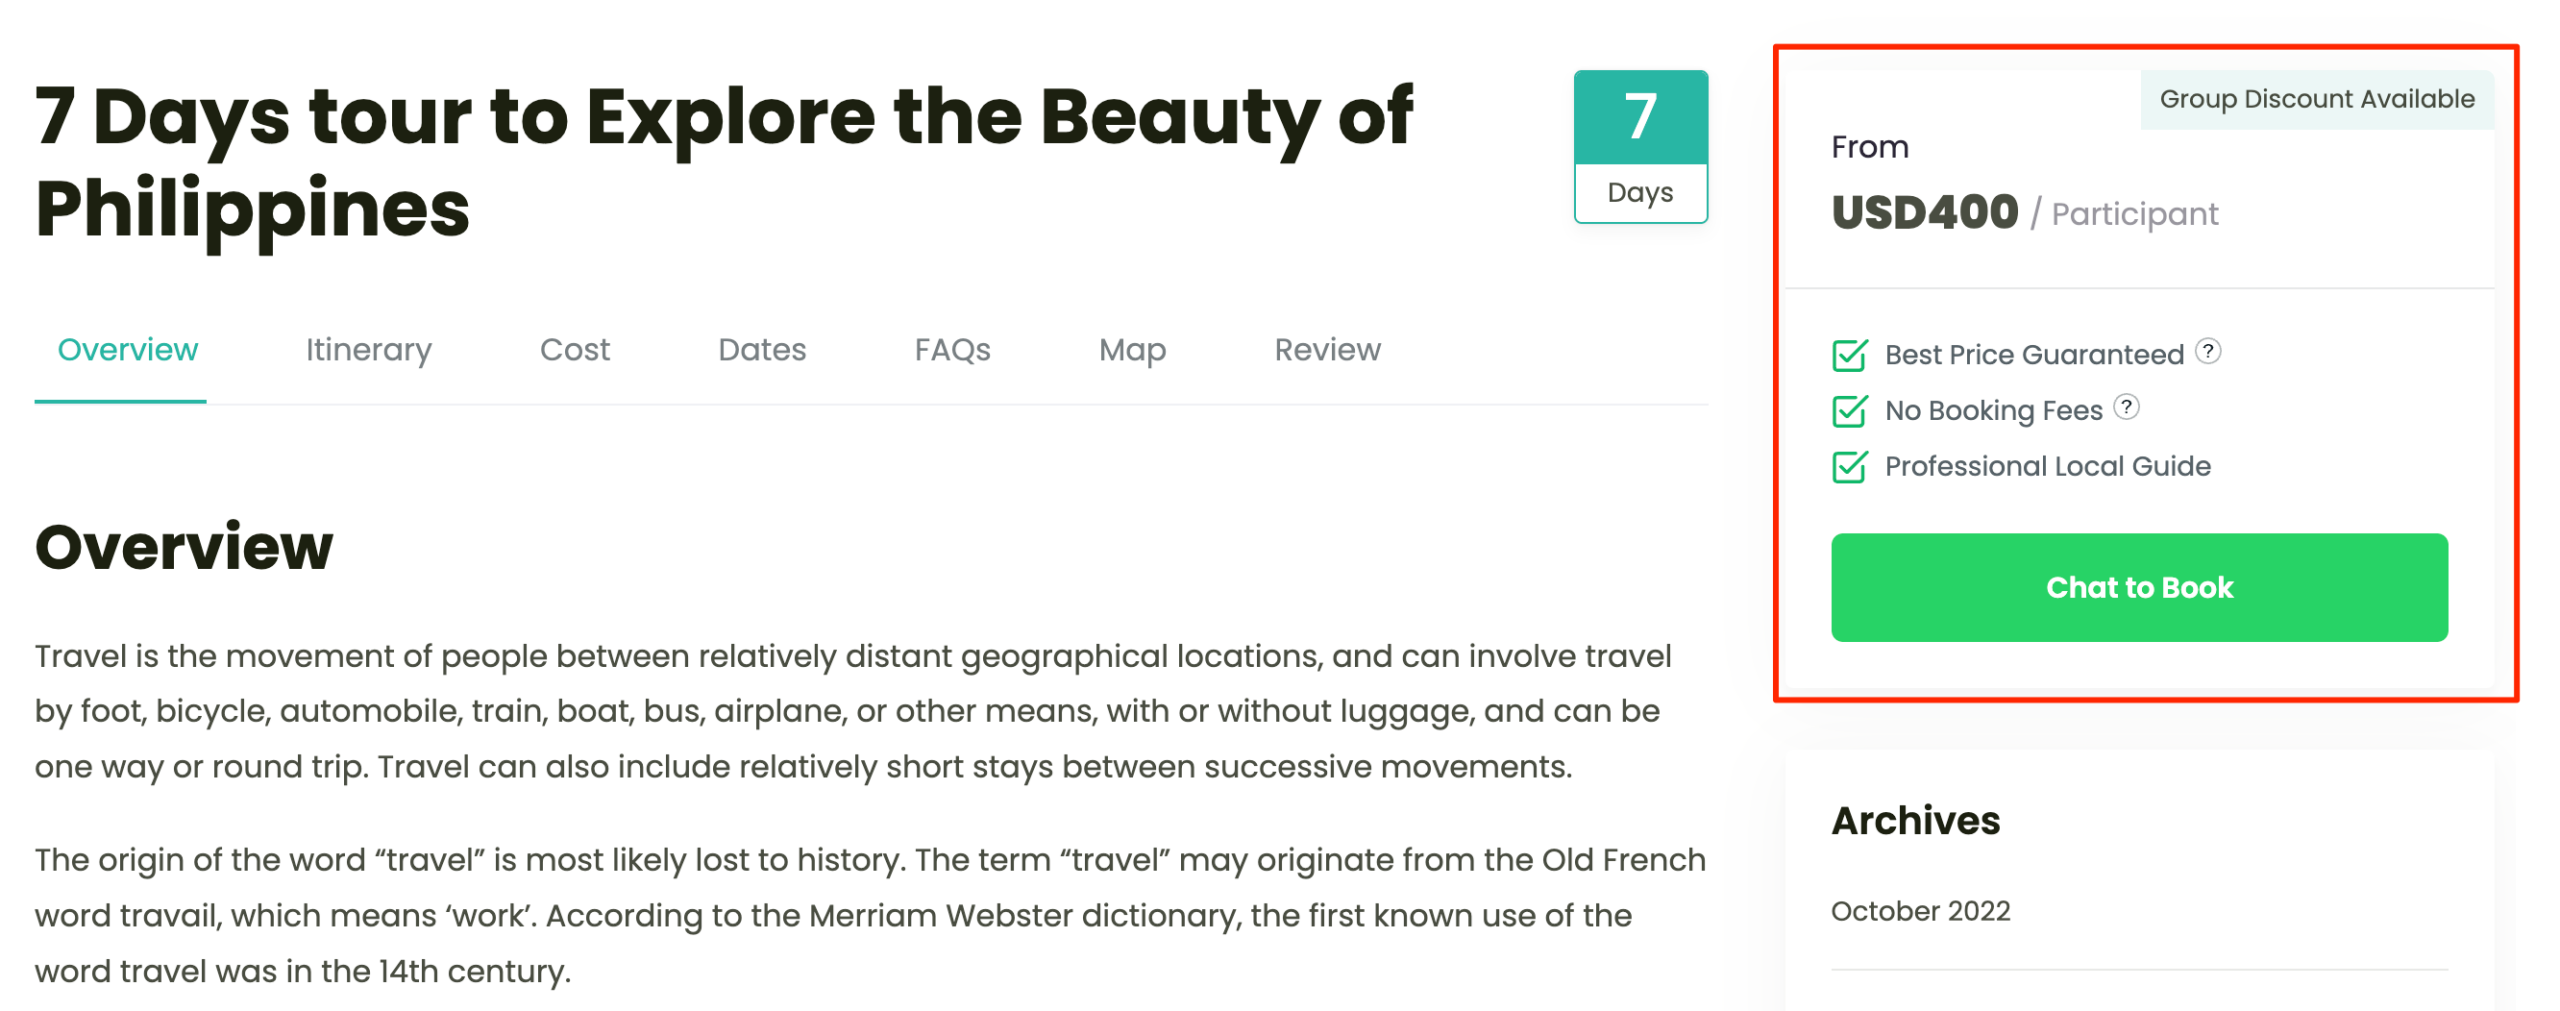
The Custom Booking Link add-on lets you redirect customers to an external URL when they click “Check Availability” or replace the booking button with custom HTML on a trip. Use it when you manage bookings through a third-party platform, a separate booking system, or a custom landing page outside of WPTE.
You can set a global link that applies to all trips, then override it for individual trips where the destination differs.
Key Features & Benefits #
| Feature | Benefit |
|---|---|
| External link redirect | Send customers directly to any third-party booking platform without touching each trip page |
| Custom HTML mode | Replace the booking button with an embedded form, widget, or any third-party code |
| Per-trip override | Use a different booking destination for specific trips, while the rest follow global settings |
| New tab control | Choose whether the link opens in the same tab or a new one |
Prerequisites #
- You have WP Travel Engine installed and activated on your WordPress site.
- You have updated WP Travel Engine to its latest version.
- You have installed and activated the Custom Booking Link add-on.
How to Install the Custom Booking Link Add-on #
Verification #
To confirm the add-on is active and working:
- Go to your WordPress dashboard.
- Navigate to WP Travel Engine > Settings > Extensions.
- Confirm that a Custom Booking Link tab appears alongside the other settings tabs.
If the tab doesn’t appear, deactivate and reactivate the add-on from the Plugins screen.
Configuring Global Settings for Custom Booking Link #
The global settings apply to all trips on your site unless a trip has its own override configured.
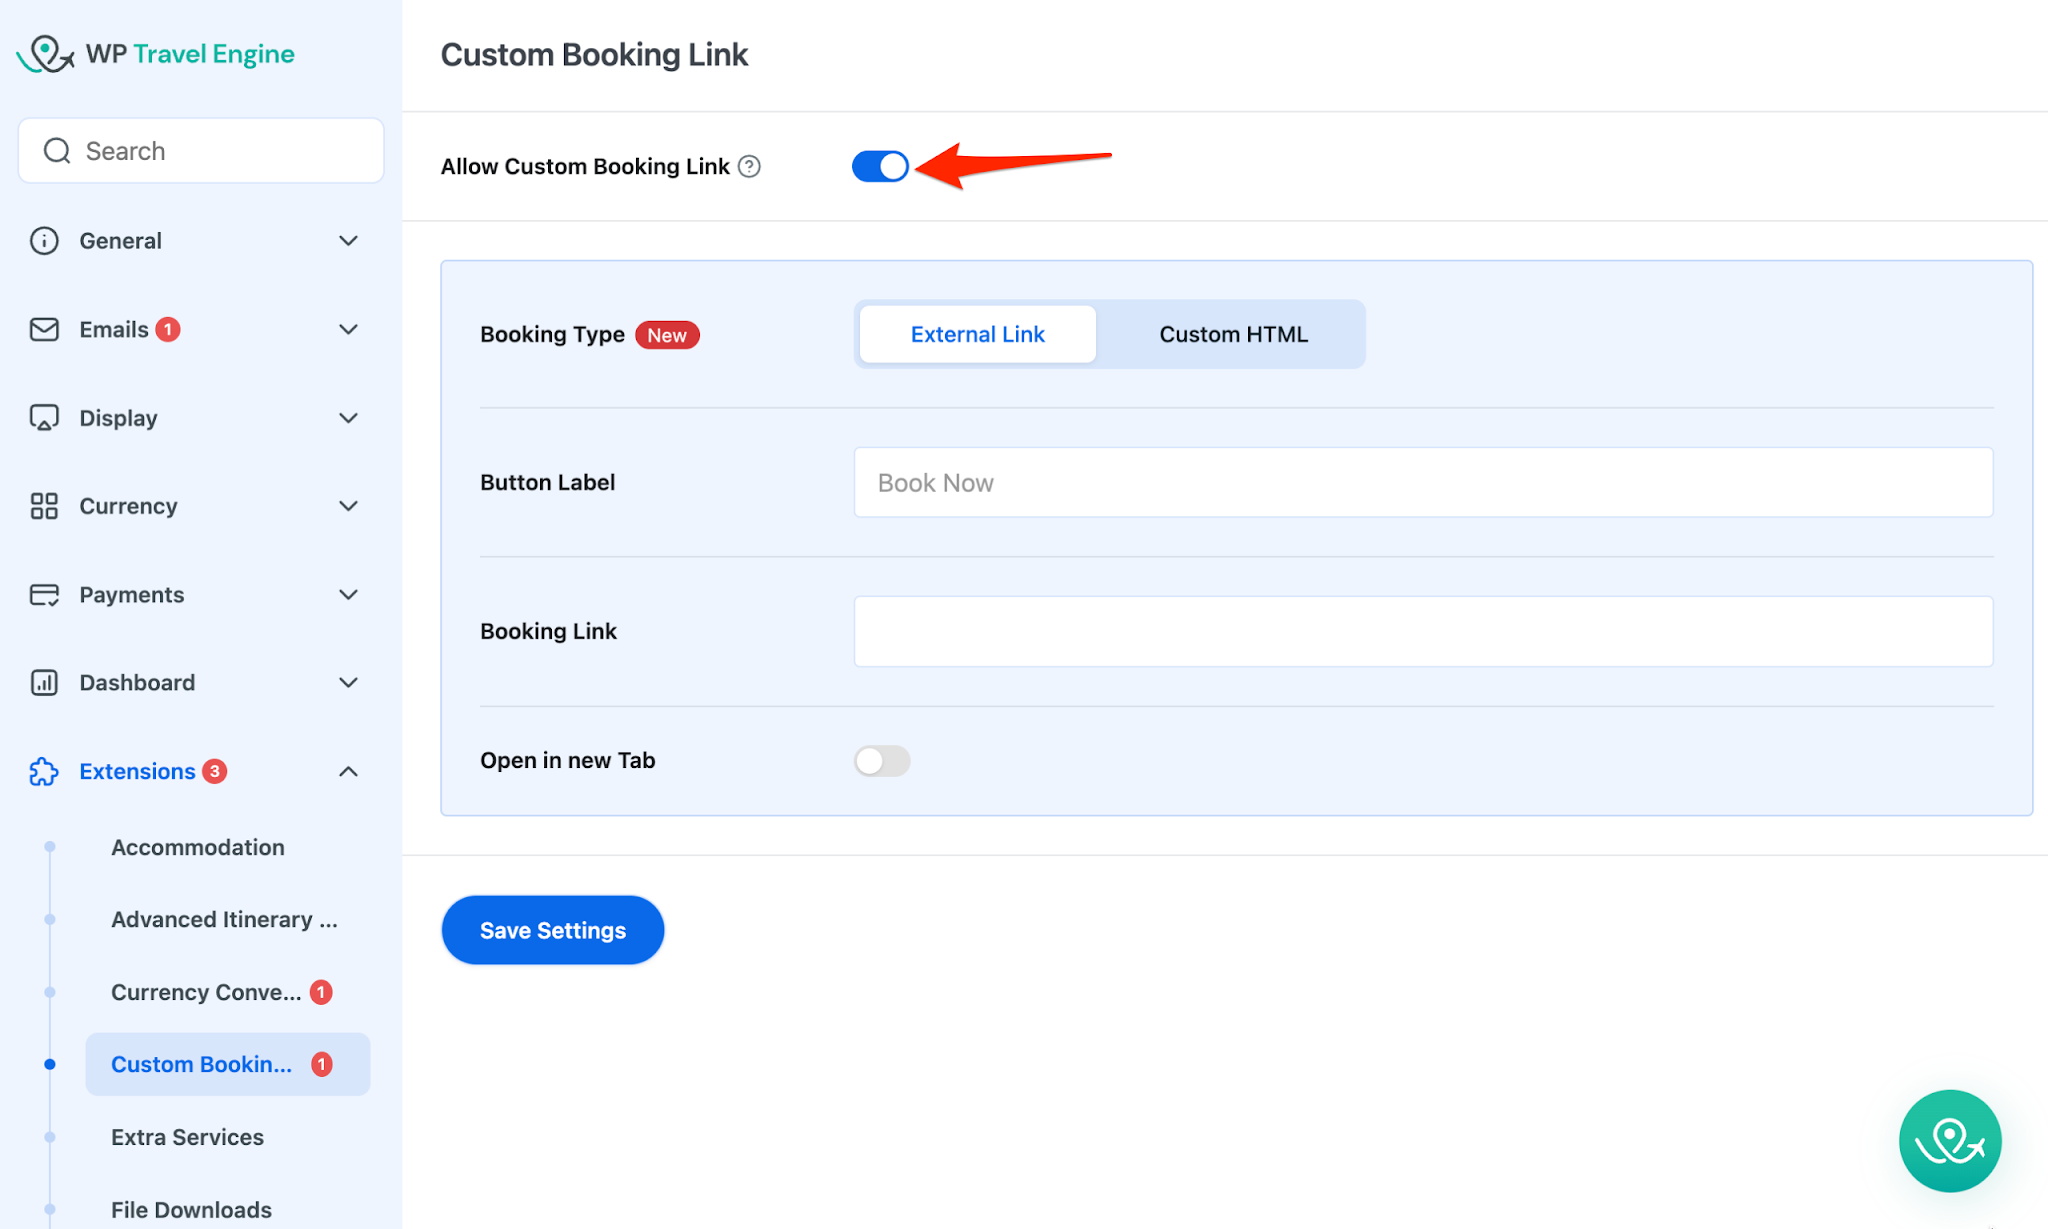
Allow Custom Booking Link #
Toggle ON to enable custom booking link across your trips.
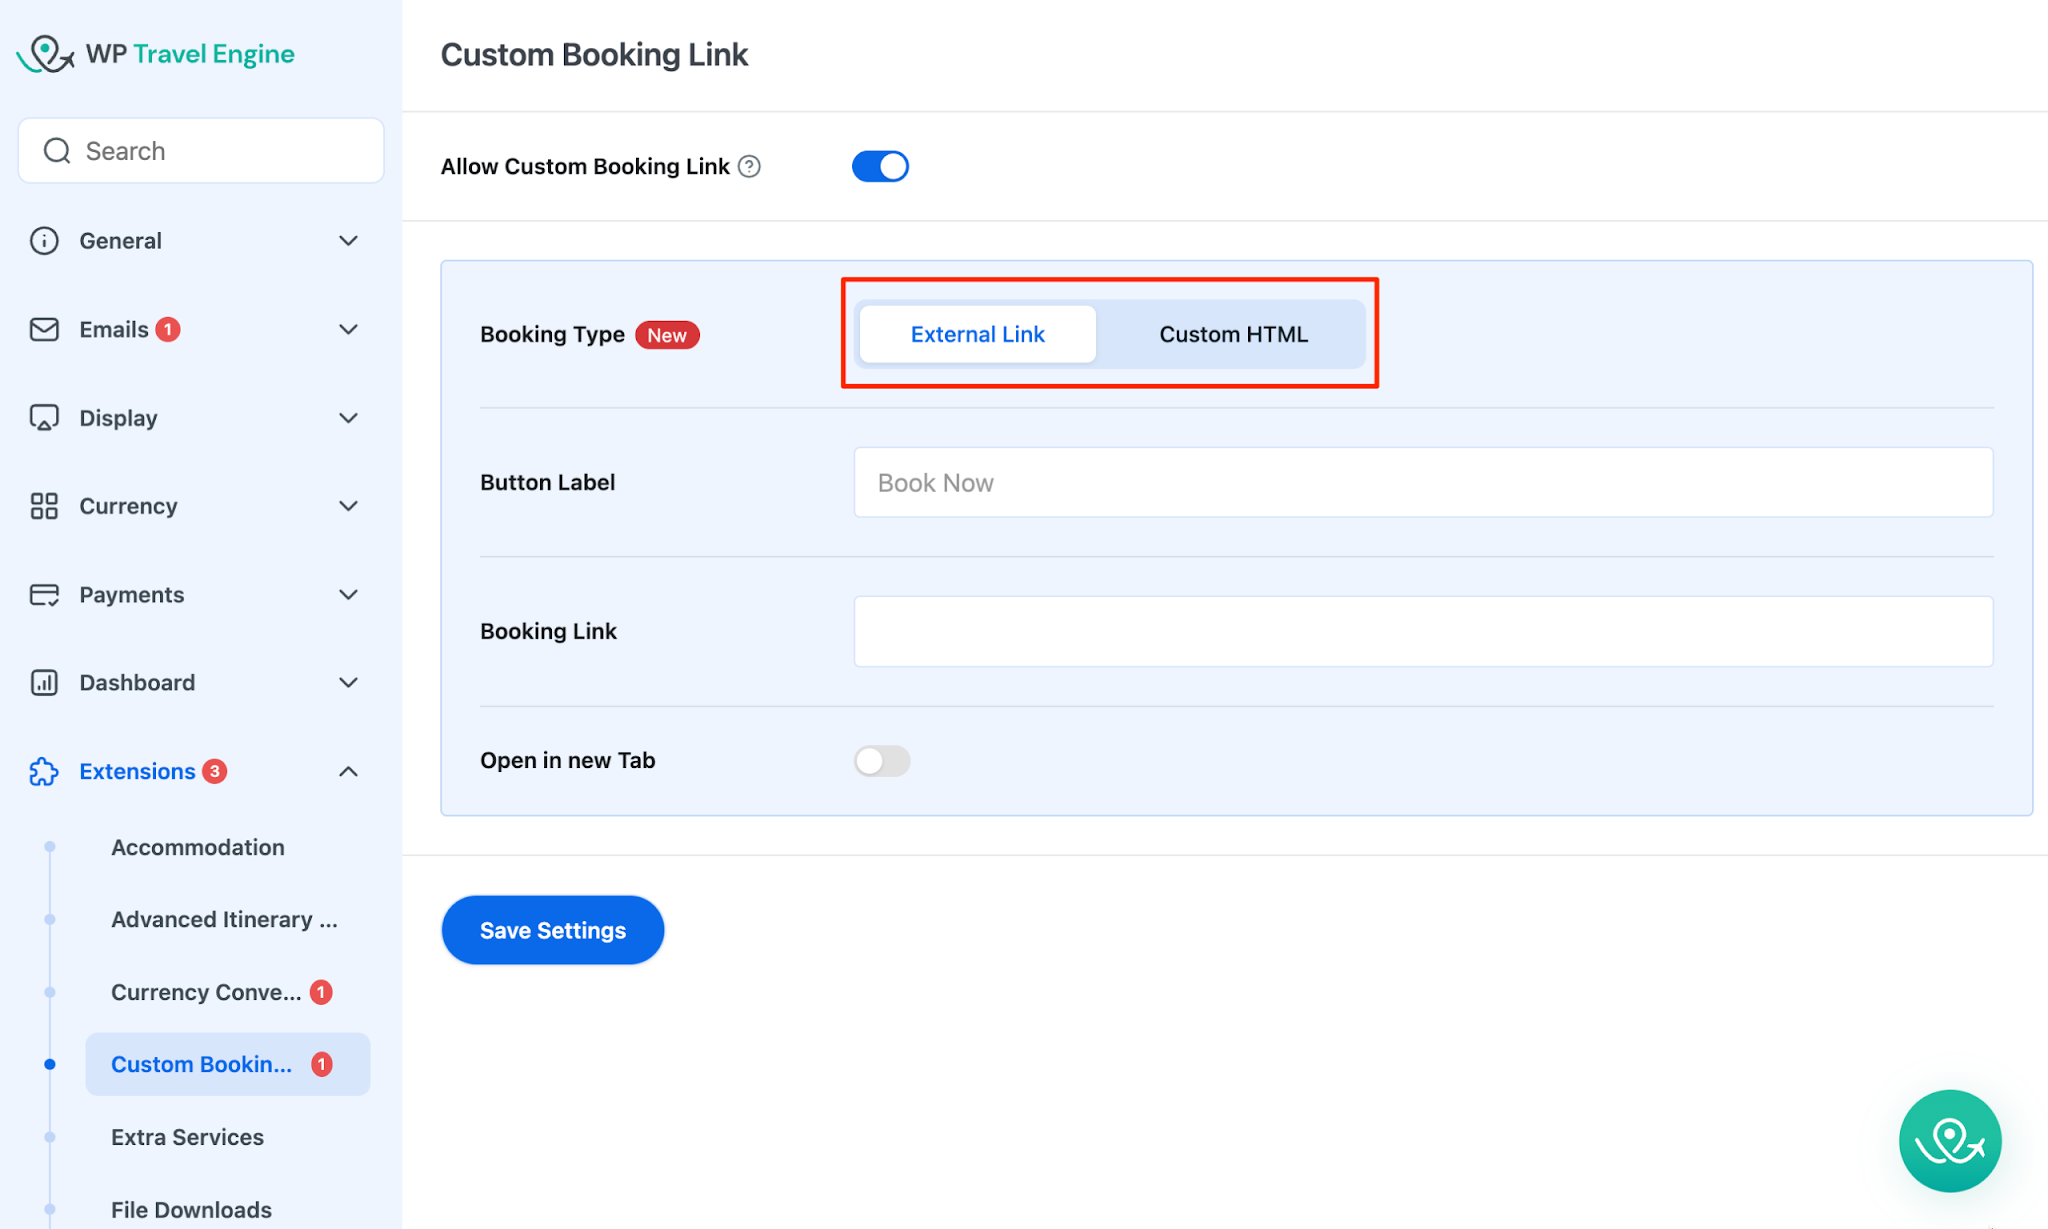
Booking Type #
Under Booking Type, select how you want the booking button to behave:
- External Link: Redirects customers to a URL when they click the booking button.
- Custom HTML: Replaces the booking button with your own HTML code, such as an embedded form or widget.
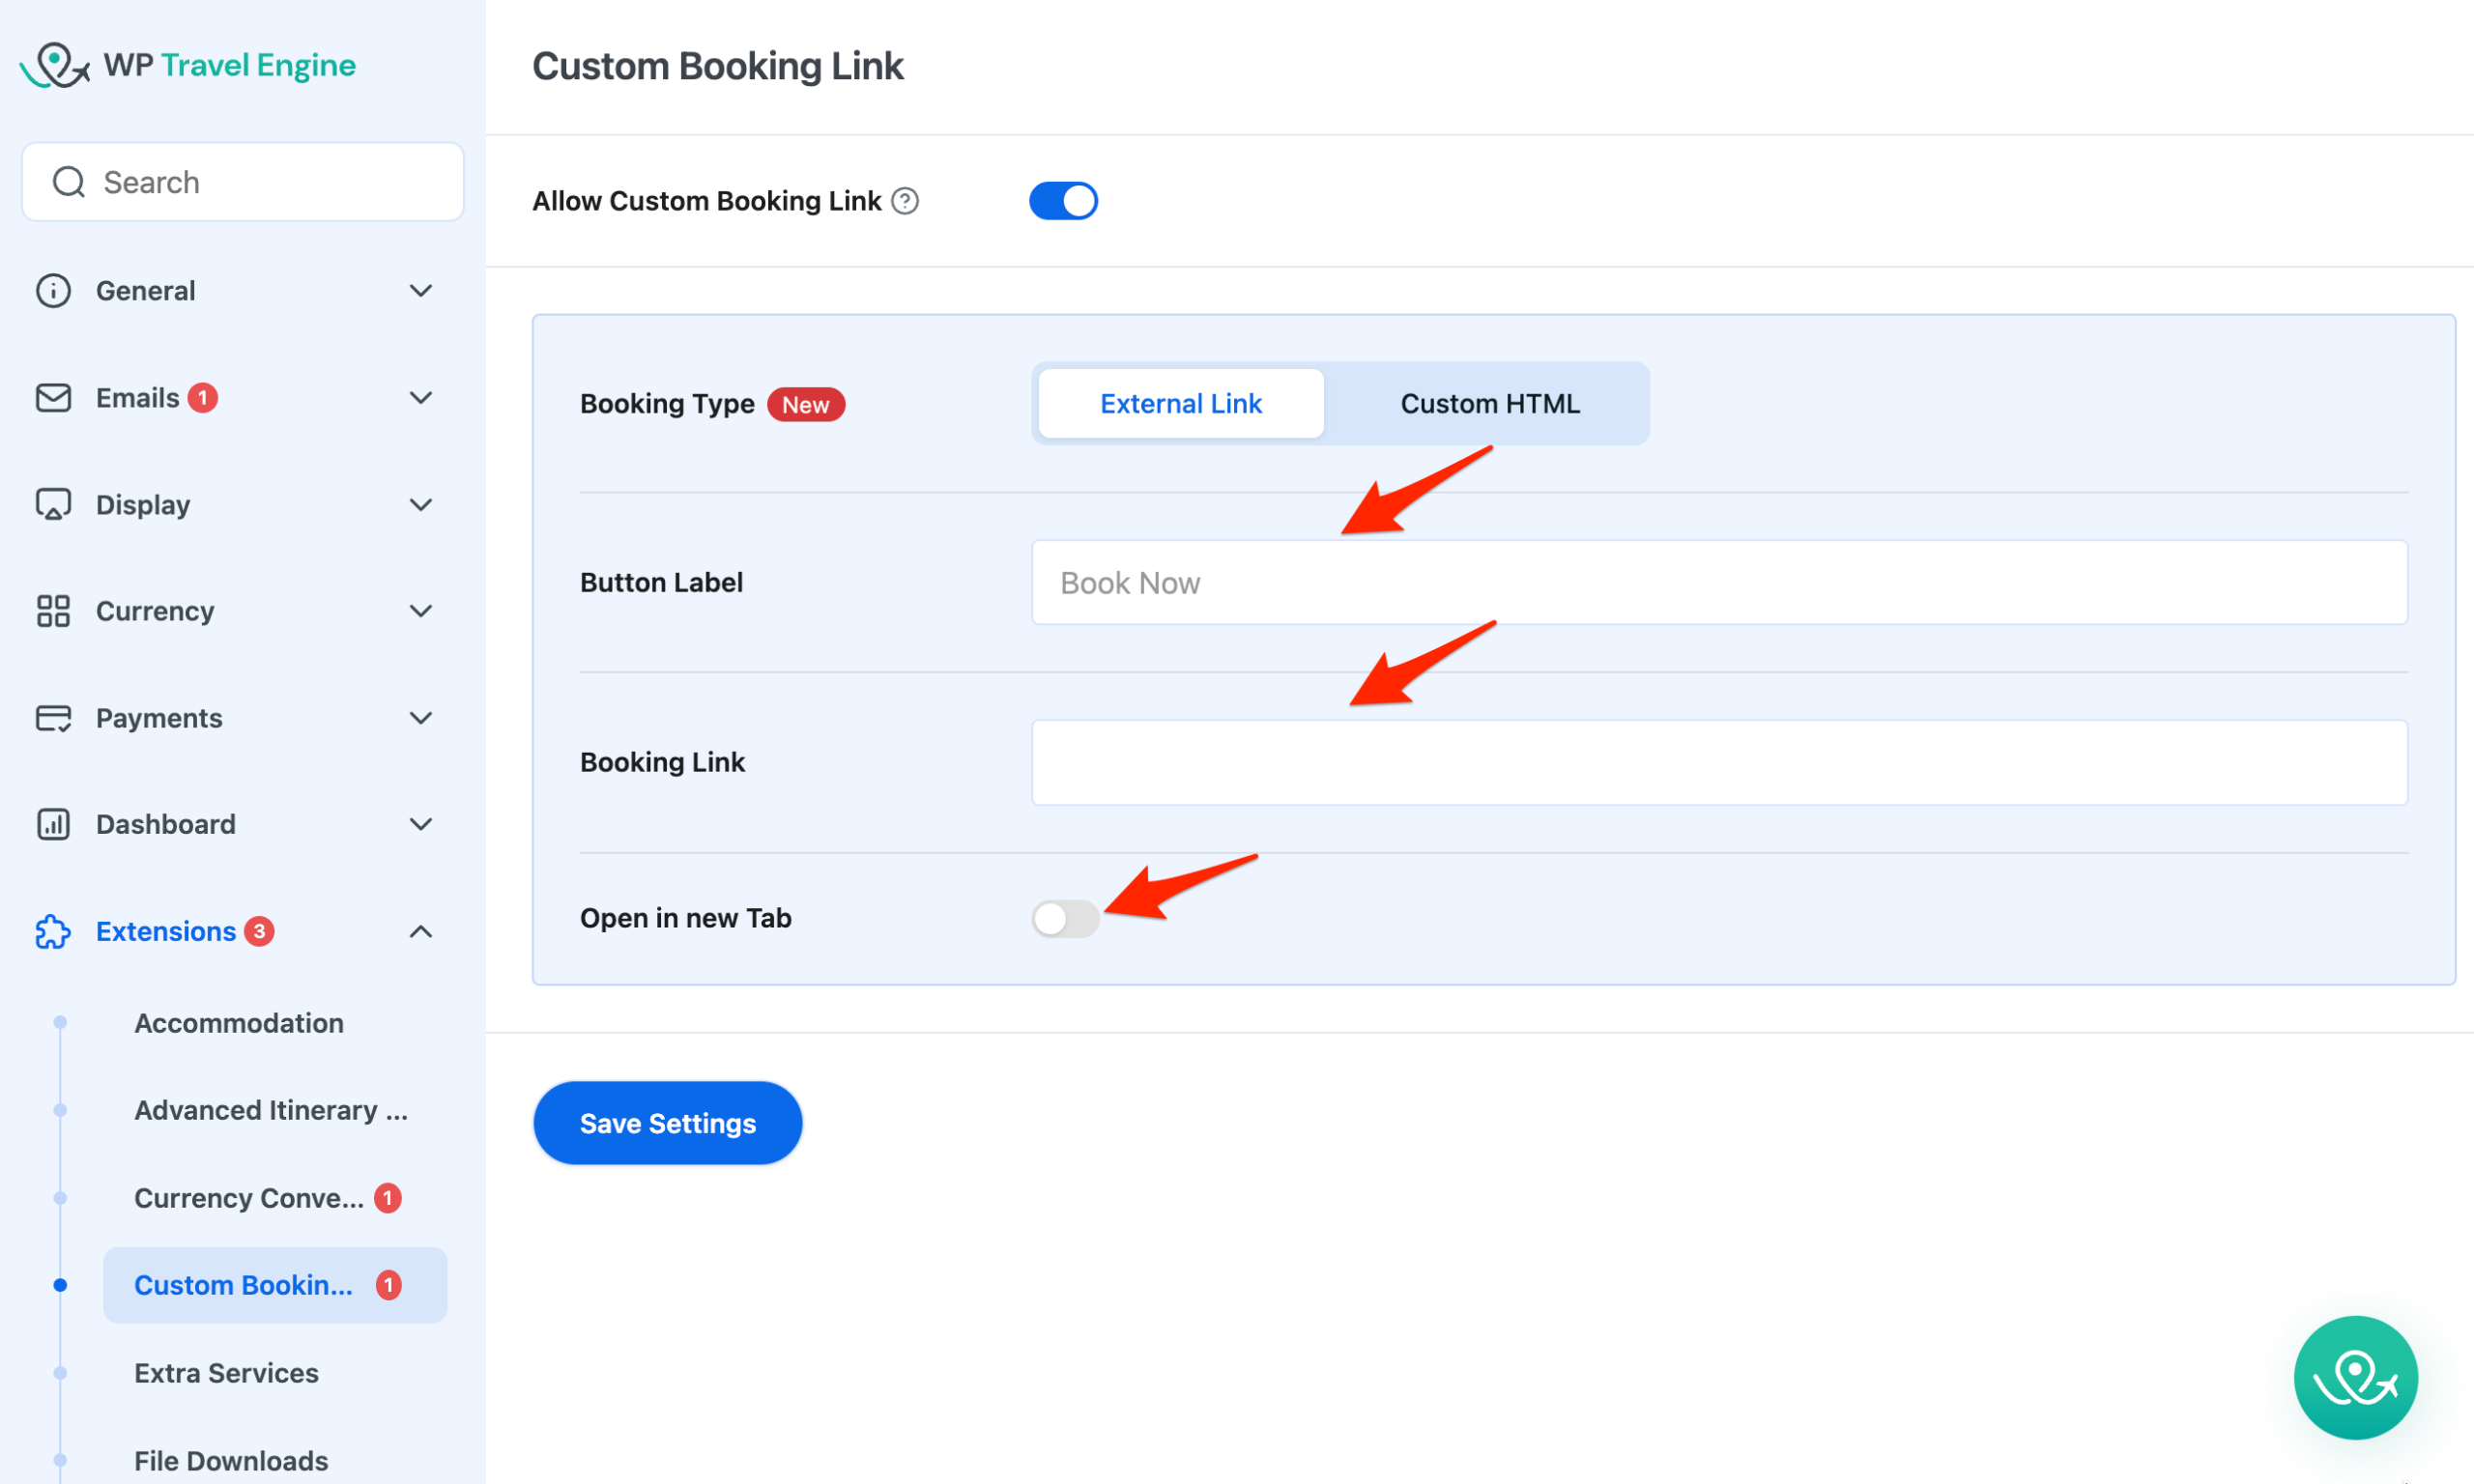
External Link #
- Enter a label in the Button Label field. This is the text customers see on the booking button. Defaults to “Book Now” if left blank.
- Enter your redirect URL in the Booking Link field.
- Toggle Open in new Tab on if you want the link to open in a new browser tab.
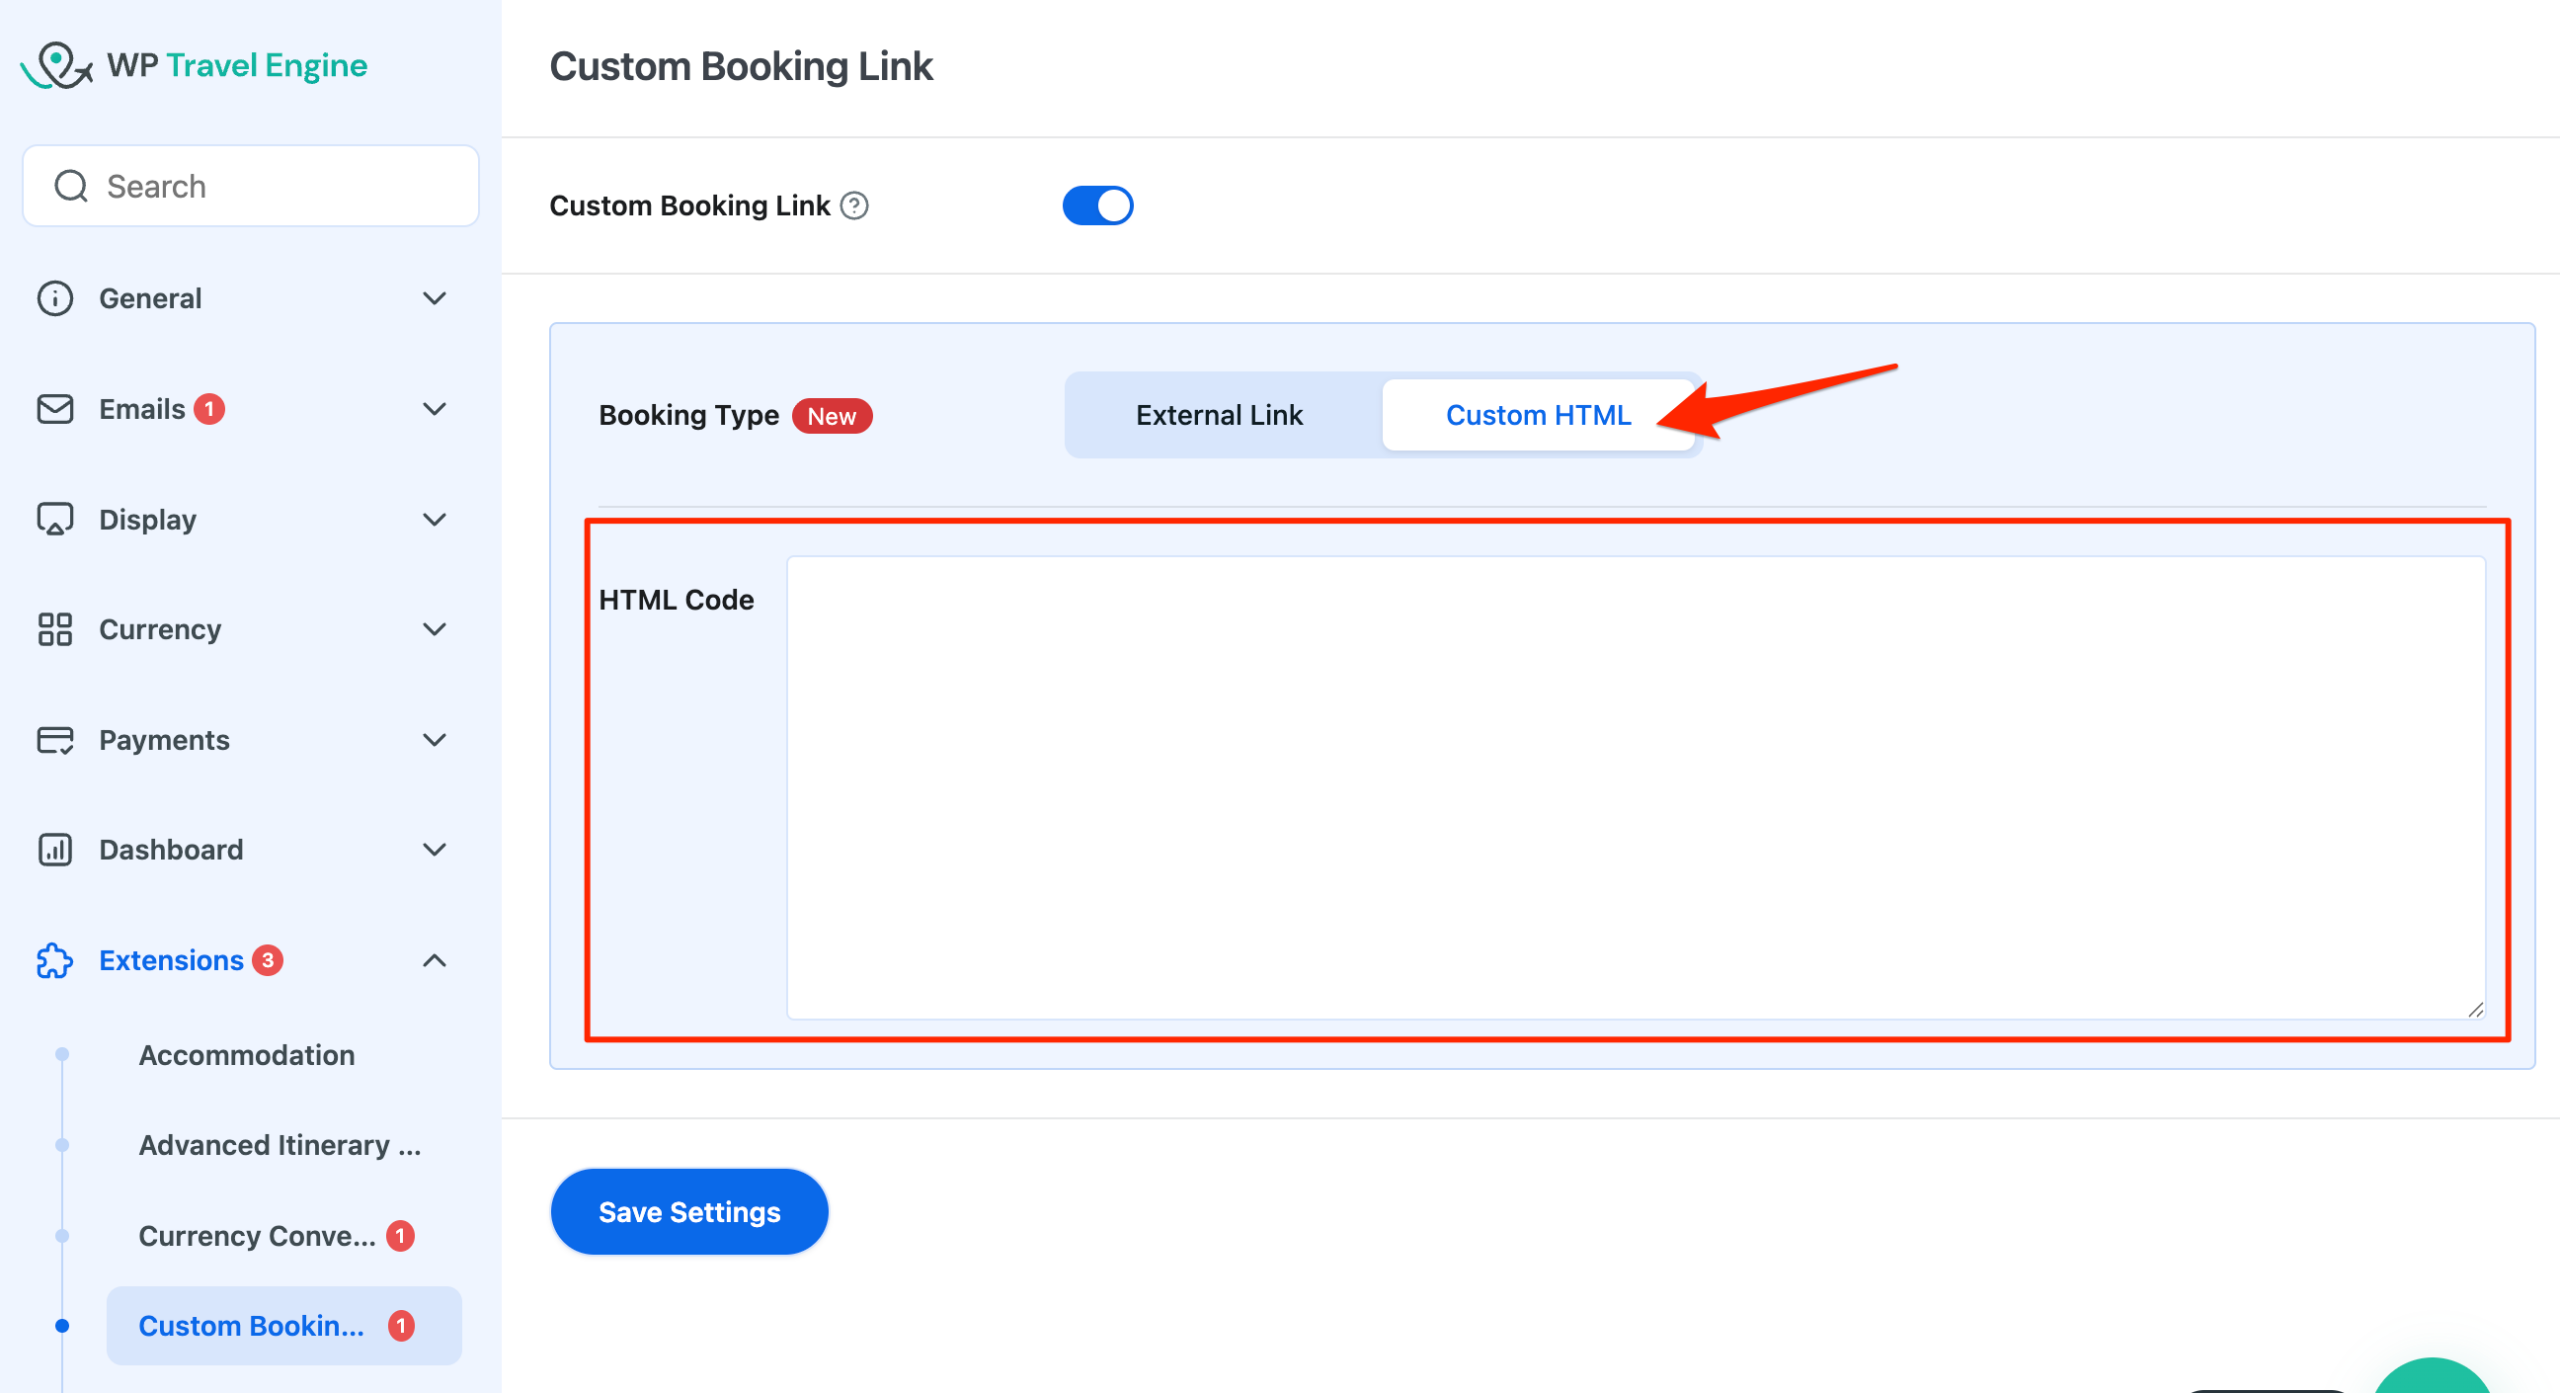
Custom HTML #
Paste your HTML into the HTML Code field.
Trip-Specific Settings for Custom Booking Link #
Use this to override the global booking link for a single trip. Useful when most trips route to one platform but a few go elsewhere.
- Open the trip you want to edit and click Edit.
- Navigate to WP Travel Engine – Trip Settings > Advanced Settings.
- Click on the Custom Booking Link tab.
- Toggle Override Global Booking Link on.
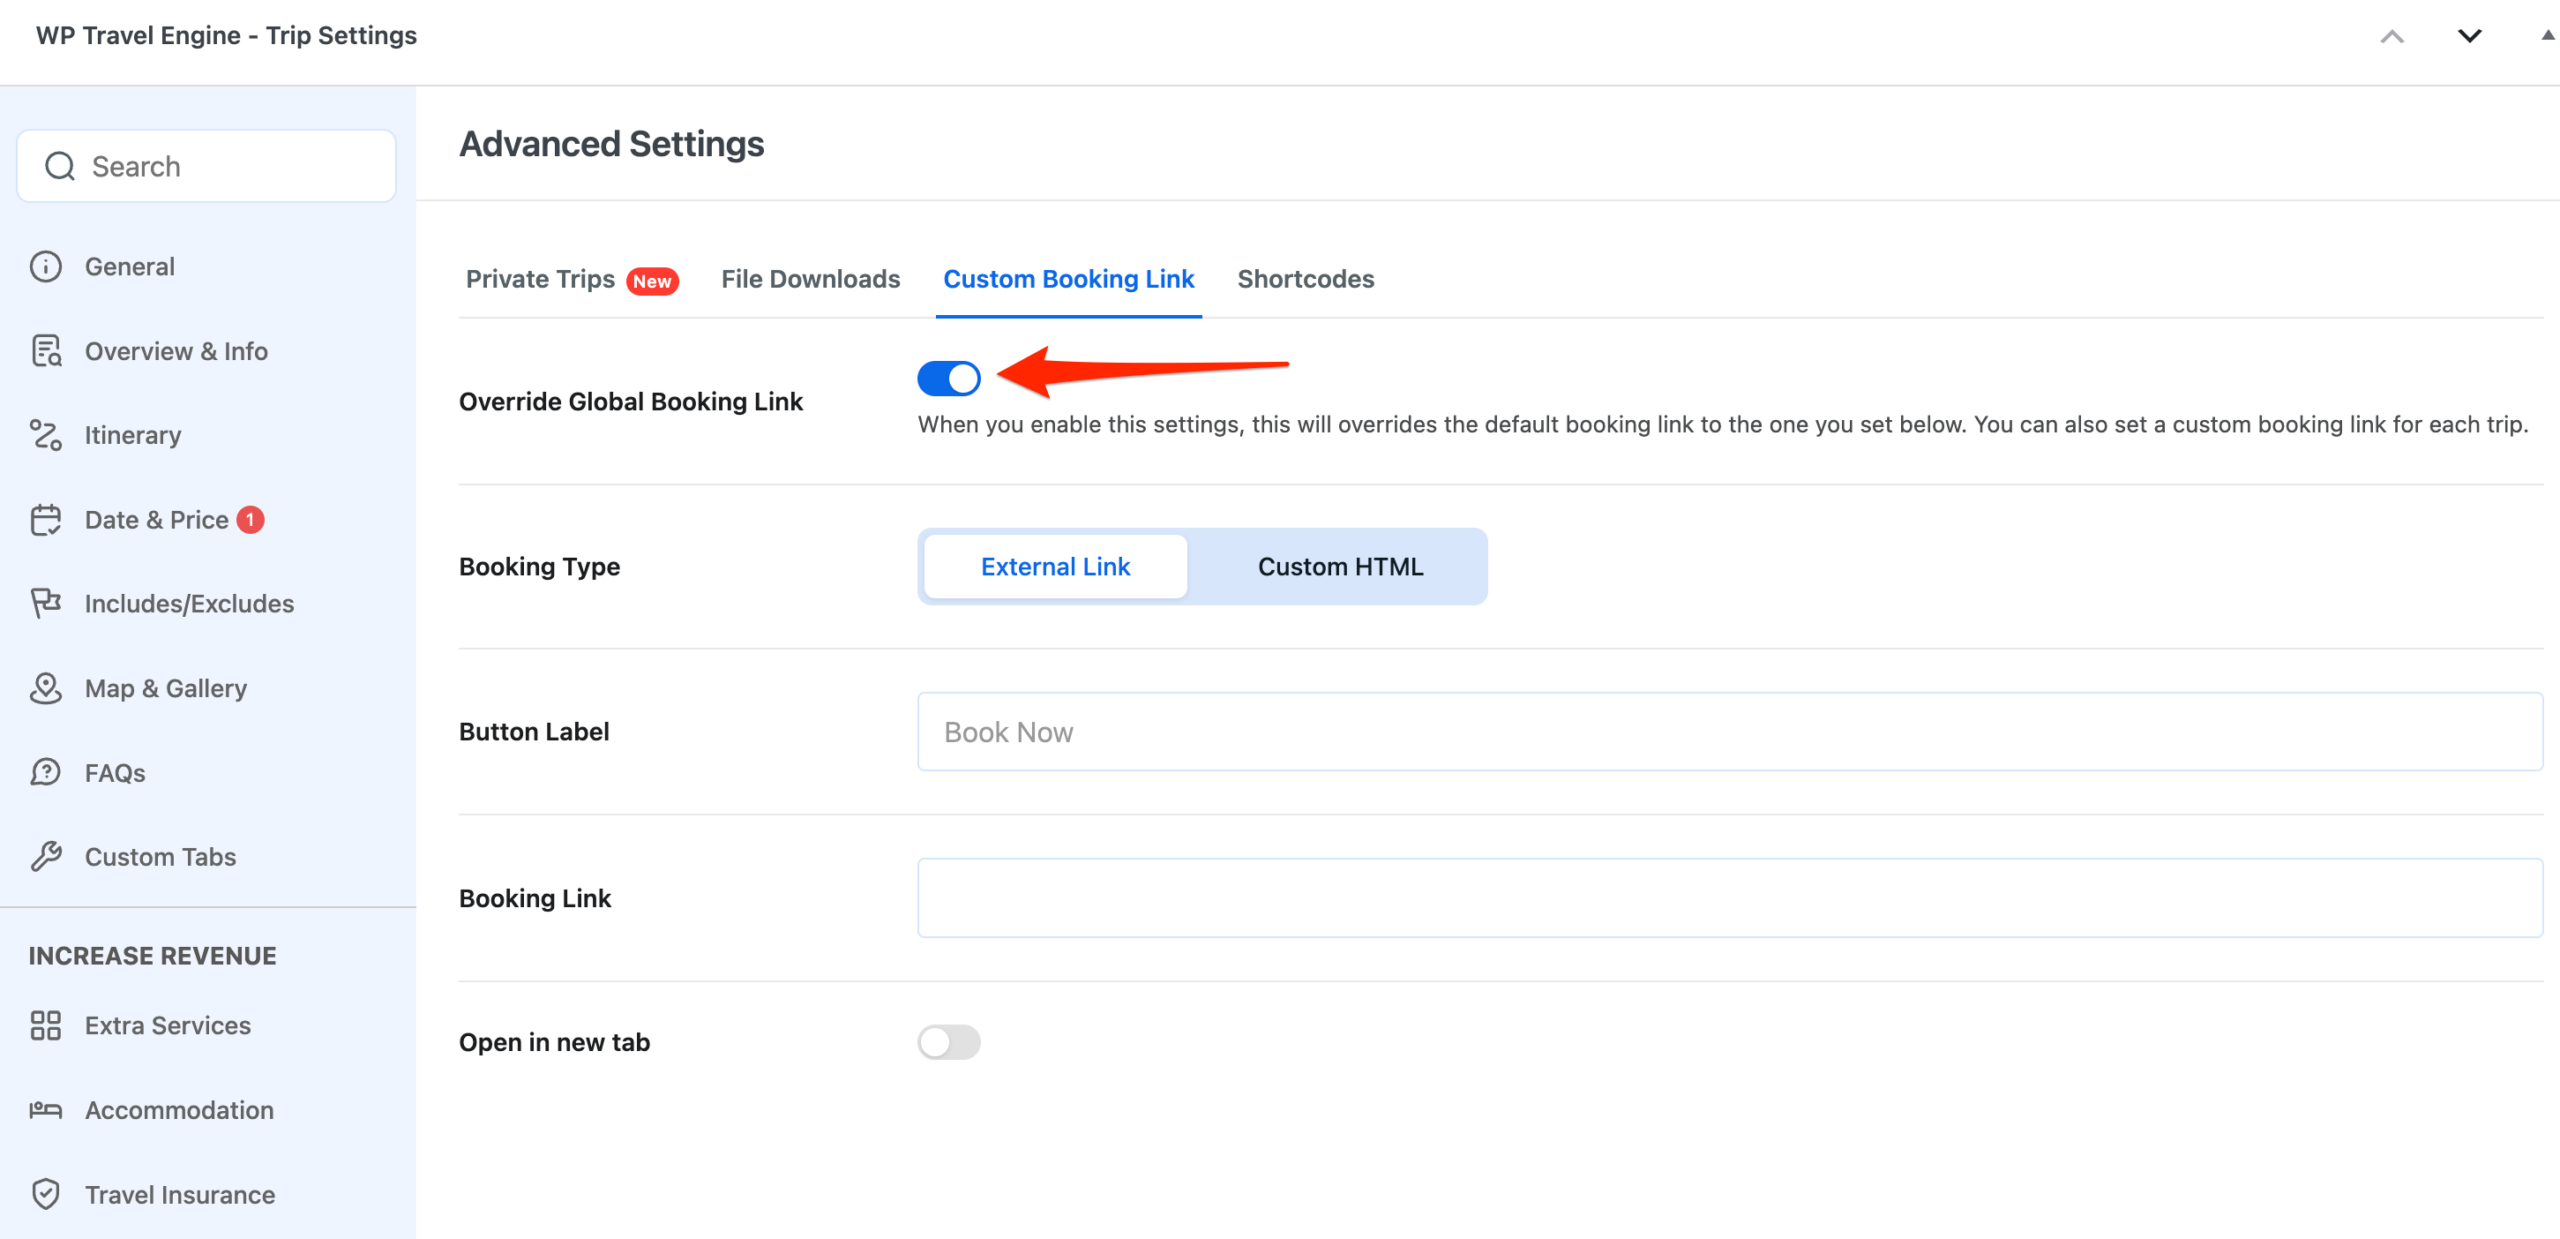
- Under Booking Type, select External Link or Custom HTML. The same options available in the global settings apply here.
- Fill in the relevant fields based on your selection, following the same steps as above.
- Click Save.
FAQ #
Can I use Custom HTML globally and an External Link for a specific trip? #
Yes. The trip-level override is independent. You can mix booking types across global and trip-specific settings.
Will the Button Label set globally show on all trips? #
Yes, unless a trip has its own override configured with a different label.
Does Custom HTML support embedded booking widgets from third-party platforms? #
Yes, as long as the platform provides an embeddable HTML snippet. Paste it directly into the HTML Code field.