Group Discount add-on allows you to provide a group discount on the basis of the number of travelers booking a tour.
In this documentation, first, you will learn about plugin installation, setup, and initial configuration options step-by-step.
Requirement: Group Discount requires the WP Travel Engine plugin v-4.0.0 or later installed and activated on your website.
You can either follow the video or the below steps to configure Group Discount.
Download the Plugin File #
After the purchase, you can download the add-on file by visiting the individual add-on pages from here – https://wptravelengine.com/plugins/
Here are the steps you need to follow:
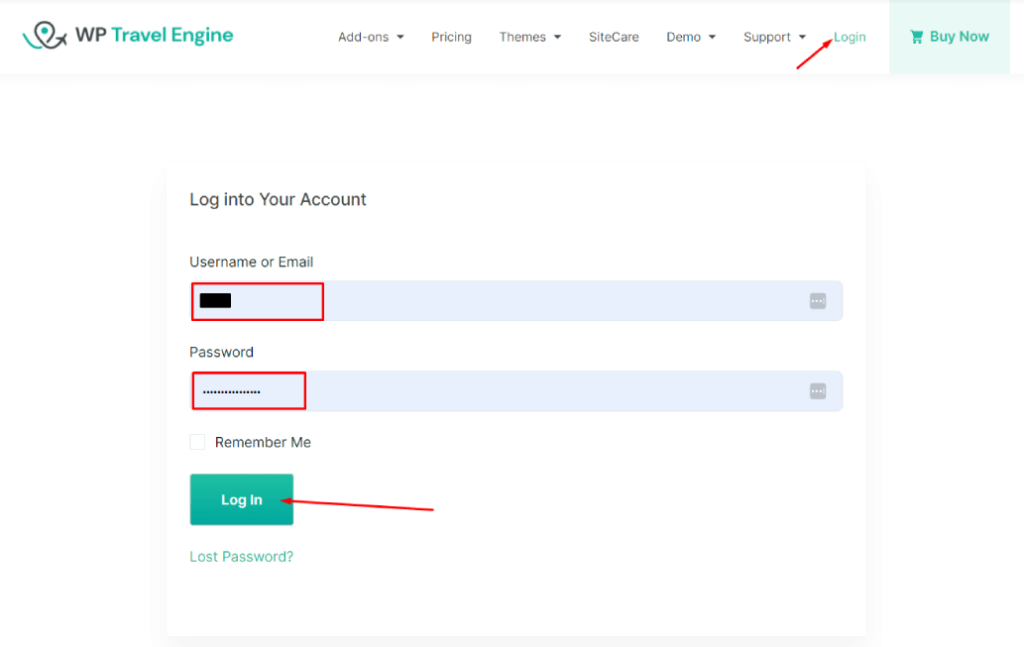
- Visit the WP Travel Engine website and log in to your account through the “My Account” page (https://wptravelengine.com/my-account/).
- Go to the Group Discount add-on page- https://wptravelengine.com/plugins/group-discount/
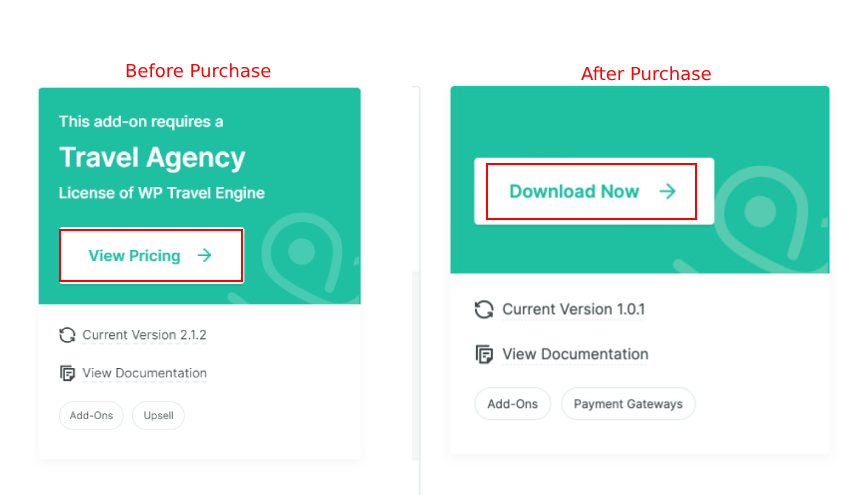
- Now, you will see the Download option on the right side of the page instead of View Pricing. Click on it to download the add-on file.
Installing the Add-on #
To upload the downloaded file to your WordPress dashboard follow the below steps:
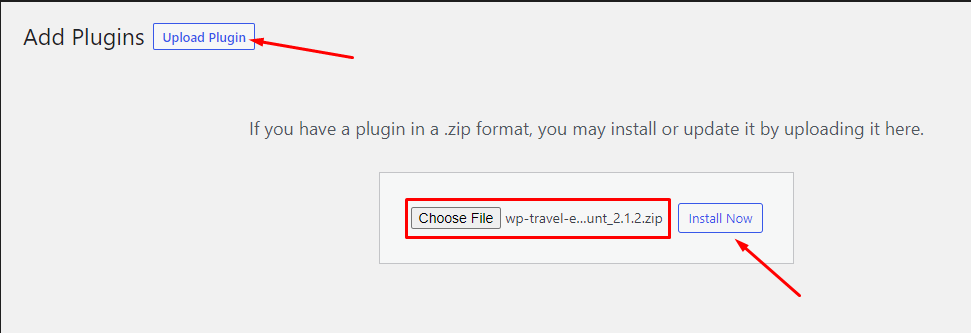
- Navigate to the Plugin > Add New
- Click on the Upload Plugin button.
- Select the downloaded file, “wp-travel-engine-group-discount.zip,” from your computer.
- Click on Install Now.
- Once the file is installed, click on “Activate” to enable the add-on on your website.
Activating the Plugin License #
To activate the plugin license and receive regular updates, follow these steps:
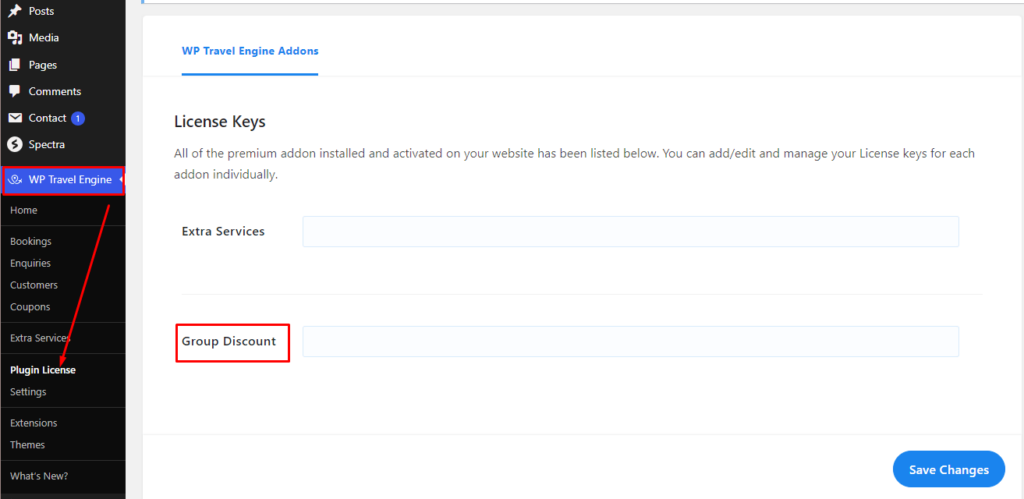
- Go to your Admin Dashboard and navigate to WP Travel Engine > Plugin License.
- Enter the license key in the provided field.
- Click Save Changes.
- Refresh the page to see the Activate License button, then click on it.
After successful activation, you can update the Group Discount add-on from the plugins page normally, whenever a new update is released.
Configuring Global Settings #
To configure the global settings, go to WP Travel Engine >Settings> Extension> Group Discount and make the following changes:
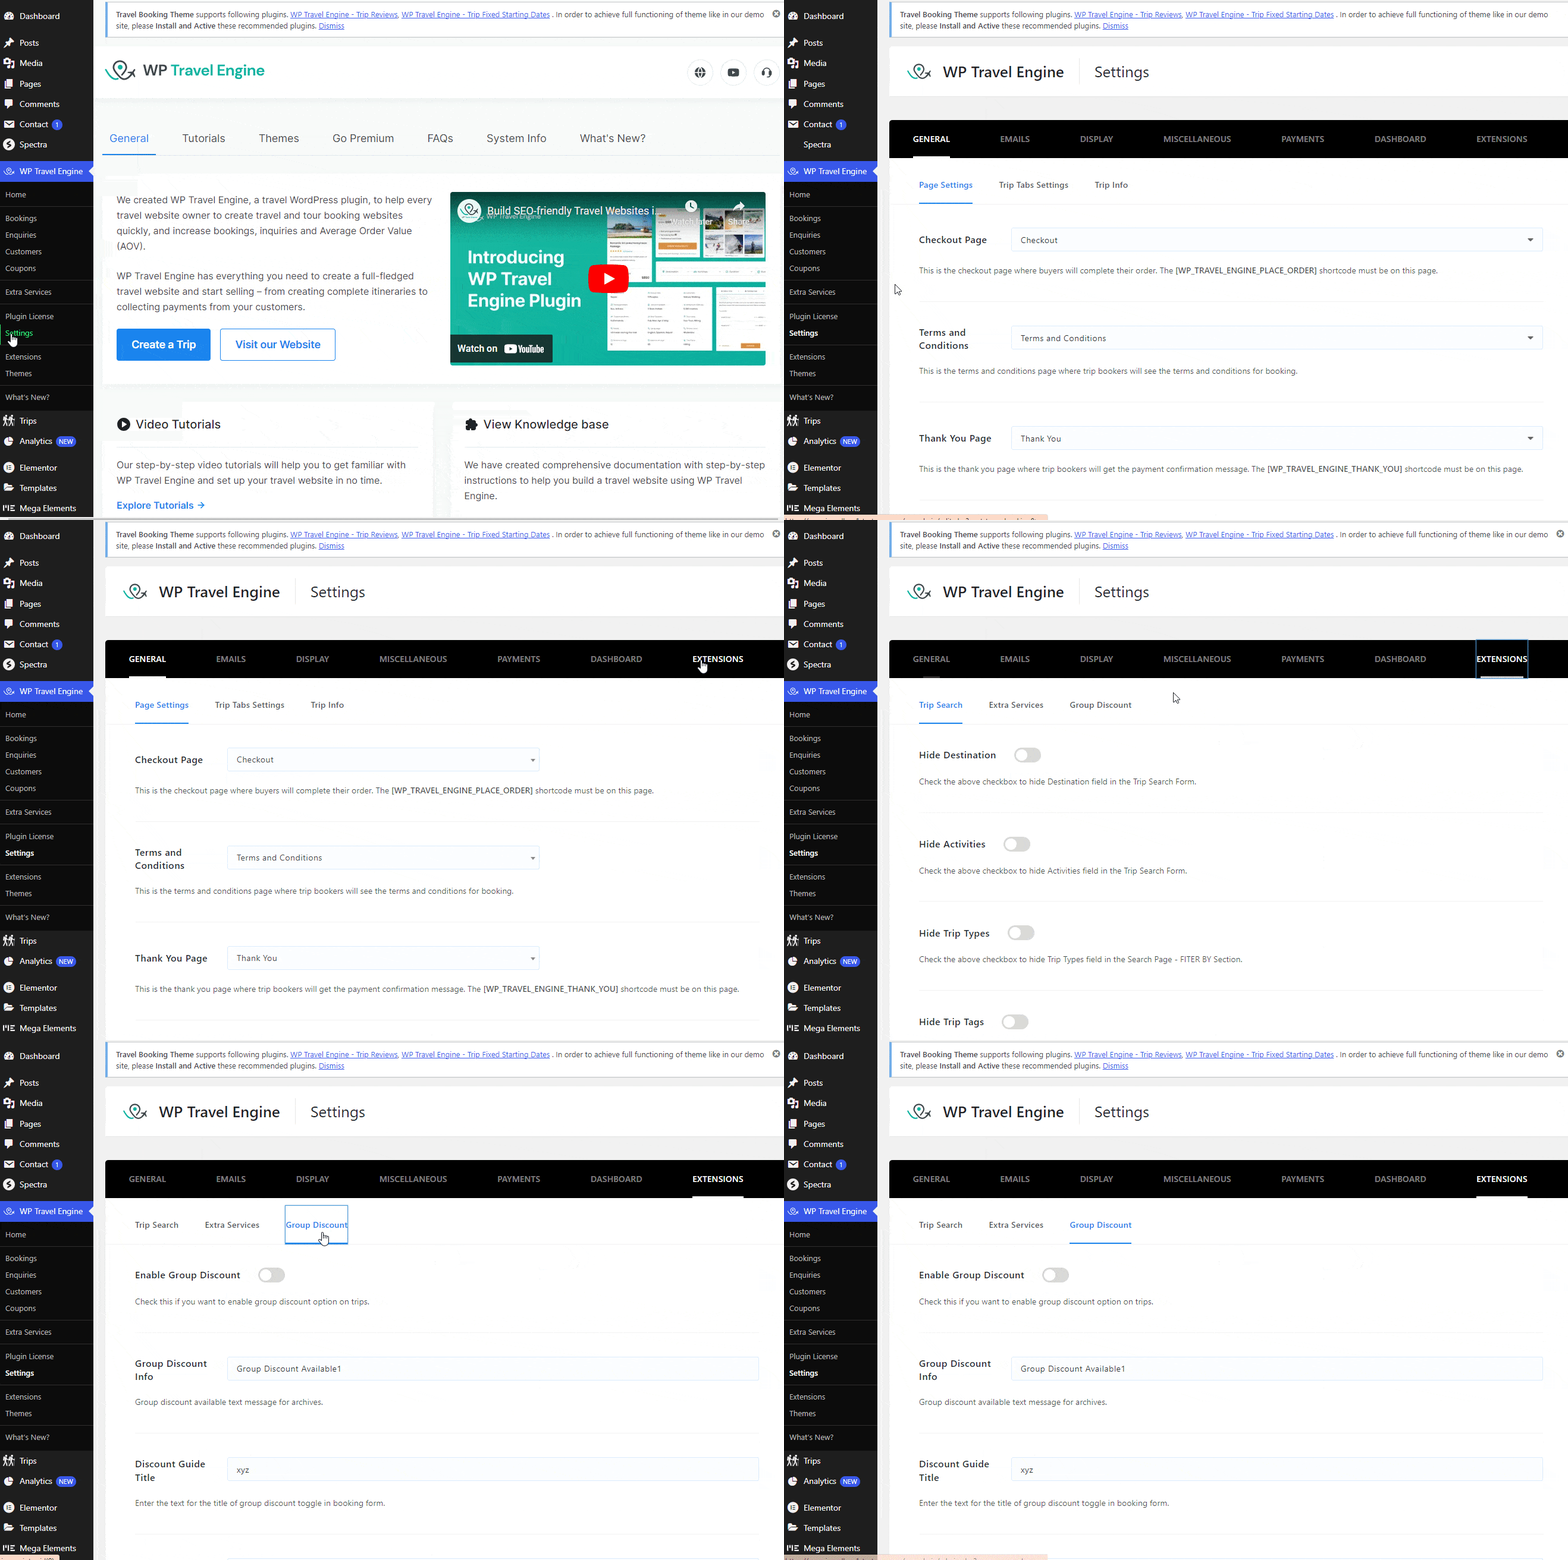
- Enable Group Discount: Toggle this option to activate the Group Discount feature for all your trips.
- Group Discount Info: Provide text in this section to inform visitors about the availability of Group Discounts on the trip archive page.
- After making the desired changes, click on Save and Continue.
Setting up Group Discounts for Individual Trip #
Now, to add the group discount feature to your individual trips, follow these steps:
- Go to your Admin Dashboard and navigate to one of your trip pages.
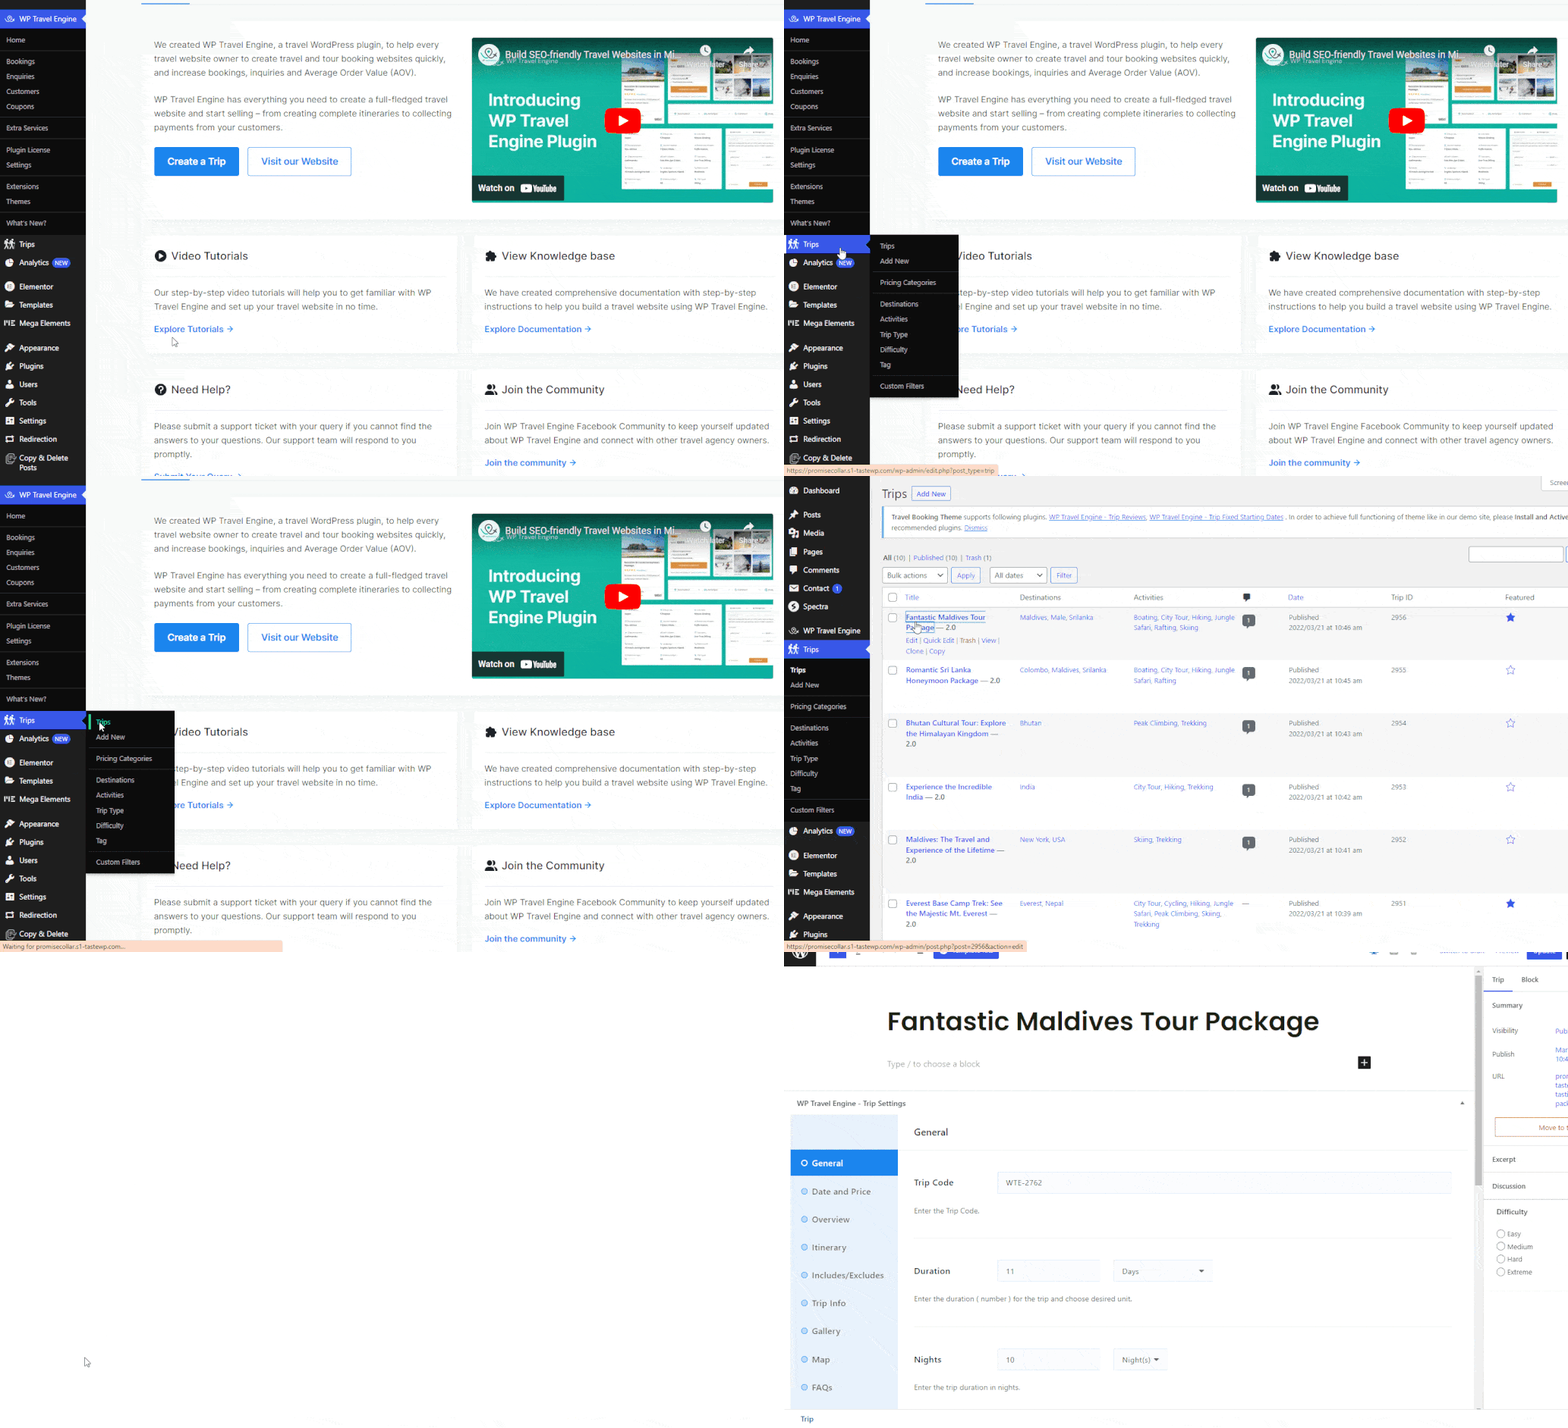
- Scroll down to find the “WP Travel Engine – Trip Settings” area at the bottom of the trip page.
- Click on Date and Price menu.
- Select one of your pricing packages and click on Edit Pricing and Dates.
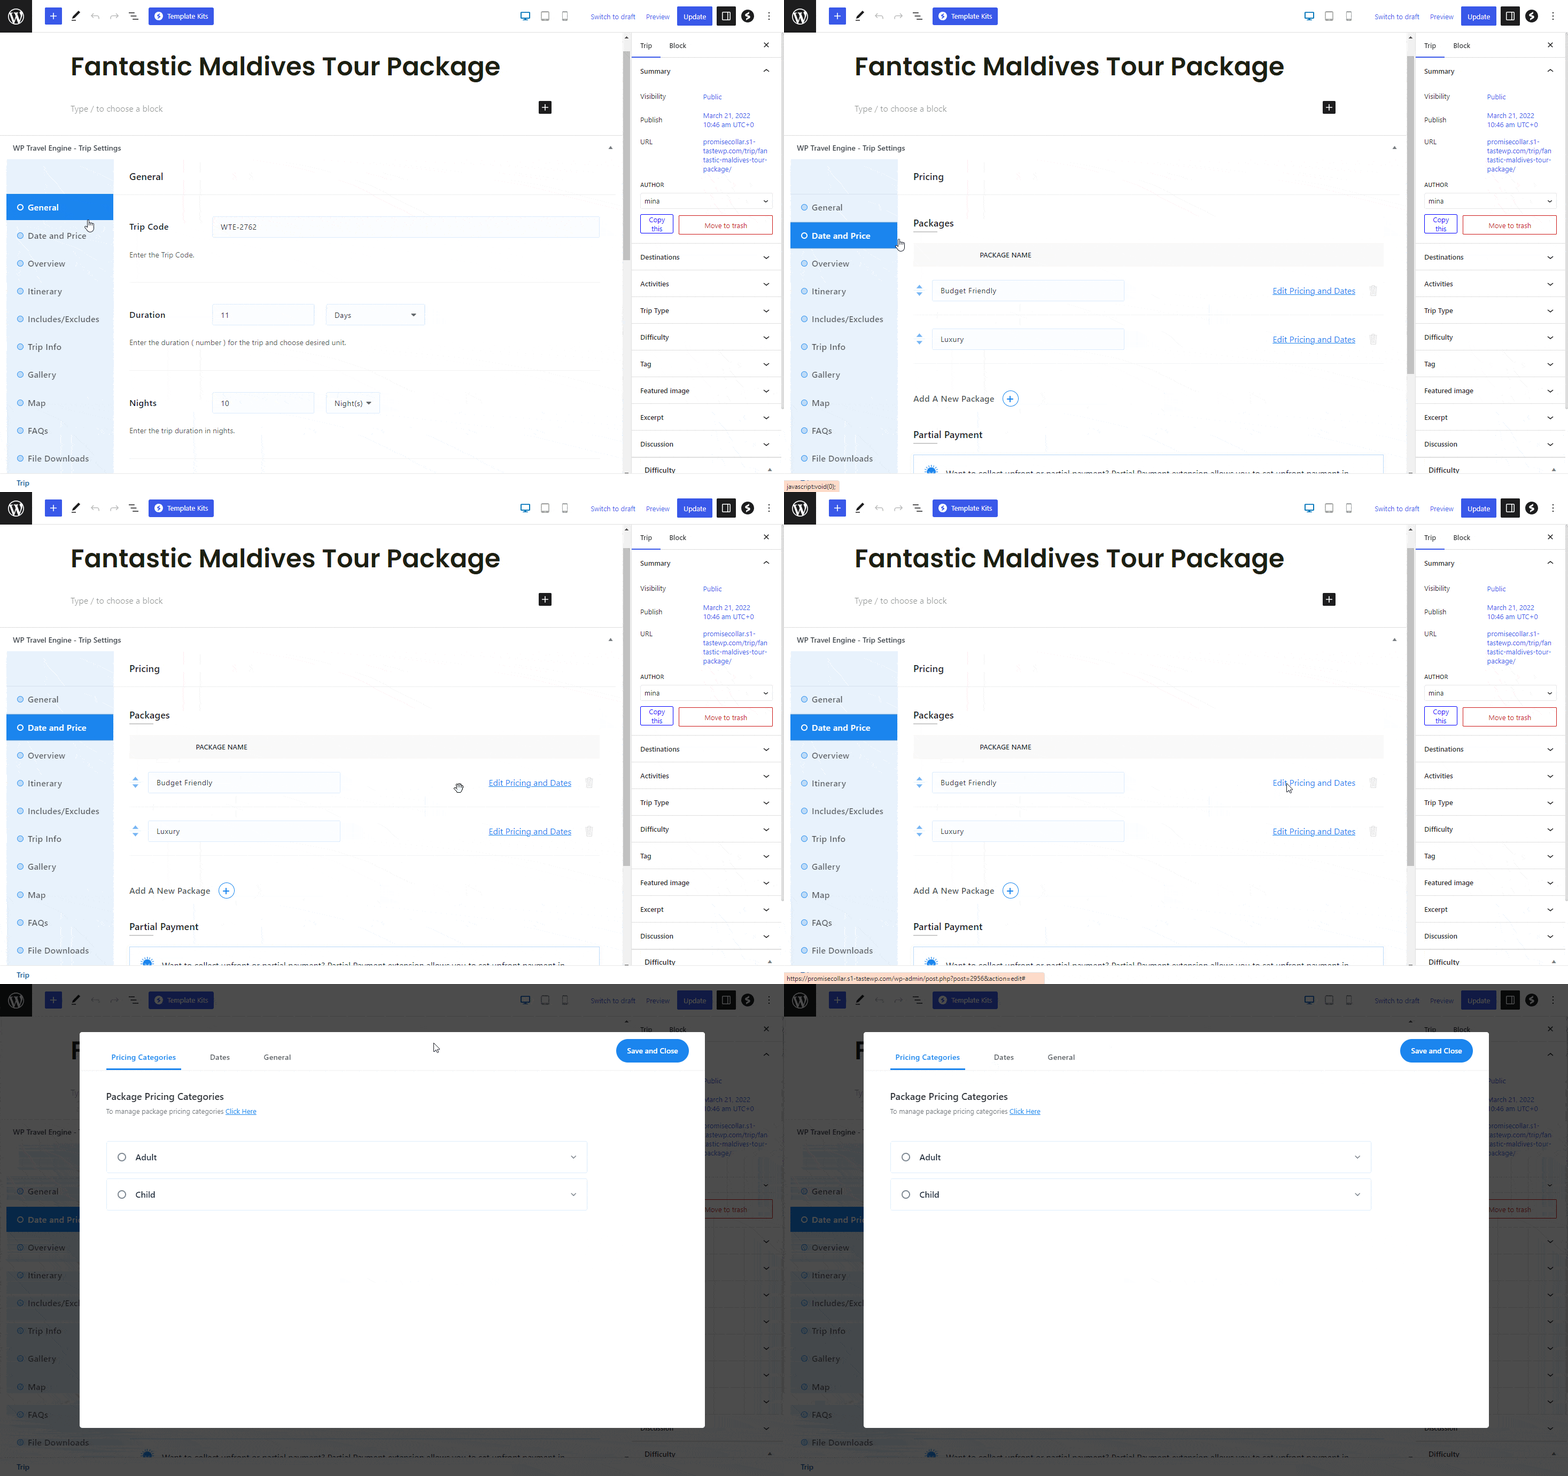
A pricing popup will appear on your screen.
If you have multiple Package Pricing Categories, decide where you want to add a group discount feature. Alternatively, you can add the feature to all categories based on your preference.
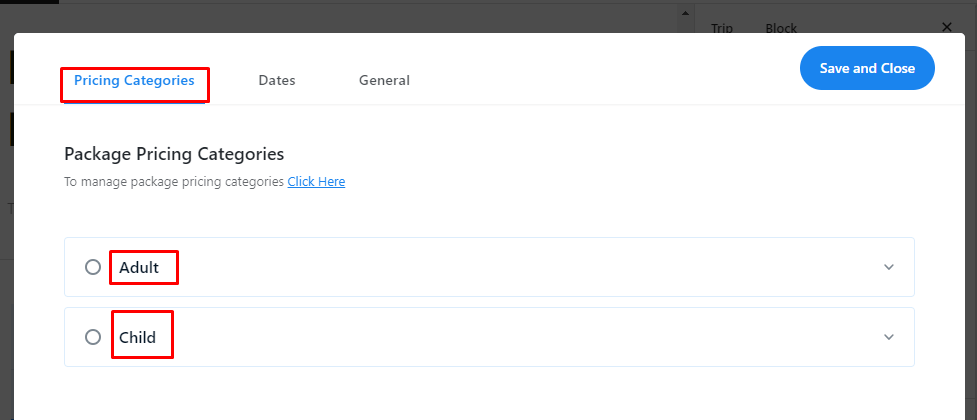
For the selected category, follow these steps:
- Find Group Discount toggle option and enable it.
- Set the eligible group range along with the price.
For eg, you can set the range as 1-10 people for $1200
- Repeat the process to set another range if needed.
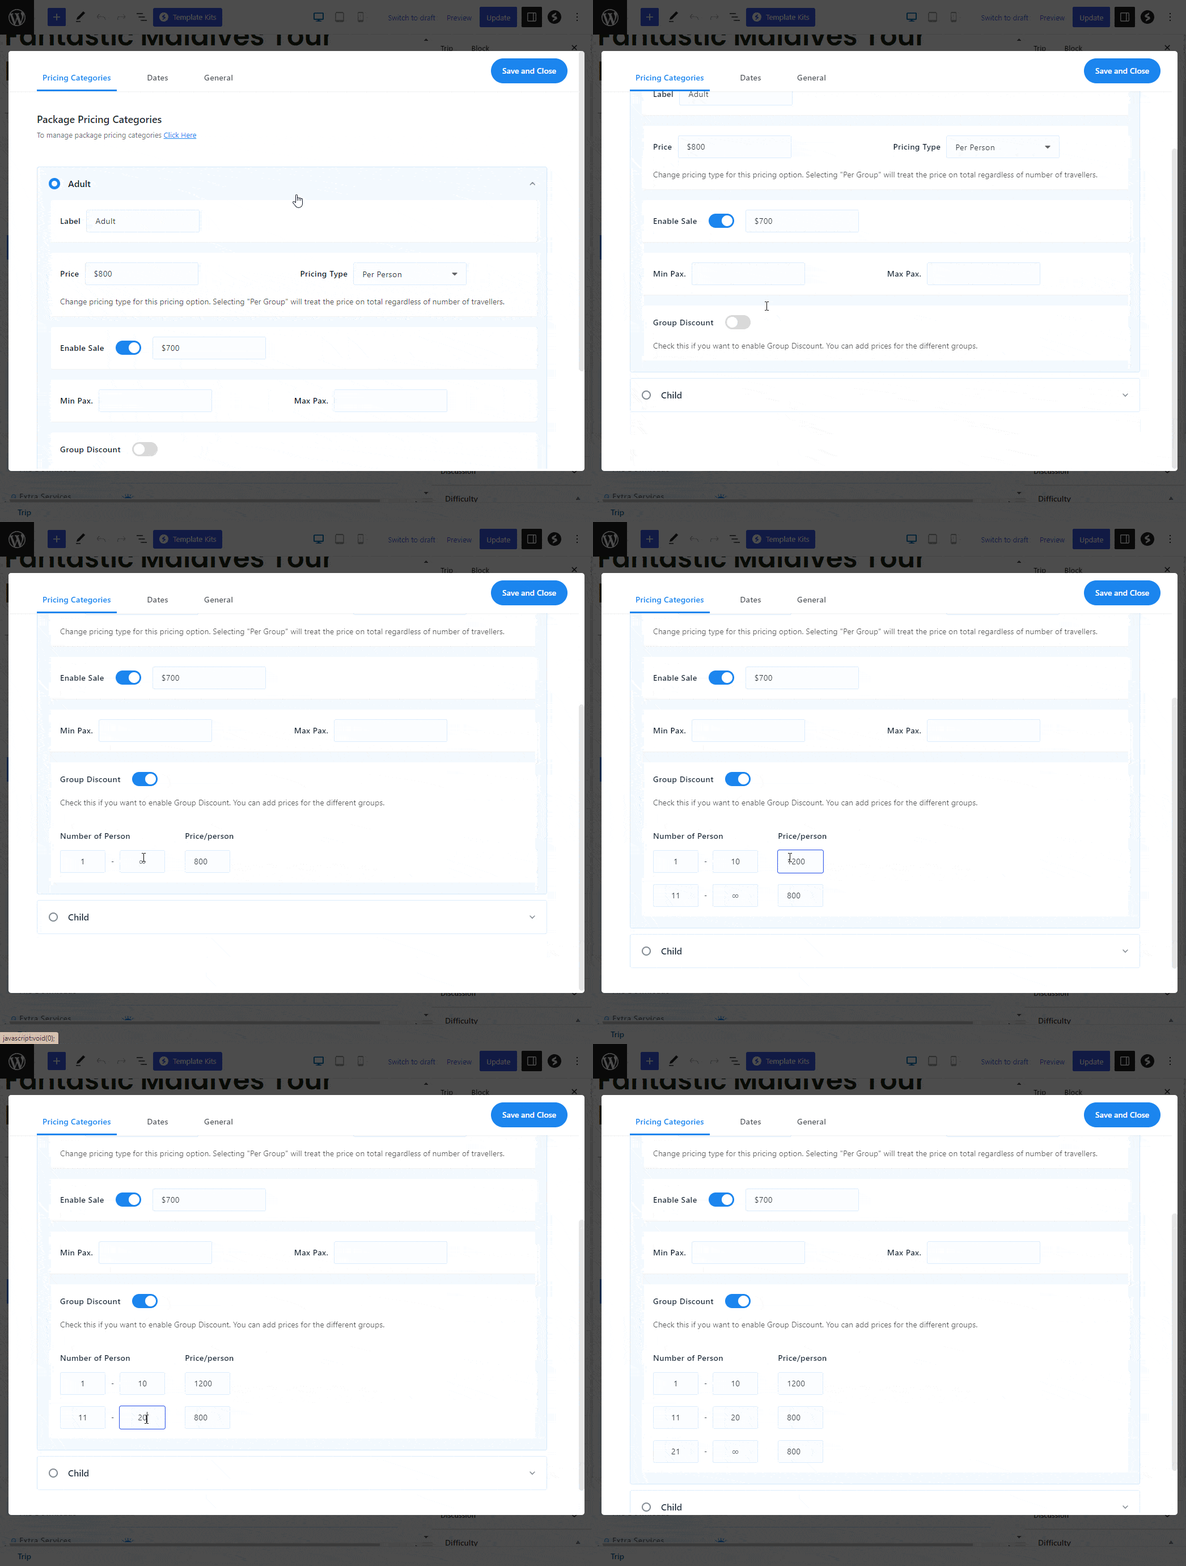
To save the changes, click on Save and Close.