The Labels feature in the WP Travel Engine plugin allows you to customize static HTML strings used throughout the plugin. Whether you want to adjust default labels to better align with your site’s branding or make minor translations, this feature offers a simple and effective solution.
This guide will walk you through using the Labels feature and provide additional recommendations for advanced translations or complex string modifications.
What is the Labels Feature #
The Labels feature provides an interface for changing default static strings in WP Travel Engine. For example, you can replace “Check Availability” with “Book Now” or change “Travellers” to “Travelers” to better suit your site’s language and tone. This feature is particularly useful for:
- Personalizing static strings to match your brand.
- Making quick translations for simple, static text.
- Modifying strings without editing code.
Important Note:
This feature uses WordPress’s __() translation function and is designed for simple, static strings. It may not support longer or complex text. For advanced translations, use dedicated translation tools like Loco Translate. Learn more about using Loco Translate here.
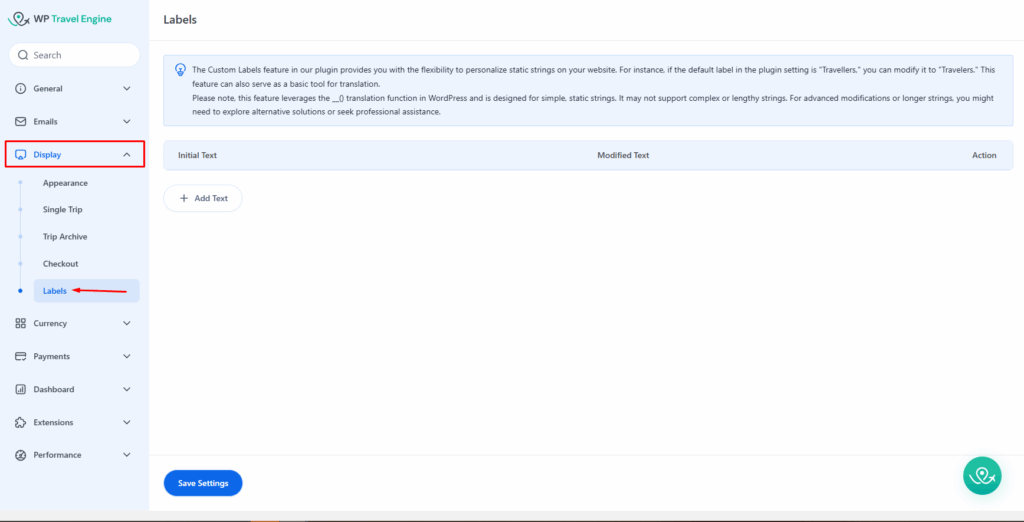
How to Access the Labels Feature #
- Log in to Your WordPress Admin Dashboard.
- Navigate to WP Travel Engine > Settings > Display > Labels.
- Here, you will find an interface for modifying existing static strings.
How to Use the Labels Feature #
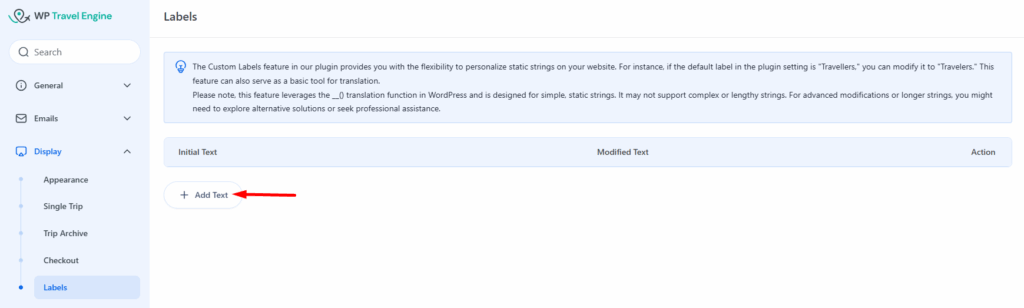
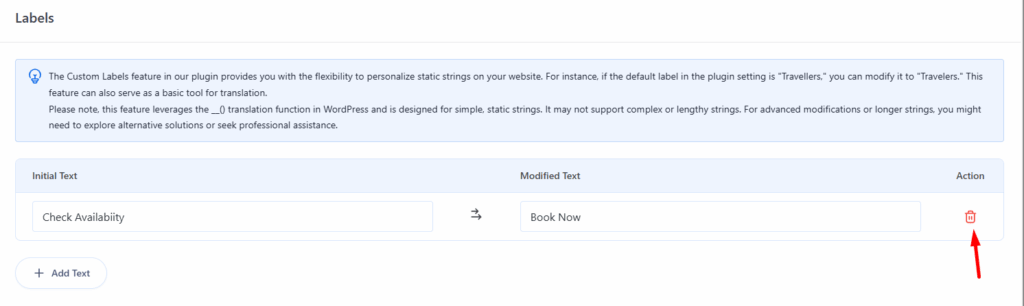
Step 1: Add a New Label #
- Click on the Add Text button at the bottom of the table.
- A new row will appear with two fields: Initial Text and Modified Text.
Step 2: Define the Strings #
- In the Initial Text field, enter the default string you want to replace. For example:
Check Availability. - In the Modified Text field, enter the new text you want to display. For example:
Vérifier la disponibilité
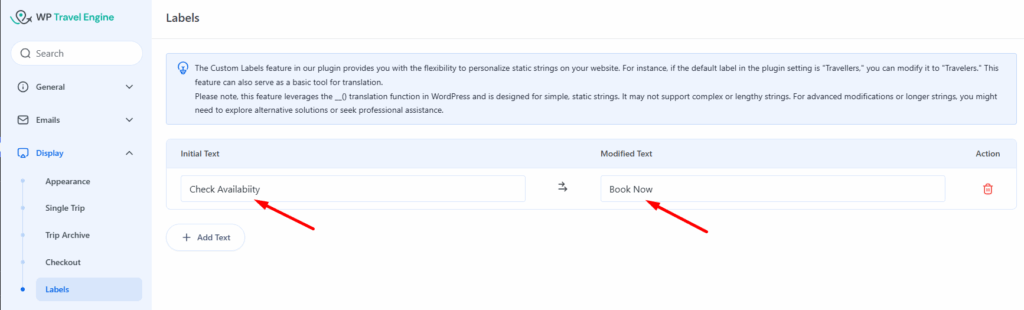
Step 3: Save Changes #
- After adding your desired modifications, click Save Settings button to apply the changes across your website.
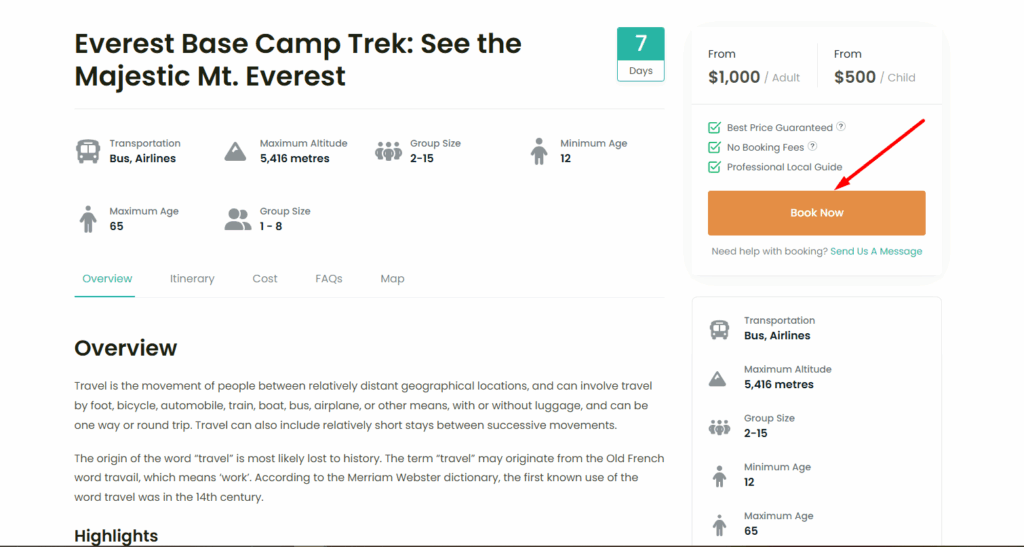
- Below is a screenshot demonstrating how the customized label appears on the frontend after applying the changes using the Labels feature:
Step 4: Delete Customizations (if needed) #
- If you want to remove a customization, click on the Delete (trash can) icon in the Action column next to the corresponding label.
- Once deleted, the label will revert to its default value.
Example Use Cases #
1. Personalization #
If your website uses American English, you can update the default label “Travellers” to “Travelers.”
- Initial Text:
Travellers - Modified Text:
Travelers
2. Quick Translation #
For quick translations, you can change labels like “Check Availability” to “Vérifier la disponibilité” (French for “Check Availability”).
- Initial Text:
Check Availability - Modified Text:
Vérifier la disponibilité
Limitations of the Labels Feature #
While the Labels feature is powerful for quick changes, it is not designed for:
- Complex or Dynamic Strings: Strings that are long, dynamic, or generated programmatically may not be replaced effectively.
- Advanced Translations: For comprehensive multilingual websites, use a dedicated translation plugin like Loco Translate.
Recommended Tool for Advanced Translations #
For more advanced translation needs, including translating hardcoded strings, themes, and addons, we recommend using Loco Translate. This tool provides a robust solution for translating your travel website comprehensively.
Follow this guide to translating your travel website using Loco Translate.
Conclusion #
The Labels feature in WP Travel Engine offers a quick and easy way to personalize static strings on your travel website. Whether you need minor text changes or simple translations, this feature provides the flexibility you need without requiring coding expertise.
For more comprehensive translations or to handle hardcoded strings, consider using Loco Translate as detailed in this guide.
If you face any difficulties, feel free to contact our support team.