Skip to content (Press Enter)
WP Travel Engine Documentation

WP Travel Engine Documentation

  • Home
  • Pricing
  • Add-ons
  • Themes
  • Support
    • Documentation
    • Youtube Channel
    • Video Tutorials
    • Support Ticket
    • Facebook Community
WP Travel Engine Documentation

WP Travel Engine Documentation

  • Home
  • Pricing
  • Add-ons
  • Themes
  • Support
    • Documentation
    • Youtube Channel
    • Video Tutorials
    • Support Ticket
    • Facebook Community

Add-ons

29
  • Advanced Email Automator
  • SliceWP Integration
  • Accommodation
  • Activity Tour Booking
  • Conditional Pricing
  • Pickup Points
  • WP Travel Engine Pro
  • Booking Fee
  • Custom Booking Link
  • Per Trip Emails
  • Elementor Widgets
  • Email Customizer
  • Trip Code
  • Currency Converter
  • Partial Payment
  • Itinerary Downloader
  • Form Editor
  • File Downloads
  • Advanced Itinerary Builder
  • Trip Reviews
  • User History
  • Trips Embedder
  • Trip Weather Forecast
  • Extra Services
  • Group Discount
  • Trip Fixed Starting Dates
  • Trip Fixed Starting Dates Countdown
  • Social Proof
  • Legal Documents

Payment Add-ons

12
  • Razorpay
  • WeTravel Integration
  • Stripe Payment Gateway
  • WooCommerce Payment Gateway
  • PayU Biz Payment Gateway
  • PayU Money Payment Gateway
  • PayPal Express Checkout Payment Gateway
  • PayHere Payment Gateway
  • PayFast Payment Gateway
  • Midtrans Payment Gateway
  • Himalayan Bank Payment Gateway
  • Authorize.net Payment Gateway

WordPress Themes

6
  • Pattern Engine
  • Travelverse
  • Travel Muni
  • Travel Muni Pro
  • Travel Booking
  • Travel Booking Pro

WP Travel Engine

28
  • How to configure Admin Email?
  • How to resend the booking confirmation email
  • How to View and Manage Trip Bookings ?
  • How to add Global Trip Highlights?
  • How to configure Predefined Pages?
  • How to configure Trip Tabs Settings?
  • How to configure Trip Info Settings?
  • How to configure the Check Payments Settings?
  • How to configure User Dashboard?
  • How to configure Tax Settings?
  • How to configure Customer Email?
  • How to configure Enquiry Email?
  • How to add Trip Gallery?
  • How to Configure Trip Archive Settings?
  • How to Configure Taxonomy Settings?
  • How to use Labels Feature for changing Static Strings?
  • How to display a Trip Duration on the single trip page?
  • How to configure Trip Card/Listing page settings?
  • How to Configure Currency Settings?
  • How to add PayPal Standard?
  • How to configure Trip Search Settings?
  • How to configure Performance Setting?
  • How to configure Single Trip settings?
  • WP Travel Engine – Blocks, Patterns & Templates
  • Social Login
  • WP Travel Engine
  • How to Configure Checkout Settings?
  • WP Travel Engine – Developer Documentation

Feature Updates

6
  • New Pricing Widget Layouts for WP Travel Engine Mobile Users
  • WP Travel Engine – 5.5
  • [MAJOR UPDATE RELEASE] WP Travel Engine version 5.2
  • [MAJOR UPDATE RELEASE] WP Travel Engine version 5.0
  • [Major Update Release]WP Travel Engine – 4.3.0
  • Extra Services Addon – Version 2.0.4

Travel Monster

10
  • Install Travel Monster Theme
  • Import Starter Site
  • Configure Site Identity
  • General Settings
  • Header Settings
  • Footer Settings
  • Posts & Pages Settings
  • Configure Menus
  • Configure Widgets
  • Setup Static Homepage

Travel Monster Pro

9
  • Install and Activate Travel Monster Pro
  • How To Activate Travel Monster Pro License
  • Import Starter Site
  • General Settings
  • Header Settings
  • Footer Settings
  • Posts & Pages Settings
  • Misc Settings
  • User Social Link

FAQs

30
  • How to Build a Multilingual Travel Website Using WP Travel Engine and WPML?
  • How to change the banner layout of the trip?
  • How to activate the Pro add-on license key?
  • How to translate themes and plugins using Loco Translate?
  • Resolving the Date and Price Tab Loading Issue
  • Can I use WP Travel Engine with Elementor?
  • How to Download Add-ons and Themes After Purchasing?
  • Email Troubleshooting
  • How generate the Invoice from WP Travel Engine account?
  • How to Hide Trip Enquiry Form on the Single Trip page?
  • Page not found appeared on the single trip page
  • Is WP Travel Engine plugin compatible with Divi builder?
  • Unable to upload Images on the Gallery
  • How to upgrade the purchased plan?
  • How to cancel the subscription for your purchase?
  • I have created some destinations and it’s not displayed on the destination page
  • How to change booking emails
  • Trips Facts do not appear on the trip page
  • The booking form is not displayed
  • How to change the Adult, Child Label
  • How to add a new trip tab
  • Unable to login into your account
  • Changing the default currency i.e dollar
  • Change Currency Symbol to Currency Code
  • How to disable Enquiry Form on the Single Trip page?
  • How to hide the Booking Form?
  • Search result page is showing a 404 error
  • “Label” text is appeared instead of Pricing Category
  • How to check plugin conflicts in WordPress?
  • How to make the purchase from Nepal using eSewa or bank transfer?

Elementor Widgets

21
  • Trips Tab
  • Trips Slider Three
  • Trips Slider Two
  • Trips Slider
  • Trips Module One
  • Trips Module Two
  • Trips Module Three
  • Trips Accordion
  • Featured Trip
  • Advanced Trip
  • Advanced Trip 2
  • Advanced Trips 3
  • Advanced Trips 4
  • Trips List
  • Destination/Activities 1
  • Destination/Activities 2
  • Destination/Activities Module 1
  • Destination/Activities Module 2
  • Destination/Activities Slider 1
  • Destination/Activities Slider 2
  • Destination/Activities Slider 3

Single Trip

10
  • How to add General Info?
  • How to add Date and Price Info?
  • How to add Trip Overview Info?
  • How to add Trip Itinerary?
  • How to add Trip Includes/ Excludes?
  • How to add Trip Info?
  • How to add Image Gallery?
  • How to add a Trip Location Map?
  • How to add FAQs?
  • How to add Trip Shortcodes?
View Categories
  • Home
  • Documentations
  • Add-ons
  • Email Customizer

Email Customizer

The Email Customizer add-on enables you to customize the booking and payment email layouts, designs, and content. You can also add dynamic content and personalize the emails to create a lasting impression for your brand.

In this documentation, first, you will learn about plugin installation, setup, and initial configuration options step-by-step. 

Requirement: Email Customizer requires WP Travel Engine plugin v-5.7.6 or later installed and activated on your website.

You can either follow the video or the below steps to configure this add-on.

Download the Add-on File #

After the purchase, you can download the add-on file by visiting the individual add-on pages from here – https://wptravelengine.com/plugins/

Here are the steps you need to follow:

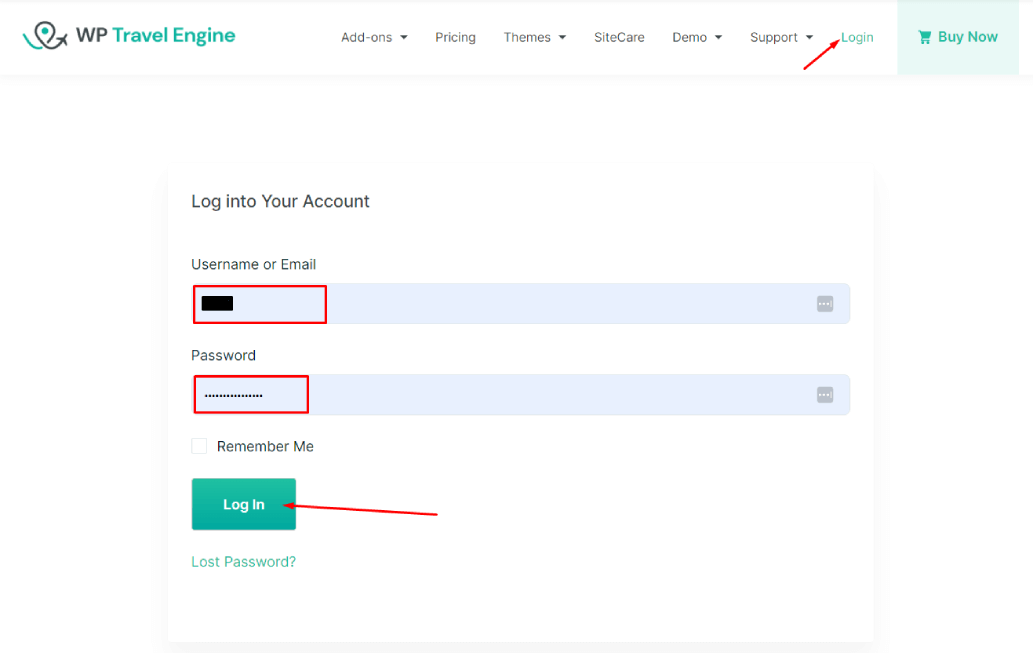
  • Visit the WP Travel Engine website and log in to your account through the “My Account” page (https://wptravelengine.com/my-account/).
my account page
  • Go to the Group Discount add-on page- https://wptravelengine.com/plugins/email-customizer/
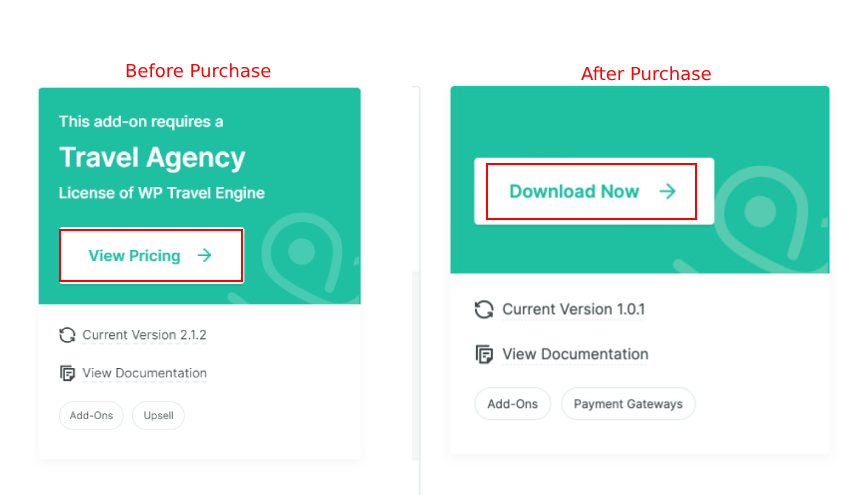
  • Now, you will see the Download option on the right side of the page instead of View Pricing. Click on it to download the add-on file.
Download the Plugin File

Installing the Add-on #

To upload the downloaded file to your WordPress dashboard, follow the below steps:

  • Navigate to the Plugin > Add New
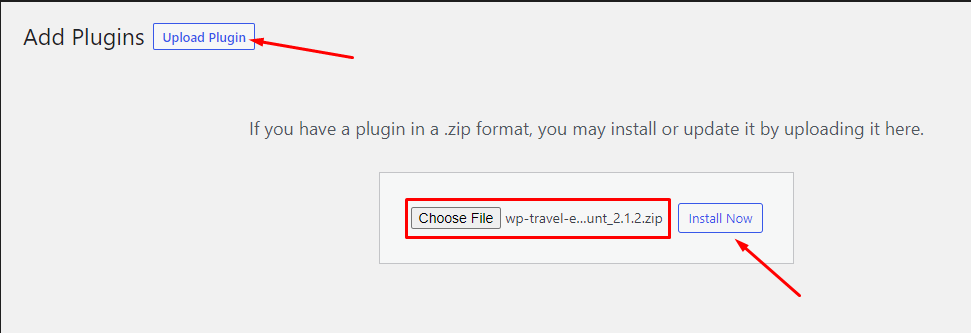
  • Click on the Upload Plugin button.
  • Select the downloaded file, “wp-travel-engine-email-customizer.zip” from your computer.
  • Click on Install Now.
install group discount file
  • Once the file is installed, click on Activate to enable the add-on on your website.

Activating the Plugin License  #

To activate the plugin license and receive regular updates, follow these steps:

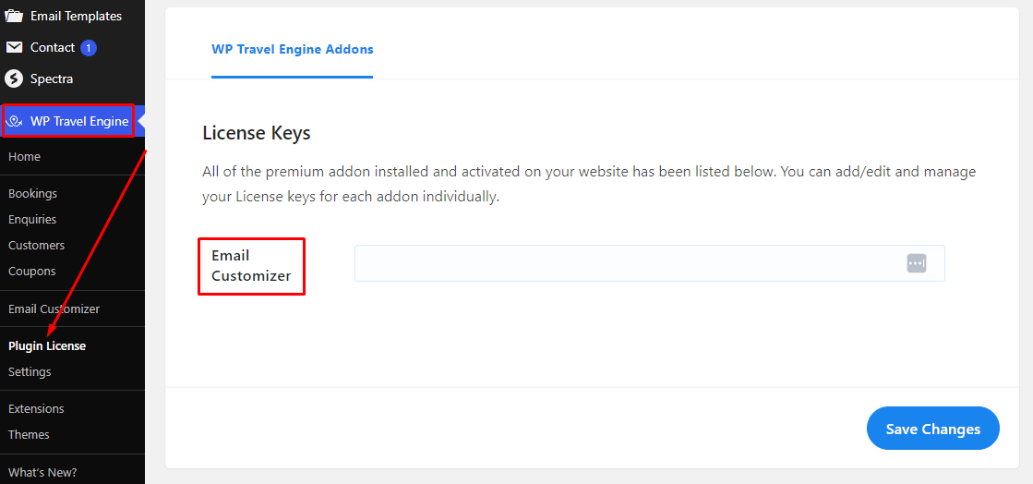
  • Go to your Admin Dashboard and navigate to WP Travel Engine > Plugin License.
  • Enter the license key in the provided field.
  • Click Save Changes.
add license key for Email Customizer addon
  • Refresh the page to see the Activate License button, then click on it. 

After successful activation, you can update the Group Discount add-on from the plugins page normally whenever a new update is released.

How to Use Email Customizer #

Once the installation and activation is complete, follow these steps to customize your email templates: 

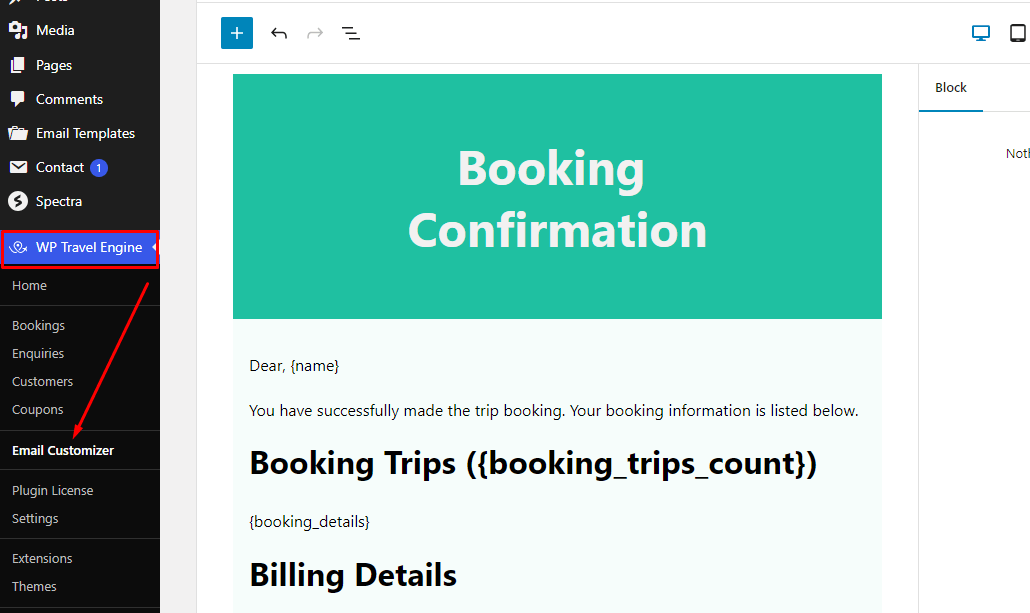
  • From the WordPress dashboard, go to WP Travel Engine > Email Customizer. 
Email Customizer addon

Note: With the Email Customizer add-on, you can customize the default email templates for Booking and Payment notifications only. 

  • Booking Notification: This template is used to send emails when a booking is made.
  • Payment Notification: This template is used to send emails when a payment is made.
Email templates

Customizing the Email Templates #

Select either the Booking or Payment template to customize and customize the following aspects:

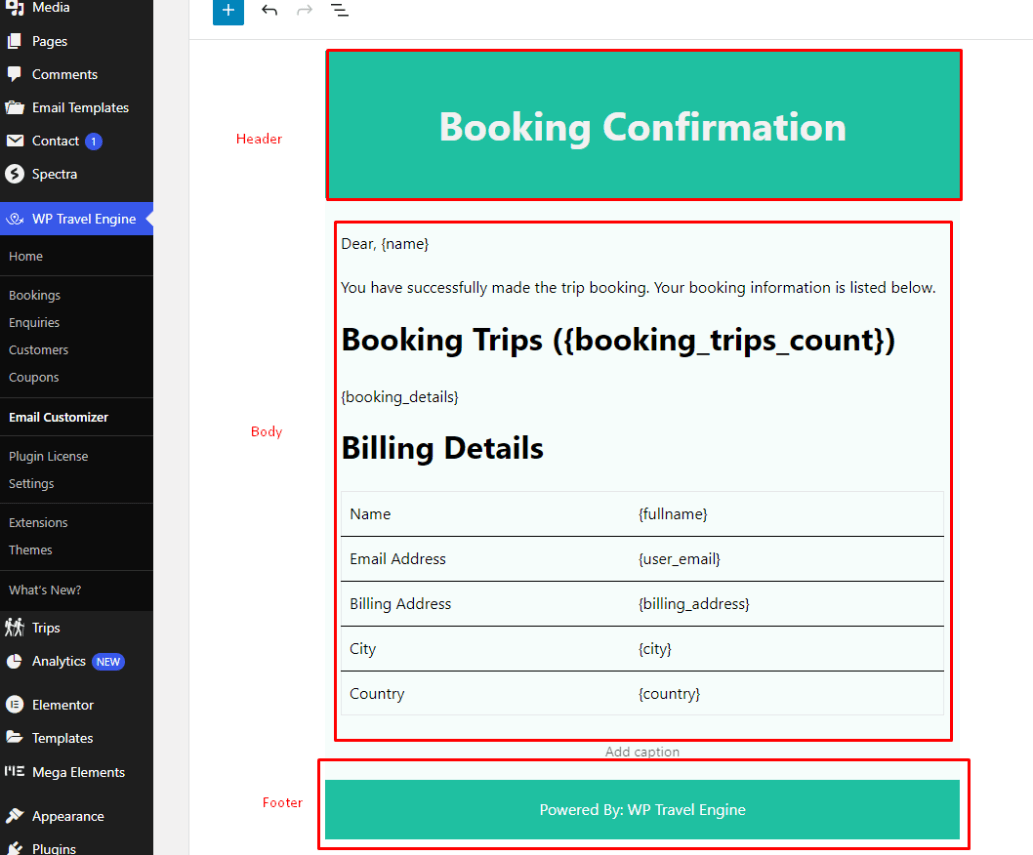
  • Layouts: The default email template is divided into three sections: Header, Body, and Footer. You can change the layout of each section by dragging and dropping the blocks.
  • Color: You can change the color of different sections and text of your email template to match your company’s identity.
email layout
  • Image: You can add images like your company’s logo to personalize your email template.
  • Placeholders: You have the option to add dynamic placeholders like customer names, booking details, payment information, and other relevant data for personalized content.
image and placeholder

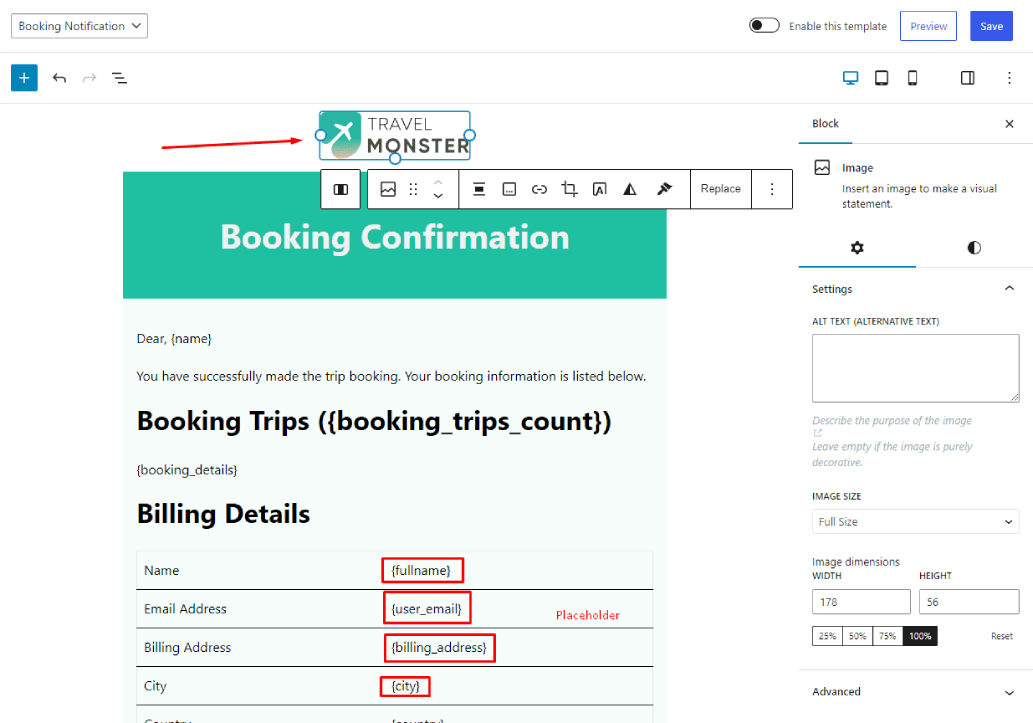
Preview: Save the email template and instantly preview your customized email in a new screen.

preview template

Dynamic Placeholders #

Dynamic placeholders are used to add dynamic content to your email templates. The following placeholders are available in WP Travel Engine:

  • {trip_url} The trip URL for each booked trip
  • {name}  The buyer’s first name
  • {fullname} The buyer’s full name, first and last
  • {user_email} The buyer’s email address
  • {billing_address} The buyer’s billing address
  • {city} The buyer’s city
  • {country} The buyer’s country
  • {tdate} The starting date of the trip
  • {date} The trip booking date
  • {traveler} The total number of traveler(s)
  • {child-traveler} The total number of child traveler(s)
  • {tprice} The trip price
  • {price} The total payment made of the booking
  • {total_cost} The total price of the booking
  • {due} The due balance
  • {sitename} Your site name
  • {booking_url} The trip booking link
  • {ip_address} The buyer’s IP Address
  • {booking_id} The booking order ID
  • {bank_details} Banks Accounts Details. This tag will be replaced with the bank details and sent to the customer receipt email when the Bank Transfer method has been chosen by the customer.
  • {check_payment_instruction} Instructions to make check payment.
  • {booking_details} The booking details: Booked trips, Extra Services, Traveller details etc
  • {traveler_data} The traveler details: Traveler details and Emergency Contact Details
  • {payment_method} Payment Method used to checkout.

Enable/Disable Email Templates #

You can toggle on Enable this template to send your personalized emails to your customers.

enable email template

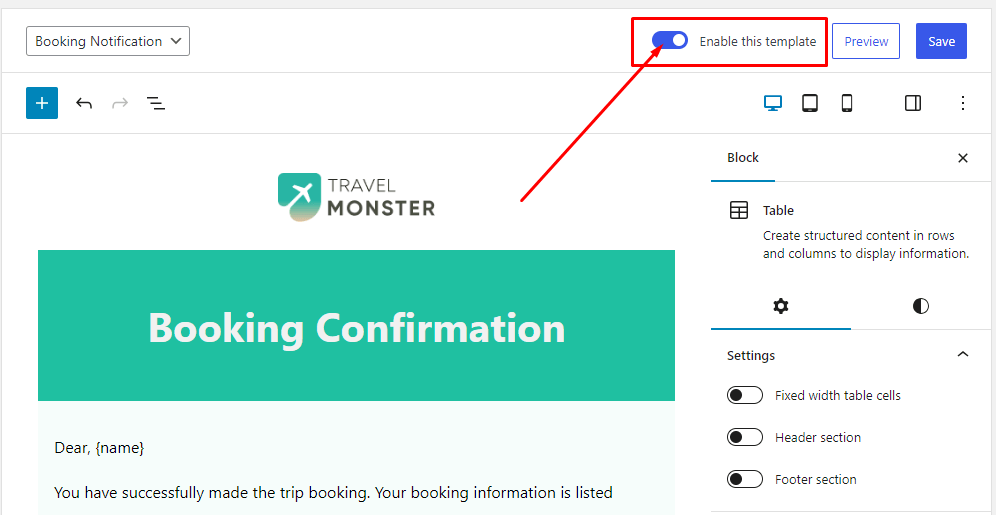
Note: If you choose to disable the template, you will still have the option to customize and save the template as per your preferences. However, your changes will not be applied to the email.  Instead, the system will revert to the default email layout.

Updated on May 24, 2024
Elementor WidgetsTrip Code
Table of Contents
  • Download the Add-on File
  • Installing the Add-on
  • Activating the Plugin License 
  • How to Use Email Customizer
    • Customizing the Email Templates
    • Dynamic Placeholders
    • Enable/Disable Email Templates
© Copyright 2025 WP Travel Engine Documentation. All Rights Reserved.