Some trips need a conversation before a booking. Price on Request is built for those trips.
It replaces the booking widget on any trip with a pricing card: an optional starting price, a few highlights, and a button that connects travelers to you. Use it on custom itineraries, private tours, luxury packages, or any trip where the price depends on who’s asking.
Works per trip. Everything else on your site stays untouched.
Key Features & Benefits #
| Feature | Benefit |
| Per-trip toggle | Turn any trip into a lead capture opportunity before you’re ready to publish a price |
| Optional starting price (original + sale + category) | Give travelers a cost anchor before they inquire, without locking in a fixed amount |
| Trip highlights | Tell travelers what’s included and what’s flexible, directly on the pricing card |
| Customizable section title and button text | Match the card’s language to the trip and your brand |
| Three button actions (inquiry form, custom link, own form) | Connect travelers to your preferred inquiry channel without sending them off-page |
Prerequisites #
Before using this add-on, make sure:
- You have WP Travel Engine installed and activated on your WordPress site.
- You have updated WP Travel Engine to its latest version.
- You have installed and activated the Price on Request add-on.
How to Install the Price on Request Add-on #
Verification #
To confirm the add-on is active and working:
- Go to your WordPress Dashboard.
- Navigate to Trips and open any trip.
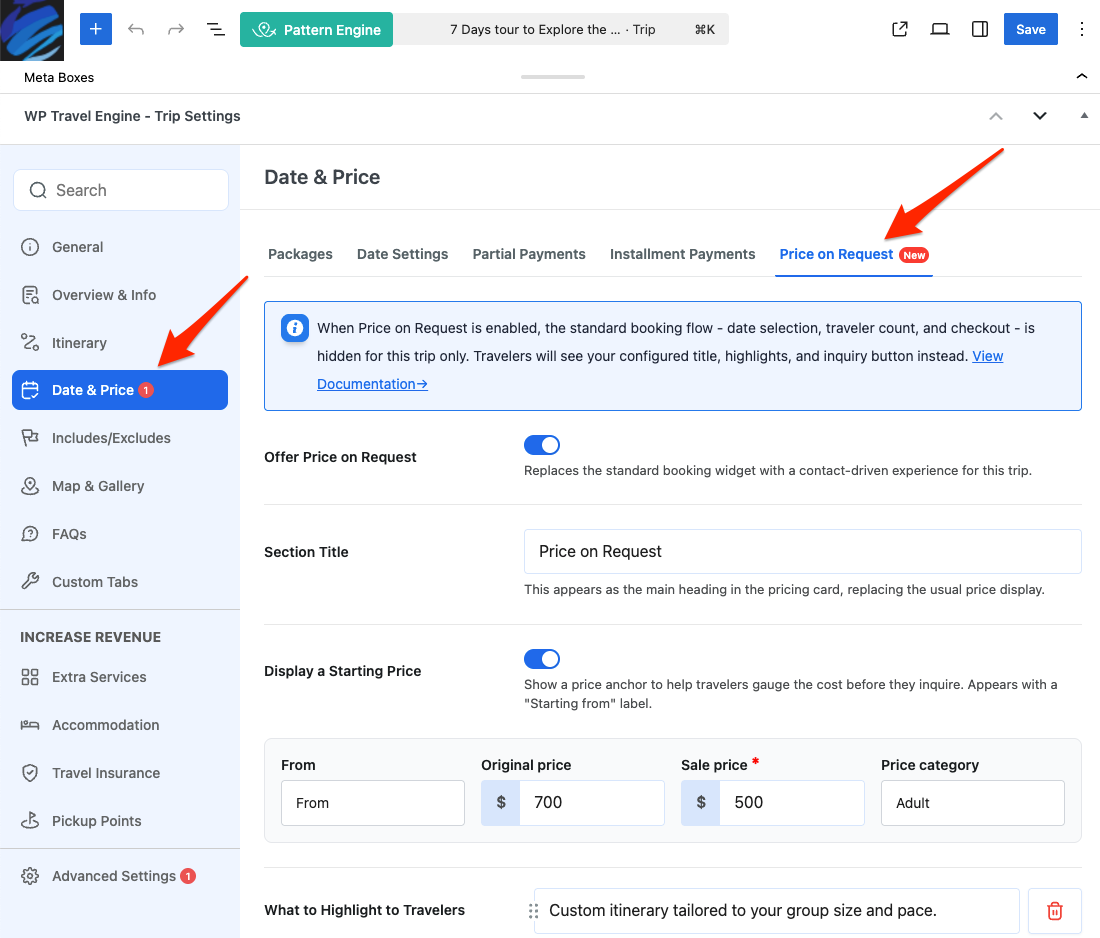
- Click Date & Price from the left menu.
- Confirm that a Price on Request tab appears at the top alongside the other tabs.
If the tab doesn’t appear, deactivate and reactivate the add-on from the Plugins screen.
Configuring the Price on Request Add-on #
Go to Trips and open the trip you want to configure. Navigate to WP Travel Engine-Trip Settings > Date & Price from the left menu, then select the Price on Request tab.
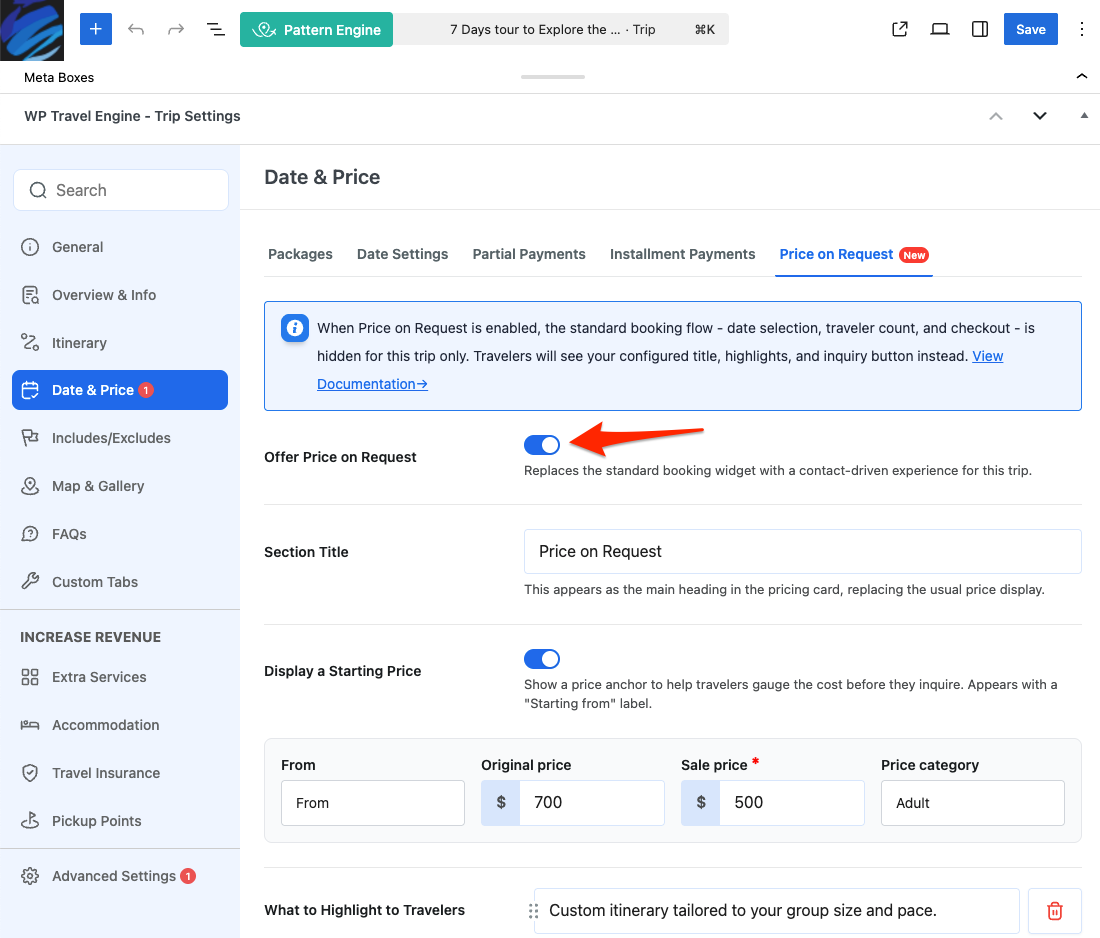
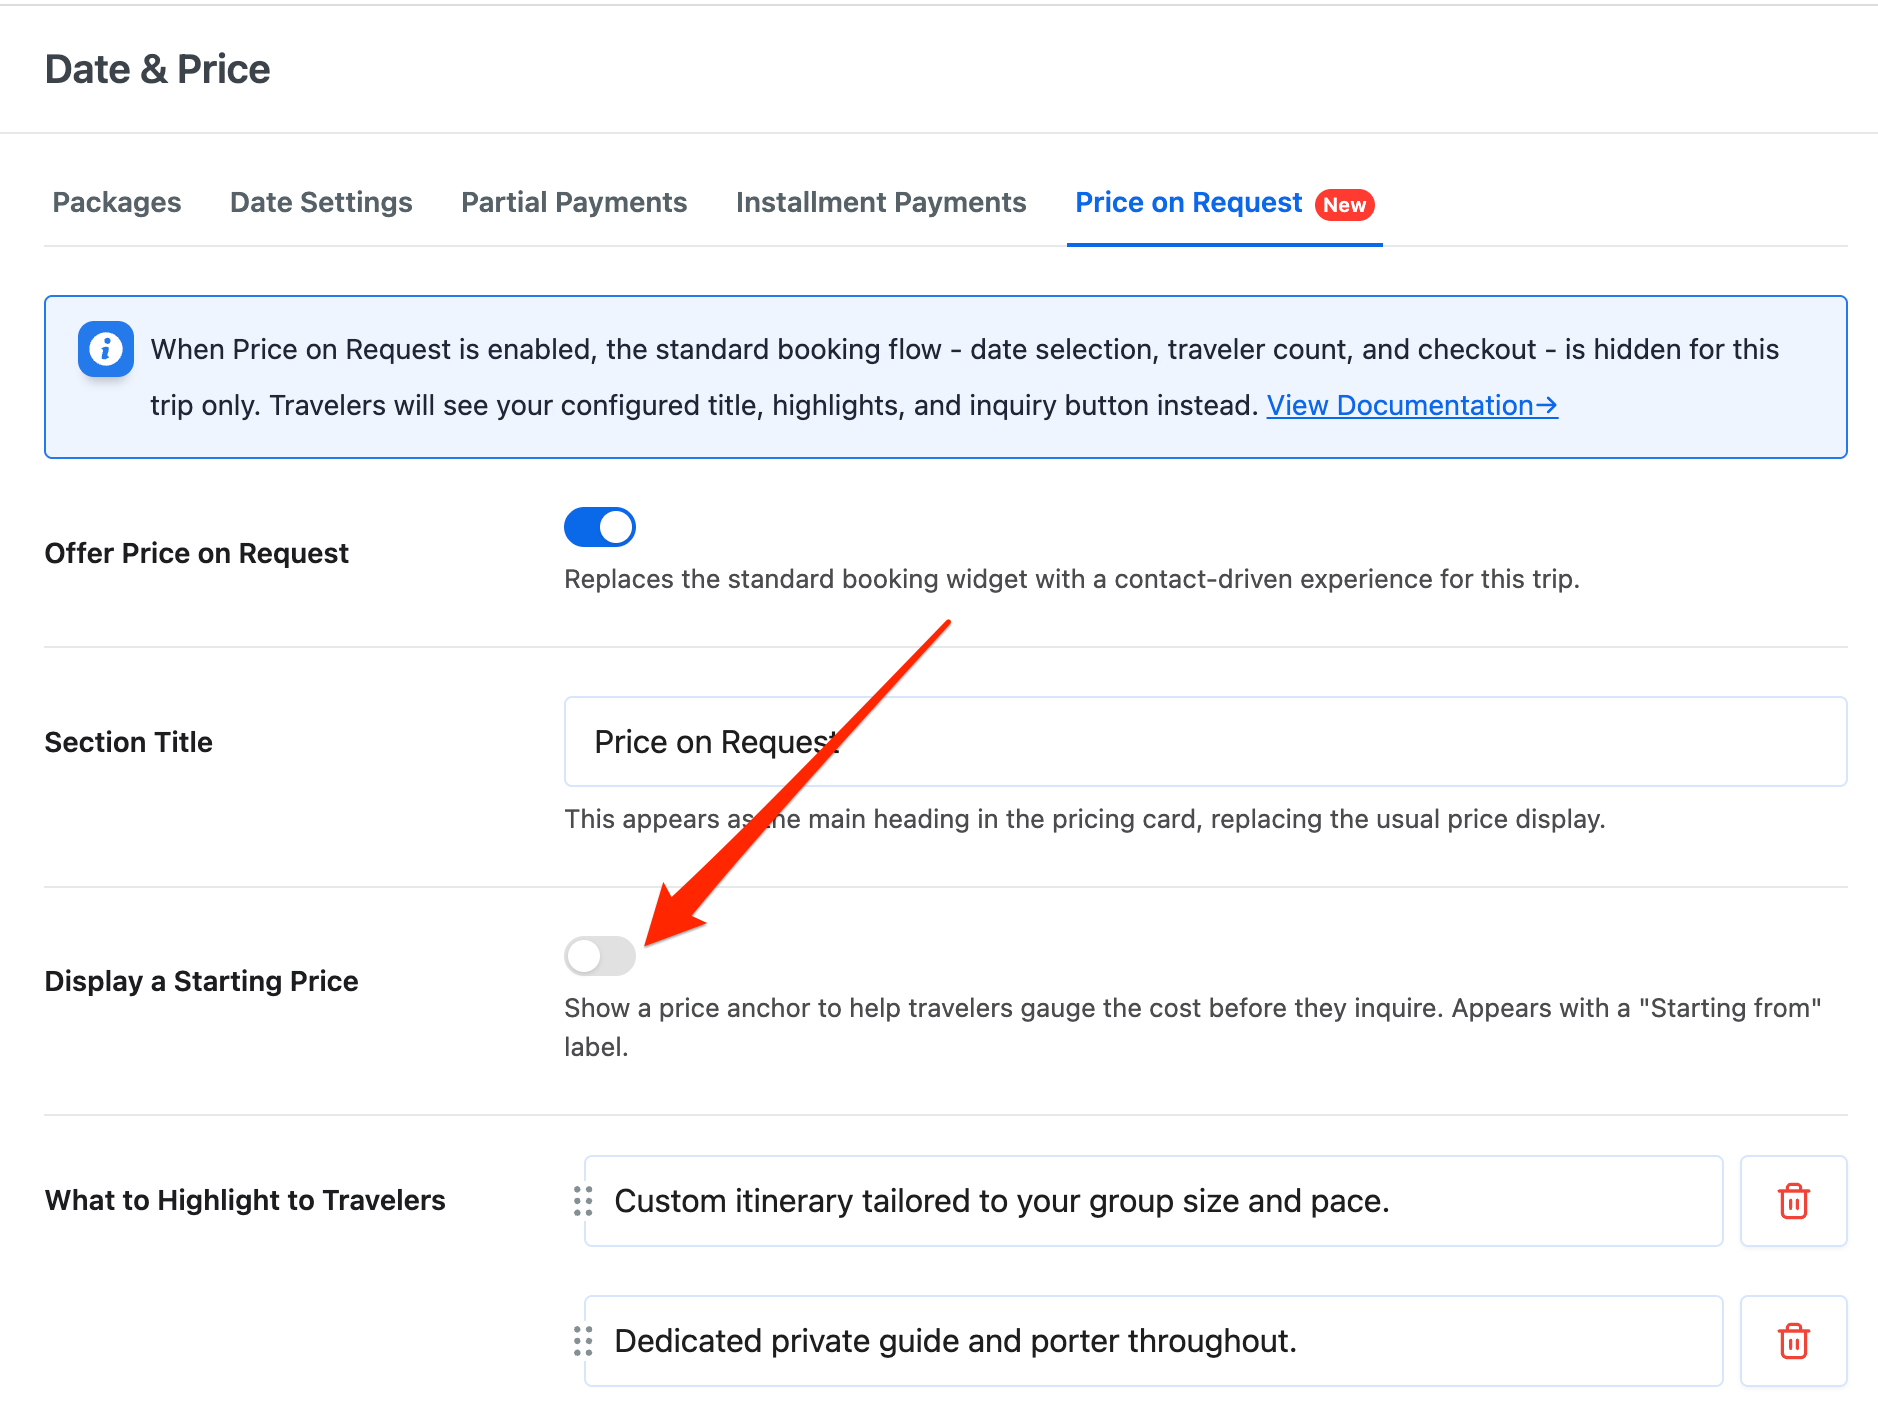
Offer Price on Request #
Toggle on Offer Price on Request. This hides the booking widget – date selection, traveler count, and checkout – and replaces it with the pricing card for this trip.
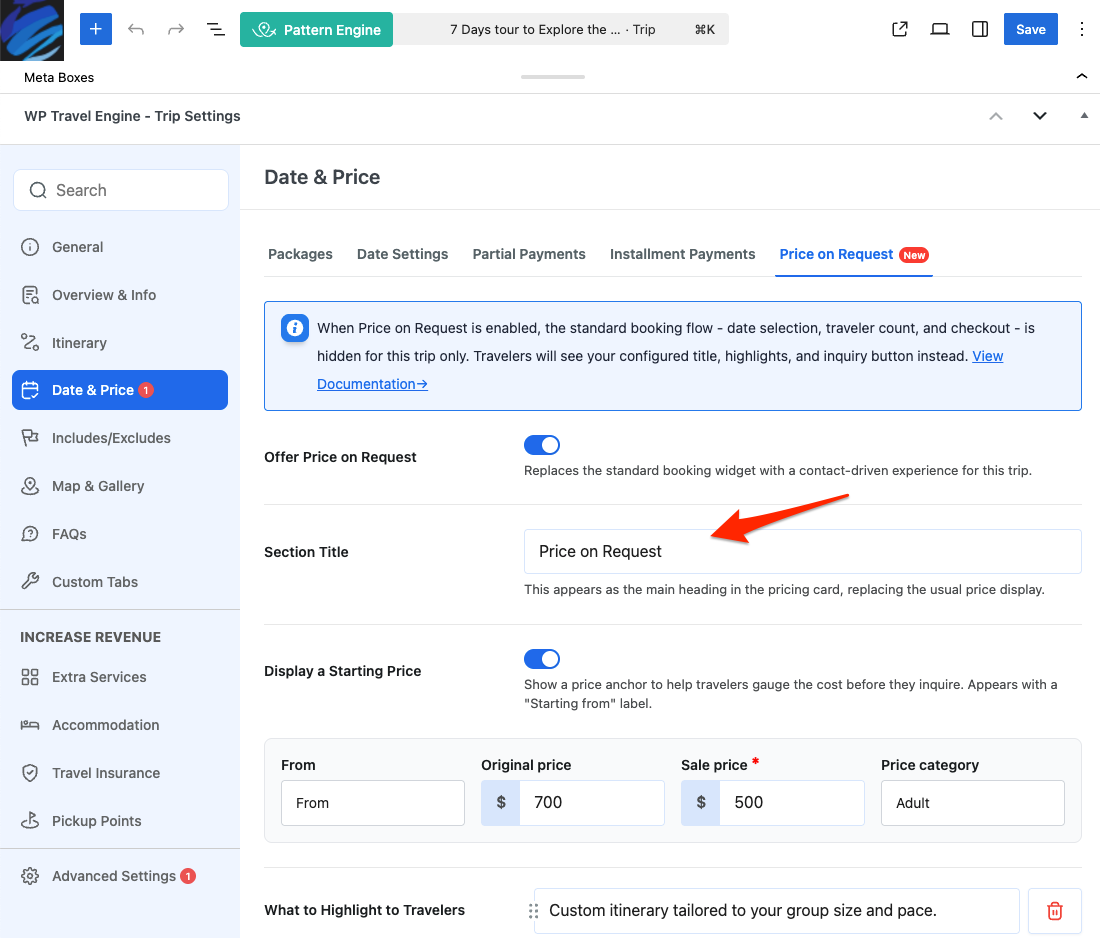
Section Title #
Enter the heading that appears at the top of the pricing card on the trip page. Change it to anything that fits the trip – Request a Custom Itinerary or Get a Tailored Quote, for example.
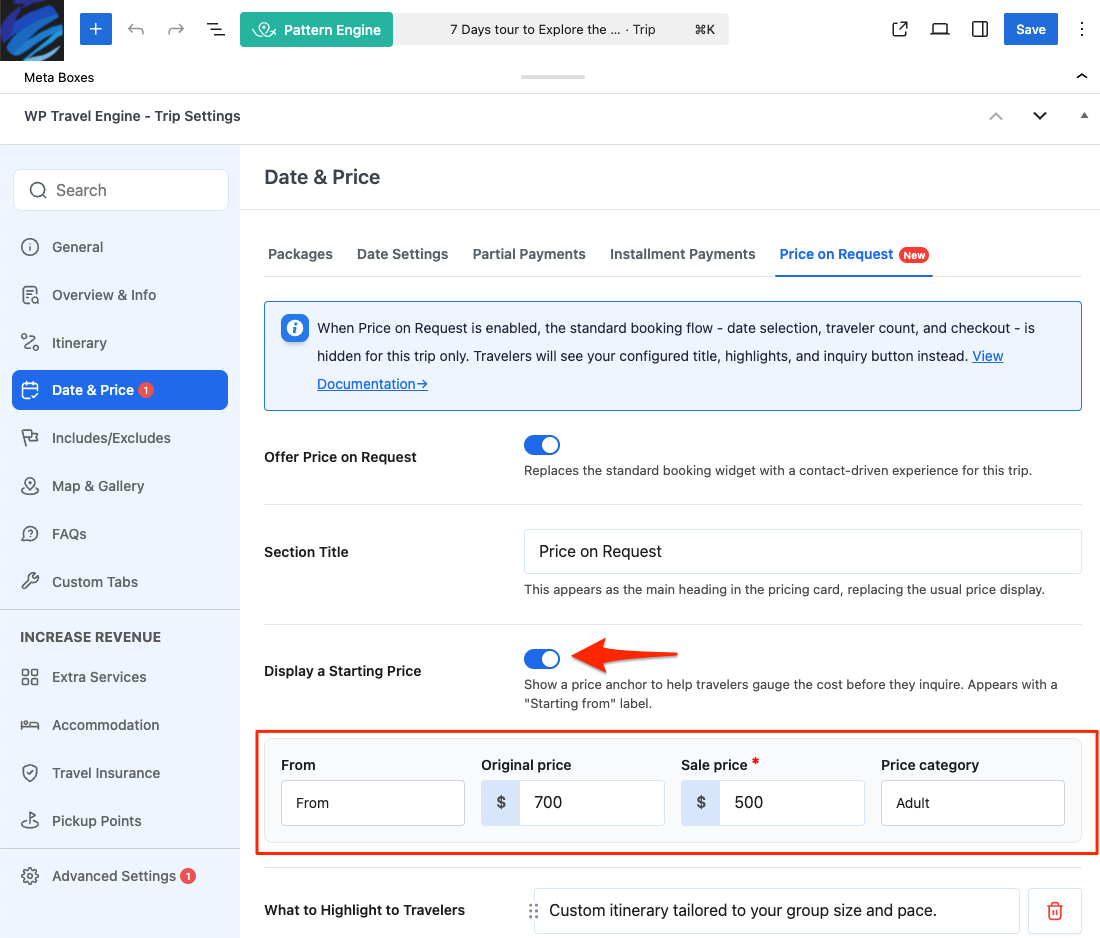
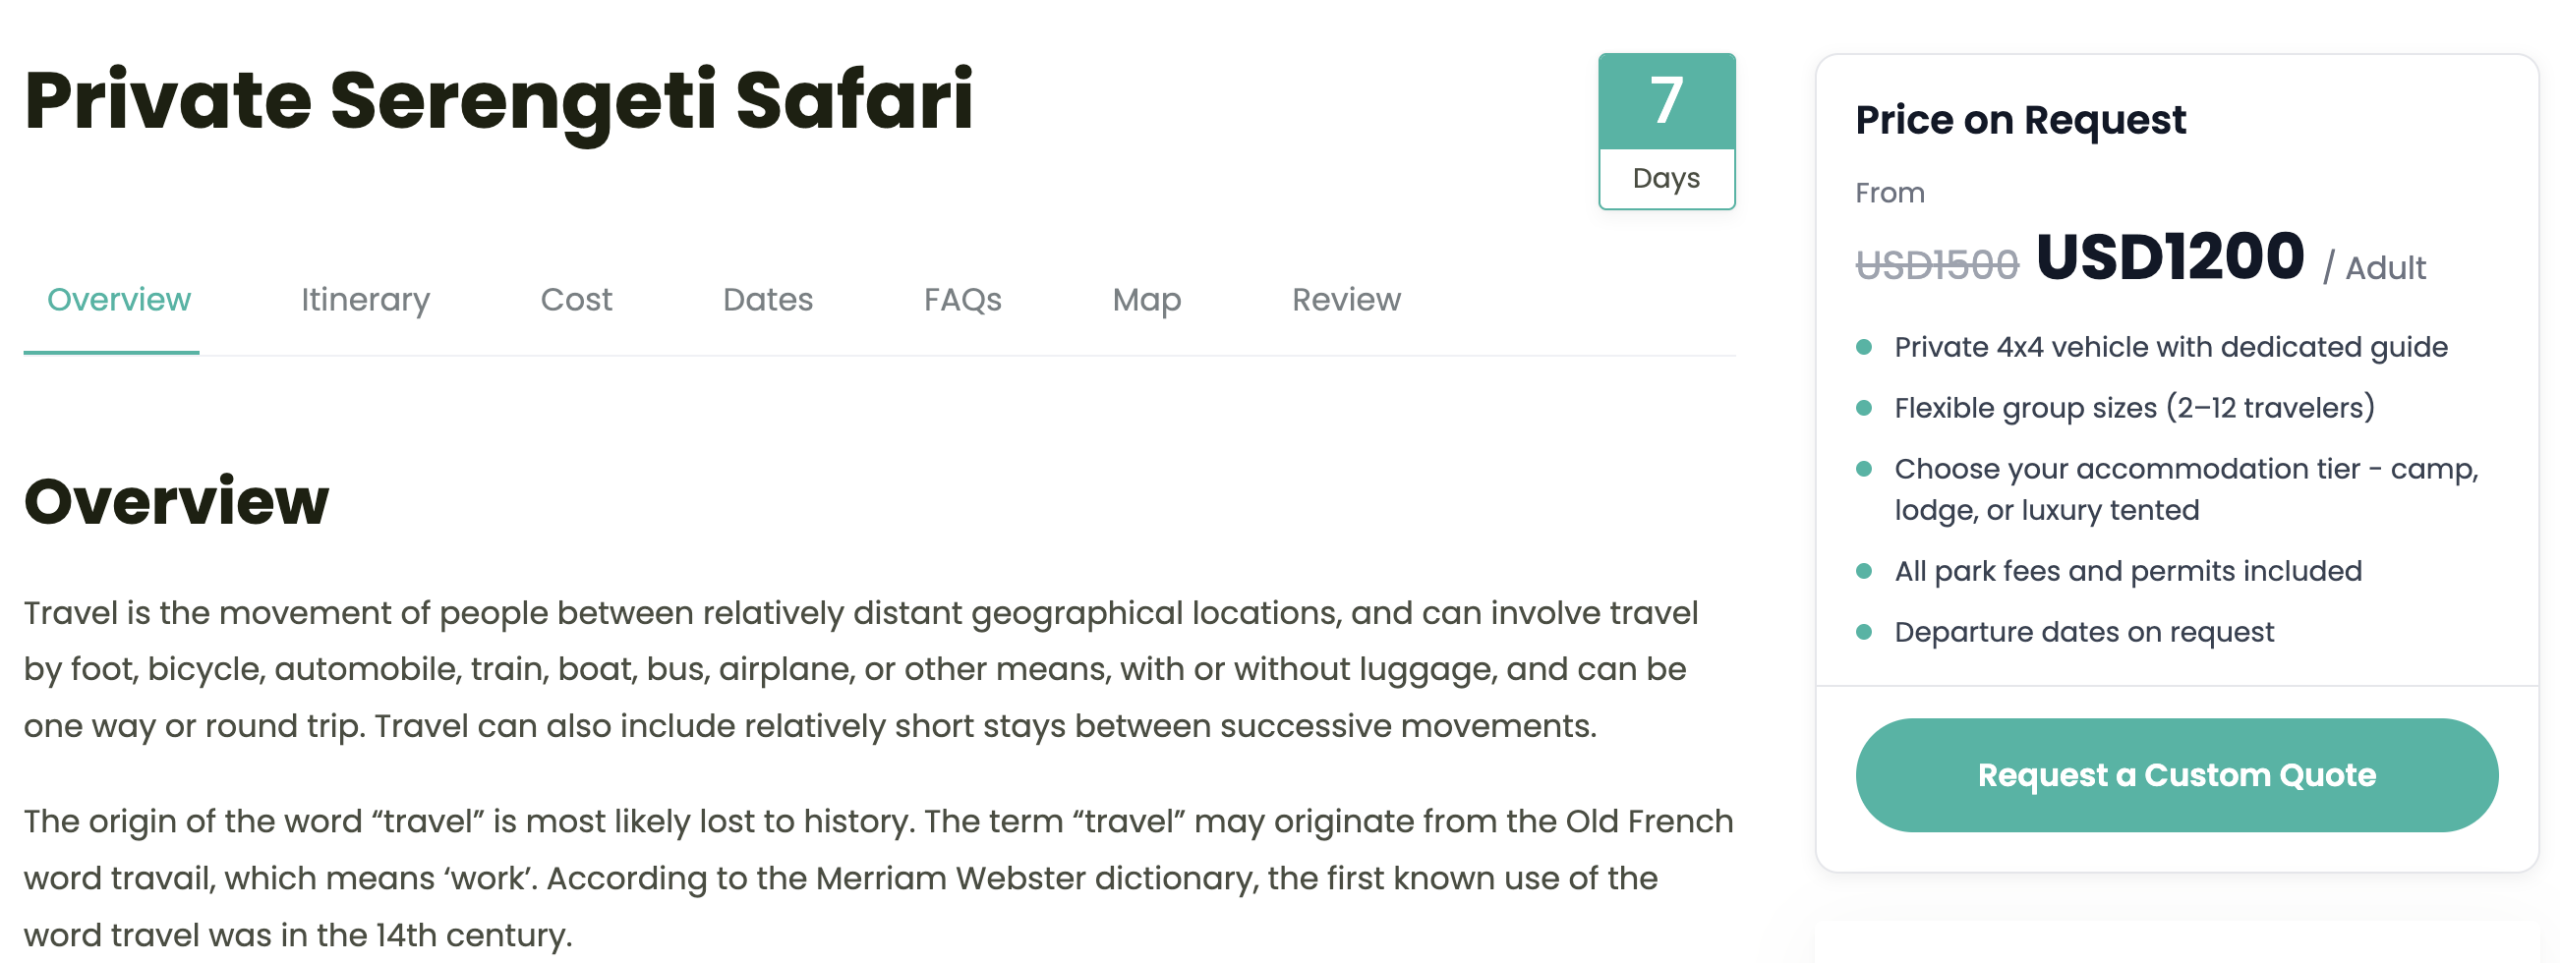
Display a Starting Price #
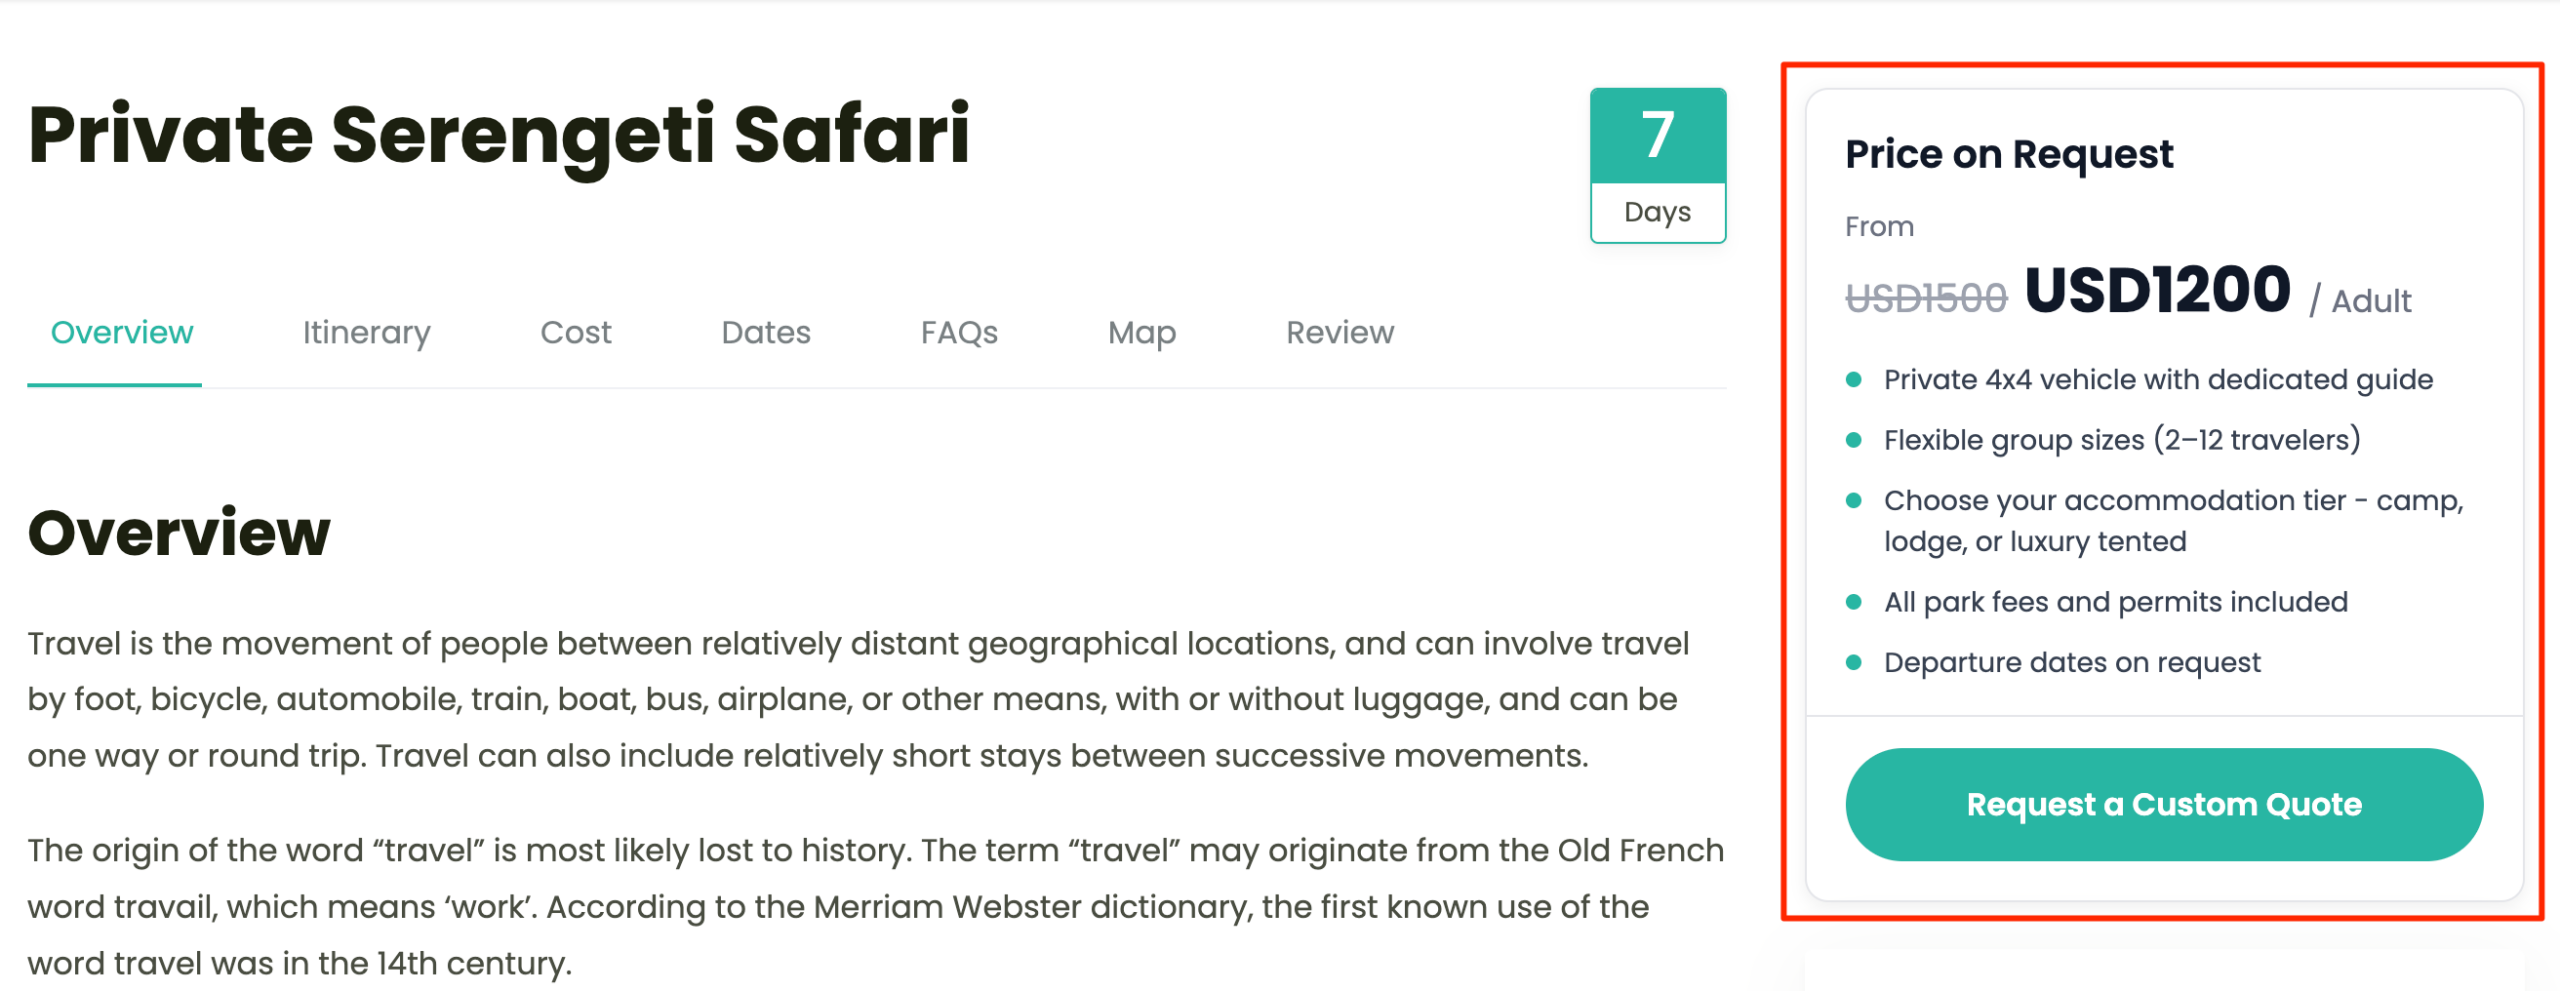
Toggle on to show a price anchor on the trip page. Four fields appear:
- From – The label shown before the price.
- Original price – Displays with a strikethrough to indicate the full cost before discount.
- Sale price – The price travelers see highlighted. Required when this toggle is on.
- Price category – The traveler type this price applies to, e.g. Adult.
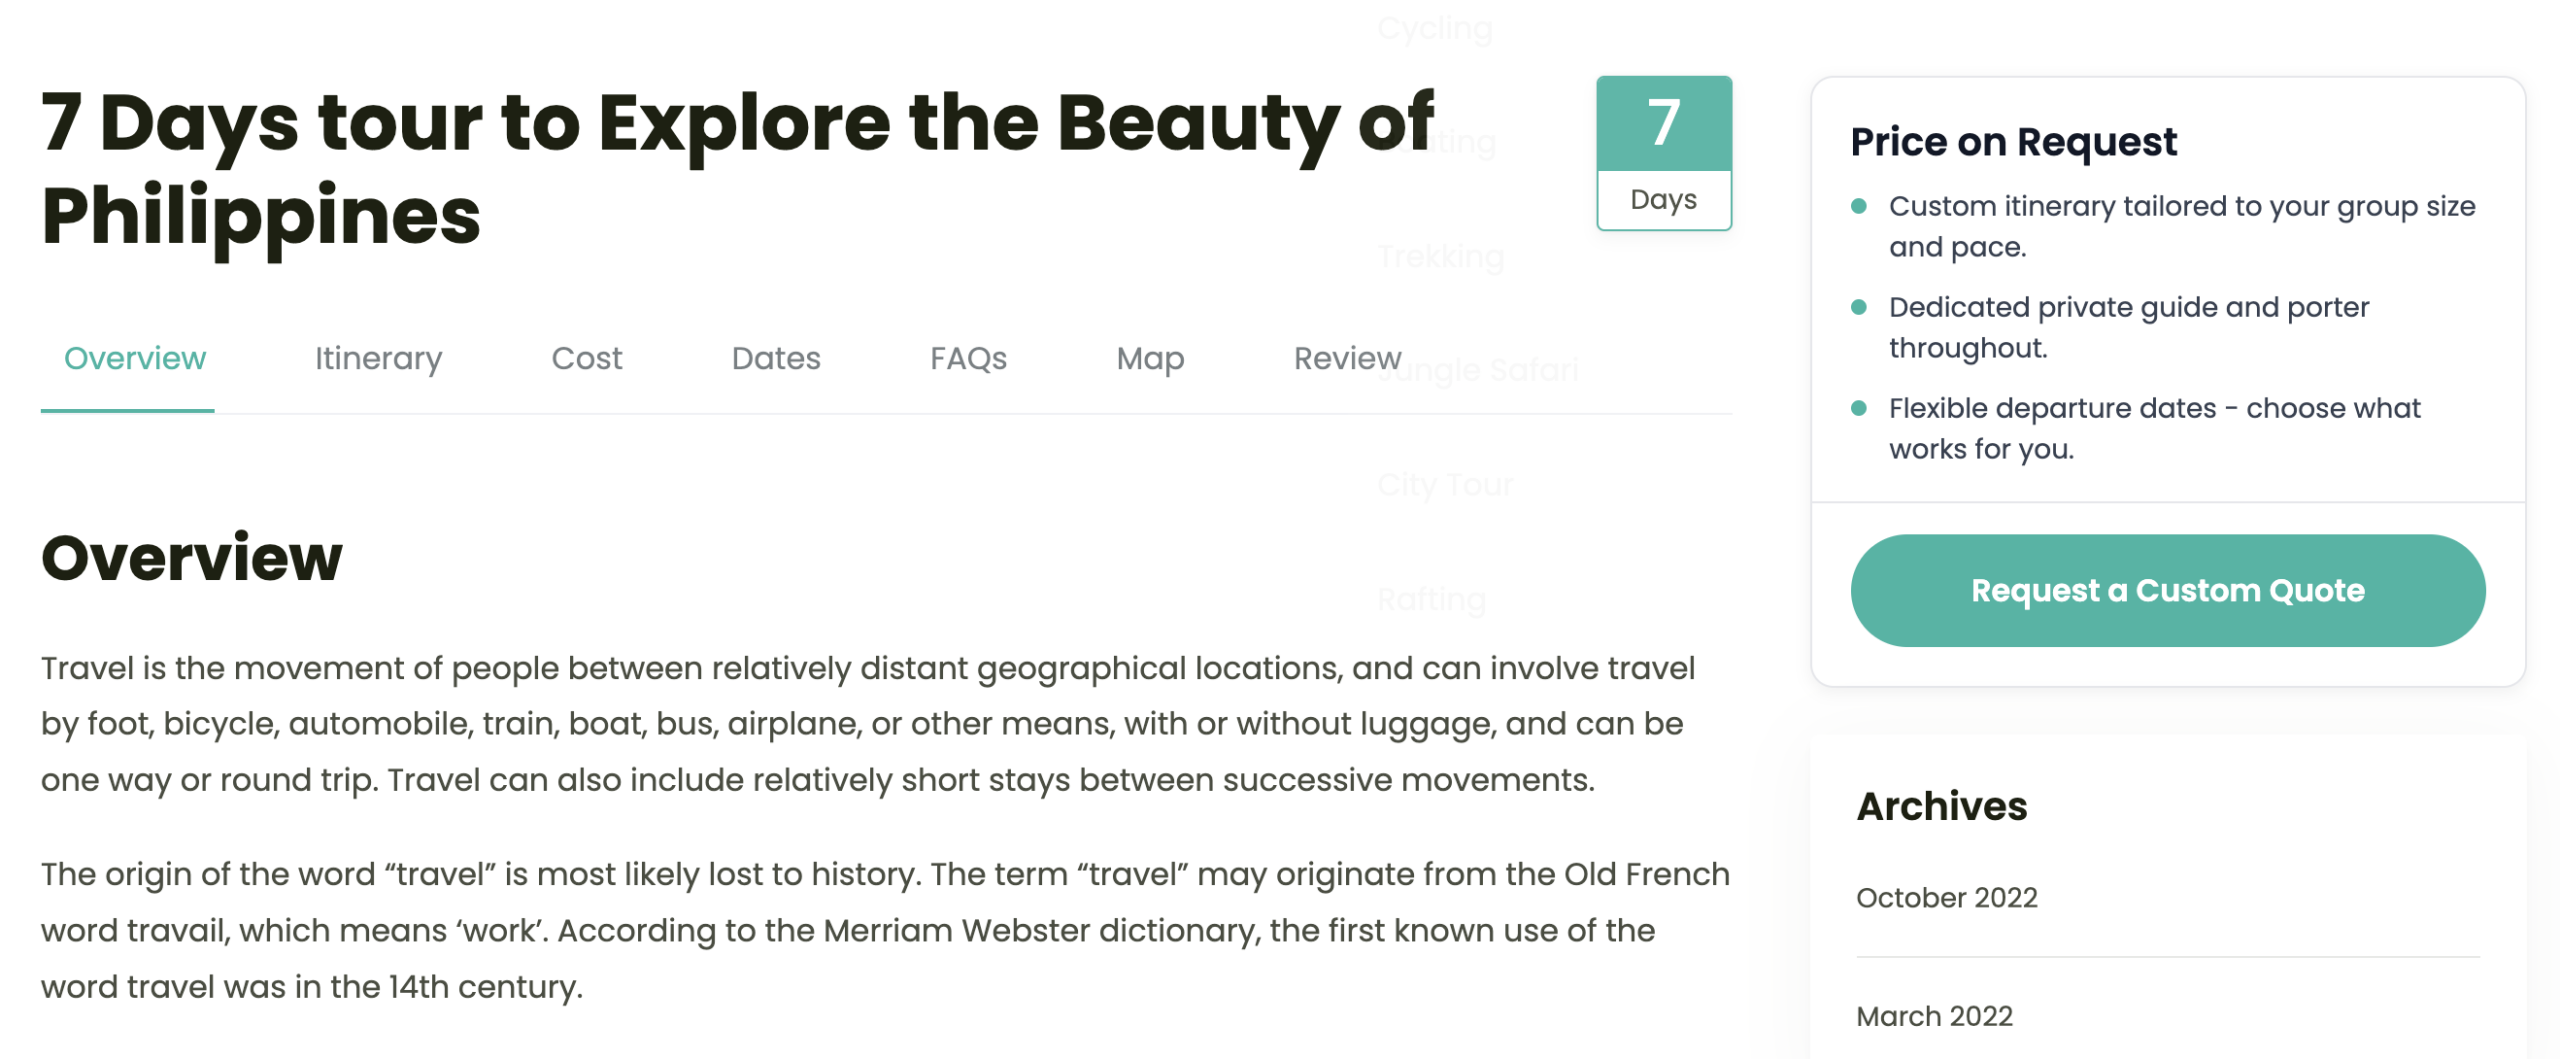
Leave the toggle off to show no price at all.
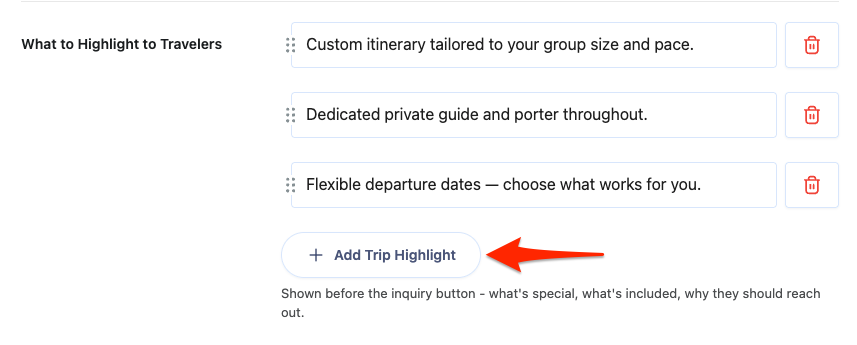
What to Highlight to Travelers #
Add a short list of bullet points that appear on the pricing card above the inquiry button – what’s included, what’s flexible, and why the trip is worth contacting you about.
- Click any field and type your highlight.
- Click + Add Trip Highlight to add more rows.
- Click the delete icon on the right to remove a highlight.
Call-to-Action Button Text #
Enter the label for the inquiry button.
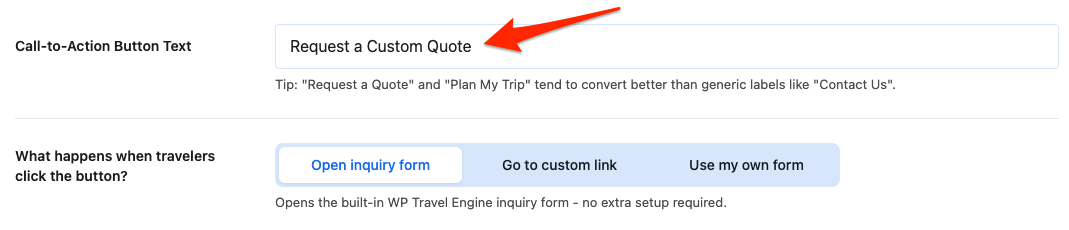
What Happens When Travelers Click the Button #
Three options control what the button does.
Open inquiry form Opens the built-in WP Travel Engine inquiry form on the trip page. No extra setup needed.
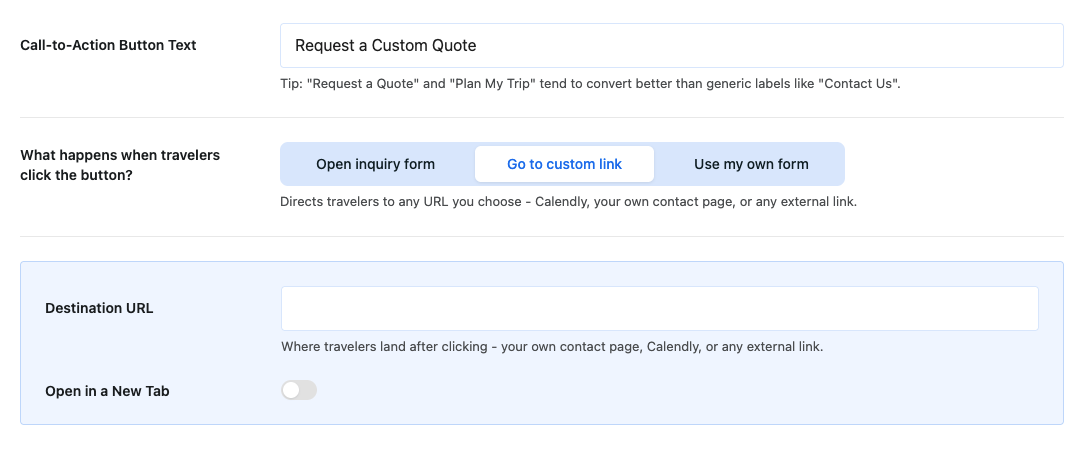
Go to custom link Takes travelers to a URL you choose – your contact page, a Calendly link, or any external page. Two fields appear when you select this option:
- Destination URL – The full URL travelers land on after clicking.
- Open in a New Tab – Toggle on to open the link in a new browser tab.
Use my own form Opens a third-party form in a lightbox popup when travelers click the button. Works with Contact Form 7, WPForms, and Gravity Forms, and any plugin that generates a shortcode.
- Form Shortcode – Paste your form’s shortcode here.

Once all settings are configured, click Save in the top right corner.
Use Cases #
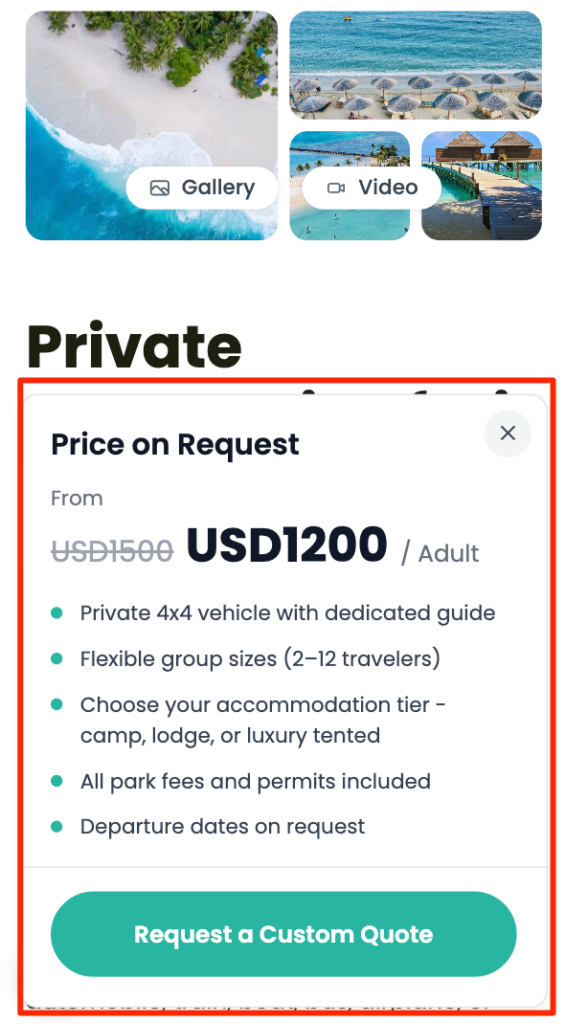
Use Case 1: Custom Safari Pricing #
Situation: You offer private safari packages where the final price depends on group size, travel dates, and accommodation tier. A fixed checkout widget would either undercharge small groups or lose large ones before they even inquire.
Implementation:
- Open the trip in your WordPress dashboard and go to Date & Price → Price on Request.
- Toggle on Offer Price on Request.
- Add highlights that cover what’s included – private vehicle, guide, accommodation options.
- Set the button action to Open inquiry form so travelers can reach out without leaving the page.
- Click Save.

Benefit: Travelers see a focused pricing card with your highlights and a single button to inquire. You capture the lead and discuss pricing before any booking is confirmed.
Use Case 2: Listing a Trip Before Pricing Is Finalized #
Situation: You want to publish a new itinerary to gauge interest, but supplier quotes aren’t back yet and you can’t commit to a price.
Implementation:
- Open the trip and go to Date & Price → Price on Request.
- Toggle on Offer Price on Request.
- Leave Display a Starting Price off so no price appears on the page.
- Set the button action to Go to custom link and point it to your contact page or a Calendly booking link.
- Click Save.
Benefit: The trip goes live and starts collecting leads. Once pricing is confirmed, you can disable Price on Request and set up standard packages.
Frontend Preview #
Desktop Preview #
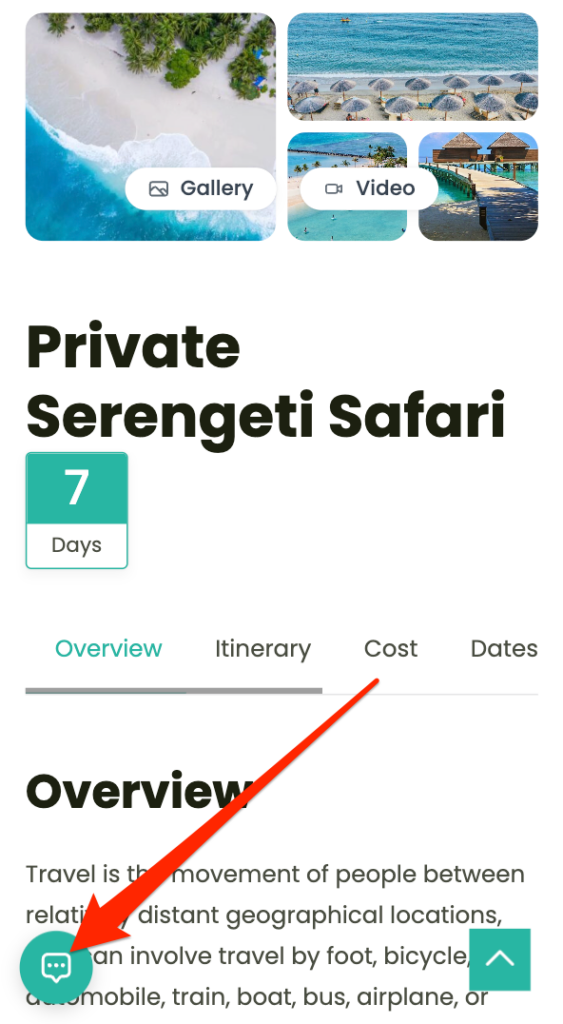
Mobile Preview #
FAQ #
Does enabling Price on Request affect other trips on my site? #
No. Only the trip you configure it on will show the pricing card.
What happens to existing packages if I enable Price on Request on a trip that already has bookings set up? #
The booking widget is hidden from the trip page, but your packages and existing bookings are not deleted. Disable Price on Request later, and the booking widget returns.
Can I use Price on Request and standard packages on the same trip? #
No. Enabling Price on Request hides the booking widget for that trip entirely.
Which form does “Open inquiry form” use? #
The built-in WP Travel Engine inquiry form. No additional configuration is needed.