Table of Contents
You can add a Trips Module Three widget via the Elementor plugin to showcase the trips on pages.
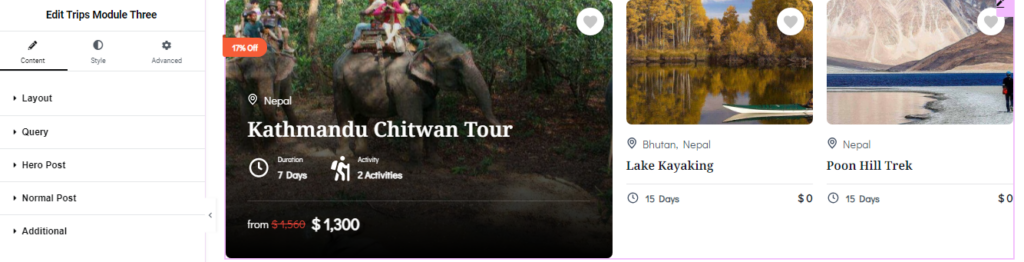
You can check the below instructions to configure the widget.
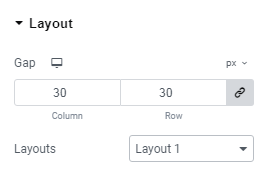
Layout Settings #
- Gap: Define the spacing between the rows and columns of trips displayed in this section.
- Layout: Select from a variety of layout options to display trips. There are different layouts available, allowing you to customize the appearance of the Trip Module Three widget.
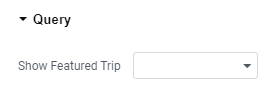
Query Settings #
- Show Featured Trip: Select a featured trip that you want to display.
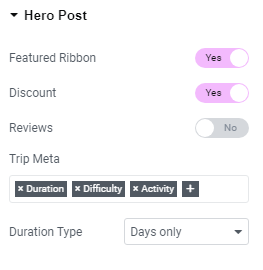
Hero Post #
- Featured Ribbon: Enable to display a “featured” ribbon on trips.
- Discount: Enable to display the discount percentage.
- Review: Enable to display trip reviews.
- Trip Meta: Add the title meta that you want to display in each trip.
- Duration Type: Choose to display the trip duration in days or nights.
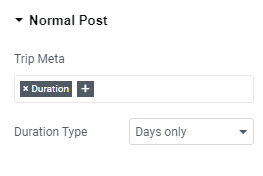
Normal Post Settings #
- Trip Meta: Choose the metadata to display for normal trip posts.
- Duration Type: Select whether to display the duration in days or nights.
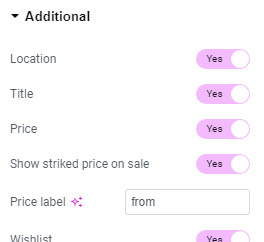
Additional Settings #
- Location: Enable the toggle to display the location of the trip.
- Title: Enable the toggle to display the title of the trip.
- Price: Enable the display of trip prices.
- Show Striked Price on Sale: Enable to display the striked price for trips on sale.
- Price Label: Add the price label.
- Wishlist: Enable the toggle to display the wishlist icon.
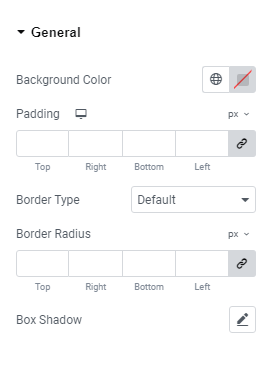
General Settings #
- Background Color: Choose the background color for the widget section.
- Padding: Adjust the padding around the content within the widget section.
- Border Radius: Set the border radius to control the roundness of the corners.
- Border Type: Choose the border type for the widget section.
- Box Shadow: Configure the box shadow effect for the post boxes within the widget section.
Content #
- Alignment: Align the widget section as desired.
- Background Color: Choose the background color for the widget section.
- Padding: Adjust the padding around the content within the widget section.
- Border Type: Select the border type for the widget section.
- Box Shadow: Configure the box shadow for the post boxes within the widget section.
- Border Radius: Set the border radius to control the roundness of the corners.

Hero Post (Style) #
- Padding: Adjust the padding for the Hero post.
- Meta Icon Size: Set the icon size of meta of the trips.
- Color: Choose the color for the Hero post.
- Hover Color: Select the hover color for the Hero post.
- Title Typography: Customize the typography for the Hero post title.
- Typography: Configure the typography for both the Normal Price and Strikeout Price.
- Color: Set the color for the Normal Price and Strikeout Price.
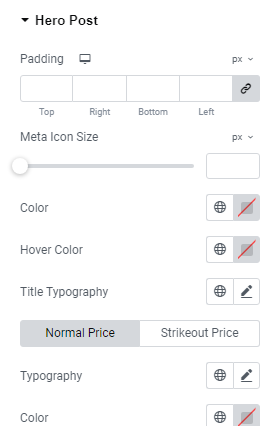
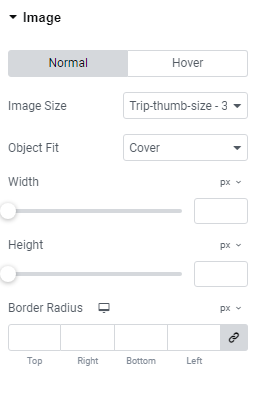
Image #
- Image Size: Select the aspect ratio for the featured image of the trips for both normal and hover modes.
- Object Fit: Choose the object fit for the trip’s featured image in both normal and hover modes.
- Width: Specify the width of the image for both normal and hover modes.
- Height: Specify the height of the image for both normal and hover modes.
- Border Radius: Set the border radius for the image of the trips.
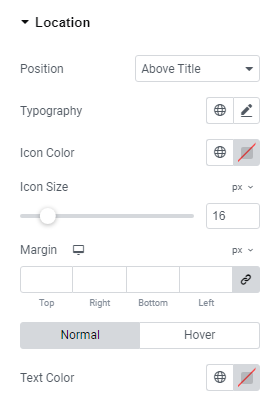
Location #
- Position: Set the position of the trip location.
- Typography: Configure the typography for the trip location.
- Icon Color: Choose the color for the location icon.
- Icon Size: Set the size of the location icon.
- Margin: Adjust the margin around the location.
- Text Color: Specify the text color for the trip location.
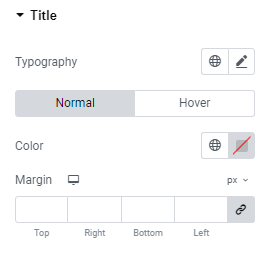
Title #
- Typography: Choose and configure the typography for the post titles.
- Color: Set the color of the trip titles displayed in this widget for both normal and hover mode.
- Margin: Set a margin around the title of the trips for both normal and hover mode.
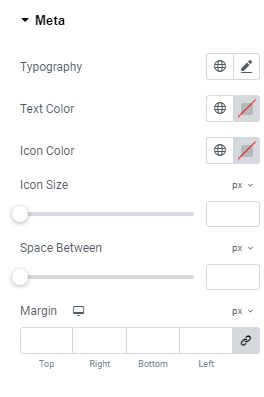
Metas #
- Typography: Select typography for the Trips Metas.
- Text Color: Set the text color of Trips Metas.
- Icon Size: Select the size of the Metas icons.
- Icon Color: Choose the color for the icons in Trips Metas.
- Space Between: Adjust the space between the Trips Metas.
- Margin: Set a margin around the Trips Metas.
Price #
- Typography: Set the typography for both the normal and strikeout prices.
- Color: Choose the color for both the normal and strikeout prices.
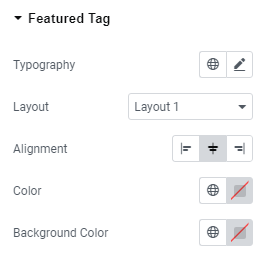
Featured Tag #
- Typography: Set the typography for the featured tag.
- Layout: Select a layout to display the featured tag; three options are available.
- Alignment: Choose the alignment for displaying the featured tag.
- Color: Choose the color for the featured tag.
- Background Color: Select a background color for the featured tag.
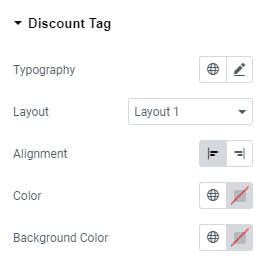
Discount Tag #
- Typography: Set the typography for the discount tag.
- Layout: Select a layout to display the discount tag; two options are available.
- Alignment: Choose the alignment for displaying the discount tag.
- Color: Choose the color for the discount tag.
- Background Color: Select a background color for the discount tag.