Table of Contents
The Per Trip Emails add-on lets you customize email messages for each individual trip. This helps you send more relevant and personalized emails to your customers, making communication clearer and more engaging based on the trip they booked.
Prerequisites #
Before setting up the Per Trip Emails Add-on with WP Travel Engine, make sure you have the following:
- A WordPress website with the premium version of the WP Travel Engine plugin installed and configured.
- The Per Trip Emails Add-on is installed, and the license key is activated.
Benefits #
- Send trip-specific information that is more relevant to your travelers
- Improve customer experience with personalized and clear communication
- Reduce confusion by avoiding generic emails for different trips
- Build trust and professionalism with customized messaging for each booking
Creating Personalized Email Templates #
Now, to create the personalized email templates for your trips, follow these steps:
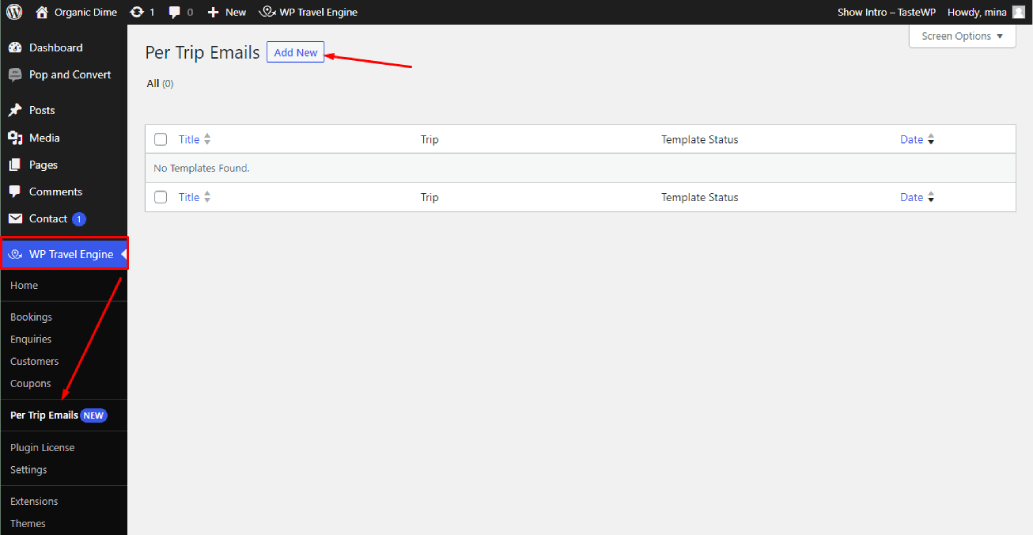
- On your WordPress dashboard, go to WP Travel Engine > Per Trip Emails > Add New.
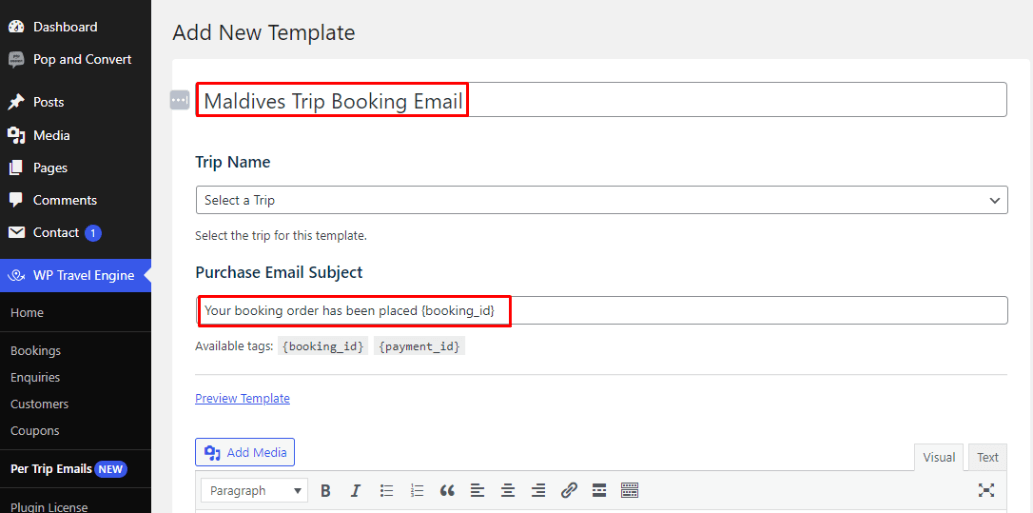
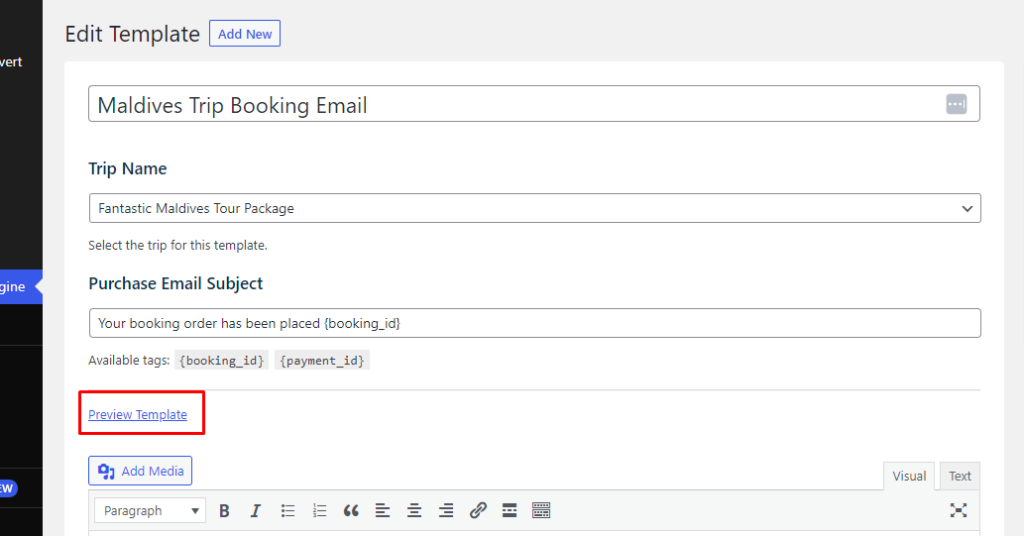
- Enter a title for your template. For e.g., Maldives Trip Booking Email.
- Now, enter an email subject line. You can use the available tags, such as {booking_id} {payment_id}. For e.g., The subject line can be: Your booking order has been placed {booking_id}.
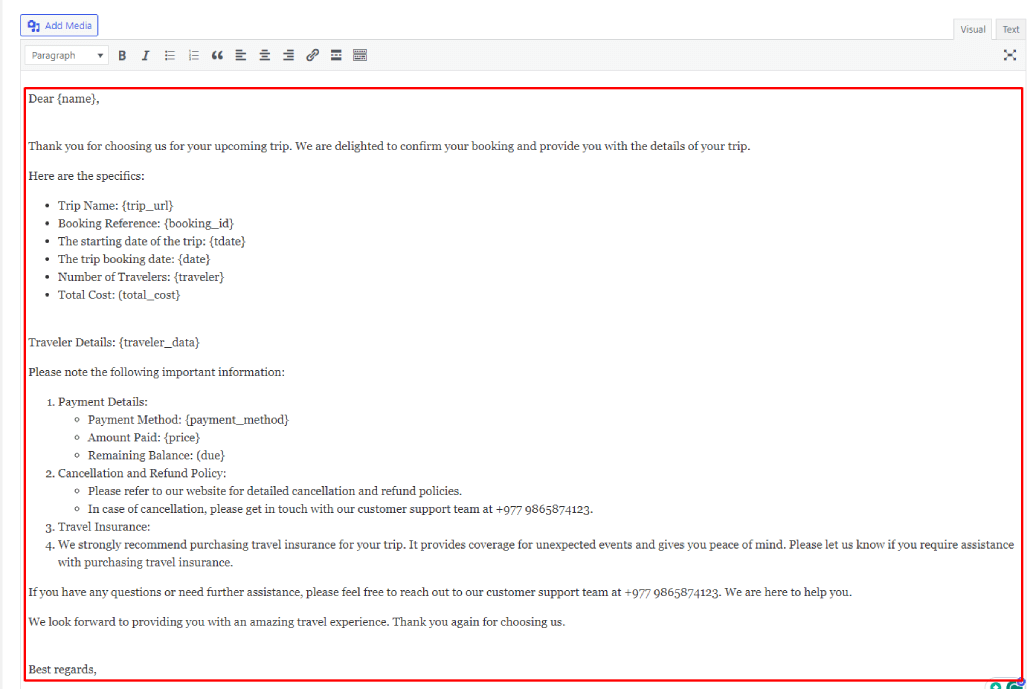
- Next, compose your email content in the text area, using the available tags to personalize it. For instance, you can use tags like {trip_url} and {name} to display the trip URL and buyer’s first name for each booked trip, respectively.
- Now, assign your drafted email to a trip by selecting it from the Trip Name drop-down menu.
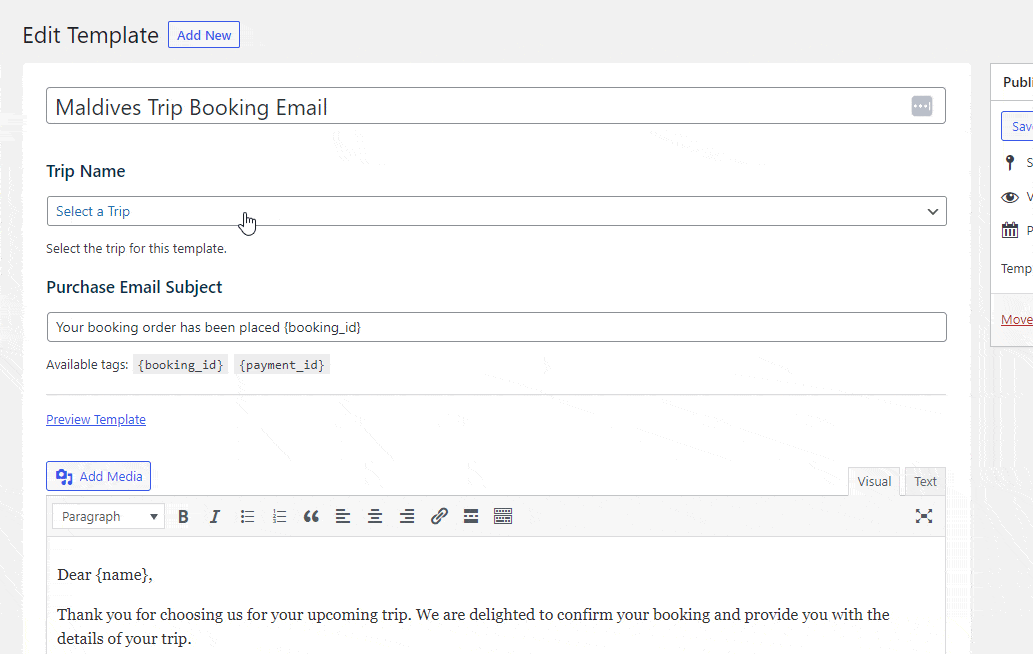
- You can also preview your email with the Preview button and make changes before sending it.
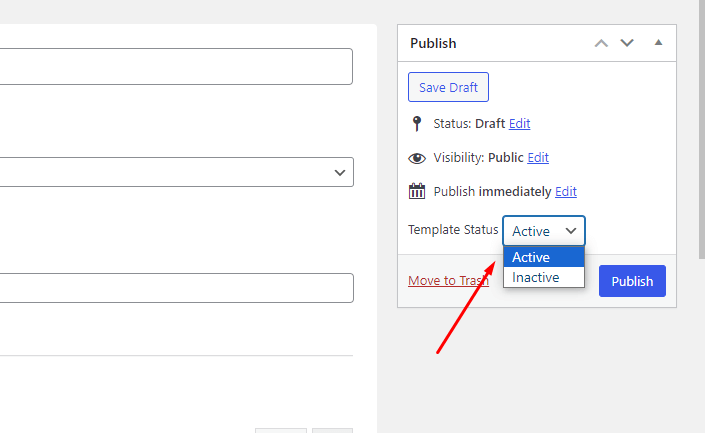
- Under the Publish settings, you can save your email template as a draft or publish it immediately.
You can create a personalized email template for each unique trip by repeating the same process.
Feel free to contact our support team for any other assistance.