The Trip Weather Forecast add-on allows you to add a weather widget for trips on your travel site, choosing from over 800,000 worldwide locations.
You can follow the video or the steps below to configure the Trip Weather Forecast add-on.
Key Features #
- 800,000+ Location Support: Choose from over 800,000 global locations to display accurate weather data for each trip.
- Real-Time Weather Updates: Weather data is updated automatically every minute for accuracy.
- Customizable Widget: Add a weather widget to your trip pages with custom title and header options.
- Hourly & Daily Forecasts: Option to display up to 5 hours of hourly forecast and 3 days of daily forecast.
- Per-Trip Configuration: Select a specific city for each trip individually from the trip edit screen.
- Hide Option: Option to hide the weather widget on selected trips if needed.
Seamless Integration: Fully integrates with WP Travel Engine trips without requiring custom coding.
Prerequisites #
Before setting up the Trip Weather Forecast Add-on, make sure you have:
- WP Travel Engine Plugin v5.7.6 or Later Installed and Activated.
- Trip Weather Forecast Add-on Installed and Activated (with a valid license key).
- Weather API Account Created: Sign up or log in to the weather API provider to generate your unique API Key.
- API Key Saved: Copy and paste the API key in WP Travel Engine > Settings > Extensions > Trip Weather Forecast.
- At Least One Trip Created: You’ll need trips to assign specific weather locations.
- Active WP Travel Engine Sidebar: Ensure the sidebar is enabled where you plan to place the widget.
How to Install the Trip Weather Forecast Add-on #
Generating the API Key #
To generate the API Key, navigate to WP Travel Engine > Settings > Extensions > Trip Weather Forecast.
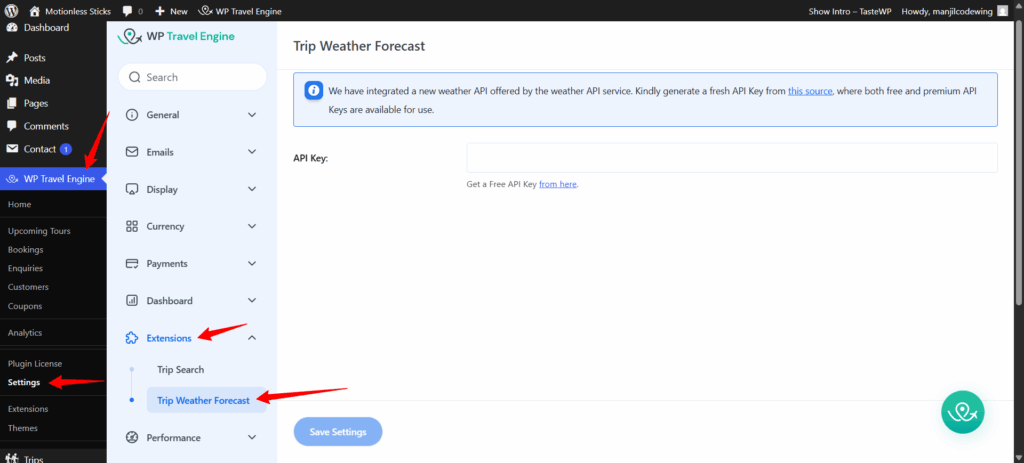
- Then click on either of the provided text links, “this source” or “from here,” to initiate the API Key generation process.
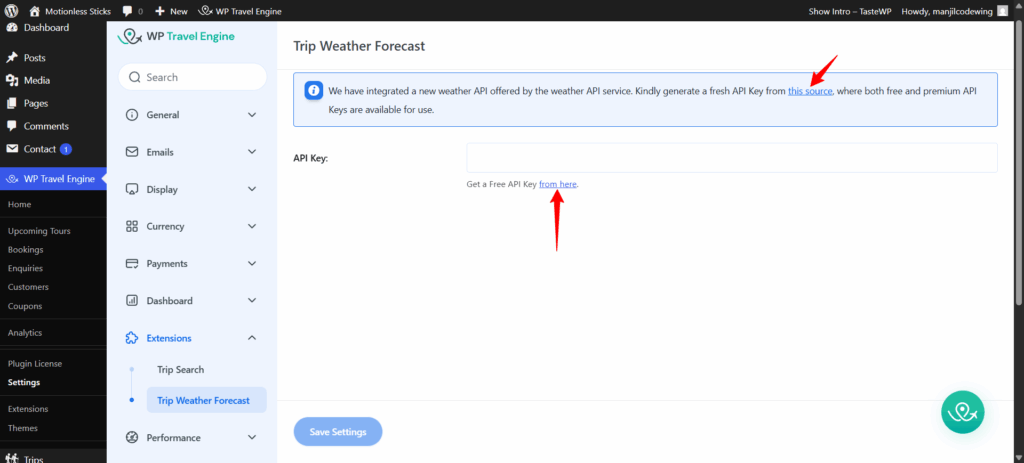
- After clicking on either of the links, you will be redirected to the weather API’s website.
- If you already have an account, log in using your credentials. Otherwise, sign up for a new account.
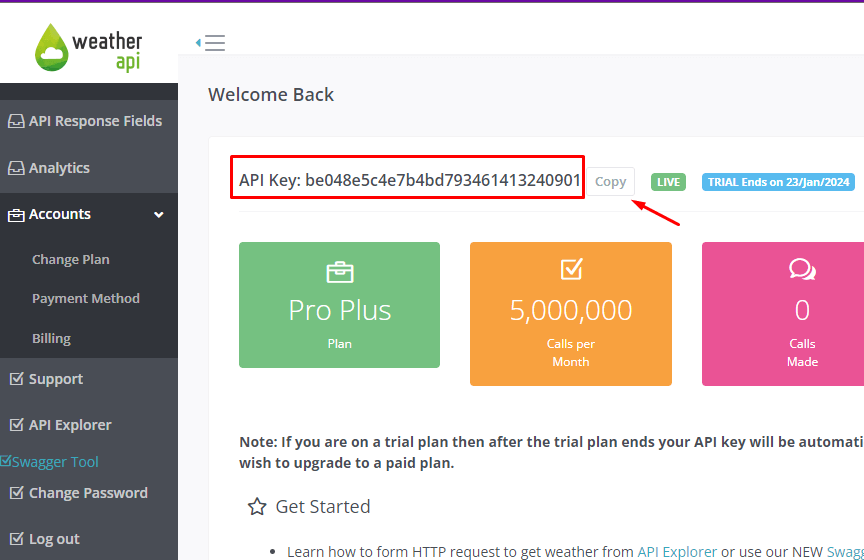
- Once you’ve successfully logged in, you’ll be able to view your unique API Key.
- Click the “copy” icon to copy the Key to your clipboard conveniently.
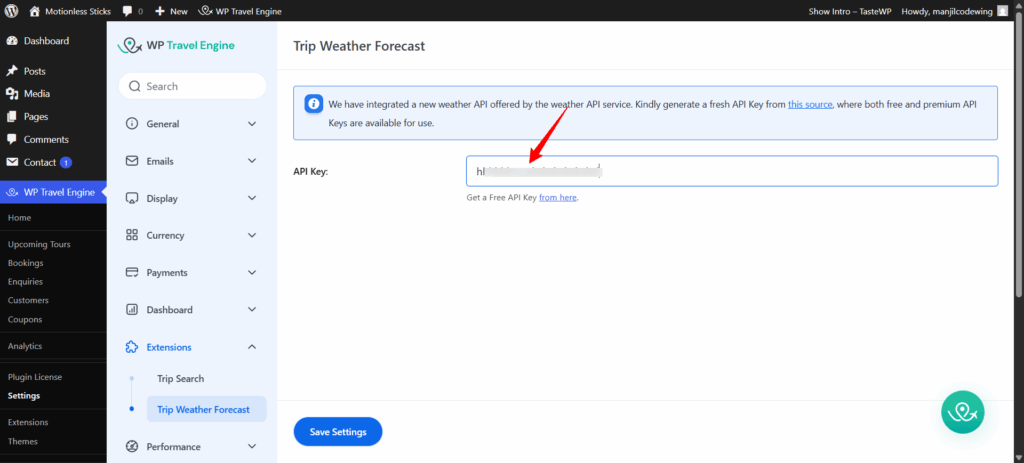
- Navigate back to your WordPress admin dashboard and paste the copied API Key into the box as shown in the image.
- Click Save & Continue.
Adding Trip Weather Forecast on Single Trip Page #
Trip Weather Forecast add-on adds a Trip Weather Forecast widget in the widgets section and a Trip Weather Configuration meta box in the individual trip dashboard.
A user must configure the weather settings like unit, language, current weather conditions, and hourly and daily forecasts in the widget dashboard and type and select the location from the drop-down in individual trip posts. The widget doesn’t yet support the locations that do not appear in the drop-down.
Adding Trip Weather Forecast Widget #
To add the trip weather forecast widget to display it on single trips, follow these steps:
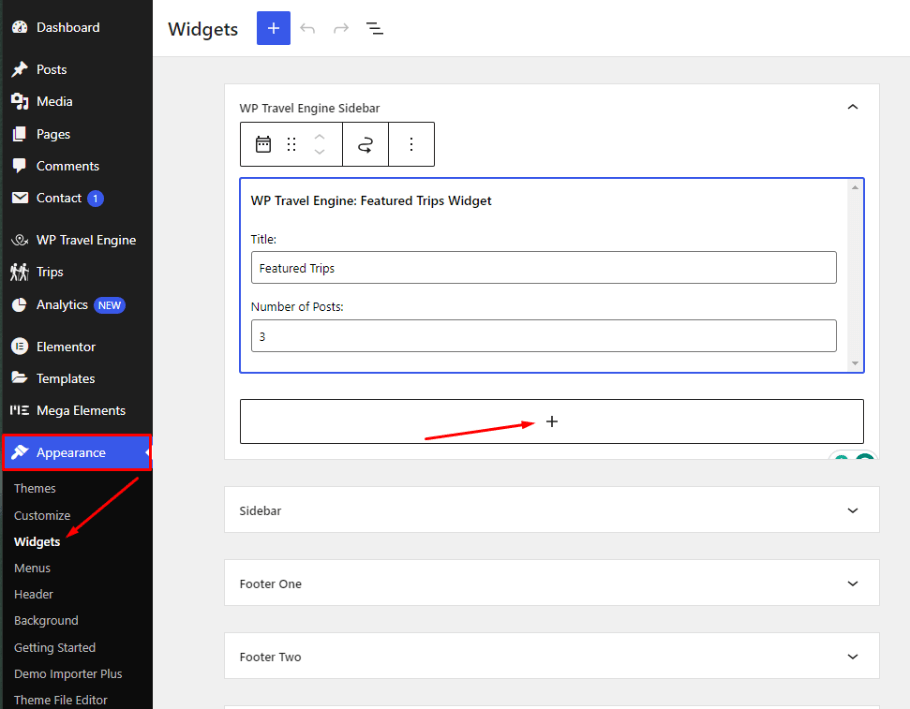
- Go to Appearance > Widgets > WP Travel Engine Sidebar within your WordPress dashboard.
- Click on the ‘+’ icon.
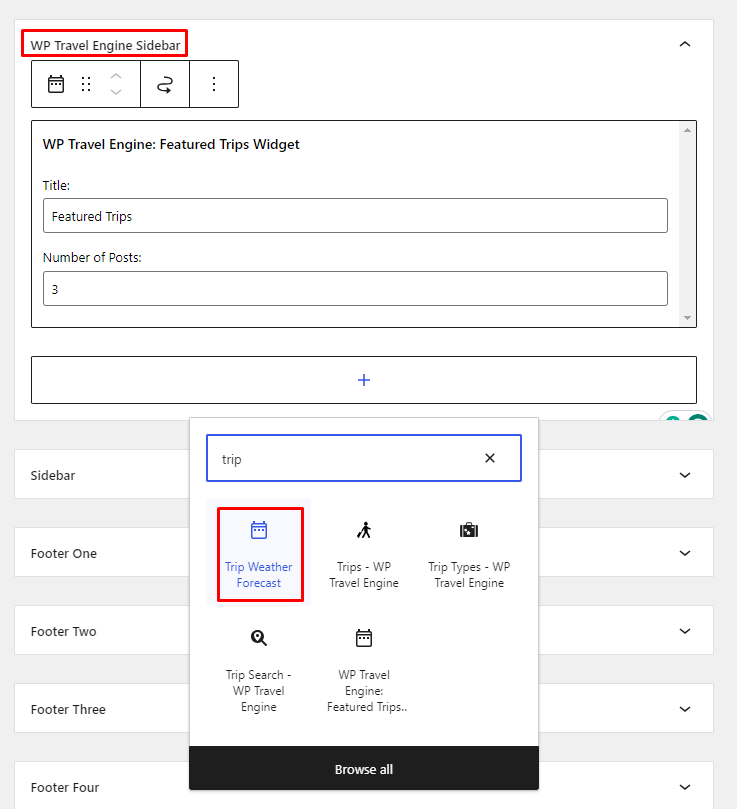
- Type “trip weather forecast” in the search box and click on the Trip Weather Forecast widget.
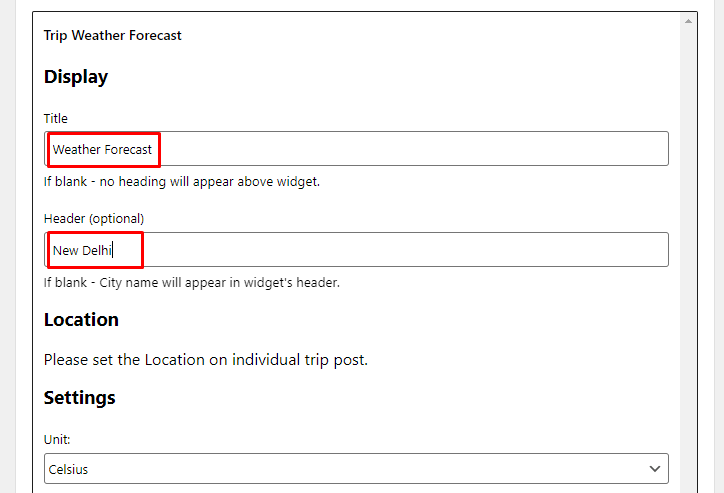
- Enter a title in the Title box to display a heading above the widget. If it’s left blank, no heading will appear above the widget. For example, Weather Forecast.
- Enter text in the Header box (optional) to display a custom header within the widget. For example, New Delhi.
- Use the drop-down menus in the Hourly and Daily forecast sections to choose whether to show or hide forecasts for up to 5 hours and 3 days, respectively.
- Once the changes are made, click the Update button located in the top right corner.
Trip Weather Configuration #
To configure the Trip Weather Configuration meta box, follow these steps:
- Navigate to one of your trip pages and click on Edit.
- Within the right sidebar, scroll down to the Trip Weather Configuration section.
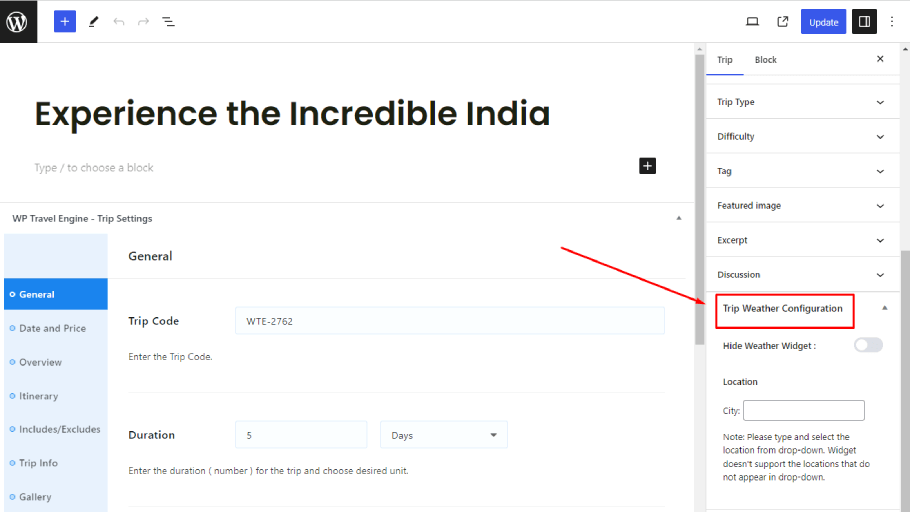
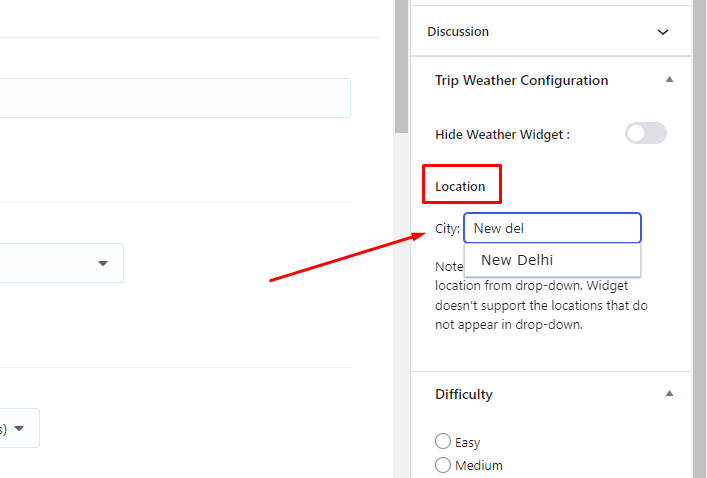
- Select your City location in the drop-down menu.
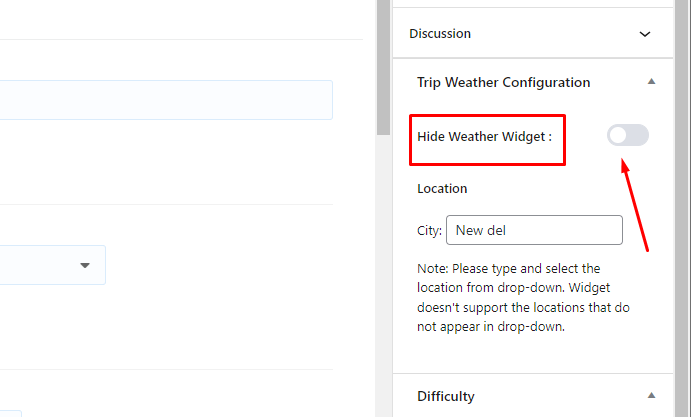
If you want to hide the weather widget for this specific trip, toggle the Hide Weather Widget option to Off.
Note: The drop-down menu is shown when the city name is typed in the input field. Also, if the API Key has not been saved previously, the drop-down menu will not appear, and the widget won’t display on the trip page.
- Click the ‘Update‘ button in the top right corner to save your changes.
Frontend Preview #
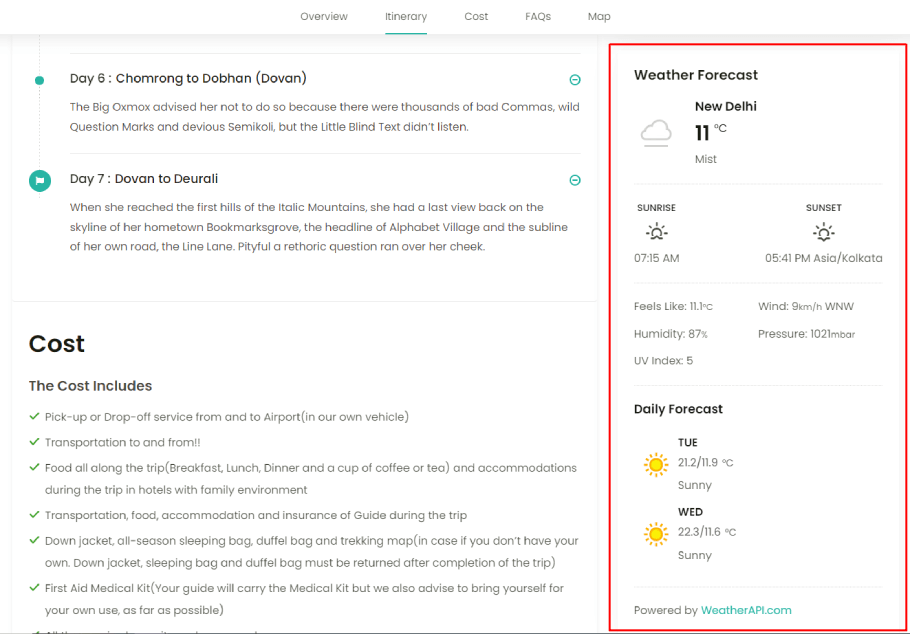
Note: The data is automatically updated every minute.