Overview: #
Starting from WP Travel Engine v6.6.1, you can now easily customize the colors of your trip pages, archive pages, and other WP Travel Engine elements to perfectly match your website’s branding, without needing to edit any CSS.
Previously, WP Travel Engine relied on the CSS variable --primary-color to style its elements. However, not all WordPress themes use this variable, which caused WP Travel Engine to fall back to its default blue color. This sometimes resulted in inconsistent branding for sites using different themes.
With this update, you can now manage these colors directly from the plugin settings panel!
Here is a walkthrough on how to access the color settings. #
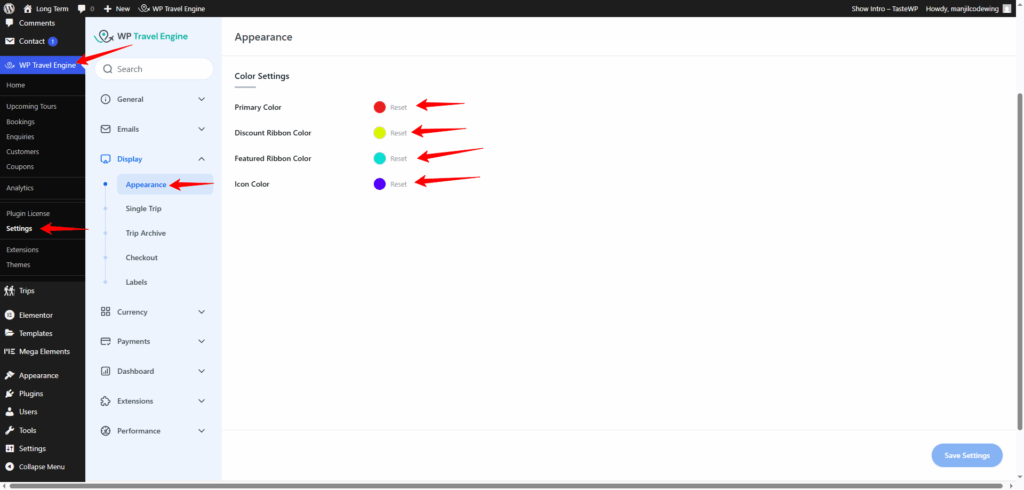
- Go to your WordPress Dashboard.
- Navigate to WP Travel Engine > Settings.
- Click on the Display section.
- Open the Appearance tab under Display.
Here, you will find the Color Settings panel.
Available Color Options: #
You can set the following colors using an easy-to-use color picker:
- Primary Color: Defines the main brand color for WP Travel Engine elements.
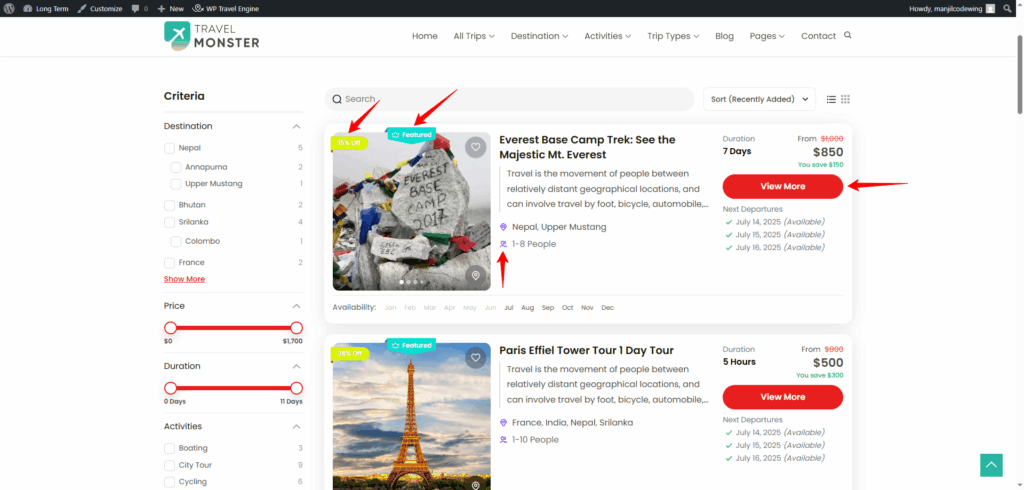
- Discount Ribbon Color: Sets the color of the discount ribbons displayed on trips.
- Featured Ribbon Color: Sets the color of the ‘Featured’ ribbons on trips.
- Icon Color: Controls the color of icons used in WP Travel Engine components.
How It Works #
When you select your preferred colors and click Save Settings, WP Travel Engine will automatically apply these colors across all relevant areas, overriding the default styling. This ensures your trip pages blend perfectly with your site’s look and feel, even if your theme doesn’t use --primary-color.
Benefits #
✅ Keep your branding consistent across all pages.
✅ No need for custom CSS or theme editing.
✅ Works seamlessly with any WordPress theme.
If you face any difficulties, feel free to contact our support team.