

How Trip Packages Work with WPML Translations
Learn how trip packages stay shared across all WPML language versions of a trip, why you cannot set them up separately per language, and how to manage packages when your trip is already translated.
Why can't I set up packages separately for each language?
You can use one set of package and inventory details across all language versions of a trip. This keeps your availability accurate and prevents the same spaces from being sold twice.
Starting with WP Travel Engine 6.8.6, packages belong to the trip in its original language. WPML, the translation plugin, shares those packages with every translated version of the trip. This is expected behavior.
Here is what that means for your tours:
- When you add, remove, or clone a package on the trip in its original language, the change appears on every translation.
- You can translate the package name and description through WPML String Translation. For example, you can show “Mountain View Trek” in English and “Trek avec vue sur la montagne” in French.
- The price and inventory are shared. They come from one package record. If you change the price from a translated trip, the change also applies to the original trip and every other translation.
This shared setup keeps one source of truth for availability. You can still use different wording for each language, while your booking numbers stay aligned.
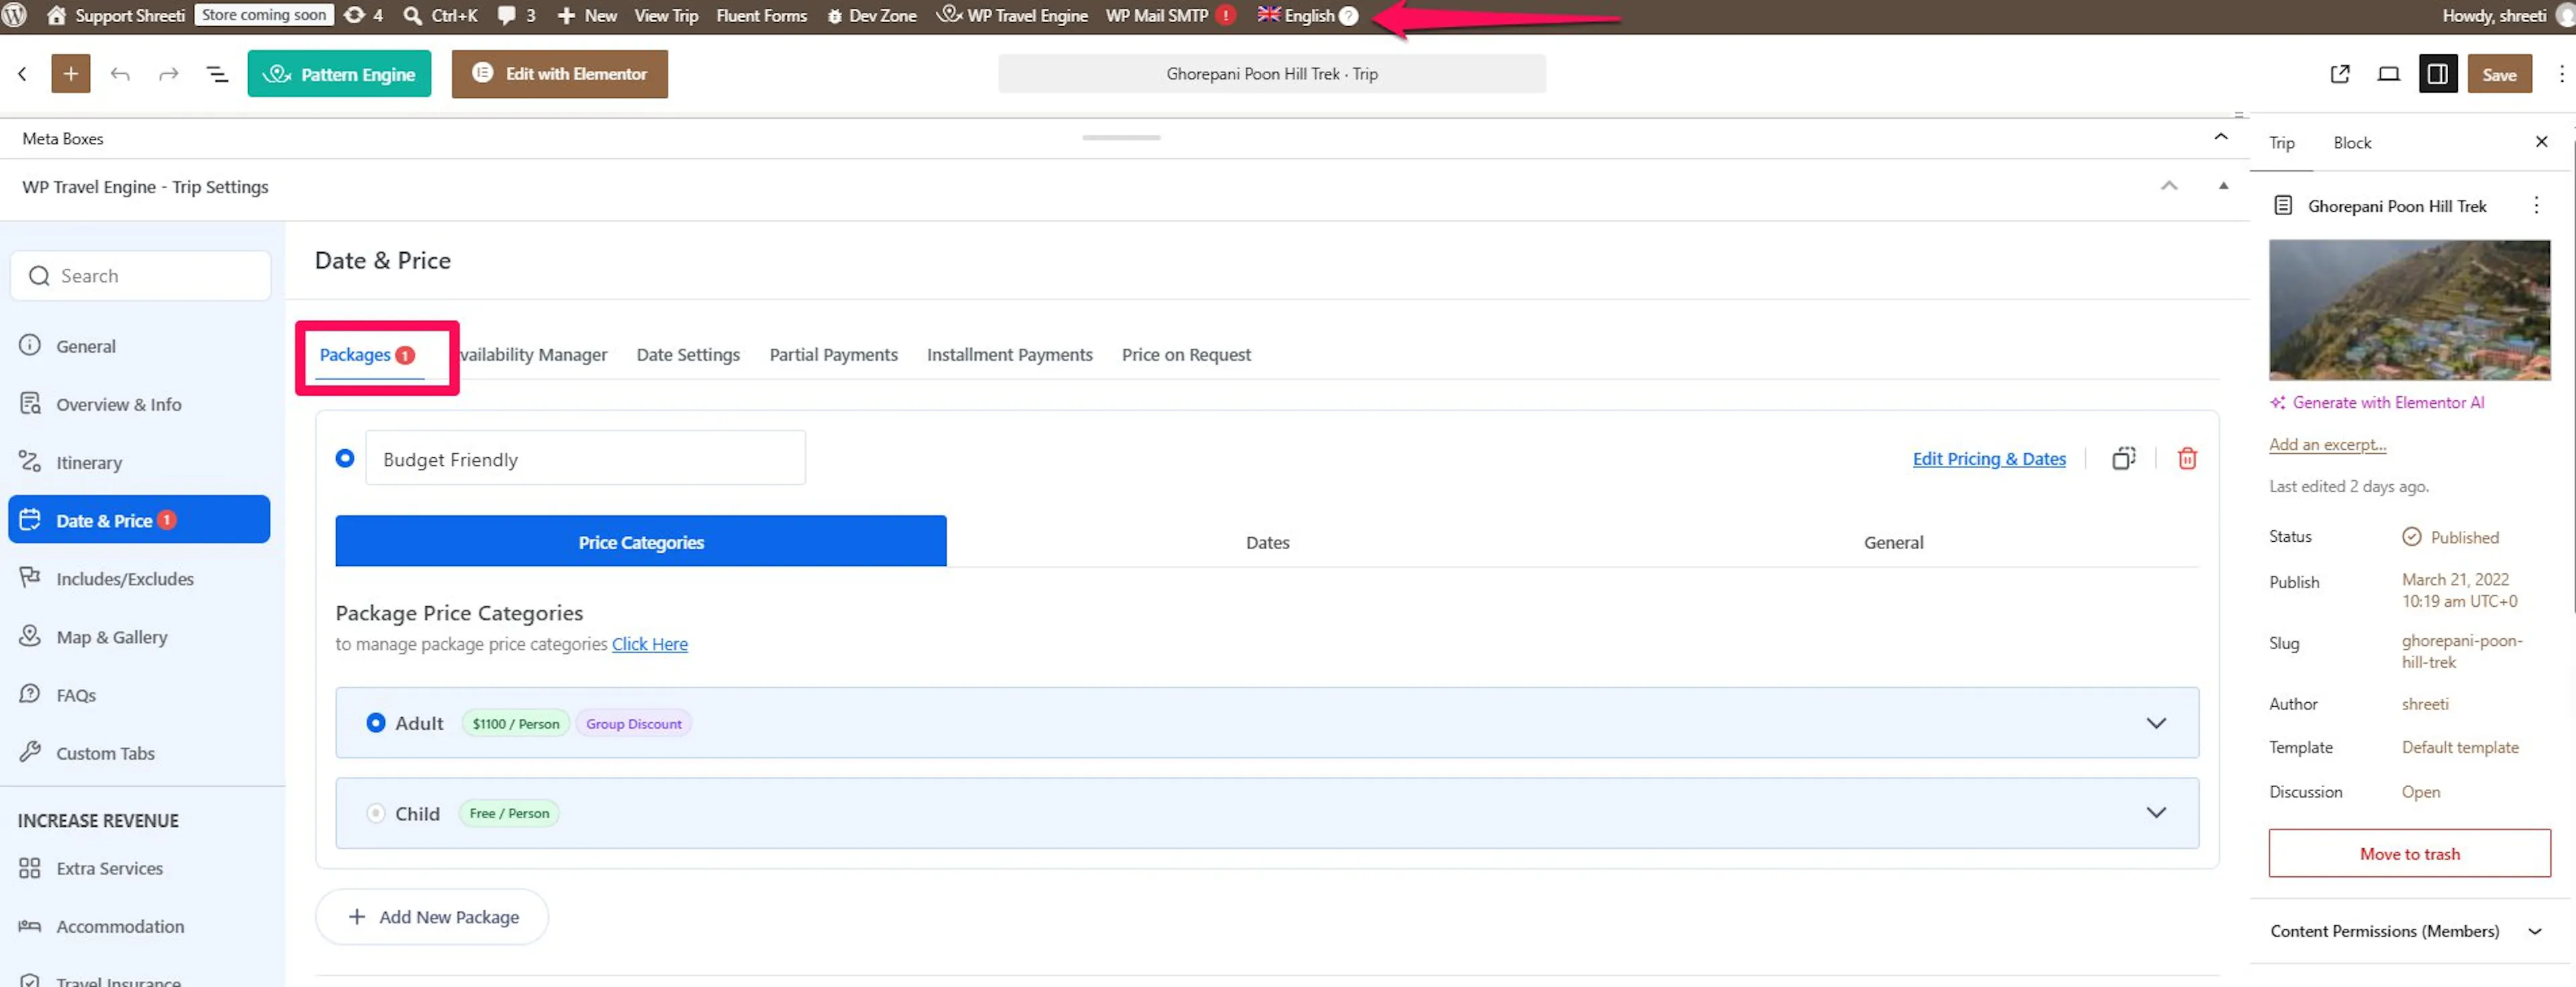
How do I set up a trip that only needs content in one secondary language?
Use the original-language trip as a behind-the-scenes place to store your packages. Your visitors will see the translated trip, while the original trip stays hidden as a Draft. A Draft is a saved trip that visitors cannot see on your website.
For example, you might create a trip in your default language but only want travelers to see the French version. The default-language trip still needs to hold the package information.
Before you start, make sure WPML is active and decide which language your visitors should see. You will also need access to the trip in your default language and its translated version.
Create the trip in your default language
Create the trip from the trips area in your WordPress dashboard. Use your site's primary or default language.
The trip does not need complete customer-facing content at this stage. It only needs to exist so it can hold the packages.
Add the packages to the default-language trip
Open the trip's Packages tab and add each package there. Add the details that need to be shared, such as available spaces, seasonal pricing, or a group discount.
Your packages now have a shared starting point for every language.
Translate the trip
Use WPML to create the translated version in the language your visitors need. For example, translate the trip into French if your French-speaking travelers are the only audience for this trip.
The translated trip receives the packages from the default-language trip automatically.
Customize the translated trip
Open the translated trip and adjust the package name, description, and price for that language.
You might change “Two-day trek with gear rental” to the wording your French-speaking customers expect. Remember that the price is shared. A price change on the translation also changes the price on the default-language trip.
Set the default-language trip to Draft
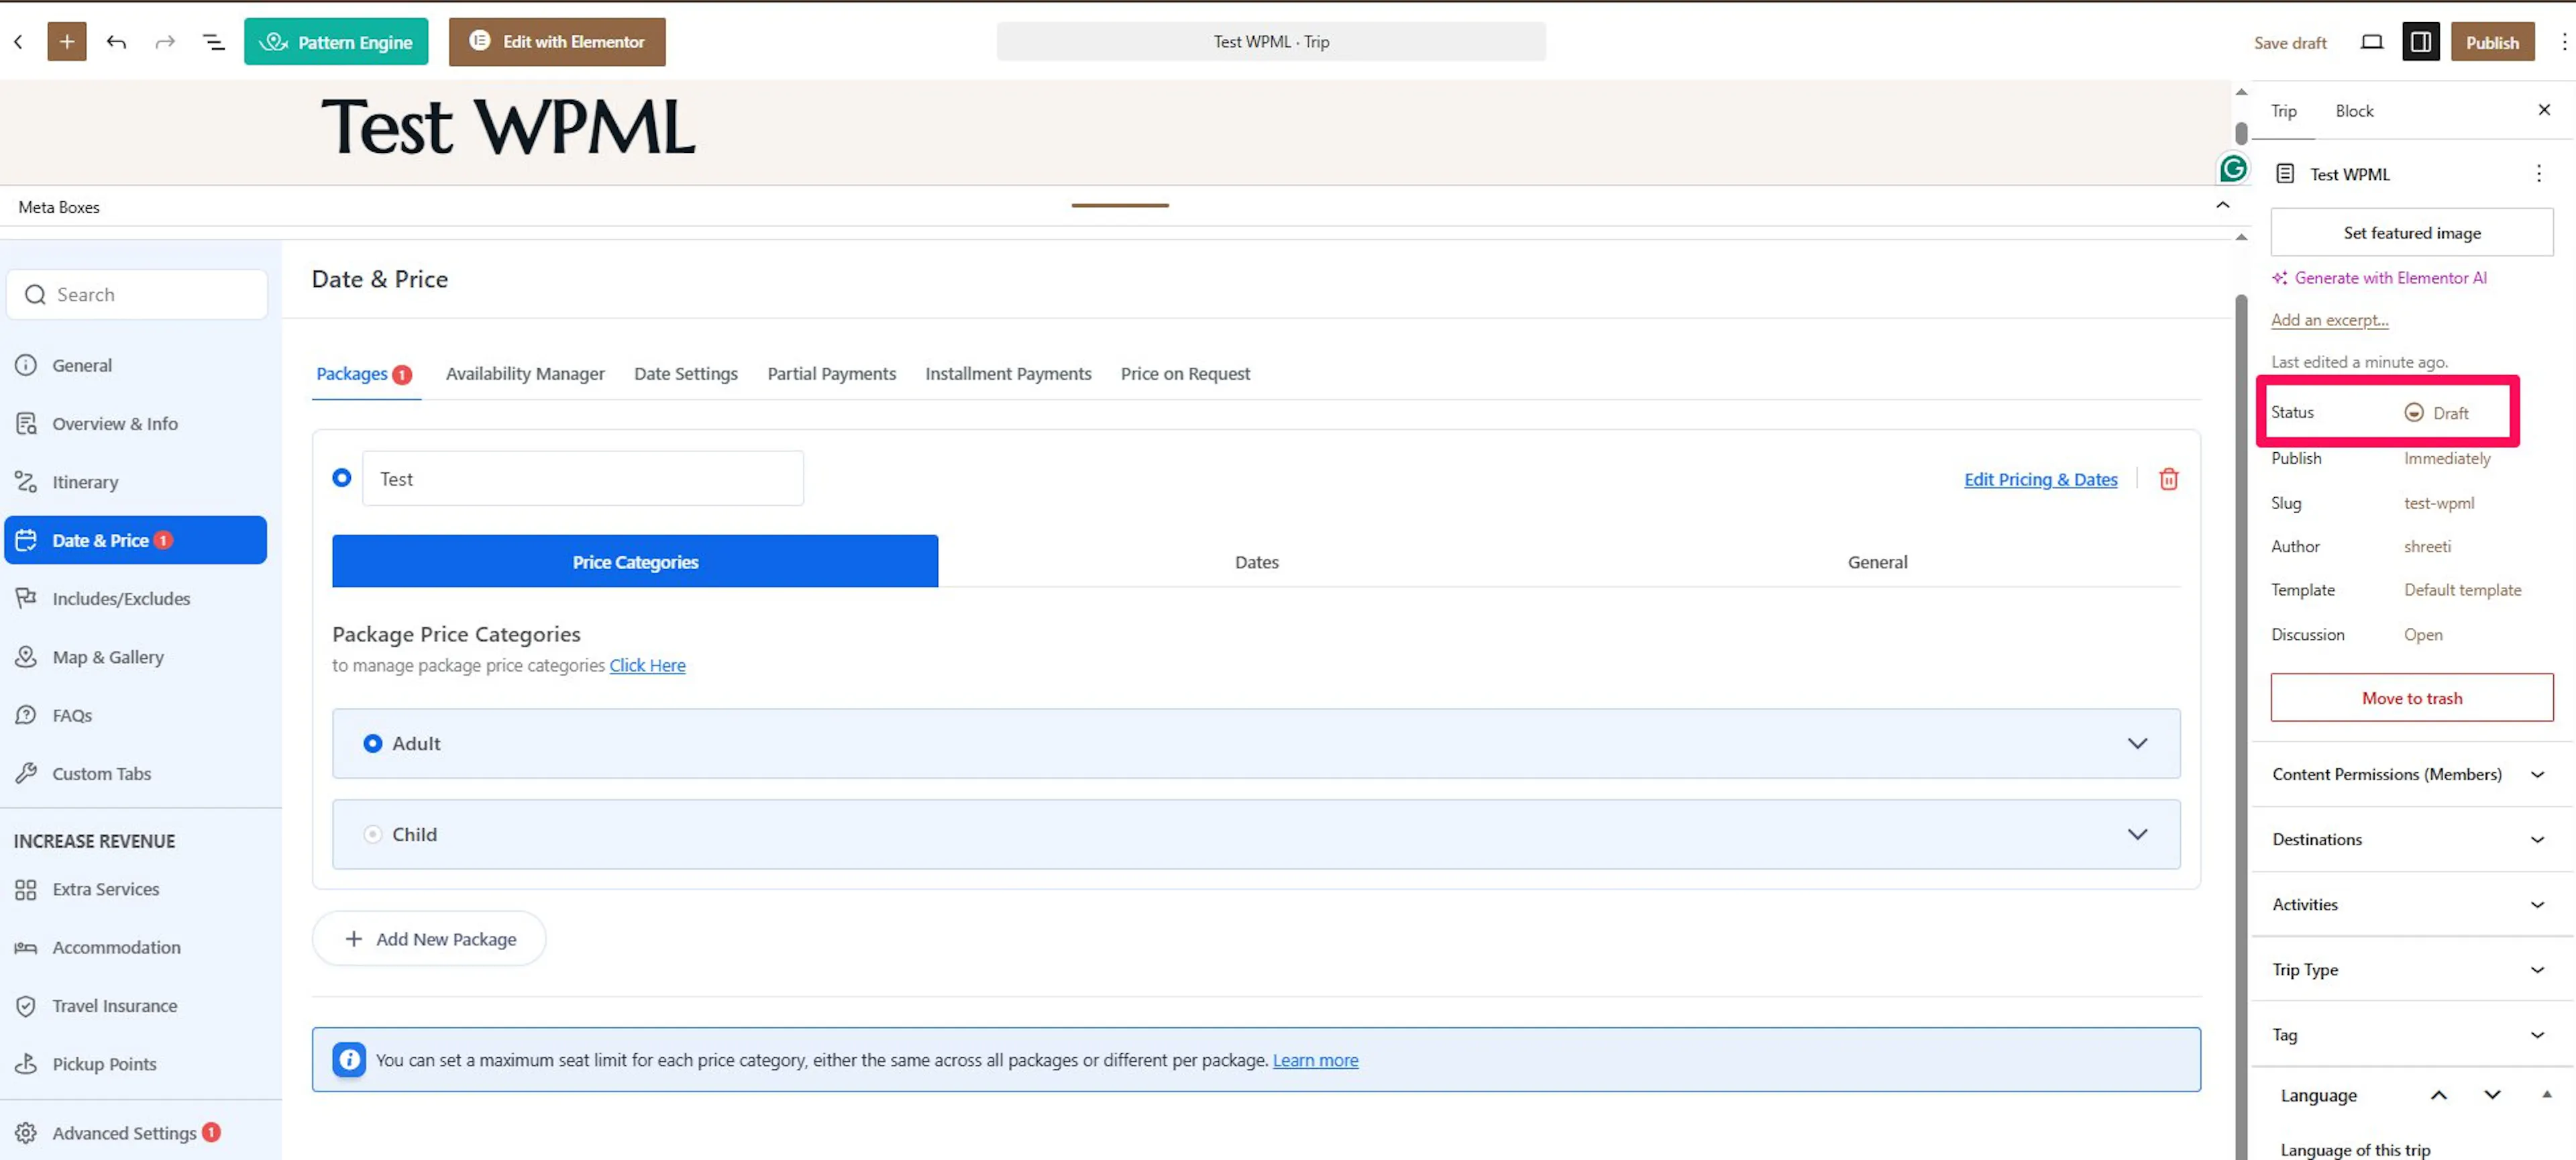
Return to the default-language trip and change its status to Draft. You can find the status in the publishing settings for the trip.
Visitors will see the translated trip, not the default-language version. Keep the default-language trip in place and do not move it to the trash. It must continue to exist so it can hold the packages and share them with the translation.
Your default-language trip can remain a package container without full content of its own. The translated trip is the version your customers use, and the package data stays connected behind the scenes.
Where do I add a new package to a trip that is already translated?
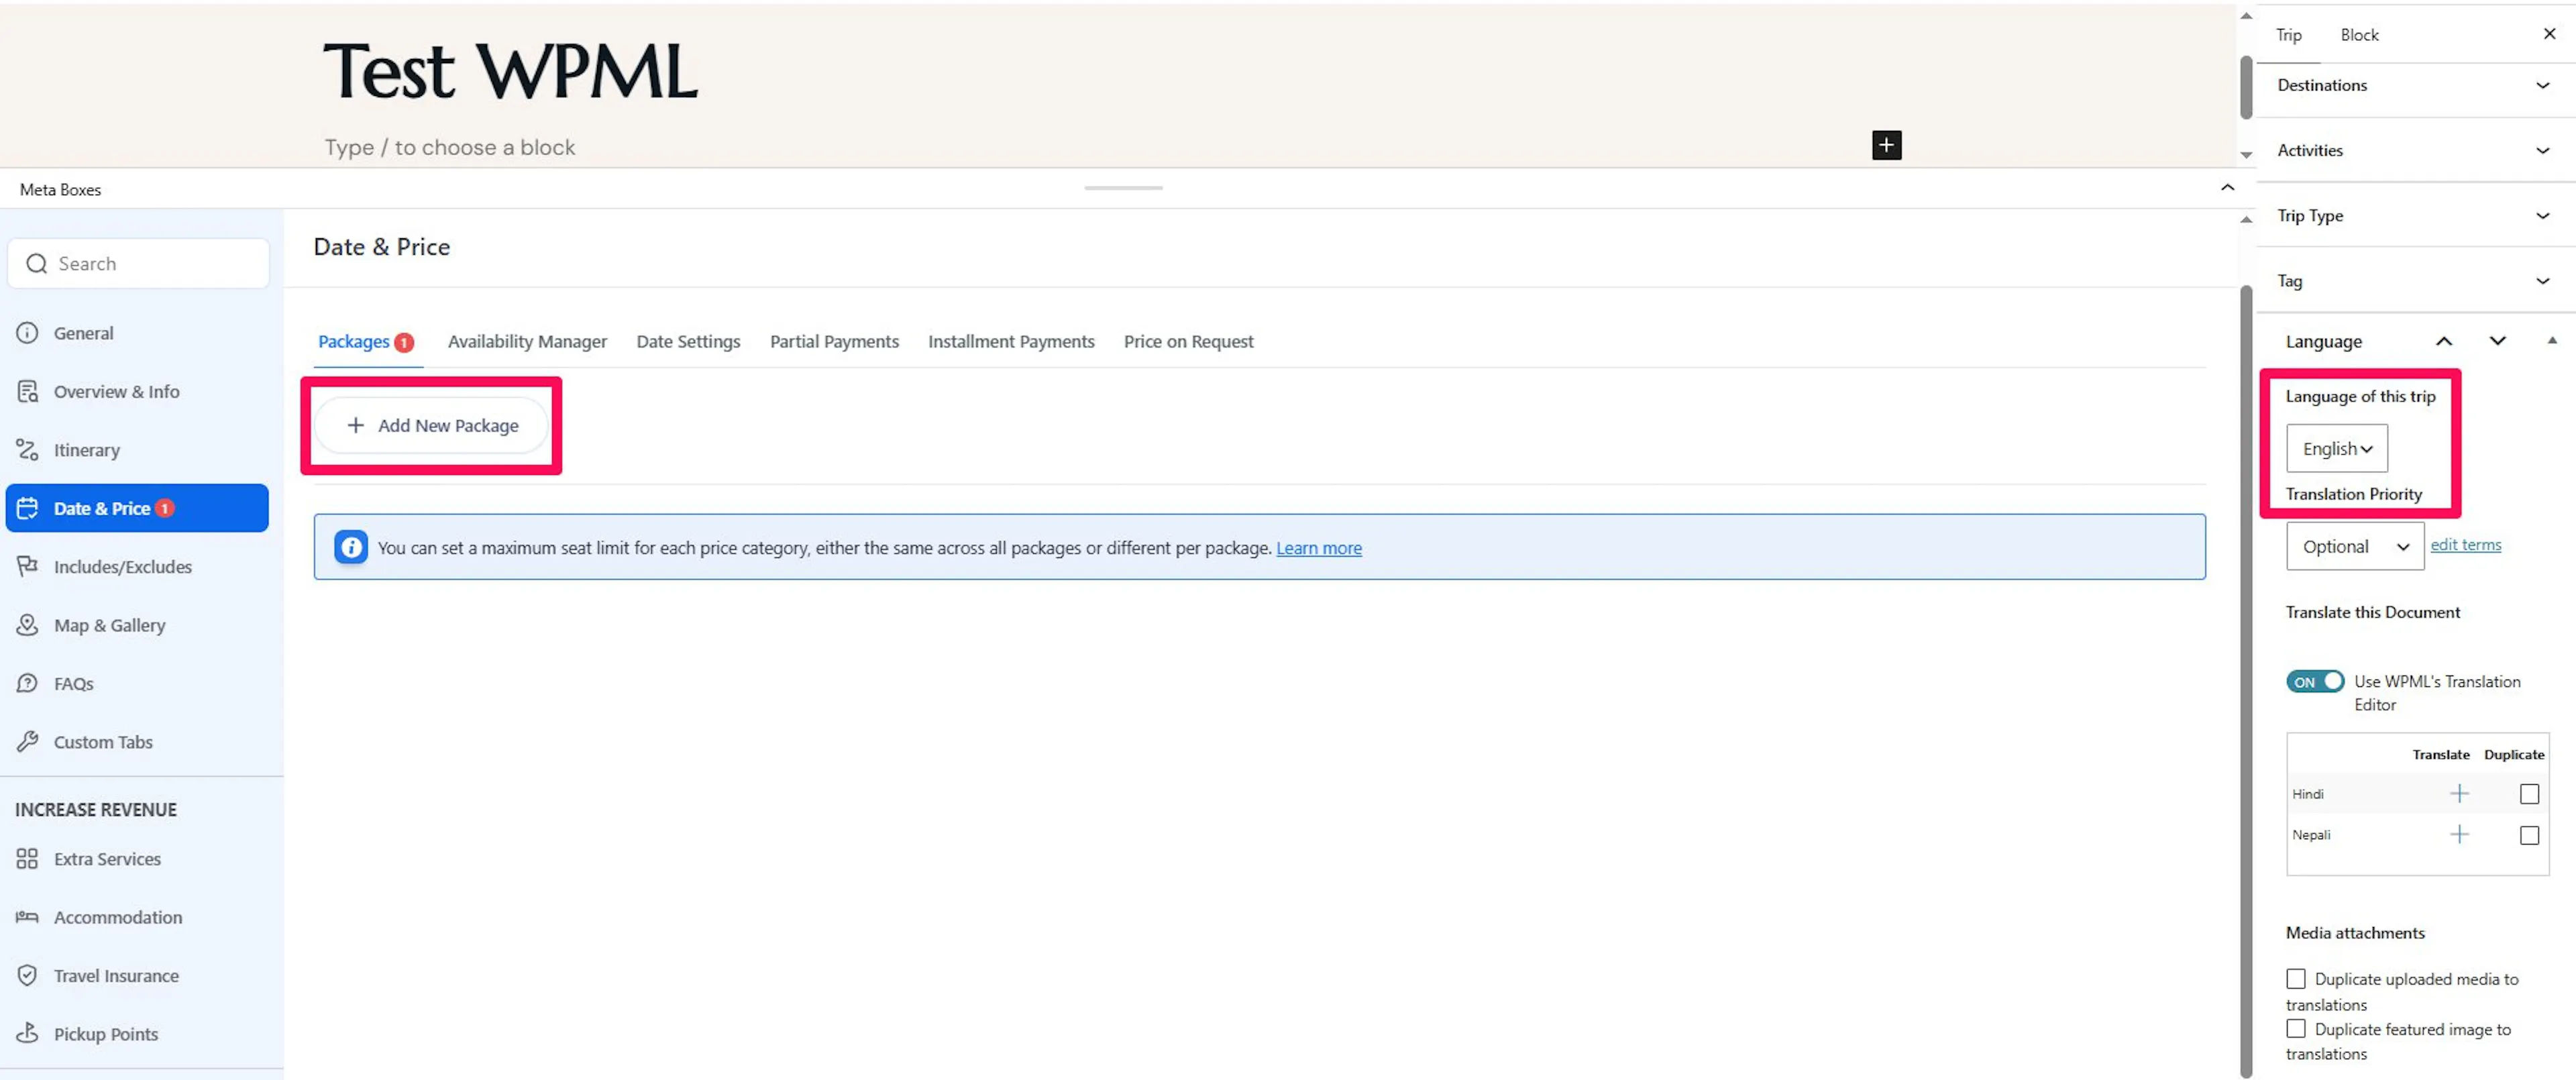
Add the new package to the trip in its original language first. Then open the translation and change the wording or price for that language.
This order makes sure the new package is connected to every translation. It also keeps one inventory count for the whole trip.
Before you start, make sure you can open both the default-language trip and the translated trip. The default-language trip can be a Draft, but it must not be in the trash.
Open the default-language trip
From the left sidebar of your WordPress dashboard, open the trip in its original or default language.
If the trip is a Draft, open it from the list of Draft trips.
Add the package in the Packages tab
Open the Packages tab and add the new package there. Enter the package details, such as the number of available spaces, a seasonal price, or an optional gear-rental add-on.
Adding the package here makes it available to the translated trip.
Open the translated trip
Switch to the translated version of the trip through WPML. The new package should now appear there automatically.
Adjust the translated package
Update the package name and description so they read naturally for your customers in that language. Change the price if this language needs a different displayed price.
The price and inventory remain shared. If you change either from the translation, the change applies to the default-language trip and all other translations.
Adding the package to the default-language trip first keeps all language versions connected. If you do not see the package on a translation, check where it was created before making any other changes.
If a package does not appear on a translation, confirm that you added it through the default-language trip. Packages added directly to a translation may not sync as expected.
If you're still stuck or have a question we didn't cover, our support team is happy to help. Reach out at our support page and we'll get you sorted.